This is a sponsored post by HomeAdvisor. All thoughts and opinions are 100% my own.
The world of DIY blogs can be an intimidating place.
Pinterest fools you in to thinking you can easily build a king size bed in just an afternoon while your kids quietly play legos in the corner for 5 hours. The truth is it just ain’t like that.
I’ve done enough projects to realize that you don’t always save money by doing it yourself. There’s also a steep learning curve which takes quite a bit of time from the planning process to shopping for materials to actually building your project. Even if you do save money by doing it yourself you have to ask if the time you invested was worth the money you saved. Then there’s the huge guilt for letting your kids rot their brains in front of an iPad while you figure out how to recreate the wheel (so to speak). Of course I’ve never been guilty of that.
Now I’m not suggesting you never do another DIY project again. You can’t put a price tag on the sense of pride in accomplishment and that’s what keeps us DIY’ers staying at it.
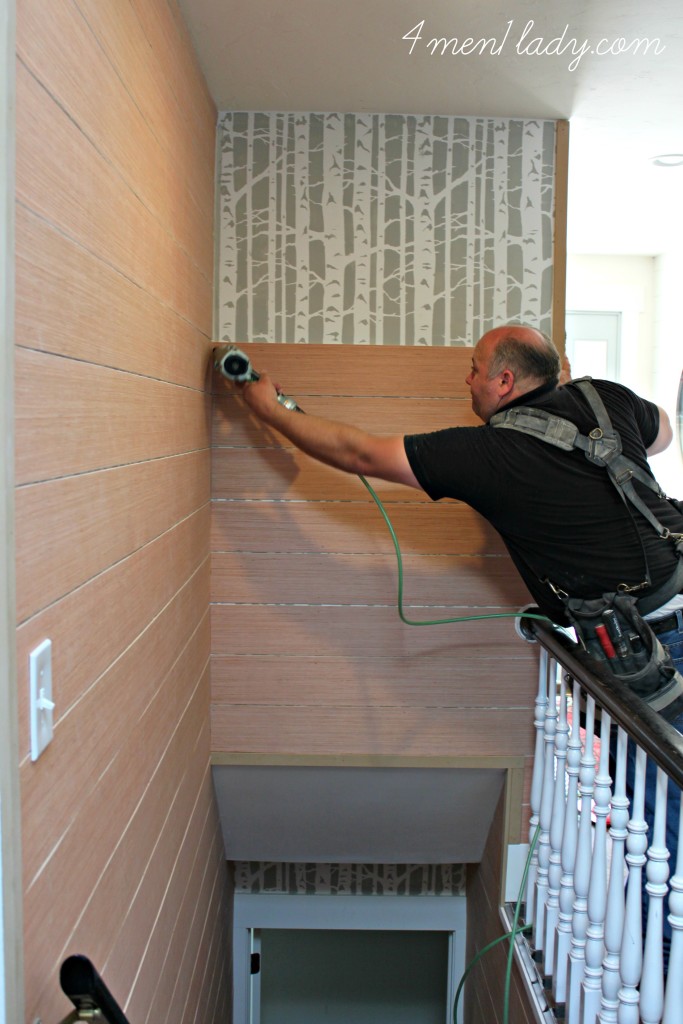
If perhaps the world of DIY doesn’t speak to you and you have some money to play with then by all means, hire it out!..which is just what I did for my stair wall.
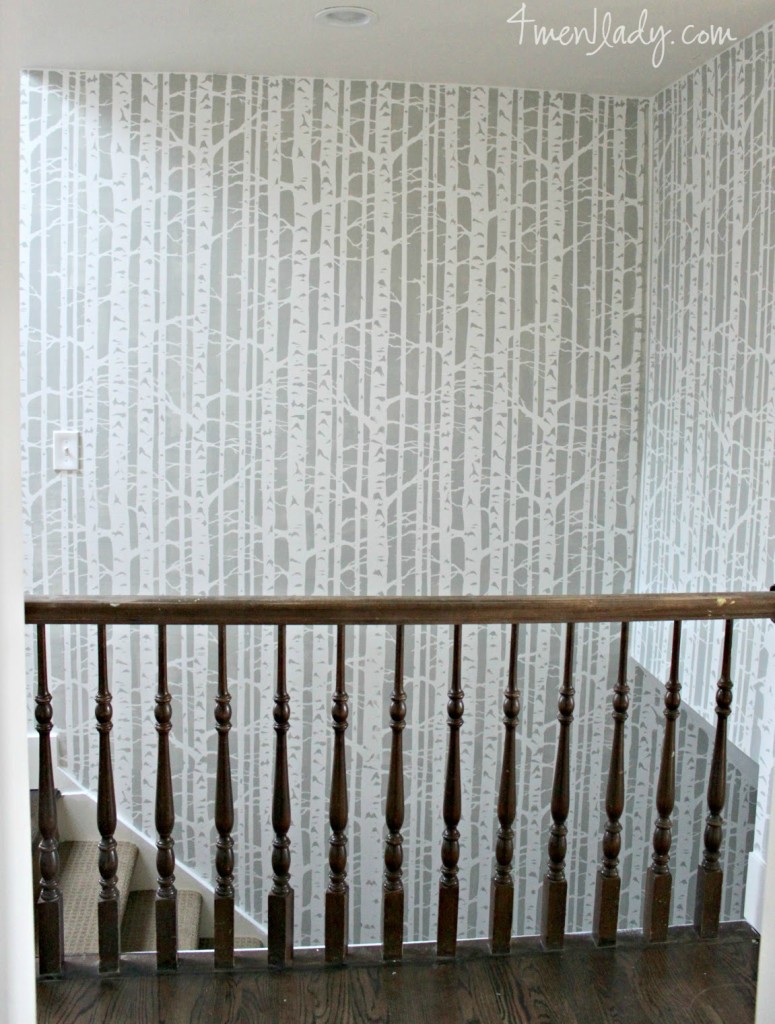
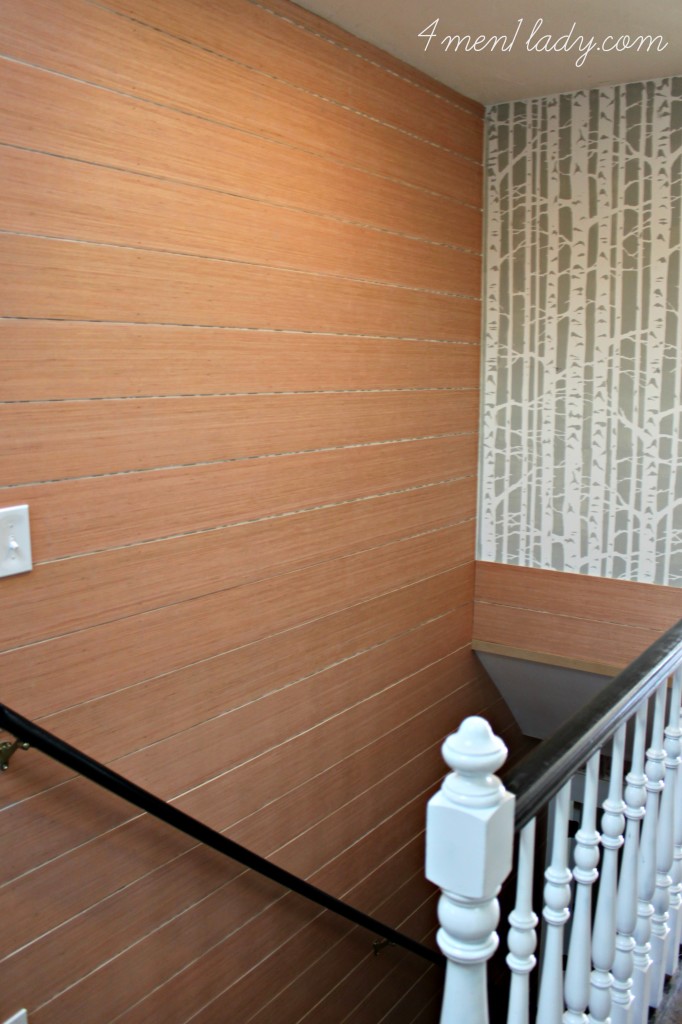
I painted this wall going down our stairs an Easter egg striped-nightmare three years ago. It a moment of temporary insanity. I then tried to fix it with a Birch Tree Stencil. The Mr. and plenty other people loved it. I felt “meh” about it.
I’ve been wanting to cover it with wood planks forever but I just couldn’t ever seem to carve out the time with life.
Then Homeadvisor.com came a calling. How would I like to try out their service on a home project I’ve been wanting to tackle? It was like the clouds parted and the Heaven’s opened.
If you haven’t heard of HomeAdvisor, they are a web-based service that matches home improvement professionals with home owners. Anything from plumbers to electricians to general handymen…they do it all. You just type in what you are looking for and the site spits out several matches. It’s like the home improvement version of match-making.
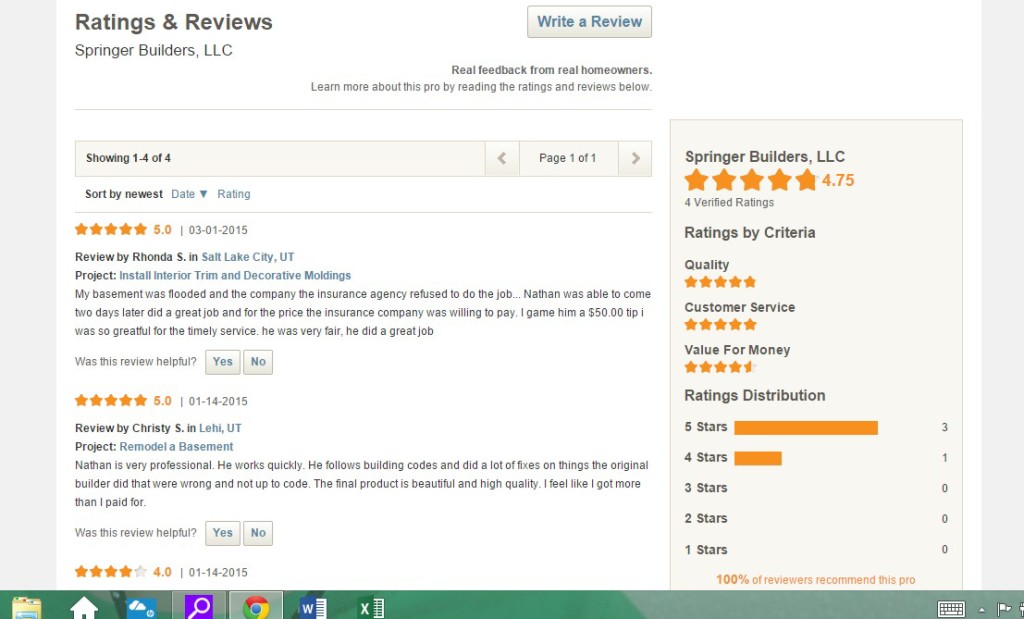
The great thing about it is you can read reviews from their past customers (and they don’t hold back). I’ve read some great reviews and not-so great reviews. (Wouldn’t that be great if you could read reviews on match-making sites from past daters?) HomeAdvisor provides such a great service because hiring the right person will make or break your project. I should know, you may remember I dedicated a whole post on how to hire the right sub-contractor.
I called three of the matches that site gave me to come give me a bid. The first guy was great but his price was double what the second guy was. The third guy was booked out several months. I went with Nathan. His price was right, his reviews were positive and he was available the following week.
I showed him some pictures of what I wanted and he got to work.
I have planking installed all over my home. It’s in the boys bunk room, our entry and in the basement. In those installations we used 5 inch tongue and groove. It’s durable, comes pre-primed but it’s thick and expensive. For the stairs I needed material that was thinner because it’s such a tight space. I decided to use this tutorial found on Sweet Pickins.
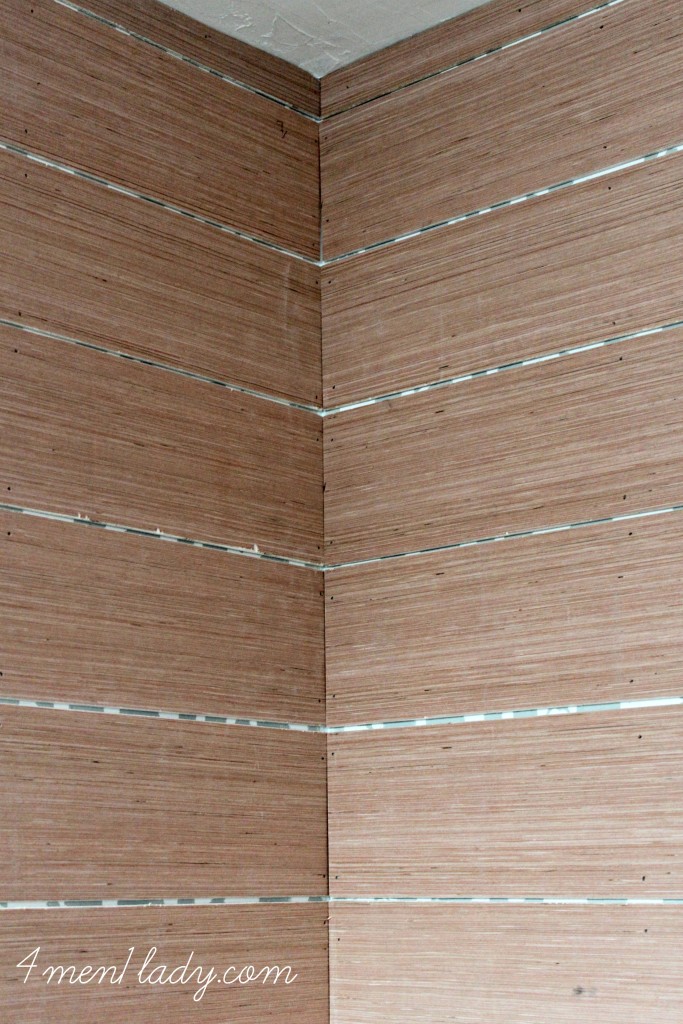
The difference between Tongue and Groove and 5.0 mm Utility Plywood is that the plywood boards are thin and pliable. The benefit is that you can leave the board just a hair longer than what you are trying to fit in your space because they have some give when you nail them in. It’s hard to explain but what that means is that your corners and end pieces look like you cut them precise each time.
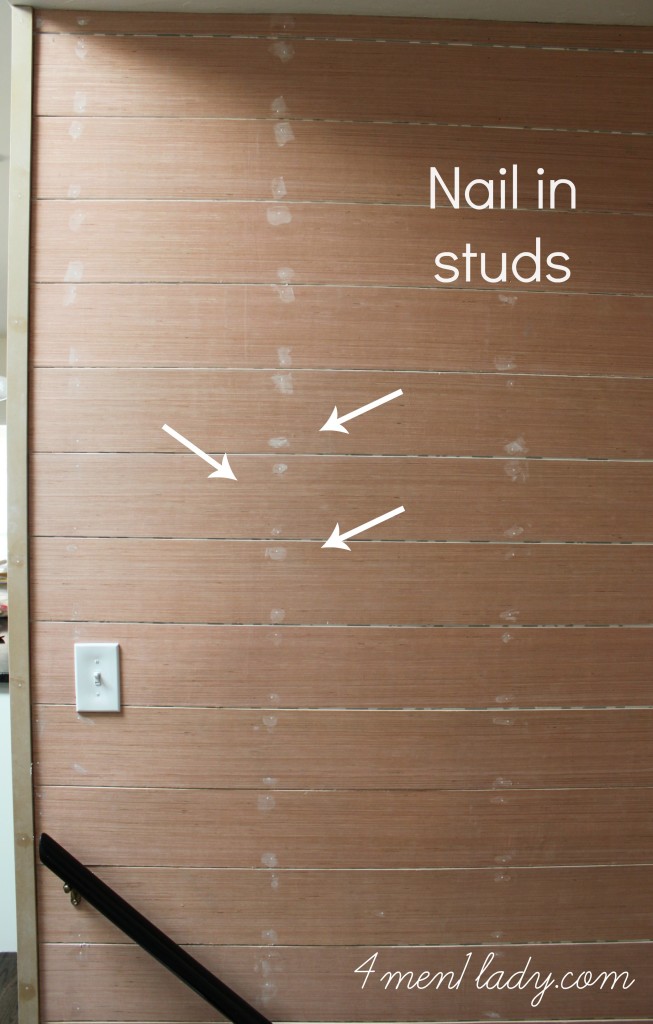
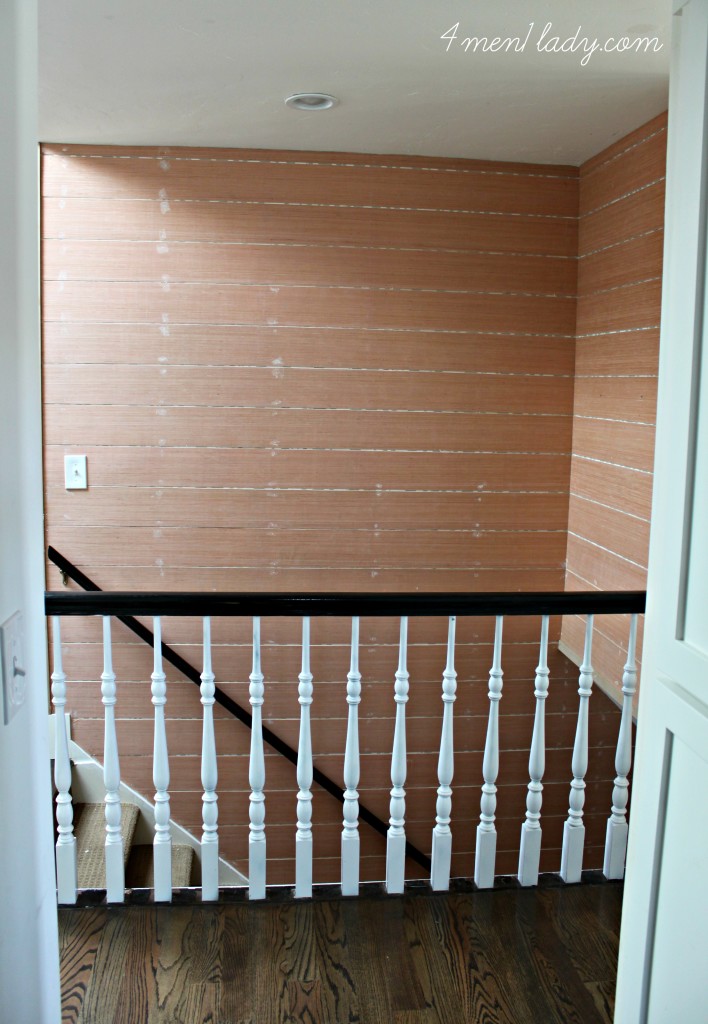
The negative of using the plywood is that you have to nail the boards on the face whereas with tongue and groove you nail in to the groove which gets hidden when you lay the next board over it. (Tip: nail boards in to the studs). That means a lot of nail holes to fill in.
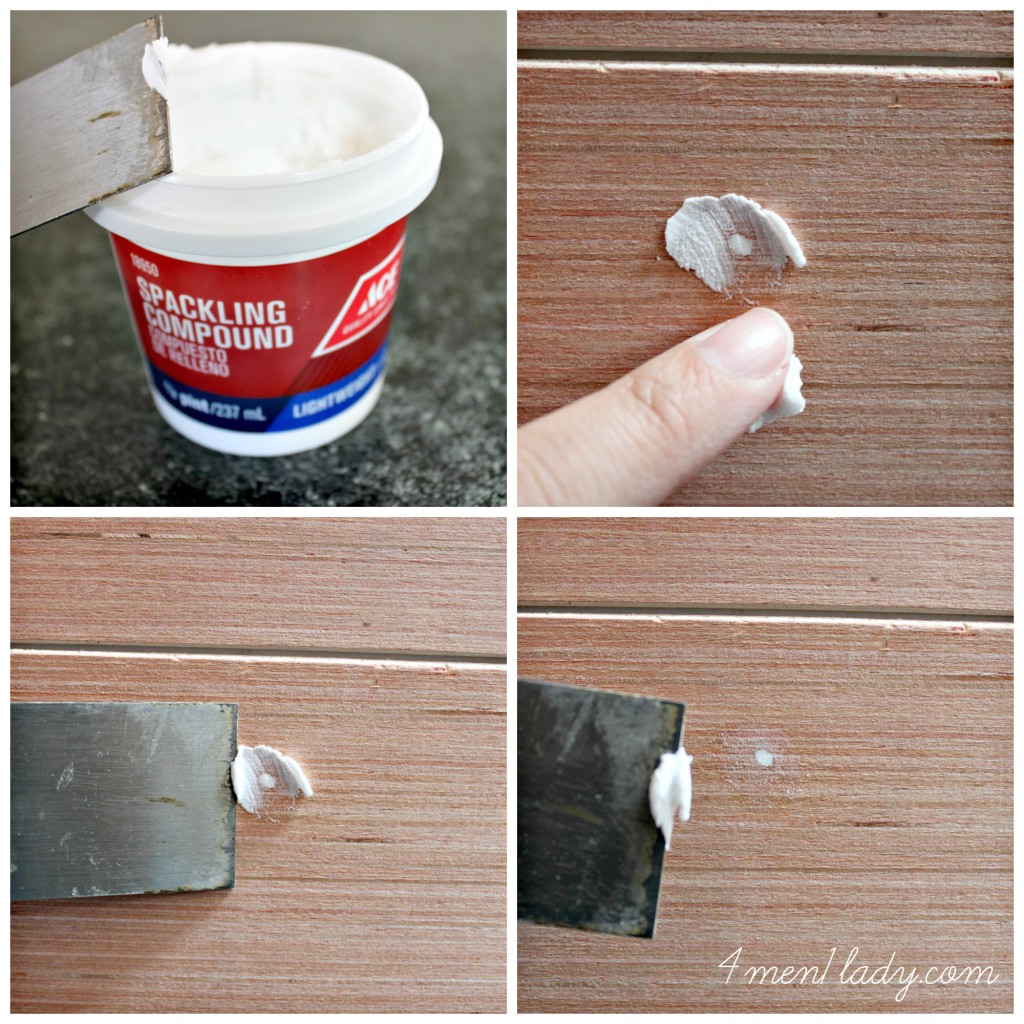
I thought it would take forever to fill all those holes in but it went pretty quick using my finger, some spackle and a putty knife. The other draw back is that you have to give everything a light sand before you paint because the plywood tends to have rough edges.
I was so pleased with Nathan that I had put up some more planking and build some floating shelves in my sons room. I’ll be sharing that with you soon enough. My only complaint is that he was on typical contractor-standard-time which was always late. In his defense he did call and let me know when to expect him. All in all I was very pleased with him and will definitely call him again for help. The other great thing about HomeAdvisor is that they stay in touch with you during your renovation process so if things aren’t going well perhaps they can help…maybe the contractor gets a scolding or something?
I felt a little guilt about not doing this project myself. But after I looked back on the job he did it was just so easy and I could be present with my kids and life. If you’re looking to hire some help with your home improvement list you definitely have to bookmark HomeAdvisor.com.
Stay tuned for the final reveal soon!



 Hey there! I’m Michelle; I’m an Passionate DIY’er and in constant pursuit of how to bring beauty to my house full of men (3 boys + 1 hubby). Stick around and see what I’ve got up my hard-working sleaves!
I am really excited to see how this project turned out because I wanna do something similar with my house!!!
I’m off to the paint store now to get my paint! Reveal will be soon!
Did you purposely leave slight gaps between each plank?
Yes. We spaced each plank with a nickel.
I was wondering the same thing! Why leave the gap showing the wallpaper underneath it? She may have something in mind to fill them in. Looking forward to the finished project!
Yes, that was a mistake. :/
I thought because the gaps were so small you wouldn’t be able to see anything but you can. It’s been a nightmare to paint this weekend. Argh. Live and learn.