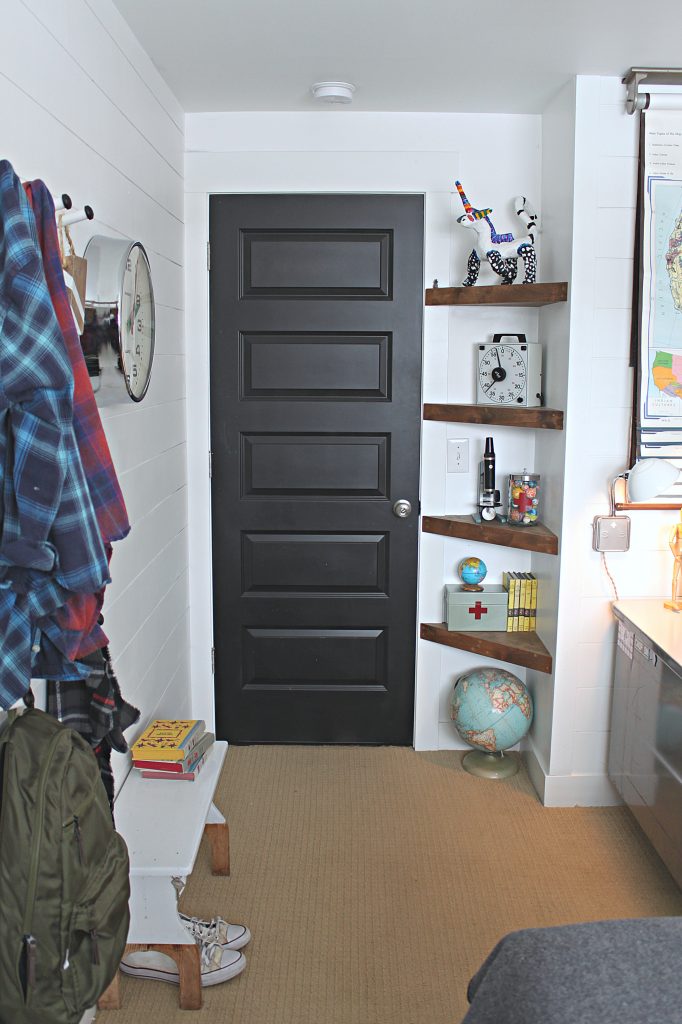
This room has gone through quite the transformation.
When we first moved in 7 years ago it was the room where we threw everything misc while we got settled in. AKA “the junk room.”
It stayed “the junk room” for way longer than anticipated (and way longer than I care to fess up to).
Slowly but surely it became a guest room.
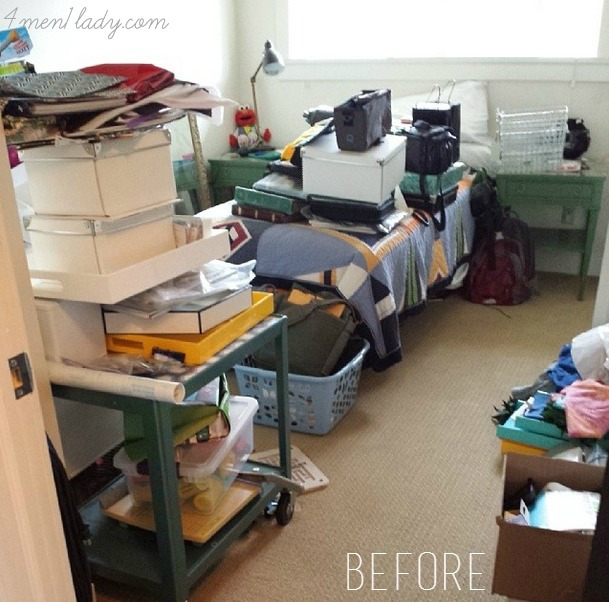
Then my oldest son decided he wanted to take it over so we fixed it up for real (see here).


(See the full details of the first room makeover here).
Now that my son is officially in his teen years and the size of a full grown man this room needed to go through another transition.
For this makeover the room needed to be 1) functional (bye-bye twin sized bed) and 2) “lit” as the young-ins say these days.
The first thing we did was get a new full size bed. The teen is over 6′ and probably would have been more comfortable in a queen sized bed but unfortunately, the room is small. We’re talking 9×14′ small. So a queen bed would have truly been a “bed”room and nothing else. With the addition of the new full size bed the teen had to choose between getting rid of his dresser or his desk. He said “adios” to the dresser and all his clothes moved to his closet.
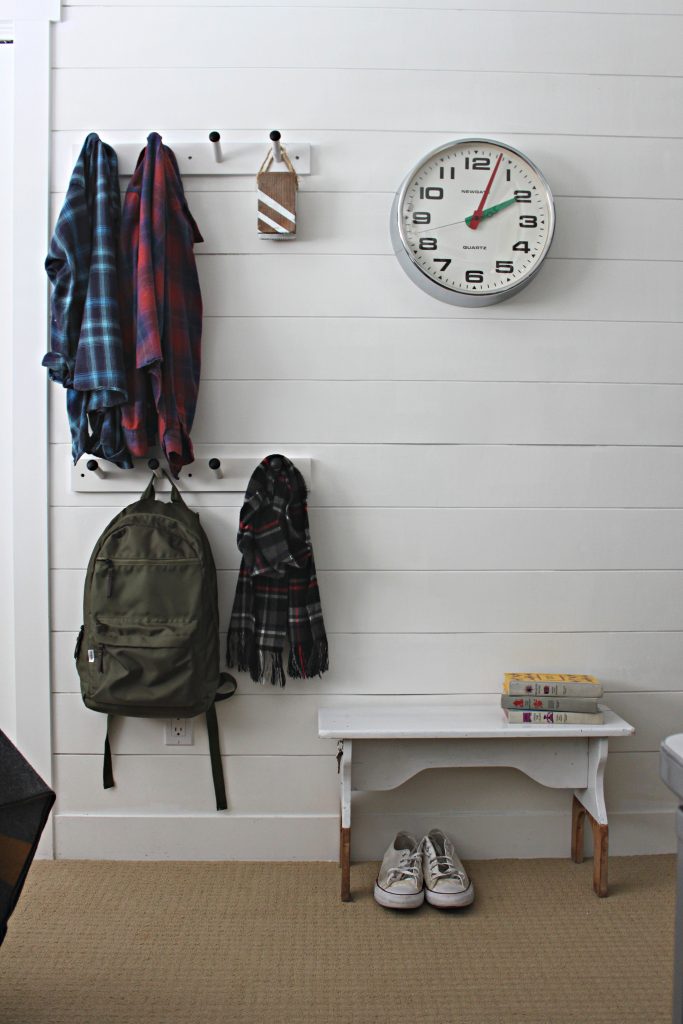
Next, I painted the wall a two tone effect. Sherwin Williams Pure White on top and Clark + Kensington’s Weathervane (almost black) on the bottom.
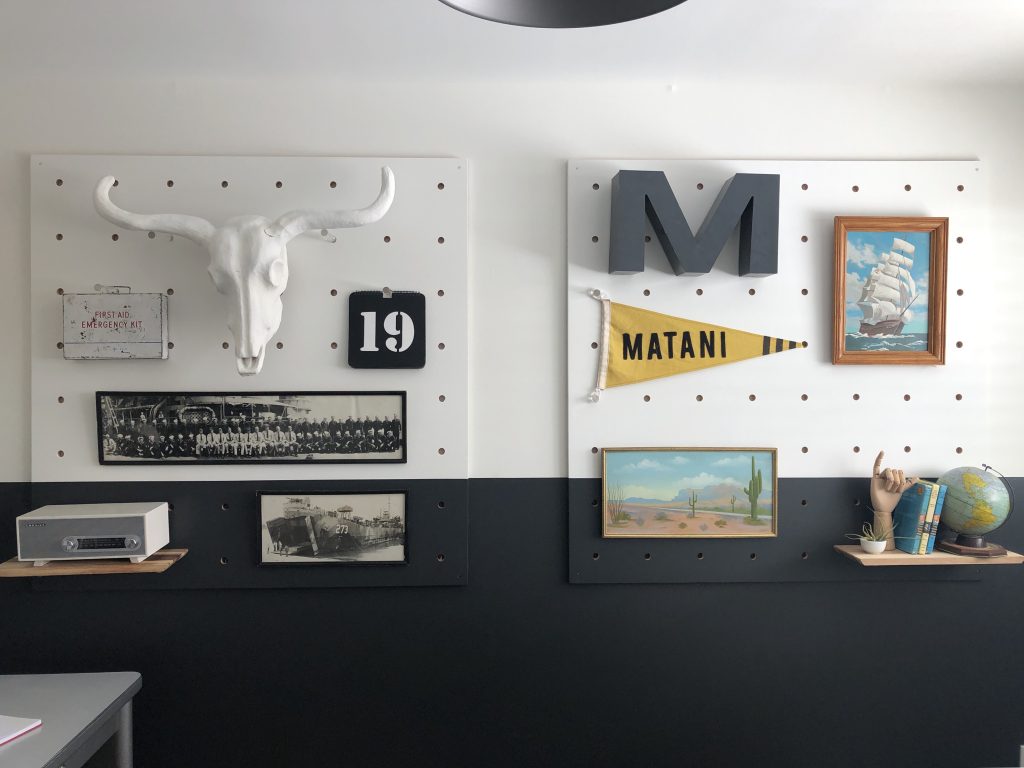
We then made some DIY peg boards. We’ve done pegboards in the past for our basement apartment (here). Not only are the lit (my son’s words) but they are one of the most functional things you can put on your wall. They allow you to move the pegs around so art, decor or collections can be moved around at anytime.
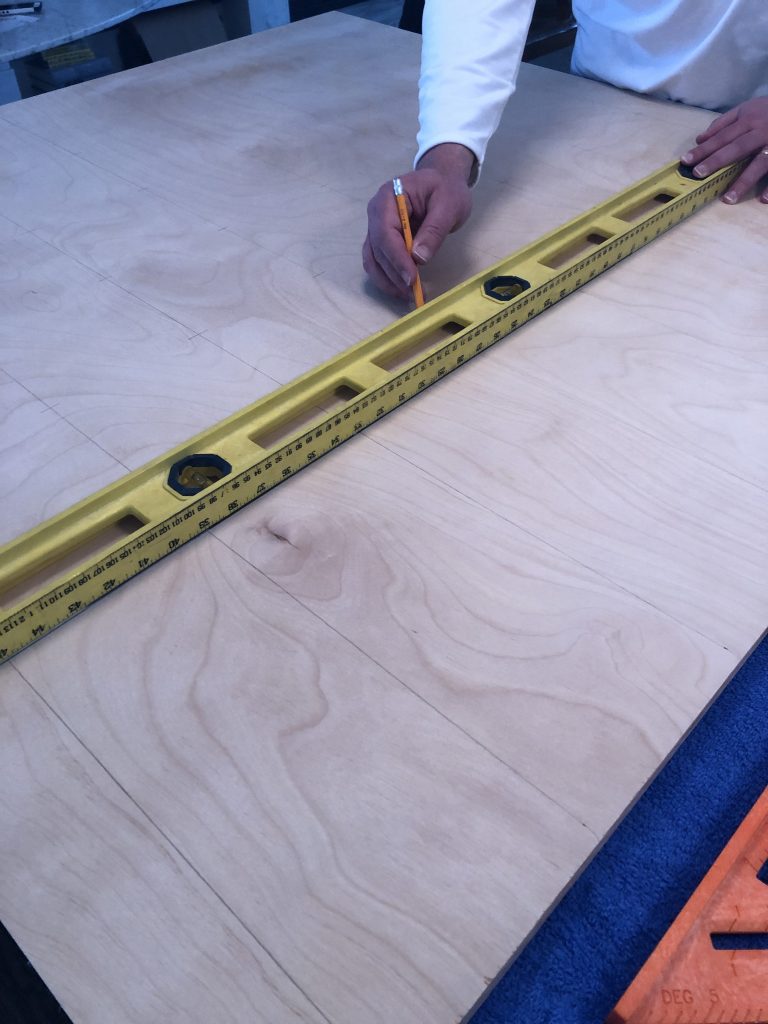
We bought a 4×8′ birch veneer plywood board at Home Depot for around $50. There are less expensive board but I loved the birch veneer look. Home Depot then cut the board in half for free to create 2 – 4’x4′ boards. At home, we measured and drilled 3/4″ holes with a Forstner Drill Bit every six inches.
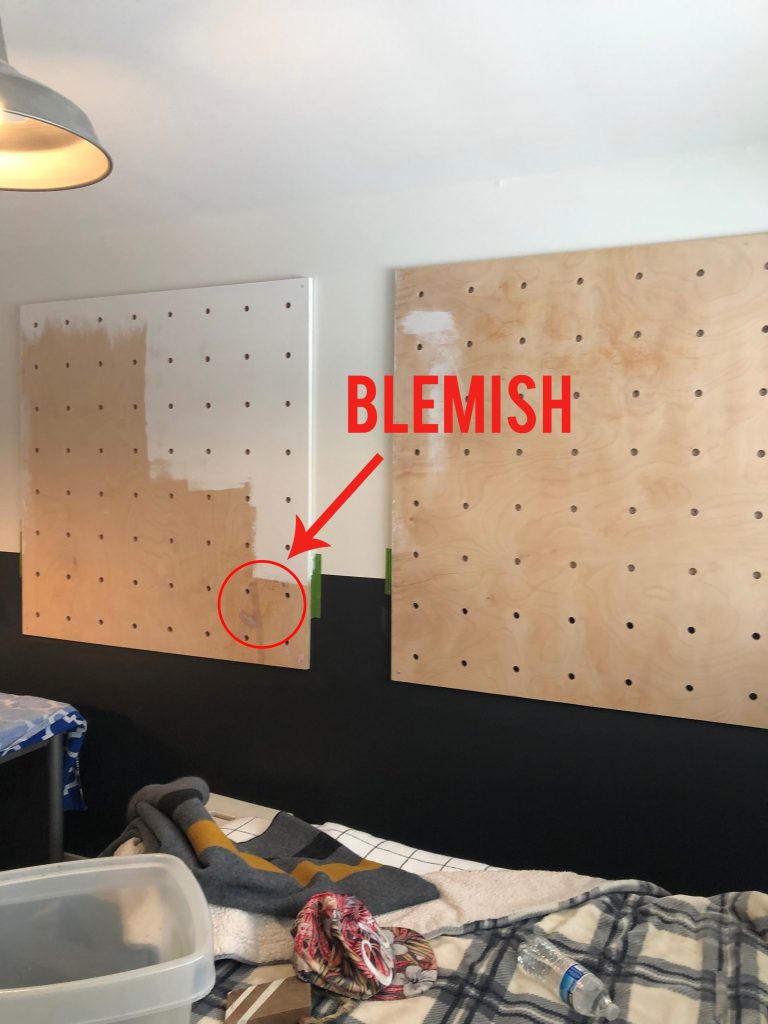
My plan was to keep the birch peg boards in their beautiful raw state, however, we noticed we drilled the wrong side of the board where there was a large blemish on the front of the board. It’s not bad in the picture but in real life it was ugly. Grr. So I ended up painting the boards the same two-tone effect as the wall. It ended up being a happy accident because afterwards I thought they looked way more “lit” painted then raw.
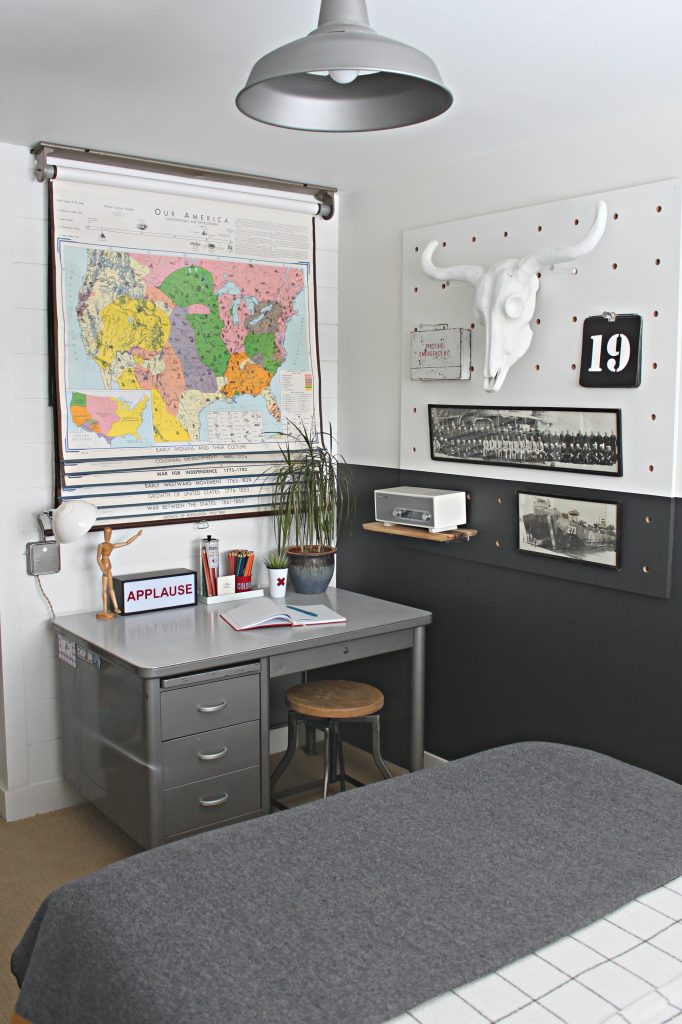
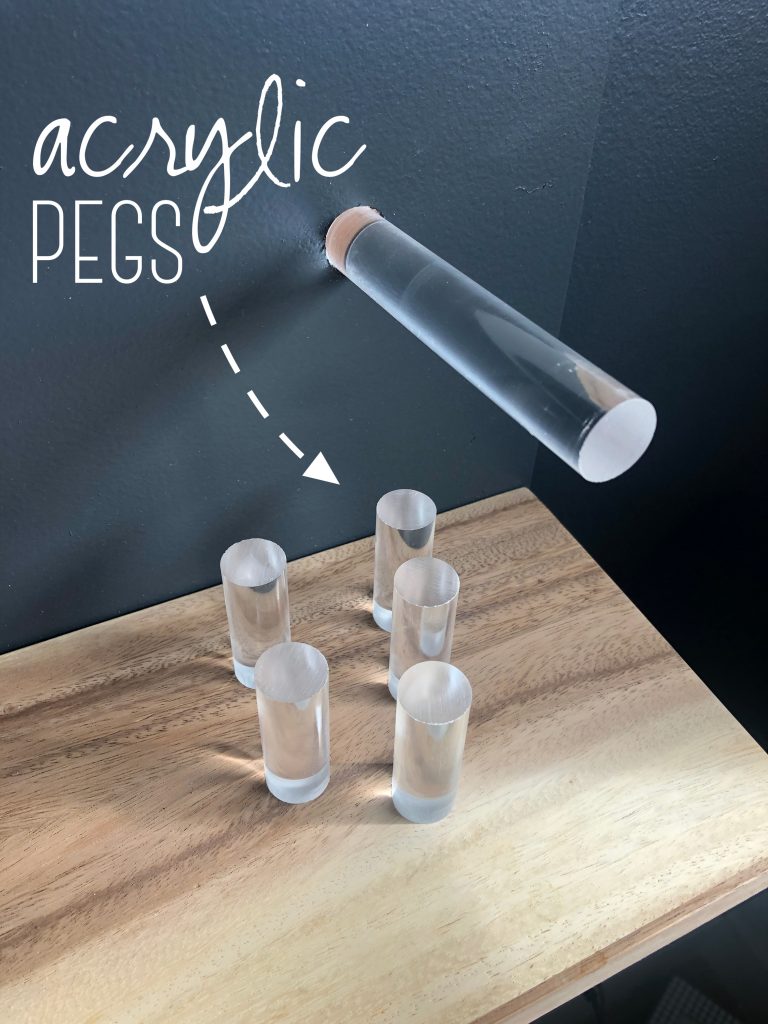
Another detail I experimented with was the pegs. You can buy wooden dowels at the hardware store and cut them down in varied lengths to create your pegs. However, since, I ended up painting the boards I didn’t want the pegs to stick out like a sore thumb. Instead I opted for acrylic dowels and ordered some from Acme Plastics for about $2.00 each.
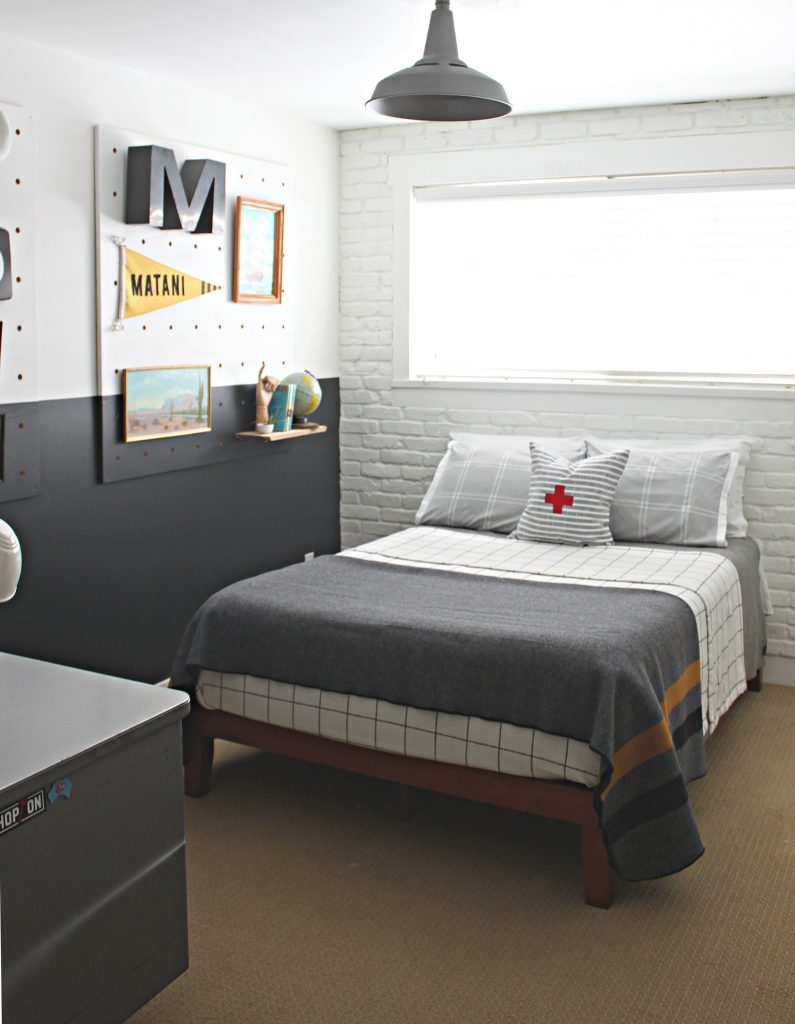
We bought the bed from Wayfair. I’m not usually a fan of bed without headboards but we needed every inch of space possible and this one fit the bill. I love that you don’t need a box spring with it and my son hides all his shoes underneath. I may paint it black or white when the weather warms up but for now it works great and very sturdy.
Bedding: Bed: Wayfair
Pillow Cases: Serena & Lily
Black and white grid blanket: Target
Cross Pillow: Target (I sewed on the red cross)
Gray wool blanket: Faribault
Make sure to follow more of our project and stories on instagram at: @4men1ladyblog


 Hey there! I’m Michelle; I’m an Passionate DIY’er and in constant pursuit of how to bring beauty to my house full of men (3 boys + 1 hubby). Stick around and see what I’ve got up my hard-working sleaves!
Love it! And just wanted to say I’m glad you posted again! I enjoy seeing your ideas. 🙂