I wasn’t aware I’d cause such an uproar when I shared that I was painting over the Birch Tree Stencil wall (Cutting Edge Stencils) over the weekend. My husband wasn’t pleased either. I’ll share what I did with the wall later this week.

I too love the birch trees and couldn’t fully do away with them.
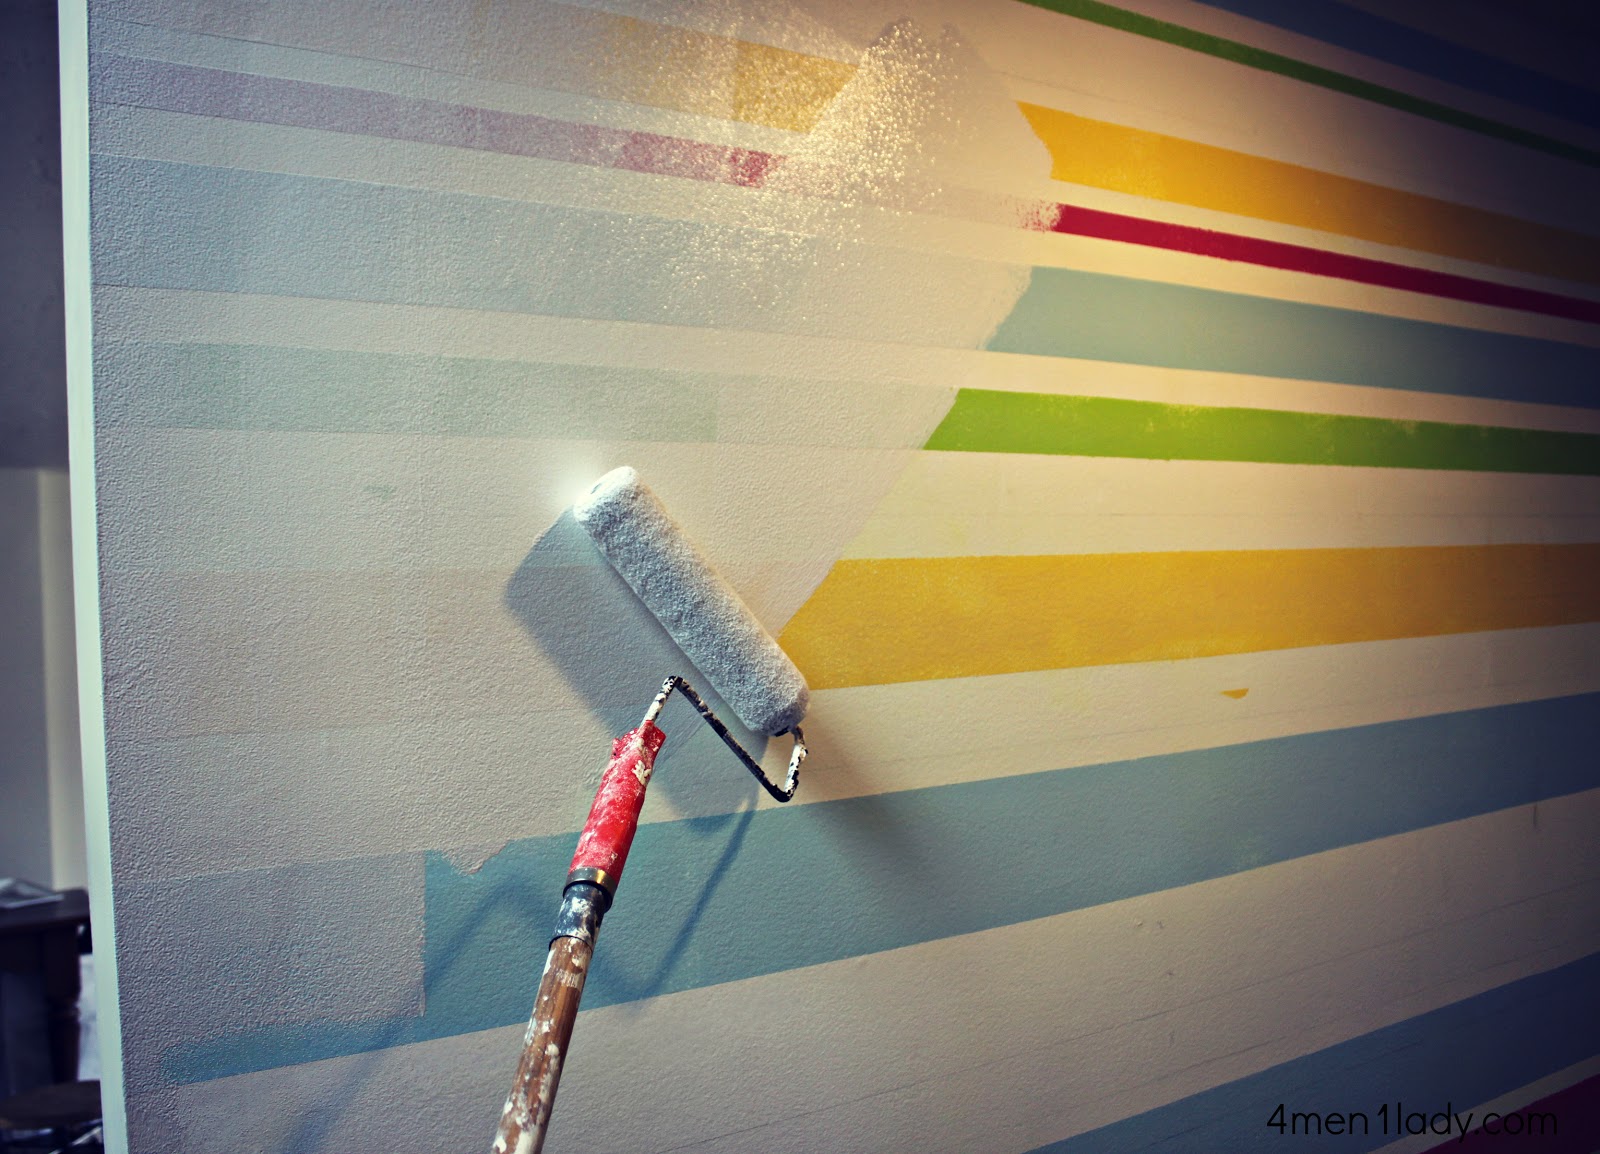
My plan was to stencil over the striped wall going down my stairs instead.
You may remember this project I did over the 4th of July…

Tons of Frog Tape turned in to this…
 |
| Photo by Michelle Rasmussen of Wondertime Photography. |
I tried really hard to like it but it just wasn’t me.
Painting over stripes proved to be much more work than I could ever imagine.
Painting over stripes proved to be much more work than I could ever imagine.
I’m no stranger to striped walls:

What I’ve learned is that you had better make for dang sure you’ll want to keep the stripes long term.
When you paint stripes you produce a raised edge of paint.
If you do a lot of coats, the more pronounced your edge will be.
I tried a new brand of paint which ended up to not be that quality. Consequently, I had to use more coats to get good coverage. As a result I was left with a sharp edge. So the moral of the story…use a good quality paint (and Frog Tape).

The only way to get rid of that edge is either sand the heck out of it or apply a thin set coat of drywall mud over the entire wall.

I sanded and sanded and sanded for HOURS.
I made a huge mess of dust everywhere (this pic is after the 4th clean up).
(Make sure to where a mask or ventilator.
Be extra careful about sanding paint that may be lead based paint which has terrible health effects).

I finally thought I had sanded it all down.
But I didn’t.
I’m convinced that the only way the sanding option works is if you completely sand the paint off the wall.
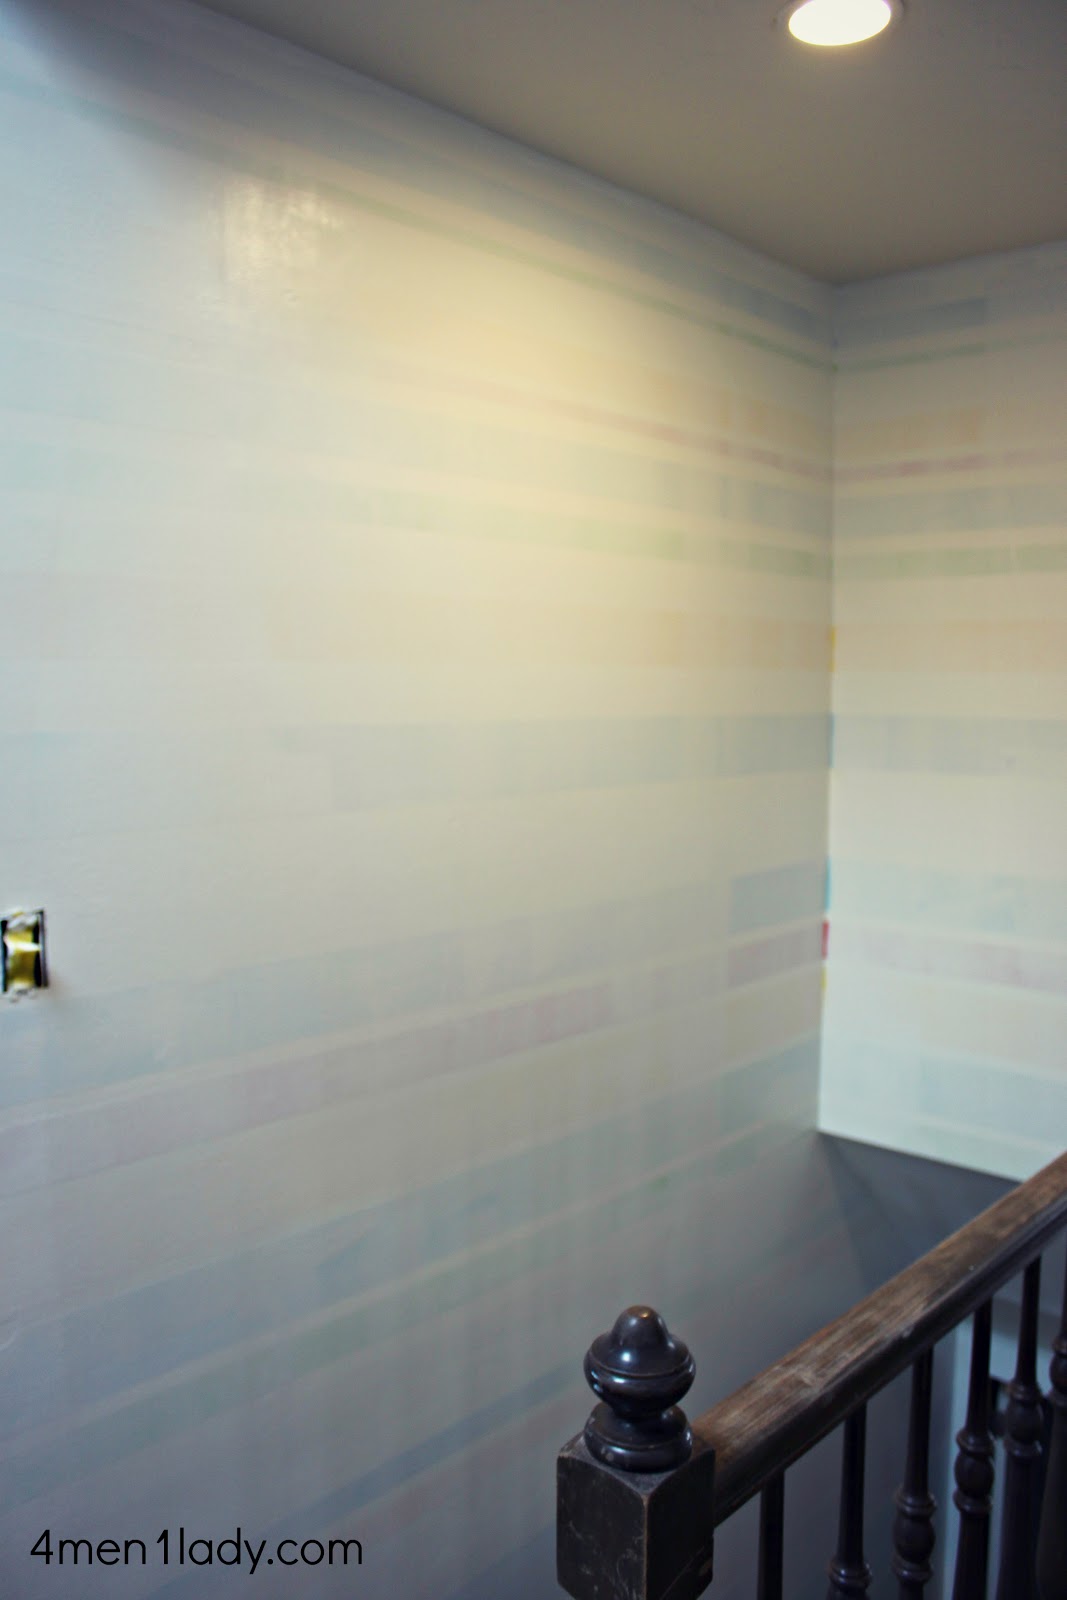
It took 4 coats of primer to make those stripes disappear.
Unfortunately, I can still see evidence of the stripes. The color is gone but the surface shows that a stripe was once there. After I stenciled it was less noticeable but if I ever decide do something different with the wall (which I’m prone to do) I’m sure I’ll need the wall to be skim coated with mud.

I originally opted to go black for a dramatic effect but it was too dramatic.
So I primed and painted AGAIN and went for gray.
The Mr. and the boys went to a grandma sleepover which allowed me to work well in to the night.

Finally done at 1:23am, doing the one-armed, self portrait.

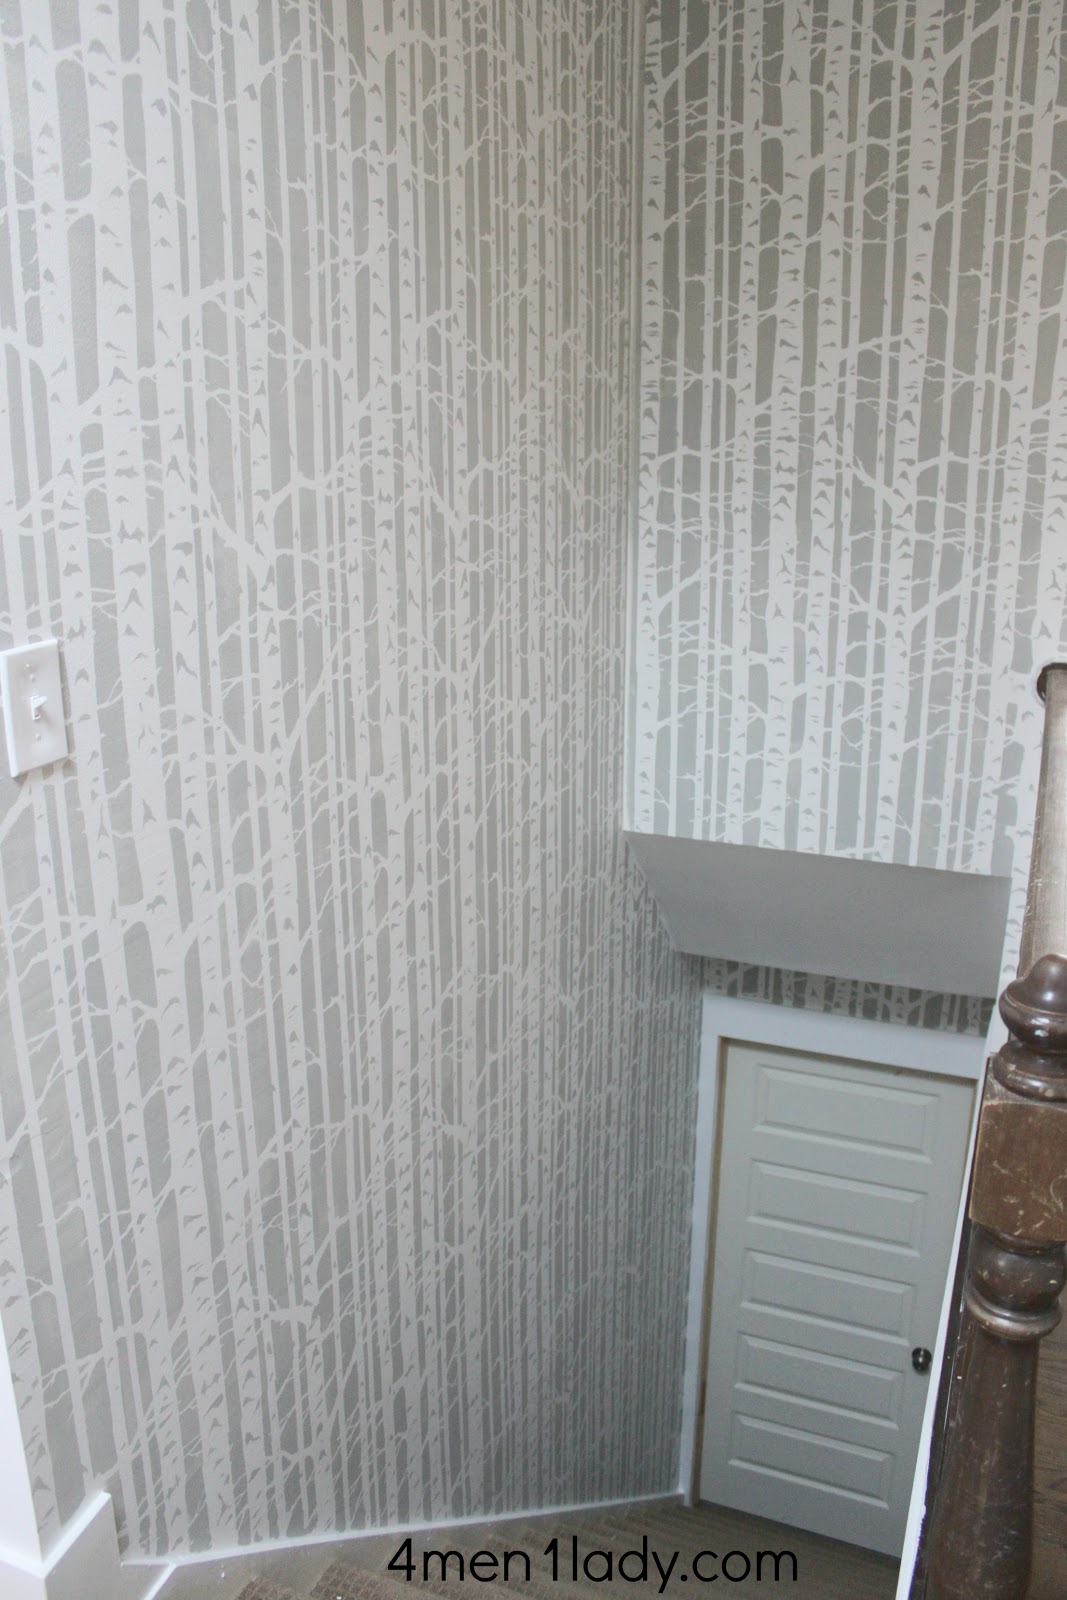

Next up…that banister.


 Hey there! I’m Michelle; I’m an Passionate DIY’er and in constant pursuit of how to bring beauty to my house full of men (3 boys + 1 hubby). Stick around and see what I’ve got up my hard-working sleaves!
I know all about painting over stripes. I too participated in that “fun game” this weekend.
But the birch looks GREAT going down the stairwell. It really makes it look bigger and taller. And overall more beautiful 🙂
Hi Michelle!
I’ve been a follower of your blog for a few months now. IDK how I found it, but you have inspired me to try a stencil in my own home. I’m looking for a light grey and I think the grey paint you’ve used is perfect! Do you mind sharing what brand/color it is? I’ve bought 3 different cans of gray paint and none of them seem right.
Thanks!
Ari
Such a huge job you’ve done there!!
I wanted to participate in the uproar about painting over the tree stencil but I couldn’t see through my tears to type comment! I can now dry my eyes knowing the birch trees live on. Well done.
I can’t wait to see what you do with that wall next. Seriously. I already know I’m going to copy you and I dont even know what it is yet.
Wow that is amazing. I know it can be hard to paint over something as terrific as that wall paper, but when you crave new, you crave new. I can totally relate to that 🙂
Girl you are committed!! I think I would have given up on painting over the stripes. Well done- it looks amazing!
SHUT UP! that’s a stencil! I want it, I want it..where did you find this?
Wow so much work!!! I really liked the birch trees on the other side of the walls, but I’m looking forward to see what you did on that side.
As for the stair-well, very cute!! I like how it turned out!! 🙂
all that hard work paid off it looks SOOO GOOOD!!! I love the gray and white!!
So so so much work but it looks fab! Not sure how you find the energy.
OK, seriously … where do you get your energy from? I can’t believe you painted over the old birch wall, sanded off those damn stripes and made a whole new birch wall! I’d have passed out 2 hours into that project! Looks great though.
Oh Michelle! What a ton of work…I just painted stripes in my little one’s nursery and immediately hated them. Didn’t even post them on my blog, I hated them that much….It’s been 2 weeks and I was going to prime today….Ugh! So much work and I don’t want to sand. But, wow! The stair wll turned out pretty fantastic!
I have no idea how you had the patience or stamina for both the repainting and the stencil but it looks AMAZING
Wow Michelle!! The stair wall looks great!!! I wish I had half of your energy and patience and quarter of your talent. Waiting to see what you do to your living room wall.
I’ve been there with all the sanding! I really like what you’ve ended up with.. the grey is perfect. You are a work horse!
I love this! And I’m so impressed with your dedication – I would have gotten so frustrated!
Wowww, this looks amazing girl! Great job.
Checkout my Gift Guide for men!
Jenn
apopofstyle.blogspot.com
What a relief!!! I thought your were getting rid of the “birch wall” treatment all together! Love, love your stairwall now more than ever! Just wondering Michelle, what color are you choosing for your banister? Great job as always!
Whew! As long as you kept that stenciled wall SOMEWHERE in the house…cuz I LOVE it!!
LOVE IT! It totally sucks about the stripes but I’m glad the trees live on.
Wow- that turned out great. I don’t think I would have had the courage to paint over the stripes but it turned out fabulous! Can’t wait to see what you did with the other wall!
Michelle,
Love it! What a better choice for the birch wall on such a large wall!
I can’t wait to see what you did on the other side.
You should be very proud. Awesome.
Looks amazing! I am glad it all turned out in the end….after all your hard work, I am sure you are very happy!
Wow…all’s I can say is WOW…you are something else Michelle, in a good way!!! So inspired by your gumption… 🙂 Janice in Oro Valley
Oh, my, I’m exhausted just reading this. Exhausted. The birch trees look fantastic in the stairwell but WOW! I never thought about the difficulty painting over stripes before. Guess I’ll never reprint my boy’s striped bathroom! Can’t wait to see what you did with the long wall.
So you were right and I was wrong. I like the trees going down the stairs way better then the stripes and way better then on the wall in the living room. It is really interesting in that space. Where is the stencil from?
Have to admit, LOVE the stencil way more than the colorful stripes. And I hear your about the lines. We did circles in our littles ones nursery years ago….Sanding for hours along with with skimming and there is still evidence that there were once circles on the wall. The stencil looks fabulous though! And I think it fits better with the over all feel of the house, more so than the stripes you had.
Hi Guys…
Thanks for your kind words. Stencil is from Cutting Edge Stencils called Birch Tree Forrest.
It turned out great! Can’t wait to see what you do next.
Hi Michelle,
So I’m just curious why you painted over the birch stenciling you did on the other side of the wall. I think it would have gone great with what you did on the stair case. It would have flowed lovely from one side of the wall to the other. It would have been a nice surprise..Just curious why?
I love it. You have always been the Queen of stripes but I like this much better! Could you share what kind of latter you have? I need one like that to paint my landing on my second story stairs….Please???
What kind of latter is that????
Have you heard of citristrip!? I’m sure you have but It works great on projects like these it removes paint leaving walls smooth and it is low odor! You should give it a try! Love all the stuff you do!!