This is a sponsored post by HomeAdvisor. All thoughts and opinions are 100% my own.
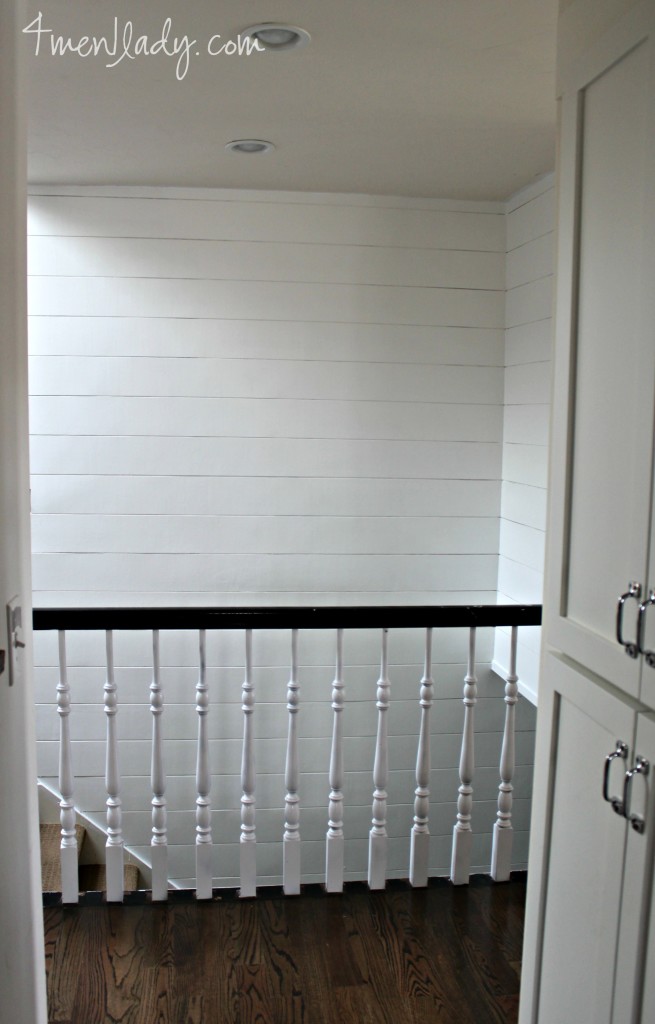
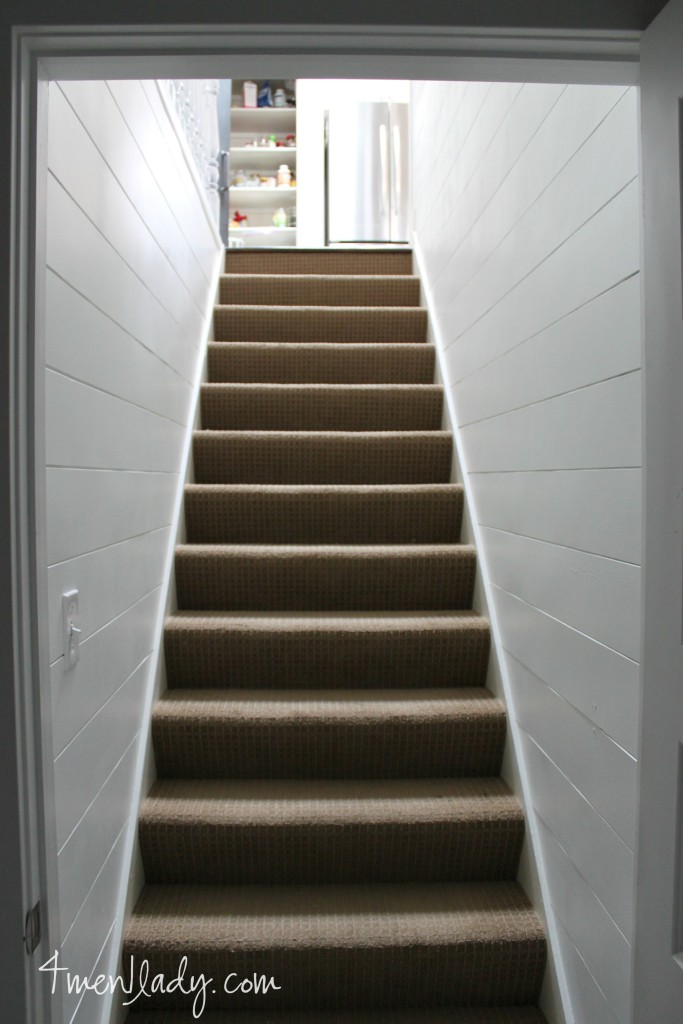
Last week I gave you an in-progress peak of how our plywood plank wall project was coming along that HomeAdvisor sponsored.
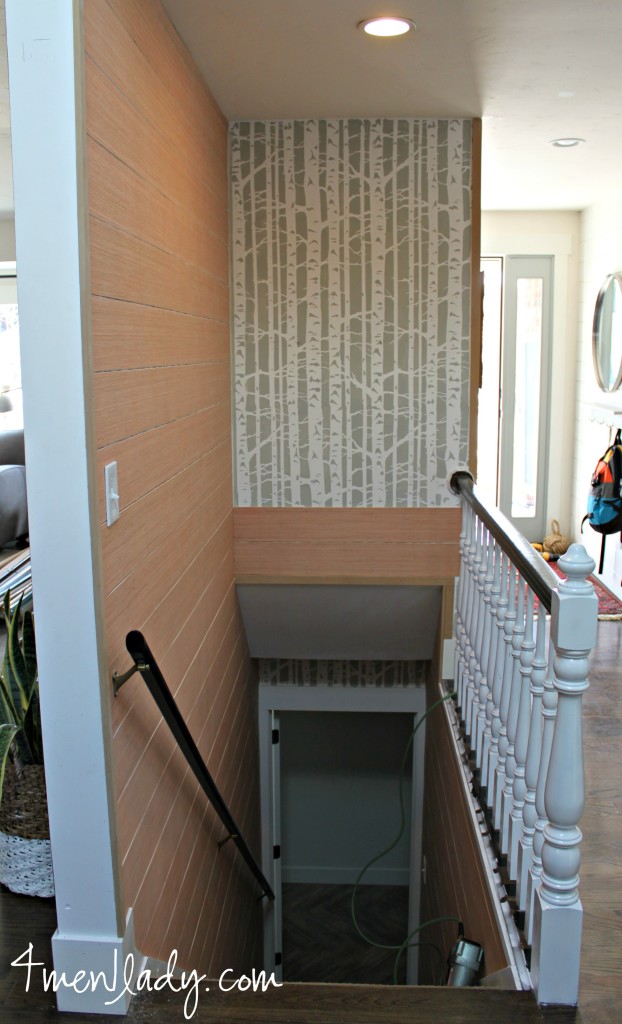
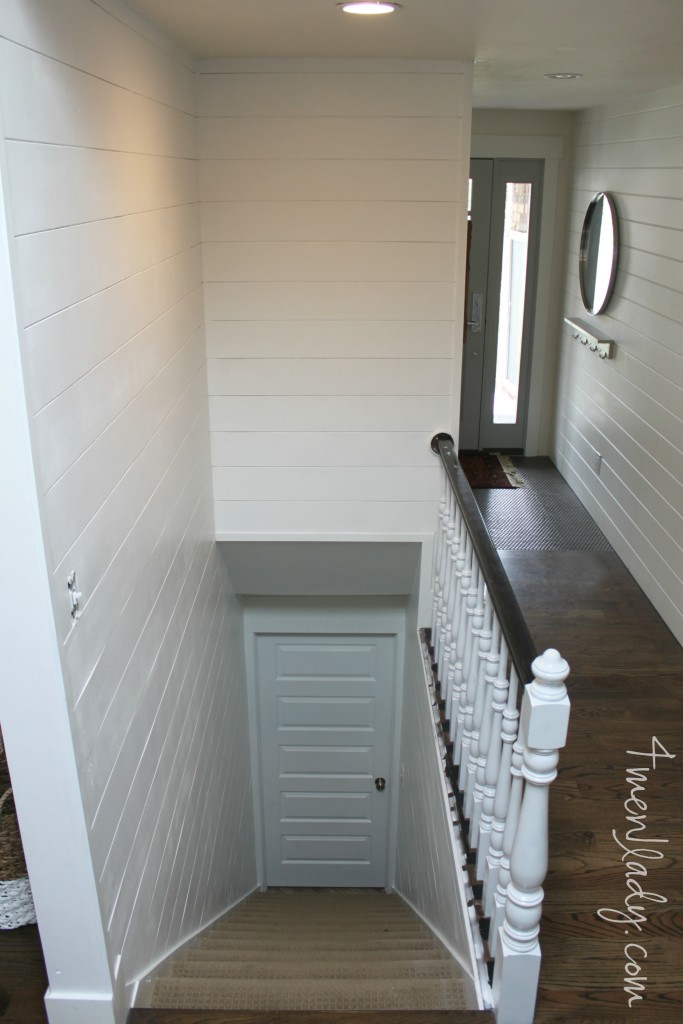
Now that my new friend Nathan was done with his part of the install it was my turn to take over. It was quite a doozey but I balanced a ladder on the stairs and filled nail holes then got it all painted. One thing I learned the hard way was that I should have painted the wall prior to installing the boards. I honestly thought the cracks would be so small that the stencil wouldn’t show through but it did. Getting enough paint on my brush and jamming it in to all those cracks was a major task. Note to self…paint the wall underneath first.
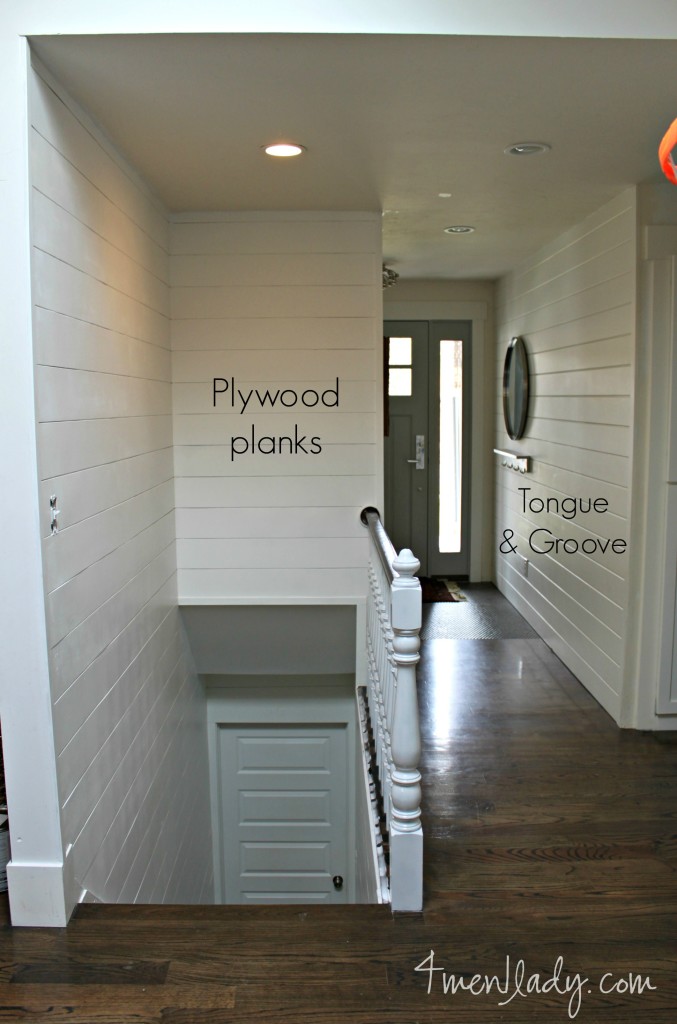
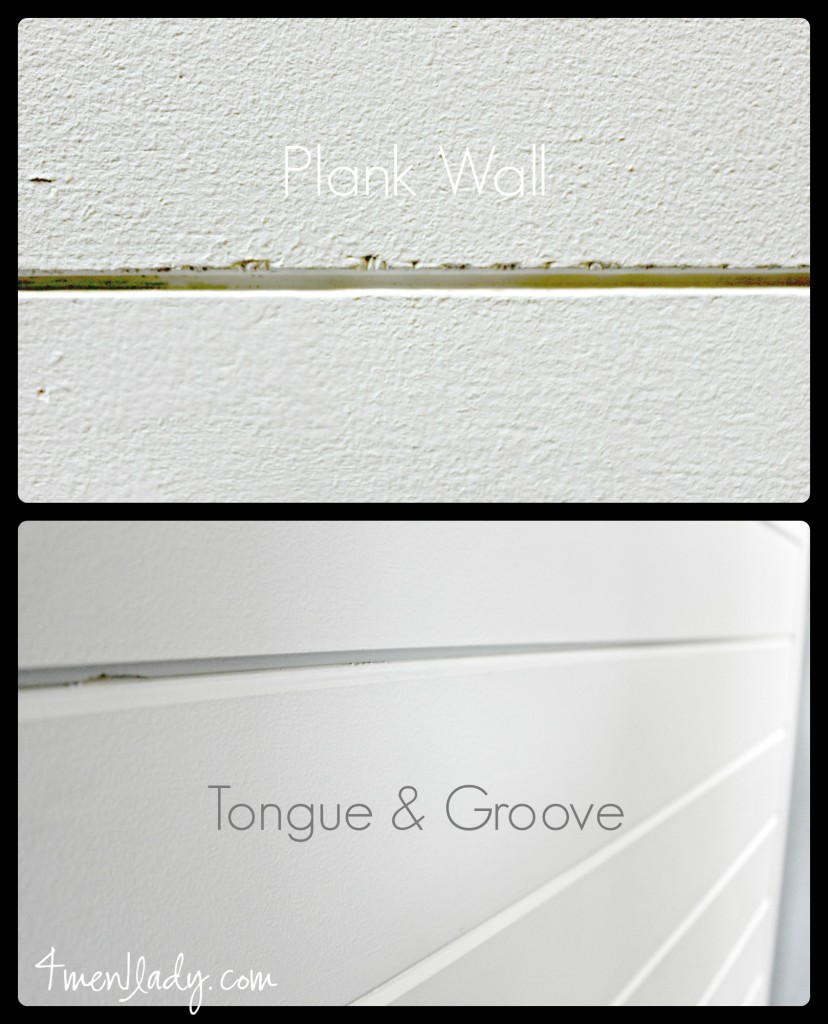
Having a sheet of plywood cut down in to planks was a lot cheaper than using tongue and groove boards like we did in the rest of the house but there are some big differences.
You probably wouldn’t notice there were two types of materials in the house but if you compare the two you’d see some differences.
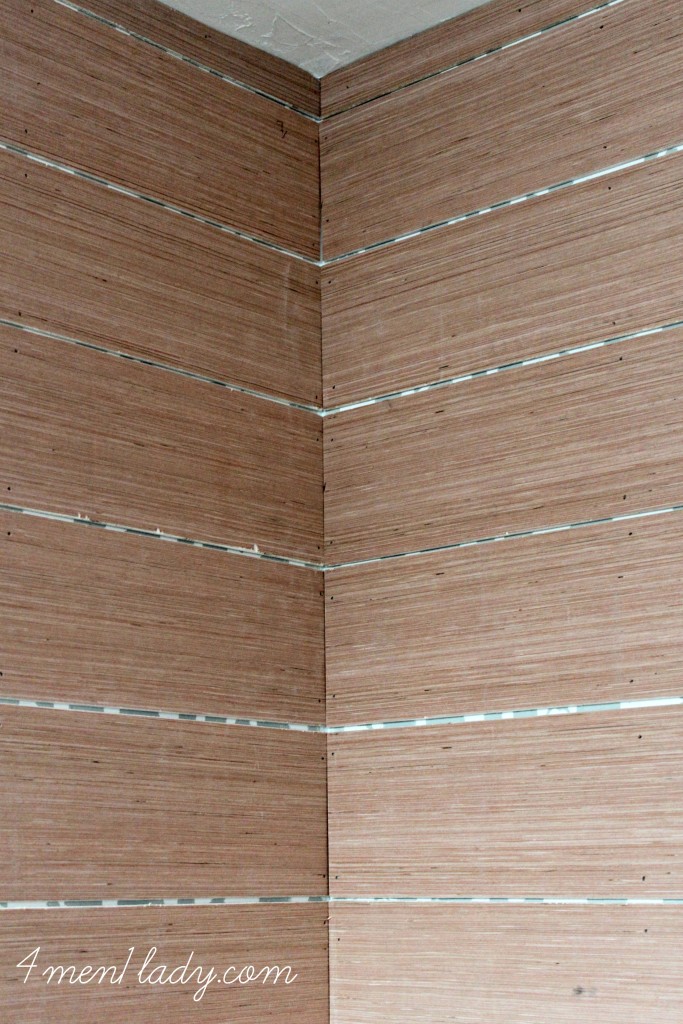
The plywood planks have a much rougher surface and the edges can get a little jagged when they are cut down. It’s not a big deal if you’re going for the slightly distressed look. I tend to like things a little more clean and smooth so I prefer the tongue and groove. However, I saved so much money with the plywood boards that I can easily overlook it.
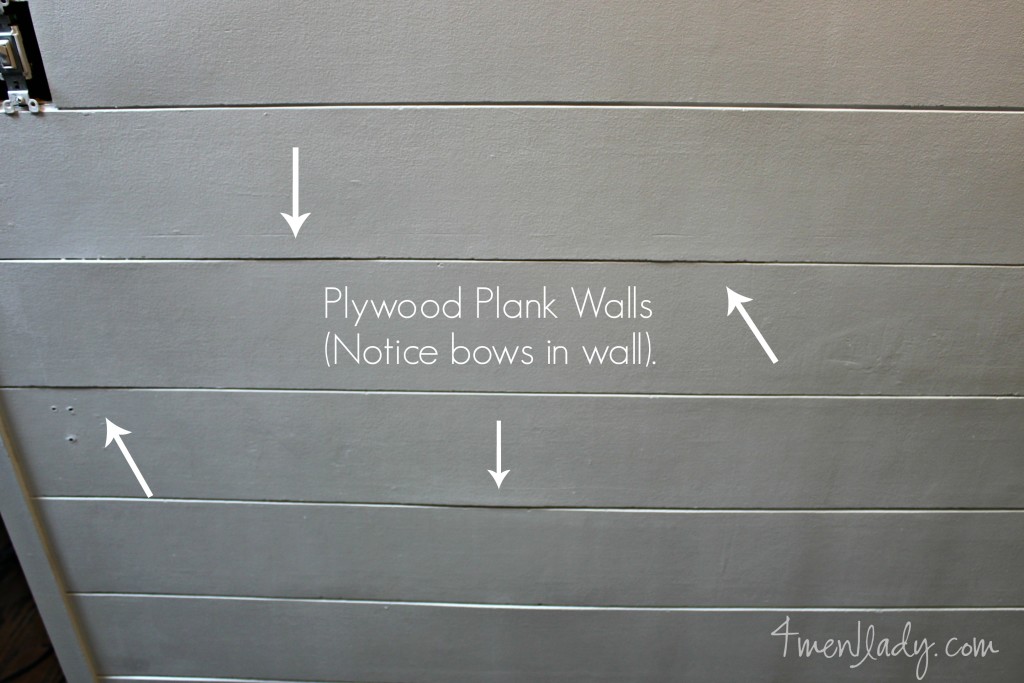
Another issue with the plywood planks is that they ten to bow a bit. Again, you would probably never notice but when you take a part in the install you notice everything.
One way to try and alleviate this is to glue the boards down in addition to nailing them down. I was worried I would say in 10 years, “Remember that year when planks were big?…” and want to rip them out, which is why I opted not to have them glued down. Filling a gazillion nail holes is one thing…repairing damaged, glued drywall is another.
Now that it’s all done I am SO glad I hired out the install of the planks themselves. It was just such a major job which would have taken me weeks to do with my little men. I lucked out with finding a superb guy on HomeAdvisor and would highly recommend giving them a try next time you need a home improvement professional.
HomeAdvisor also just launced their new True Cost Guide which is an interactive tool that helps you get an idea of how much your project will cost you by comparing averages of local and national jobs.
Check out our previous post on the install here. Paint color: Silent White by Clark & Kensington.


 Hey there! I’m Michelle; I’m an Passionate DIY’er and in constant pursuit of how to bring beauty to my house full of men (3 boys + 1 hubby). Stick around and see what I’ve got up my hard-working sleaves!

It looks so good! I’m loving planked walls lately!
It’s such a great way to give interest to just a white wall. Thanks Bethany!
Looks good! With DIY projects, I try to remember that ‘many will see but few will notice’. No one will probably notice any of the plywood issues except you 😉
You’re so right Jen. I’m sure I will be the only one who notices. Thanks girl.
Love both your walls! I just found your blog so have some snooping round to do 🙂 I am wanting to do plank a wall also. I love this post as you show the close ups and differences between the two methods. Thanks! Do you think that with plywood version of the boards were shorter than they would not bow as much? I want to save money but love the look of the tongue and groove 🙂
Thanks Marilyn. One of the reasons they bowed is because the wall behind is terribly uneven…can’t get around that. But I also think the installer wanted the edges to fit perfectly so made them a hair to big which may have also caused that.
I wouldn’t have even noticed they were bowed until you mentioned it!
Are you going to hang some art up over it?
The planked walls look so clean and fresh! I love the detail they bring while enhancing your entry, hall, and stairwell. You have such great interior design sense & courage to try new things & get projects done!
That looks phenomenal! Curious, what size nails did your handy man use? Gonna try it in the kitchen after we case around the windows