Yesterday morning Salt Lake City woke up to 14 inches of pure mountain powder.
Beautiful indeed but awful for driving.
(Did I ever mention I wrecked my dad’s car when I was 19 in the snow storm of the century? Suffice it to say, I’m a little nervous driving in the snow).
Instead of run errands I called it a snow day and spruced my house up for the holidays.
One of the things I threw together was this holiday sign that was completely free.
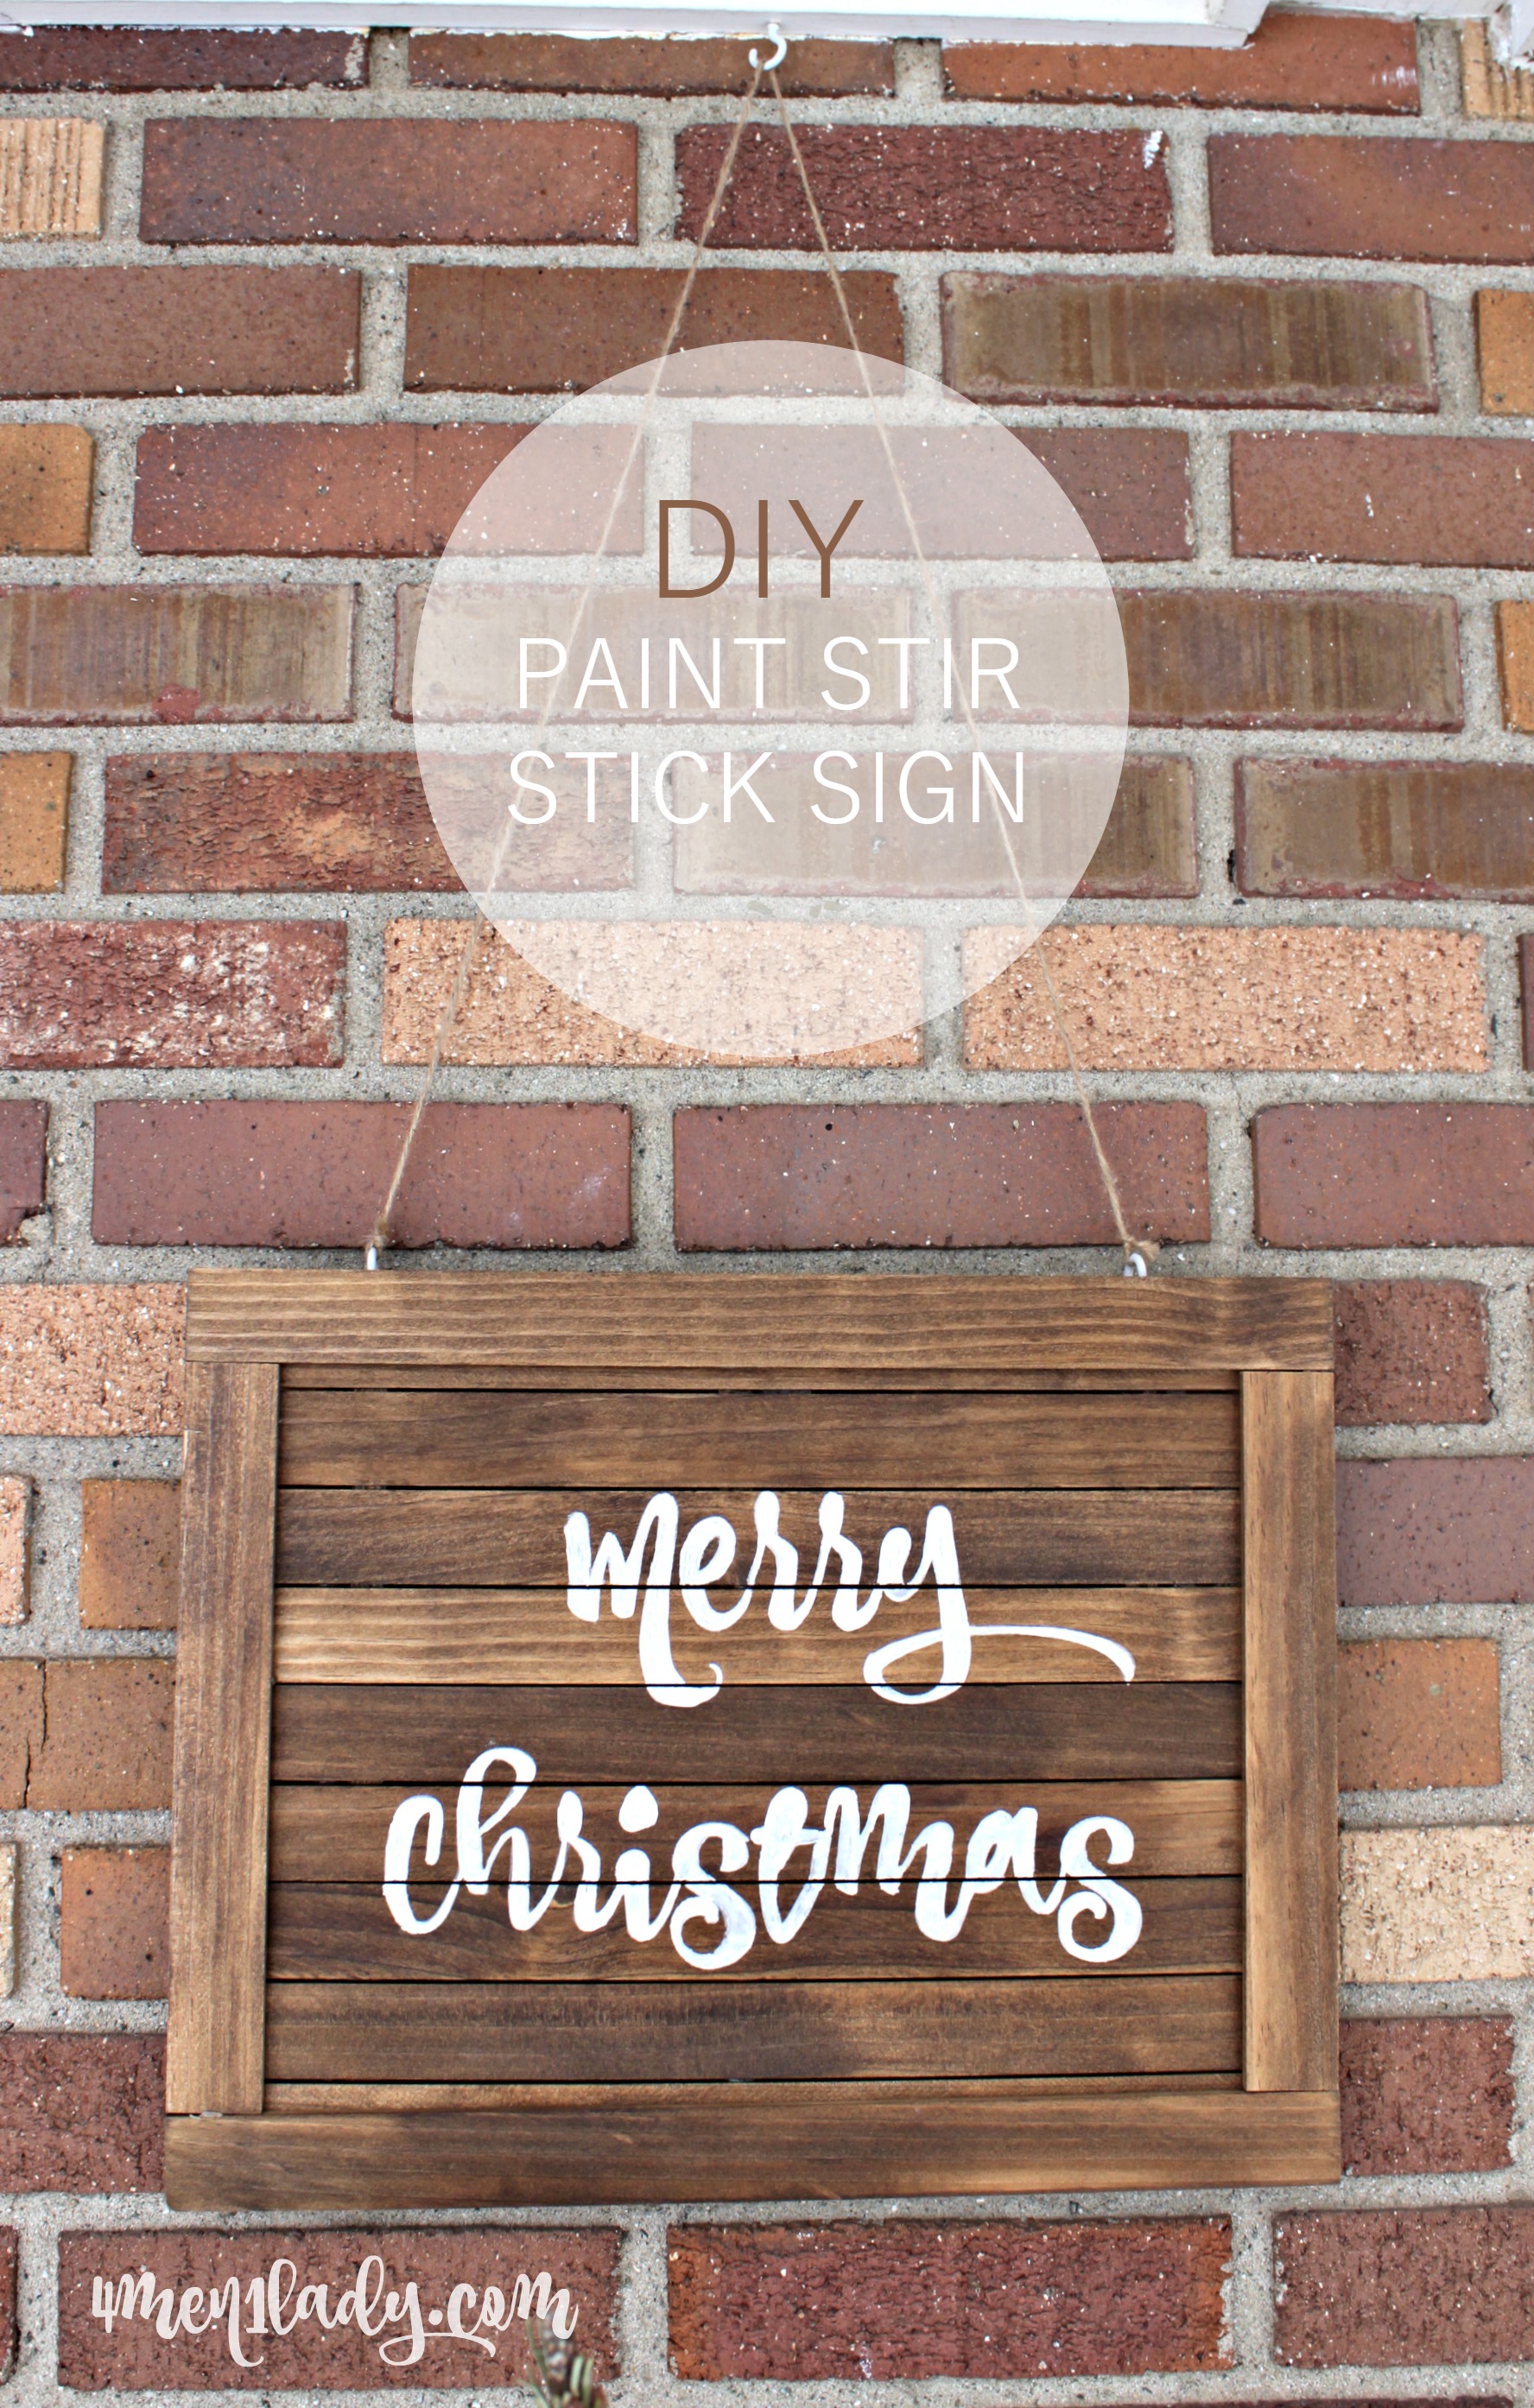
You heard me right…F-R-E-E. I had all the supplies laying around in my shed and you probably do too.
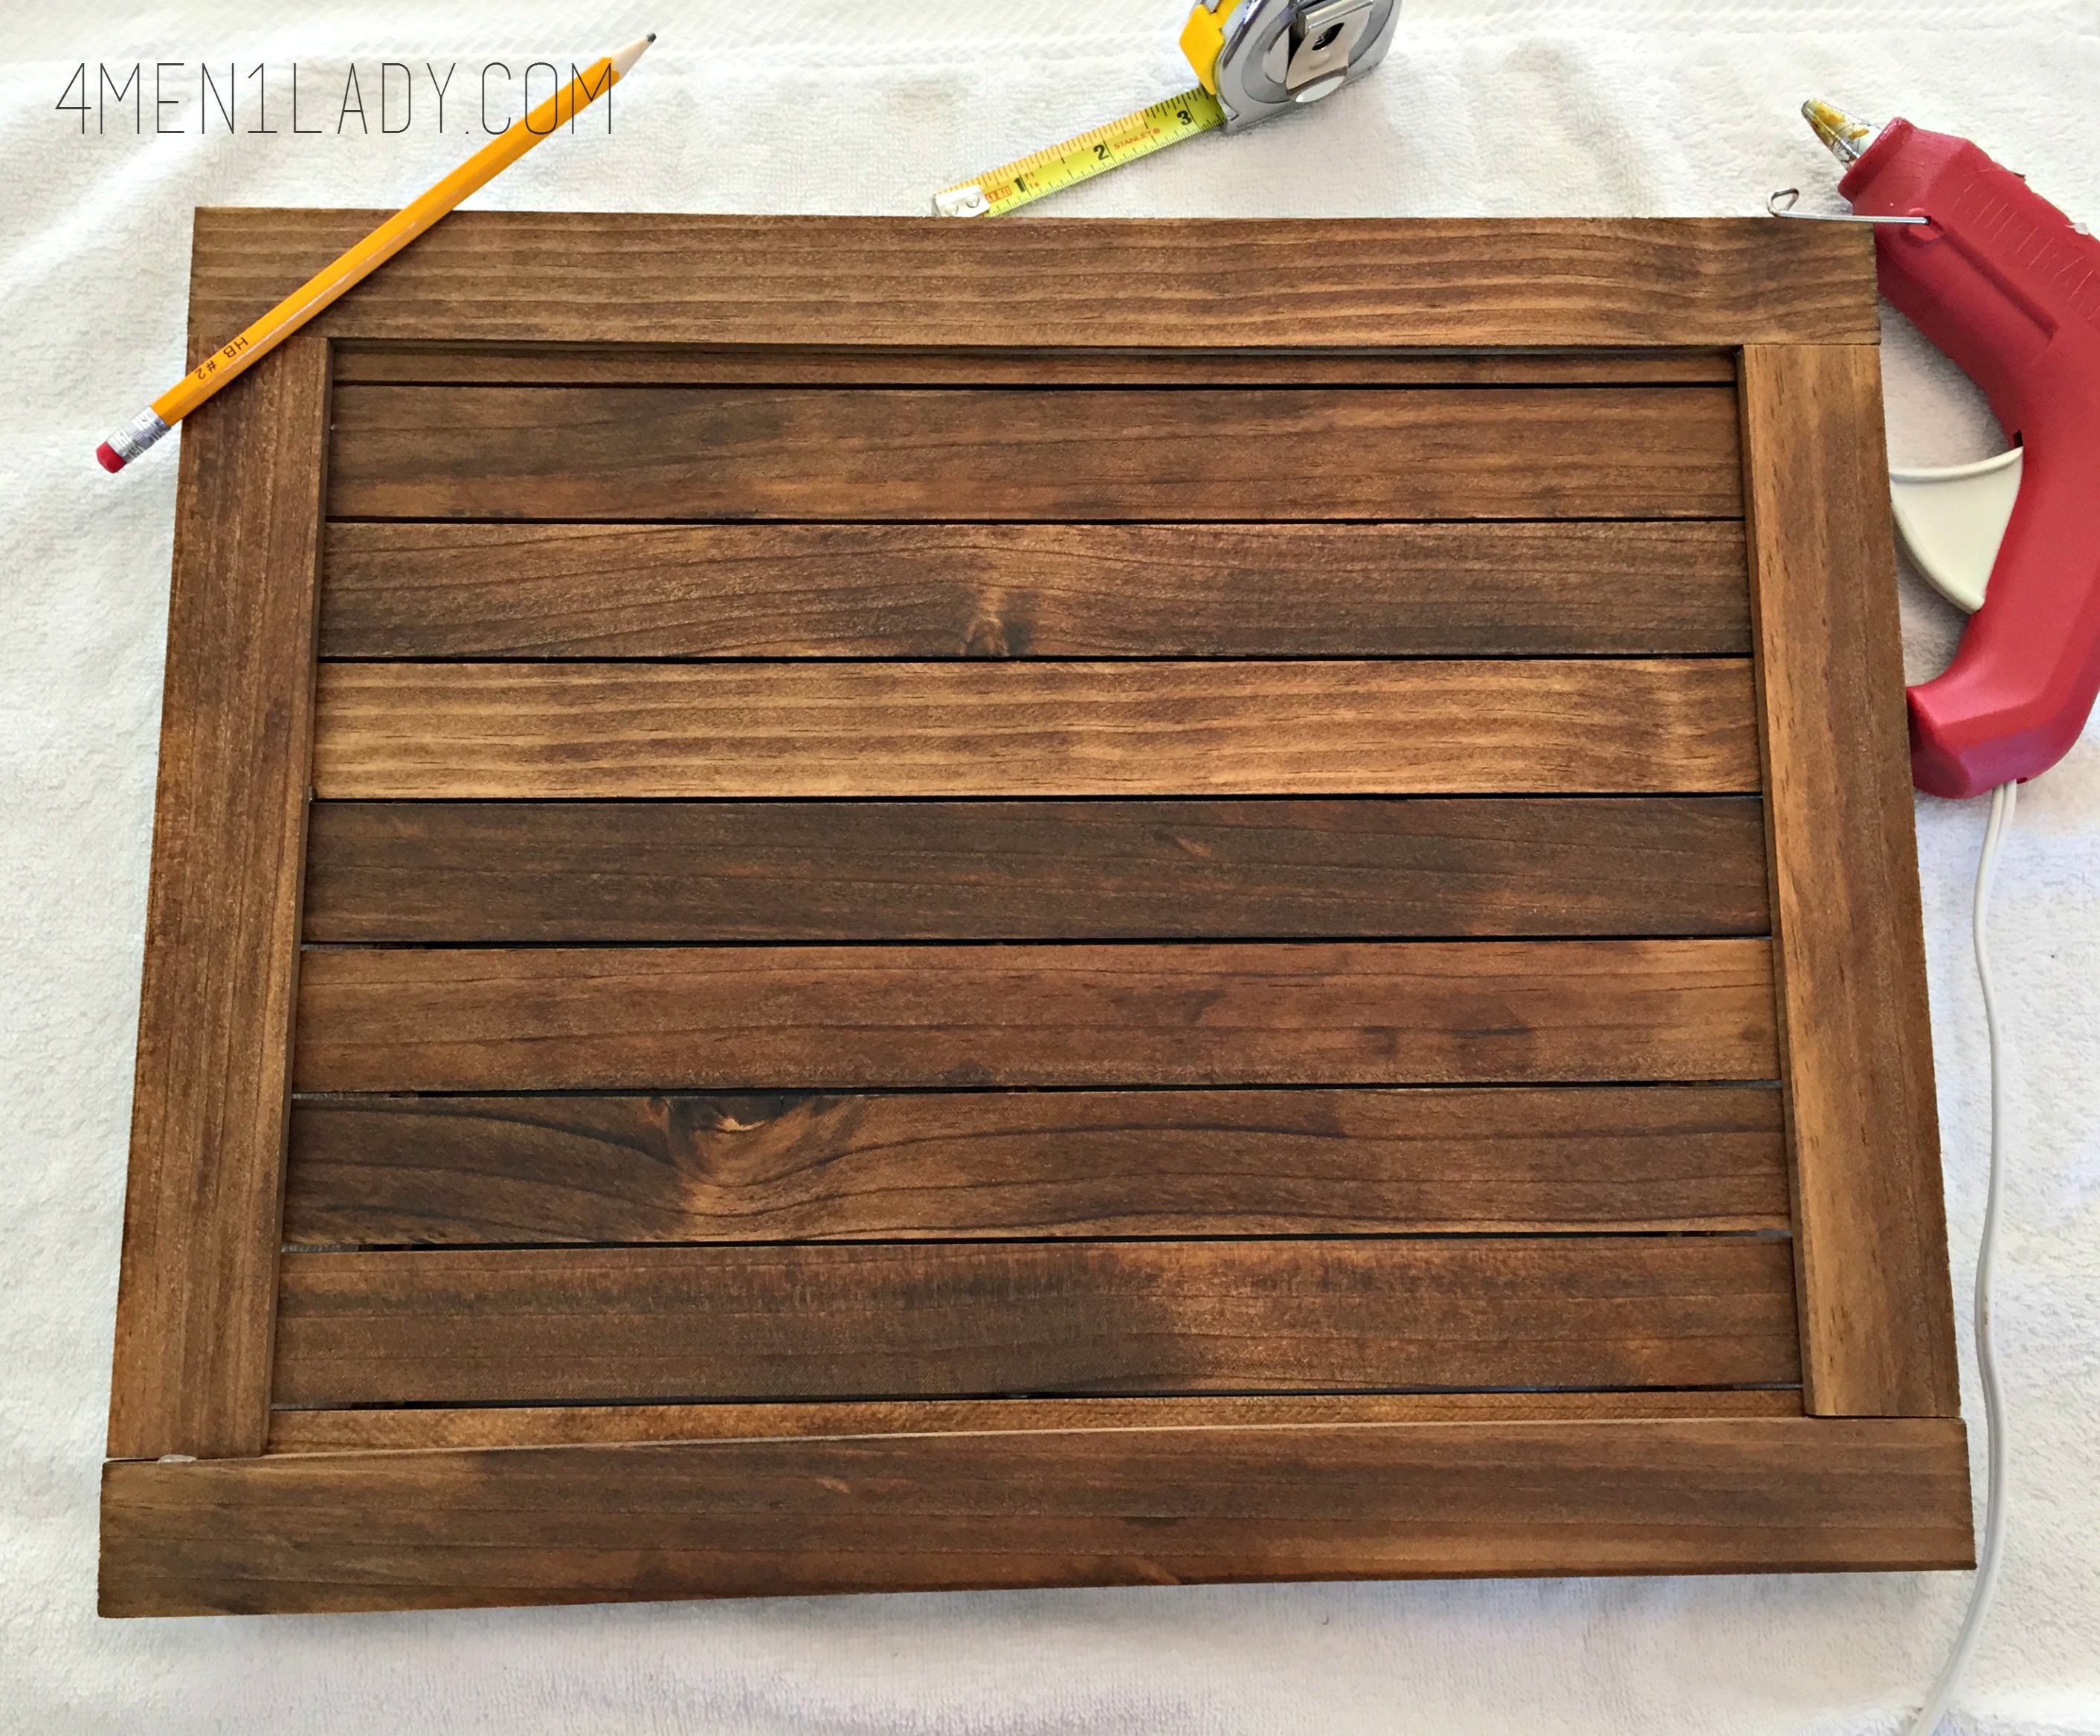
99% of this sign is made from paint stir sticks and guess what…? Even if you don’t have paint sticks laying around the house…they’re free anyway!
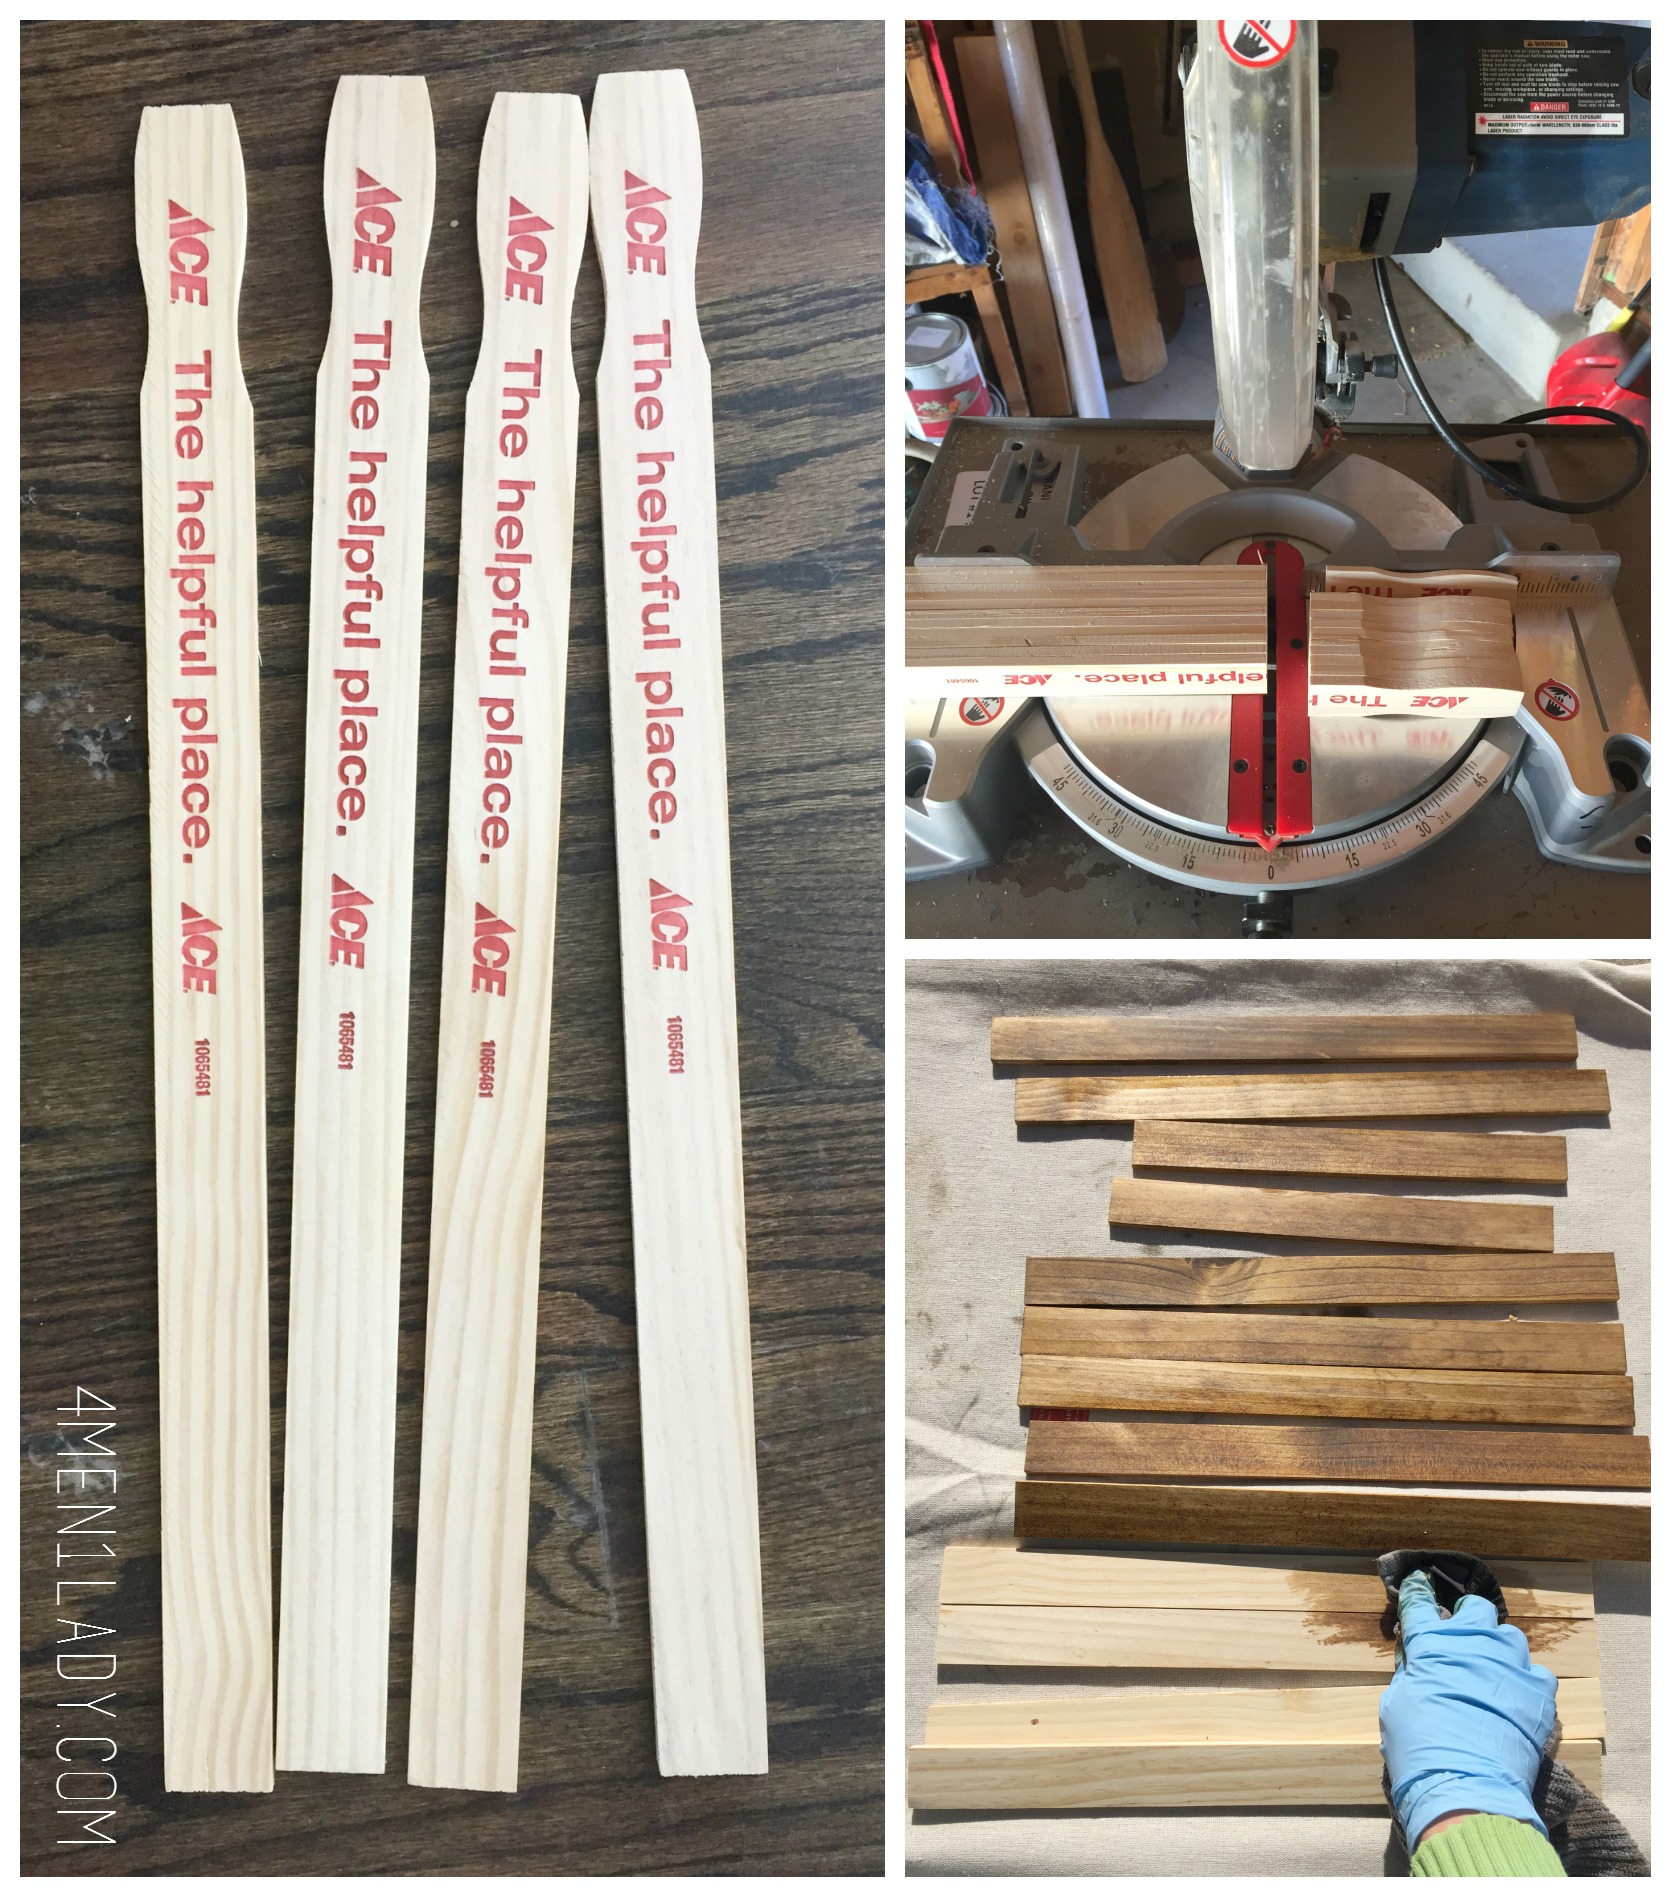
I used the large size stick from ACE Hardware and I highly recommend them. Not all paint stir sticks from hardware and/or paint stores are made alike. Some are made of some kind of squishy fiber board that doesn’t even feel like wood. But these ACE sticks are quality.
– The first step is to determine the size you want your sign to be.
-Next, cut the curvy ends off. I used a miter saw to do this.
-The optional step is to stain or paint the sticks but you can leave them bare too.
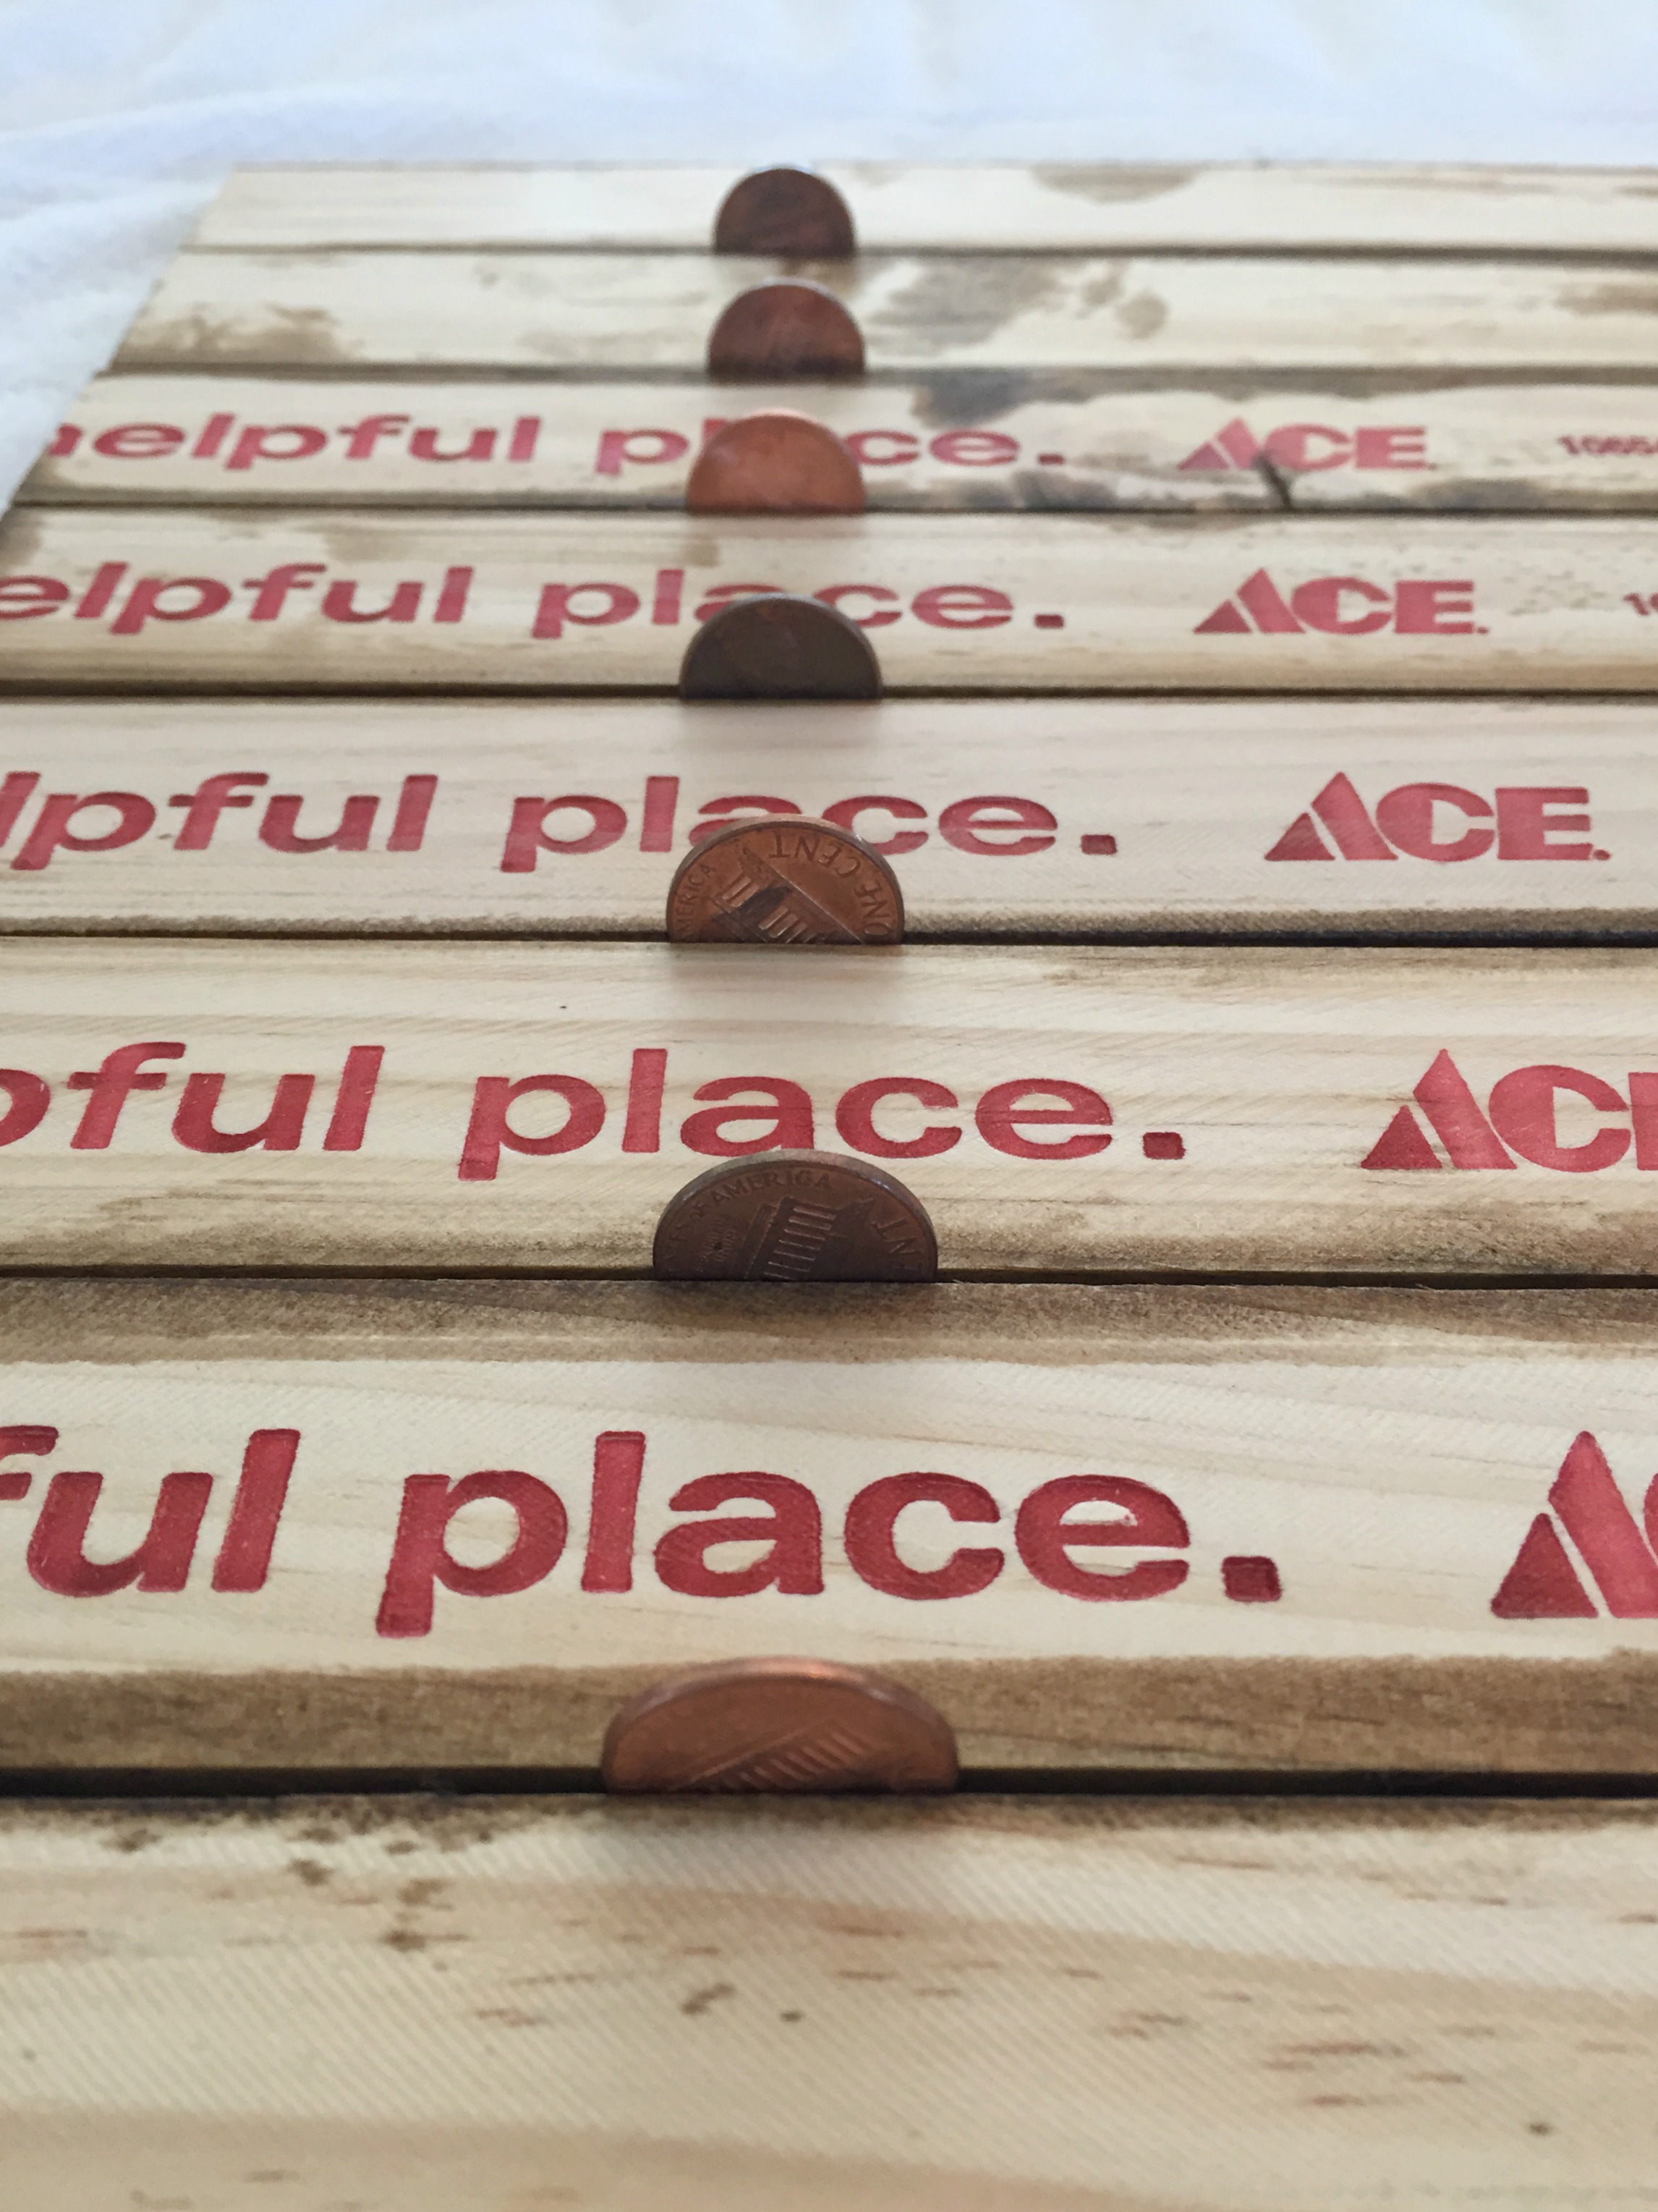
-Determine how much space you want between each stick. I used pennies to space them.
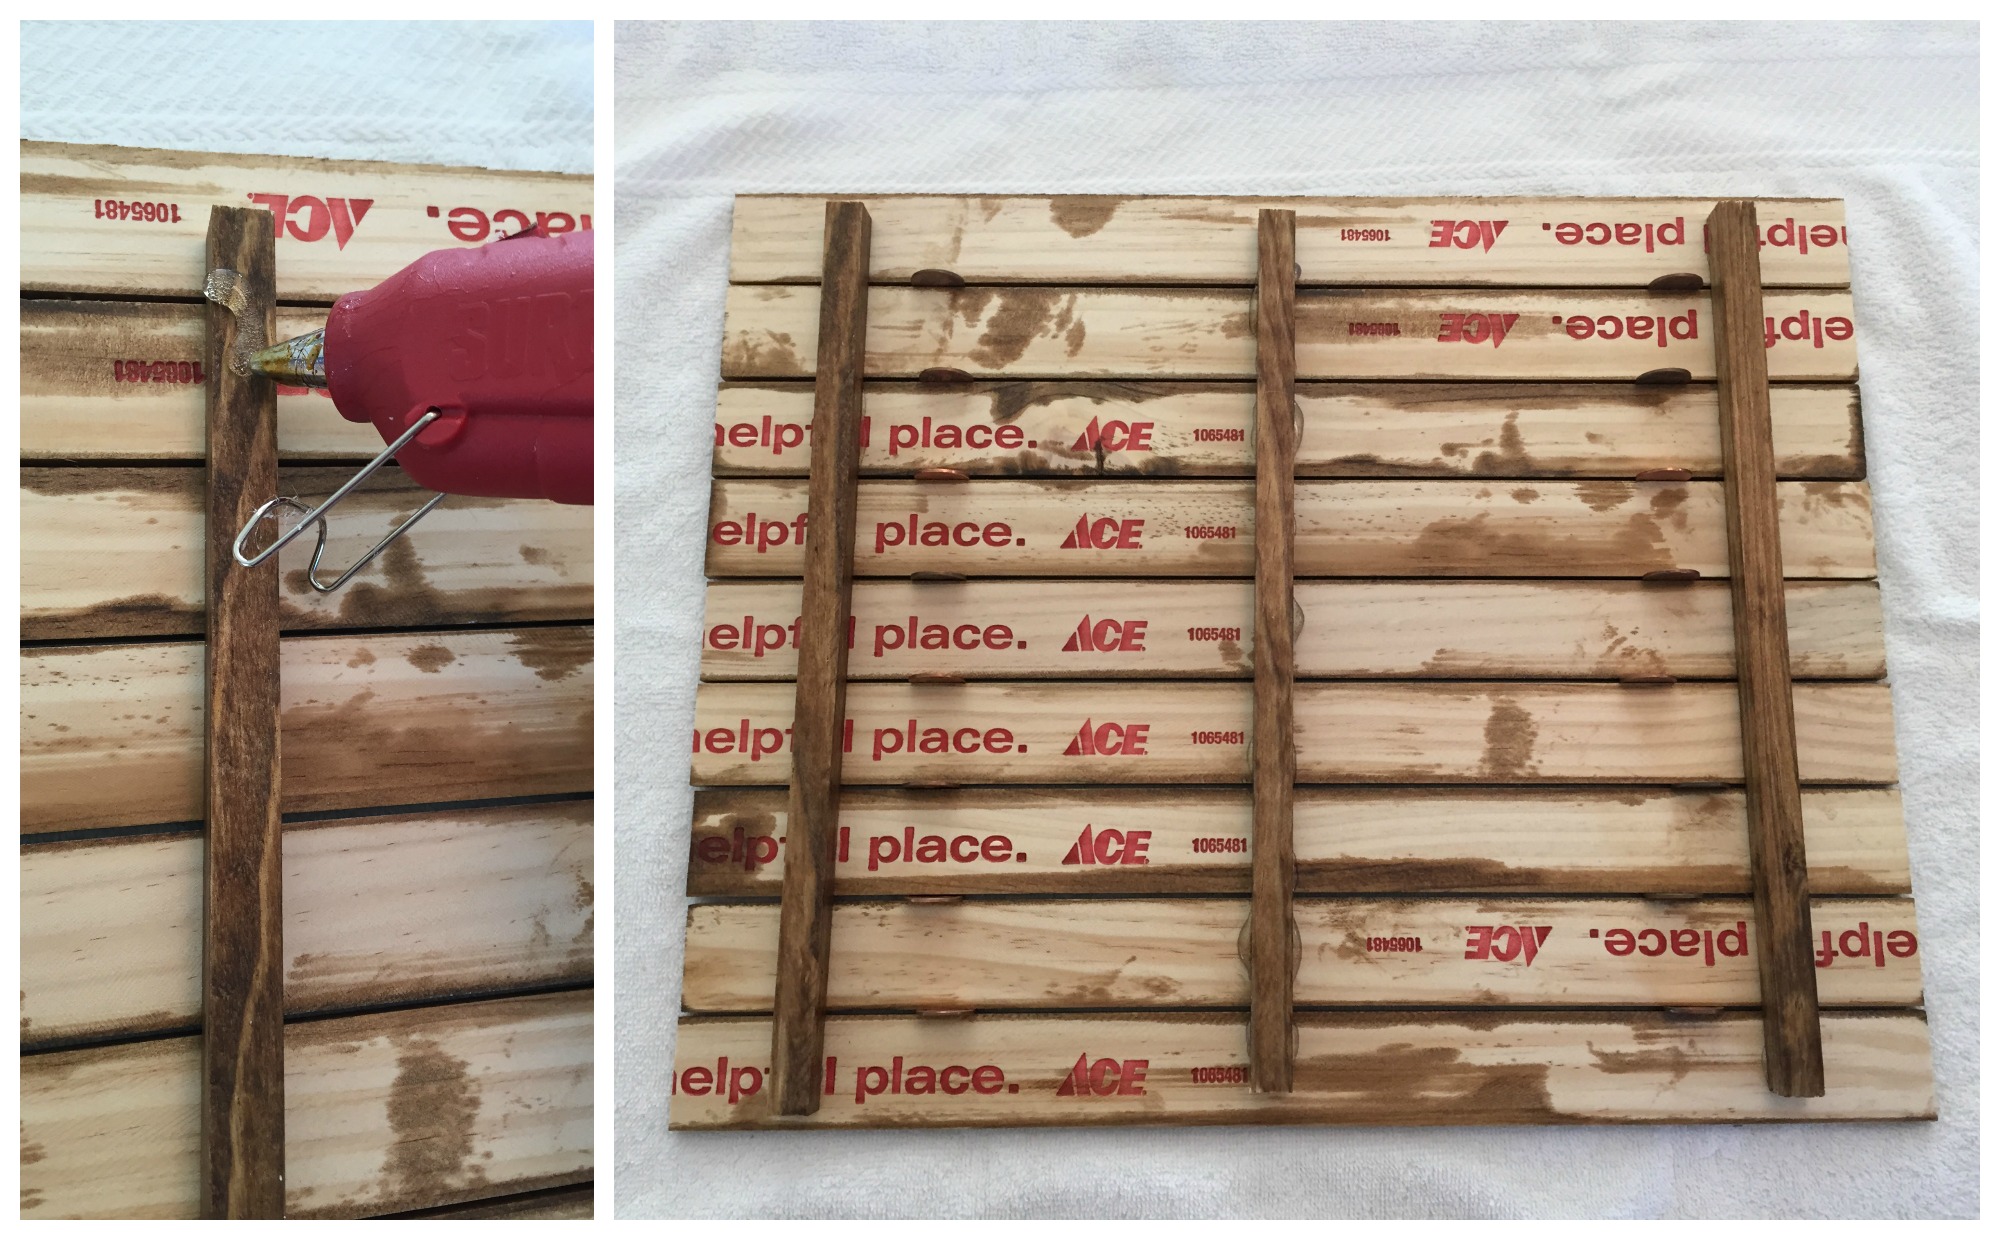
-Using some square dowels I had I cut them down and glued them on the back of the sticks to keep them in place.
For the frame or border I used 4 paint stir sticks and hot-glued them together.
If you’re not great at free-handing a message you can get crafty here. I used my Cricut machine to cut out my message on cardstock then I traced around the letters.

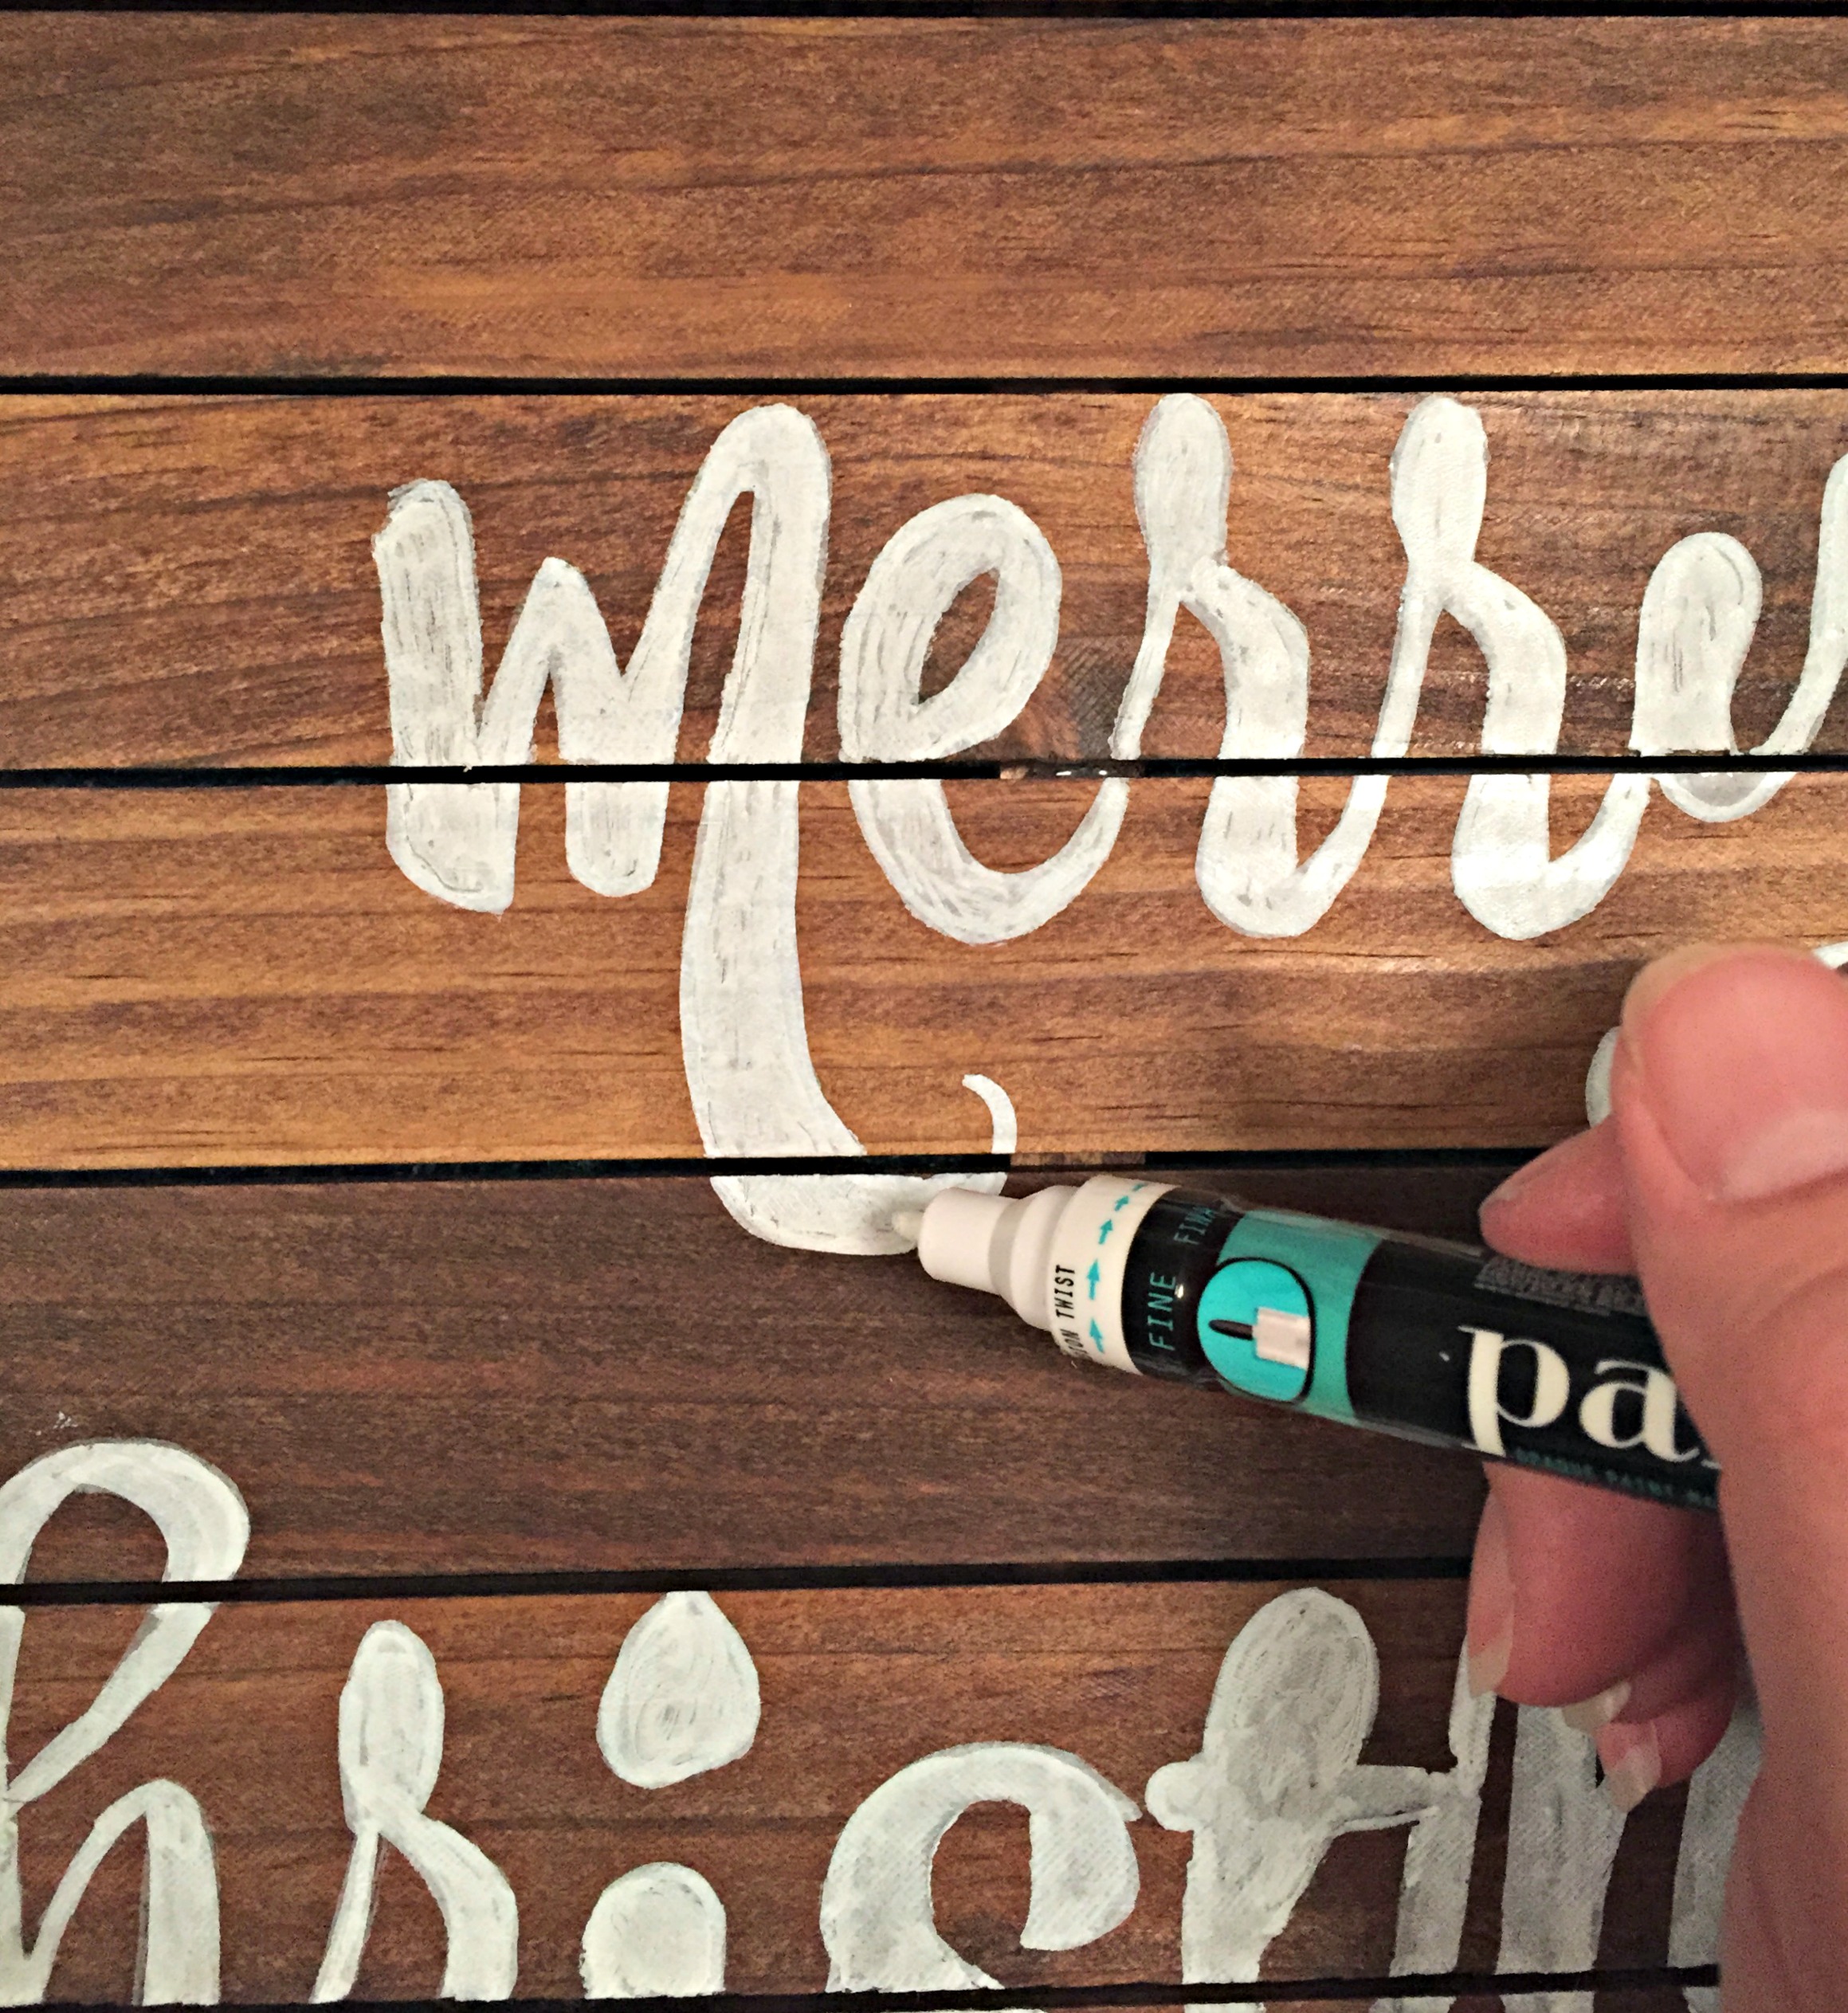
Using a paint marker I filled in my outlined letters.
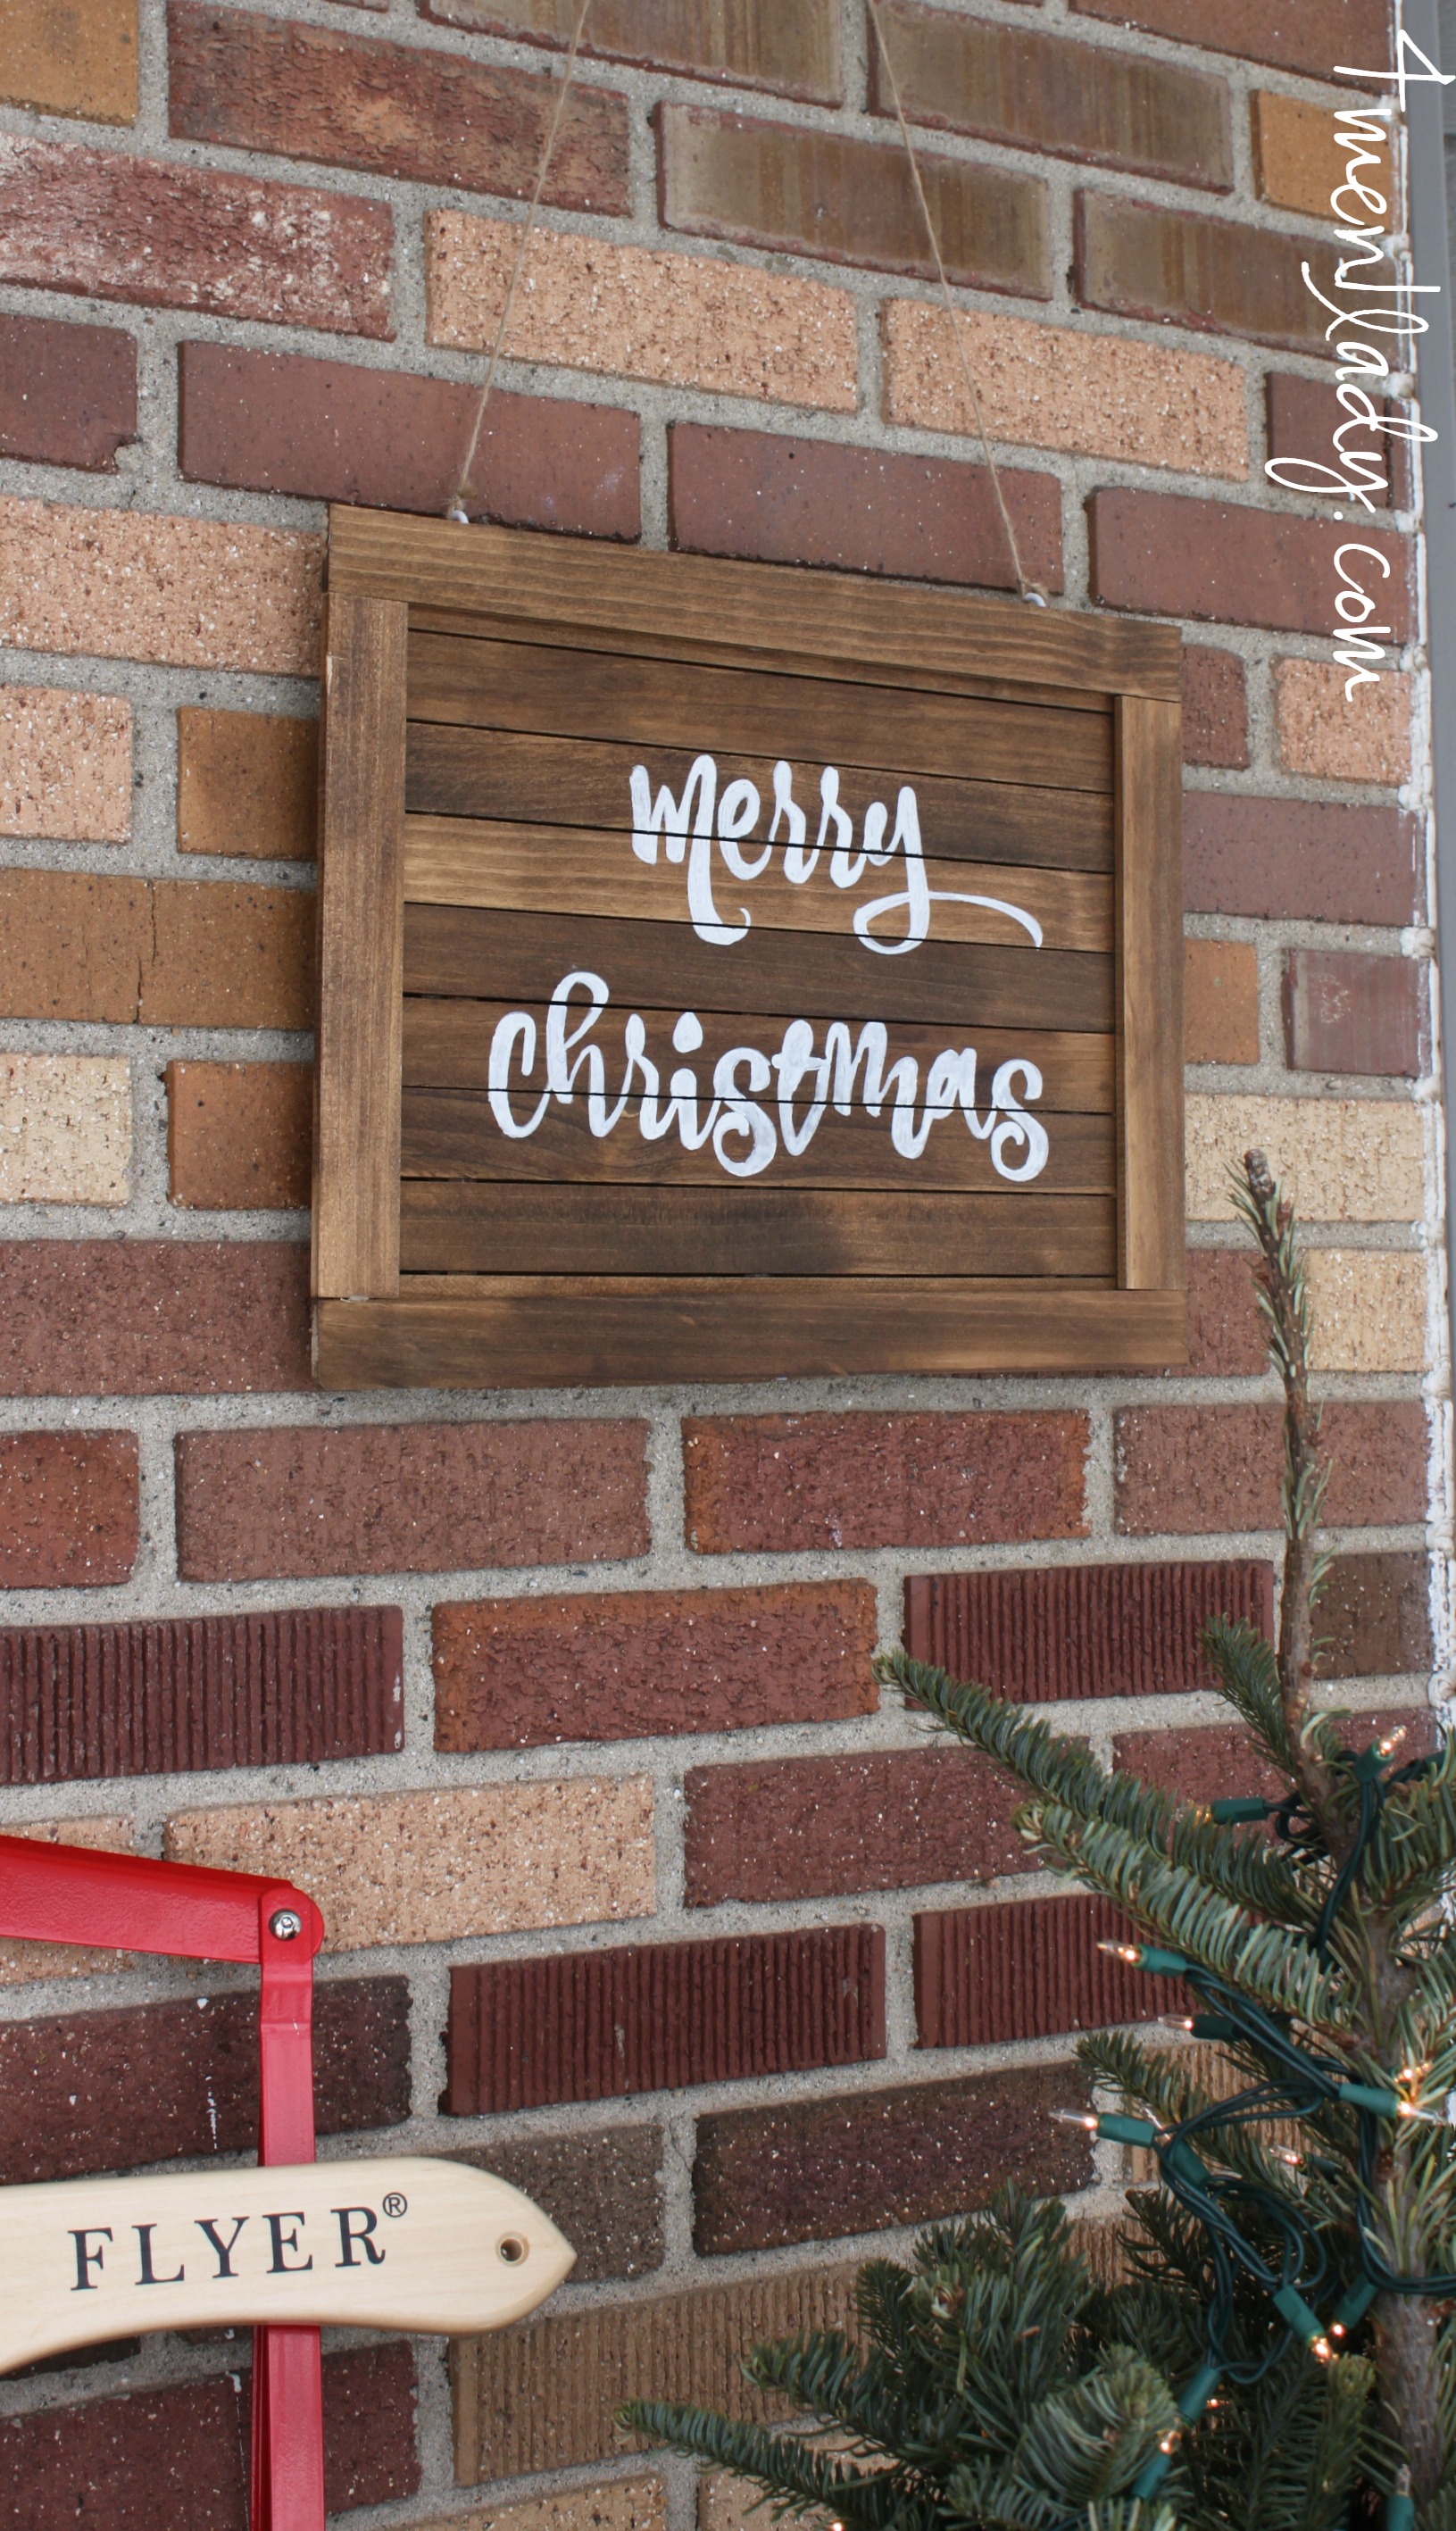
Attach some hooks and you’re set.

Stay tuned for tomorrow for the rest of my holiday porch reveal.
I will be also holding another giveaway for a $100. giftcard to ACE Hardware tomorrow, stay tuned!


 Hey there! I’m Michelle; I’m an Passionate DIY’er and in constant pursuit of how to bring beauty to my house full of men (3 boys + 1 hubby). Stick around and see what I’ve got up my hard-working sleaves!
I know paint sticks are free but don’t stores question you when you take a handful or sticks? They have to be aware by now of the numerous crafts out there that involve paint sticks.
Some stores just have them sitting right out and say help yourself. They raise an eyebrow when I take 10 but most don’t seem to mind. I have even asked if I can pay for them but everyone has said, “just take ’em”. Okee dokee!
Hi there, what font did you use, please? Love this project!
What stain color did you use?
Special walnut. 🙂
I want to pin these last two posts! How can I do that? I don’t see them on your Pinterest page. Love your porch and this sign!
Ok, just found the sign!
What font did you use? I absolutely love it!
Hello. I just came across your “Merry Christmas” paint stick sign on Pinterest and think it’s the cutest! By chance would you happen to remember what font you used? I can’t wait to try this. Thanks so much.