The Mr. has been on a business trip all week and the two oldest went to Yellowstone with Grandpa and other family which left me and the youngest boy at home to par-tay. I had all kinds of fun activities planned as well checking quite a few DIY projects off my list. Unfortunately, Mr. Strep throat came to visit my boy the second after everyone left. Argh. So instead of a week of fun and projects, we’ve been camping out in bed all week and monitoring a 4-day fever around the clock. On top of that the boy apparently has a very weak gag reflex so it’s been a whole lot of pleading, bribing, begging the boy to swallow nasty medicine then cleaning up puke because pharmaceutical companies obviously have no idea with bubble gum flavoring is supposed to taste like. The week has been a bust. On the bright side we’ve had a whole lot of precious snuggle time.
Between temperature readings I did have time to experiment with a small project I’ve been wanting to tackle…
I haven’t given up hope on the “bane of my existence” dresser (yet). I’ve spent hours (literally!) calling experts on sandblasting, walnut shell blasting, pickling, etc. to have someone strip it down for me and in the end, the best method so not to ruin this metal dresser is to do exactly what I’ve been doing. Stripping it by hand. %$#@.
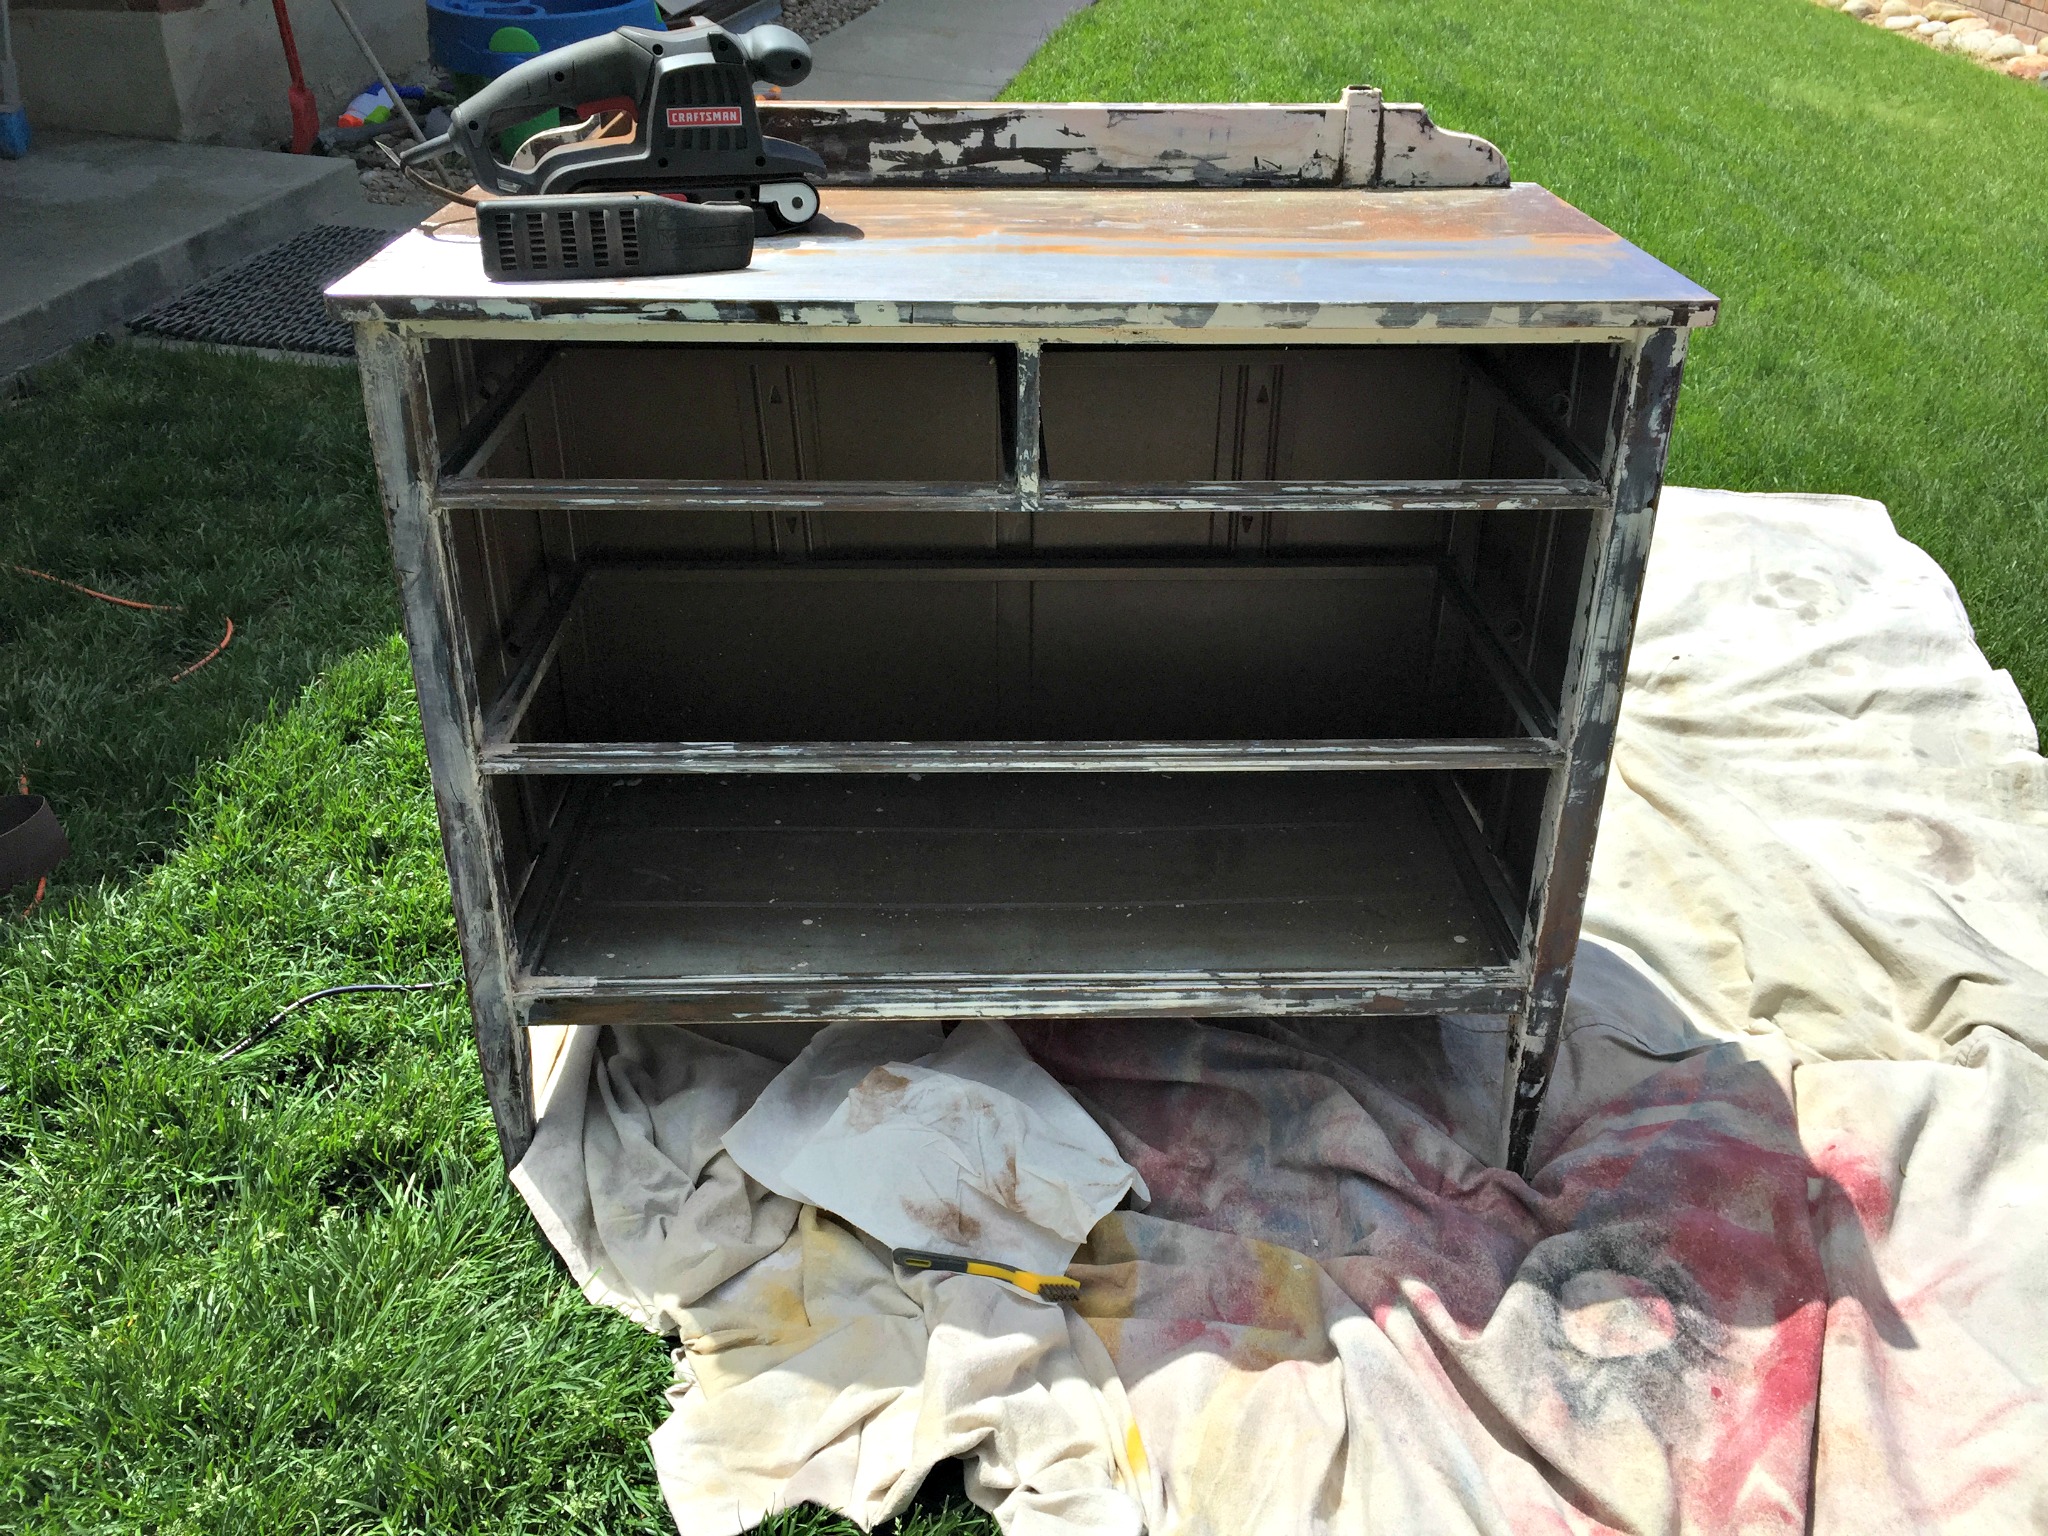
I’ve been grinding paint off this sucker for so long that I now have some pretty impressive biceps to show for it. This week I removed the cute little casters from the dresser.
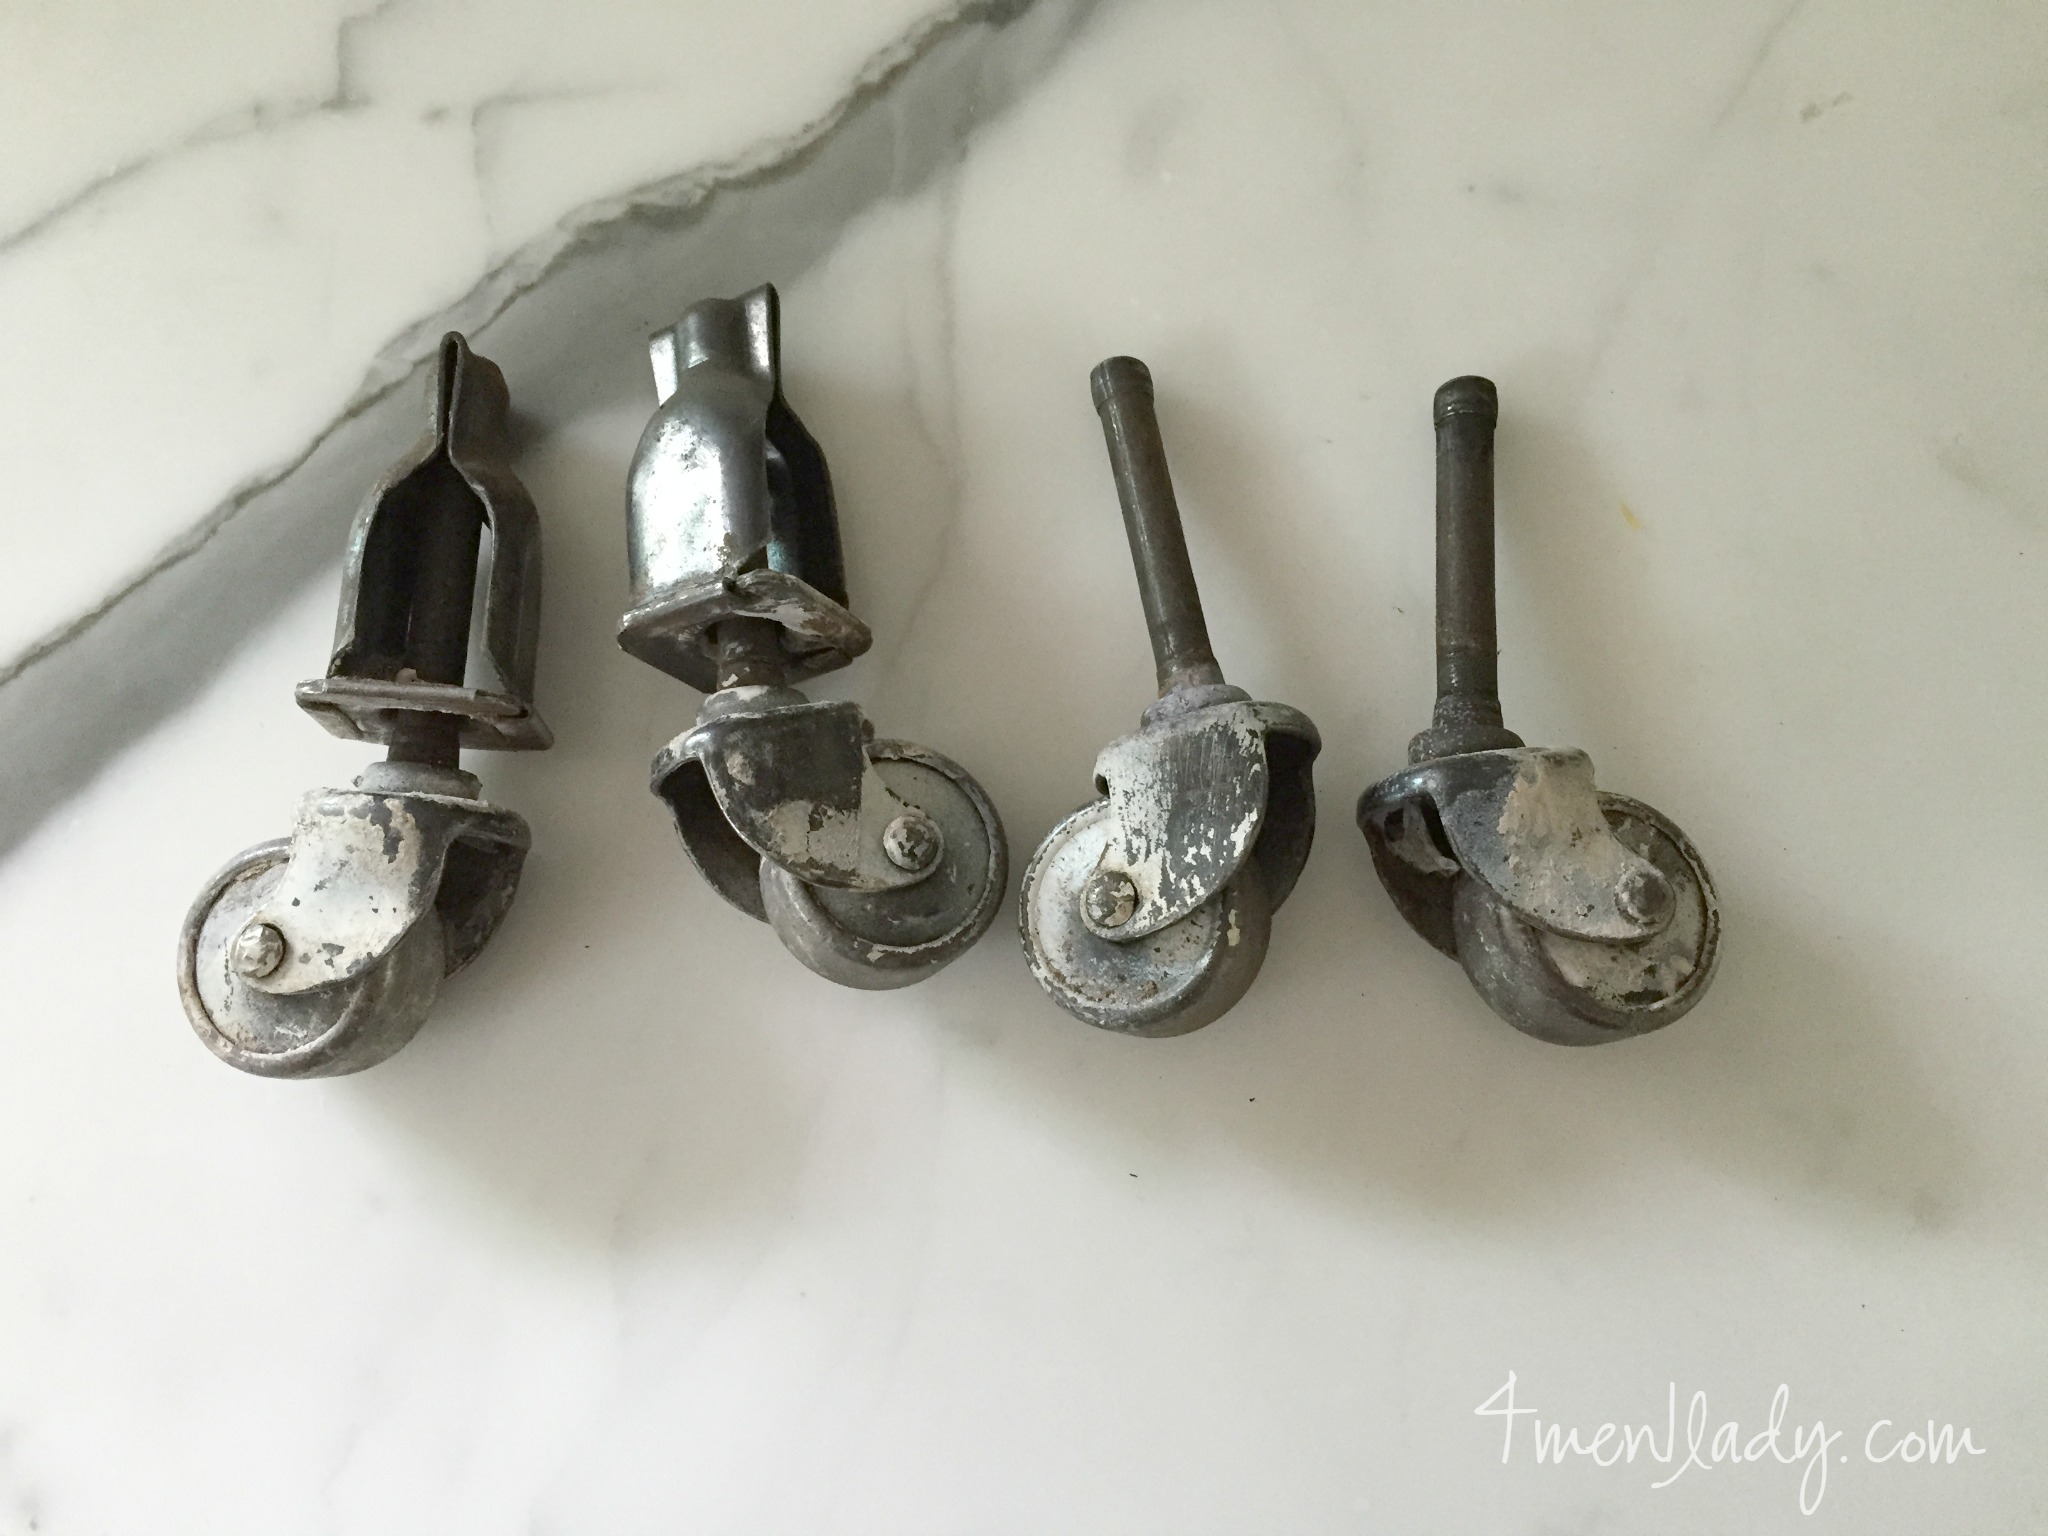
Taking a page from the Nicole Curtis book I decided to give the crockpot method a try.
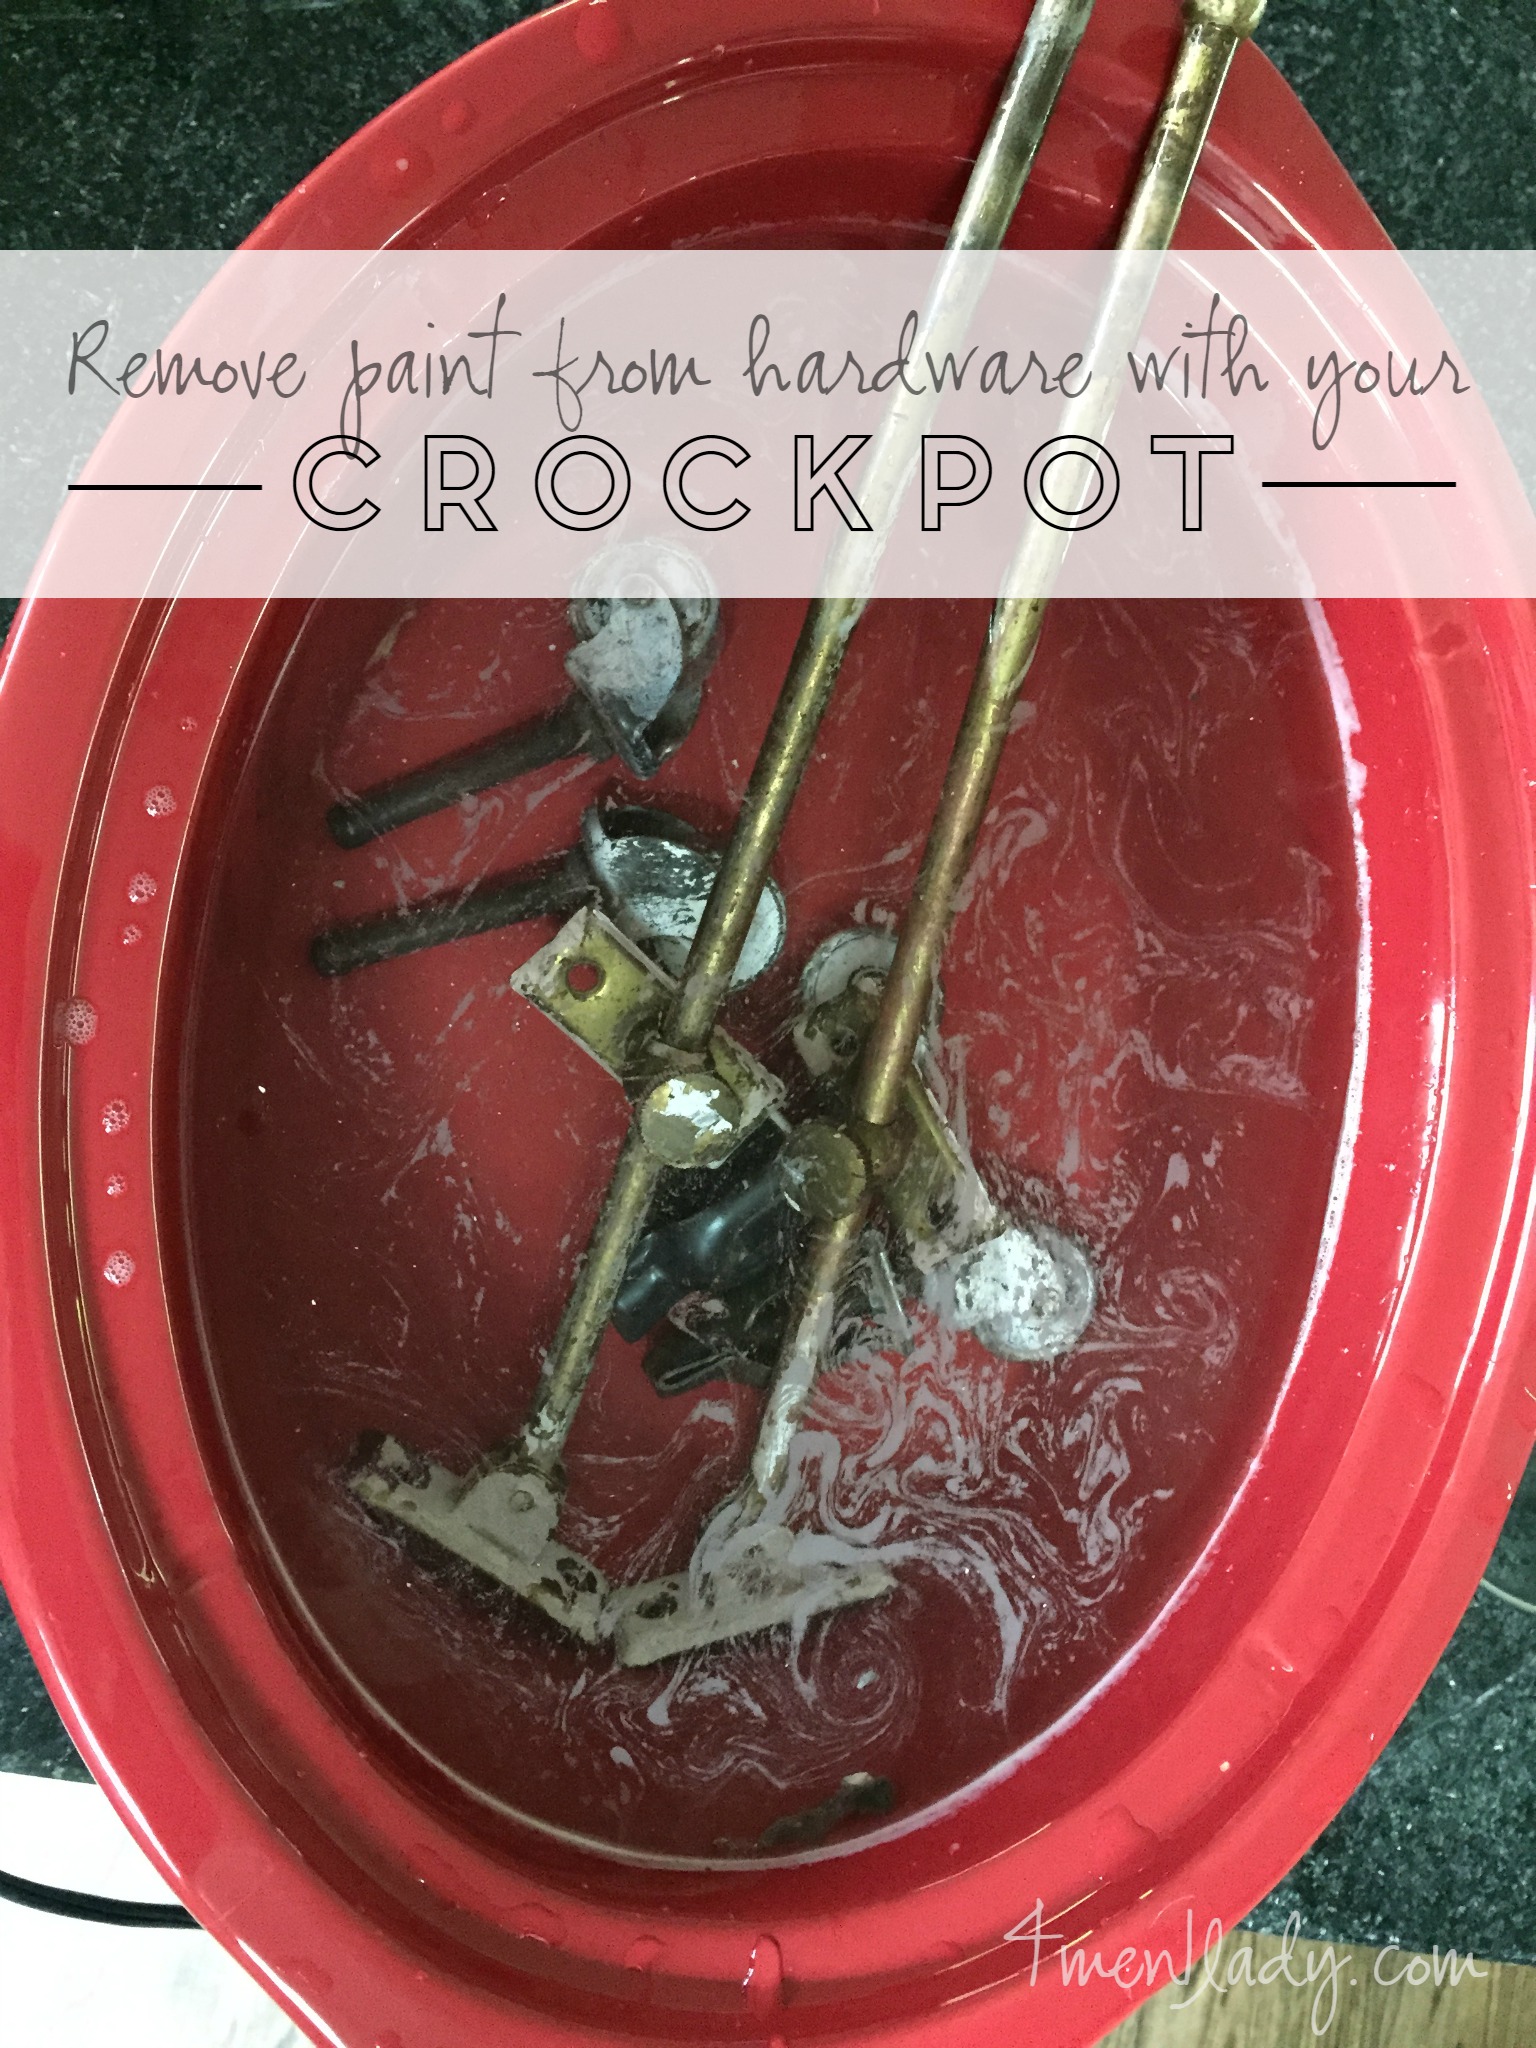
I submerged my hardware in water with 1 pump of dish soap and let them simmer for about 5 hours.
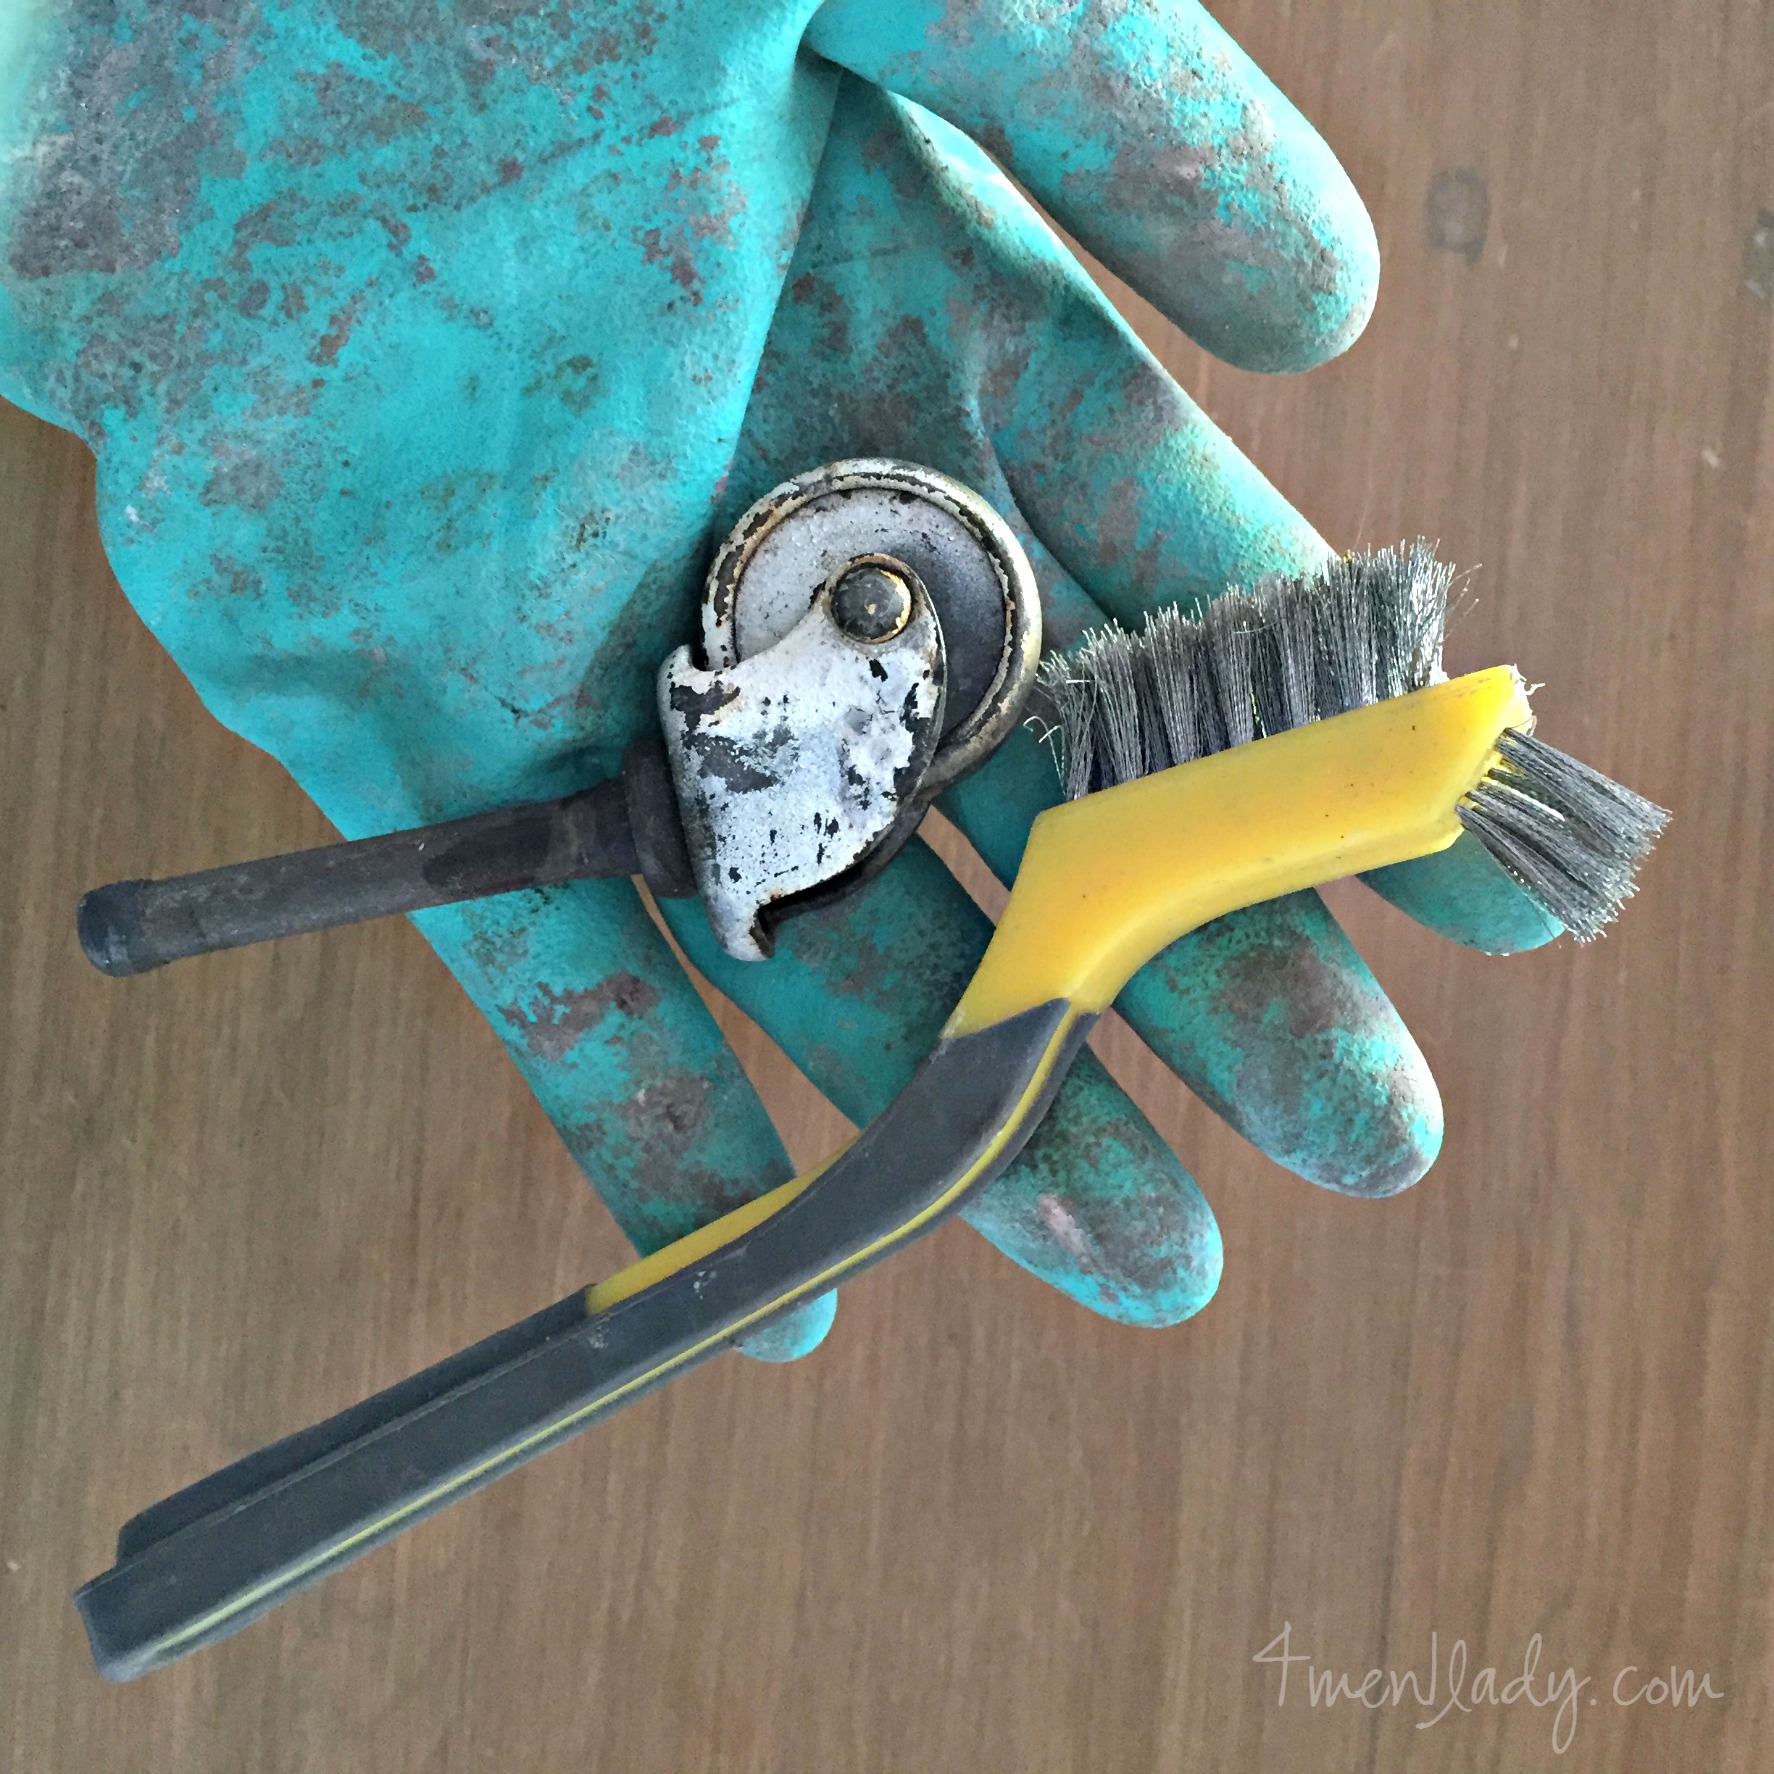
When I removed the hardware from the crockpot the paint was pretty much falling off. I could scrape it all off with my finger nail but then I ruined my non-existent manicure and opted for a wire brush instead. It was shocked at how easily it came off.
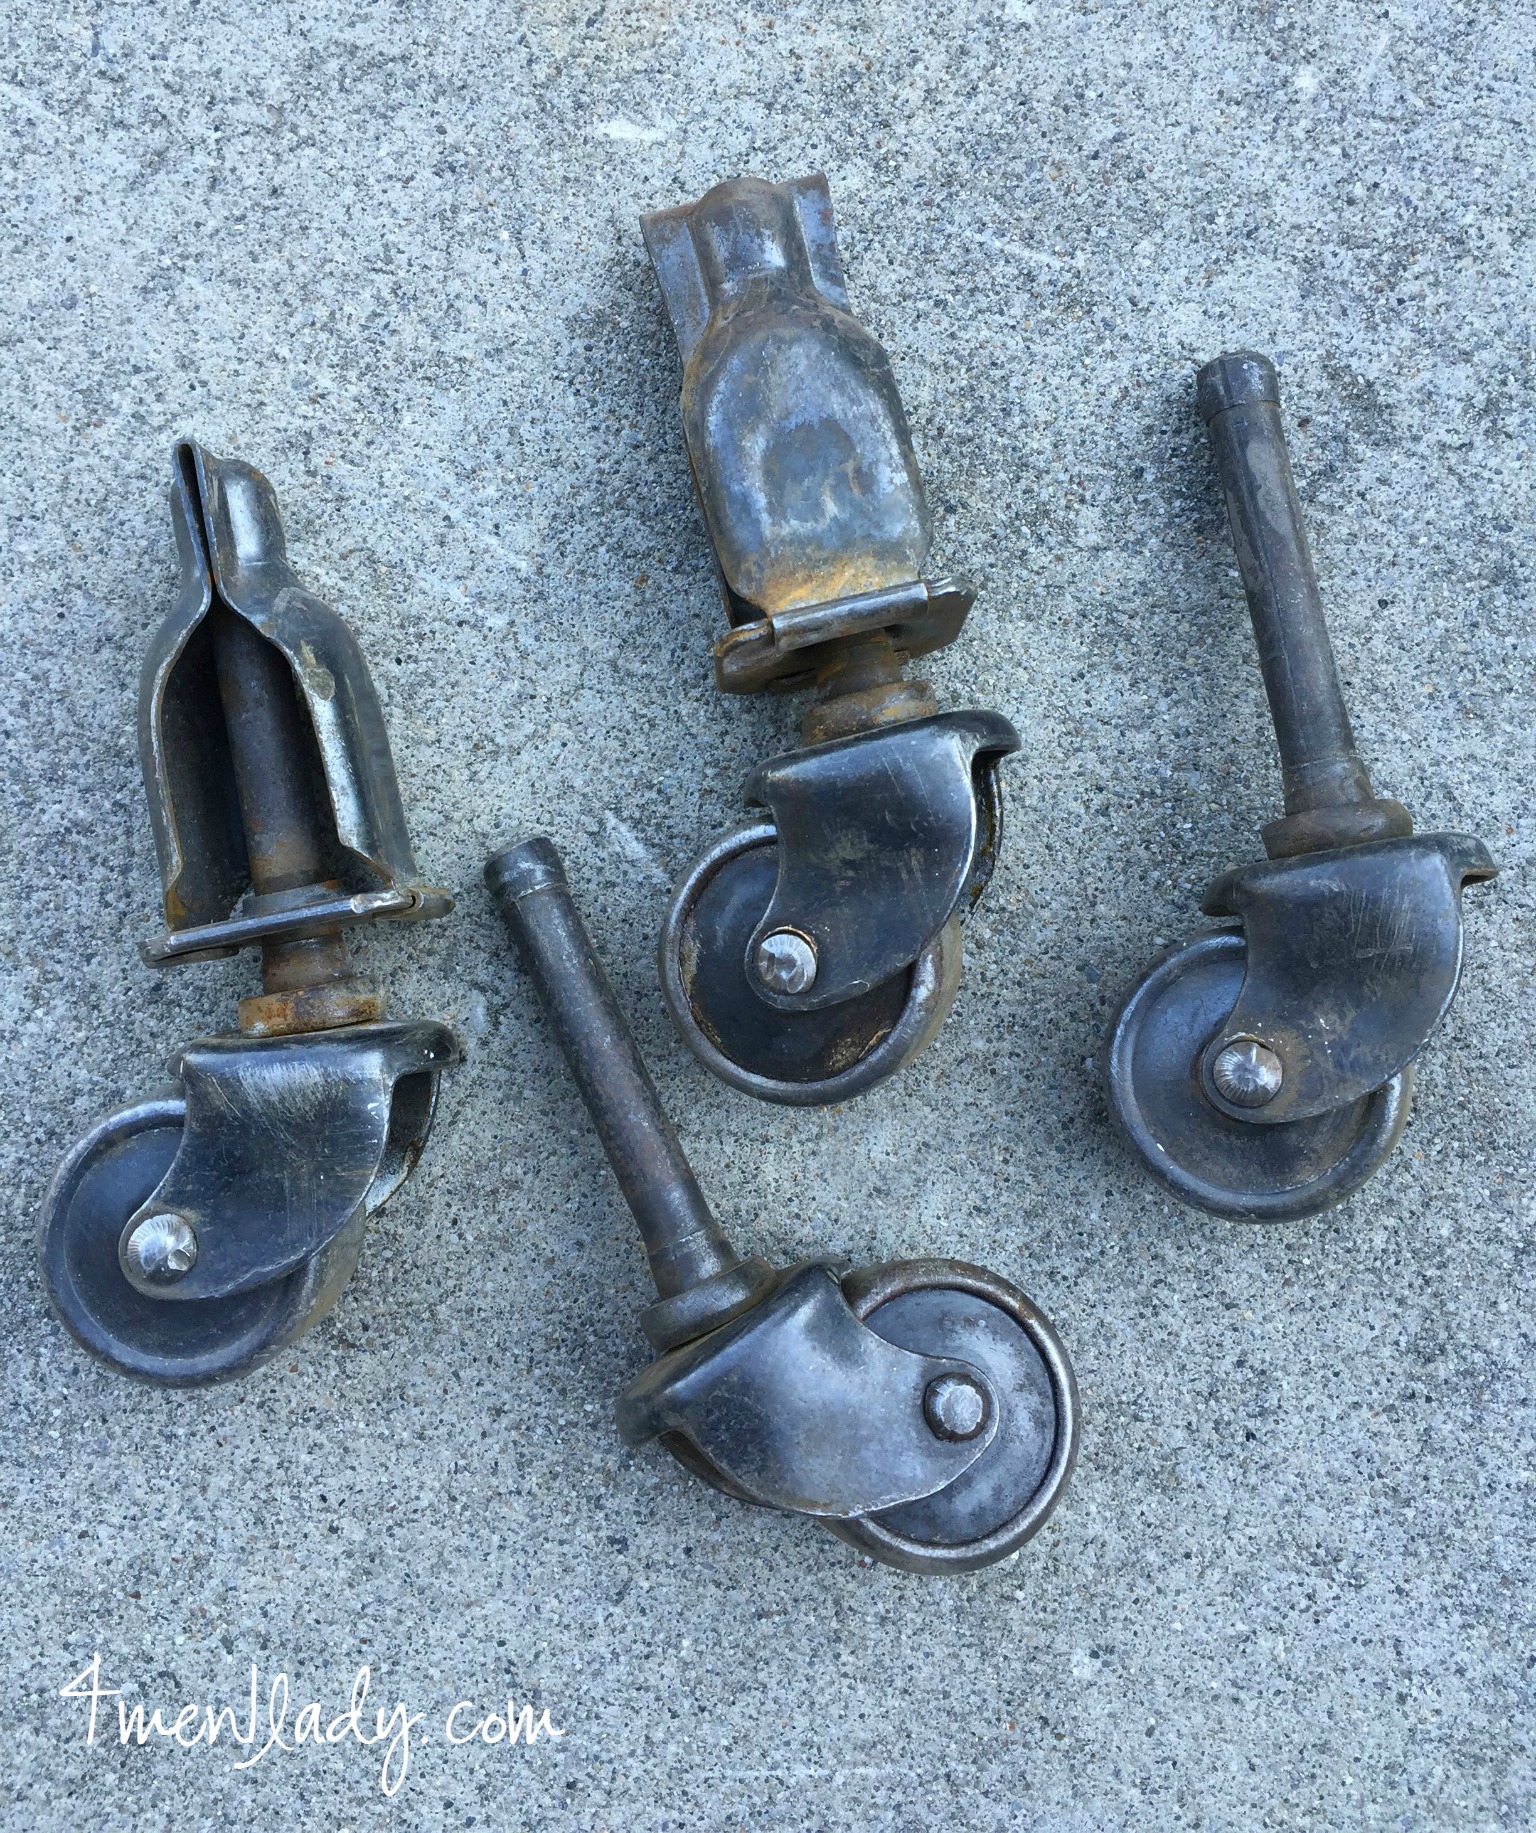
Within minutes all these puppies were completely paint and grime free.
I also decided to try the crockpot method on these brass brackets I found while on our RV trip at a cool architectural salvage shop in Kansas City, MO.
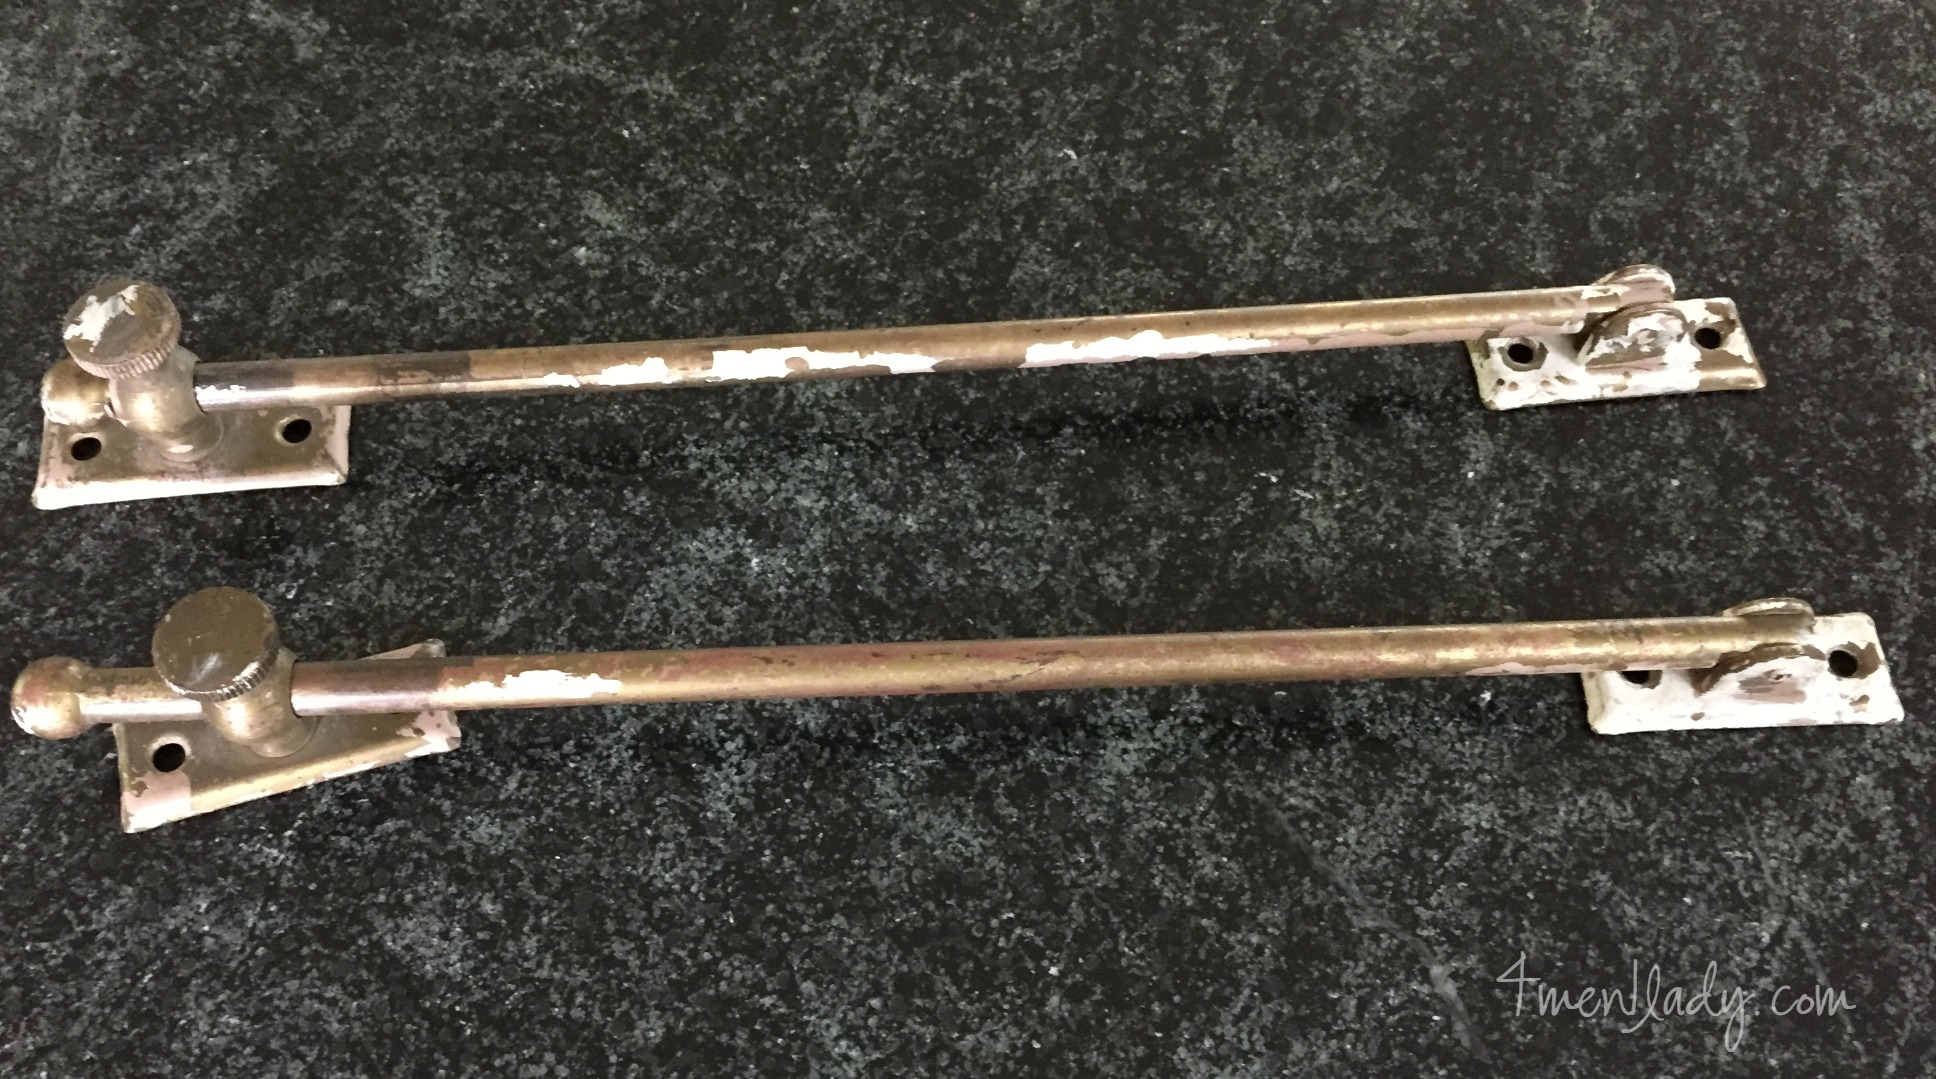
I was looking for some hardware I could DIY some Bermuda shutters with. I’m hoping they work…stay tuned for that upcoming project.
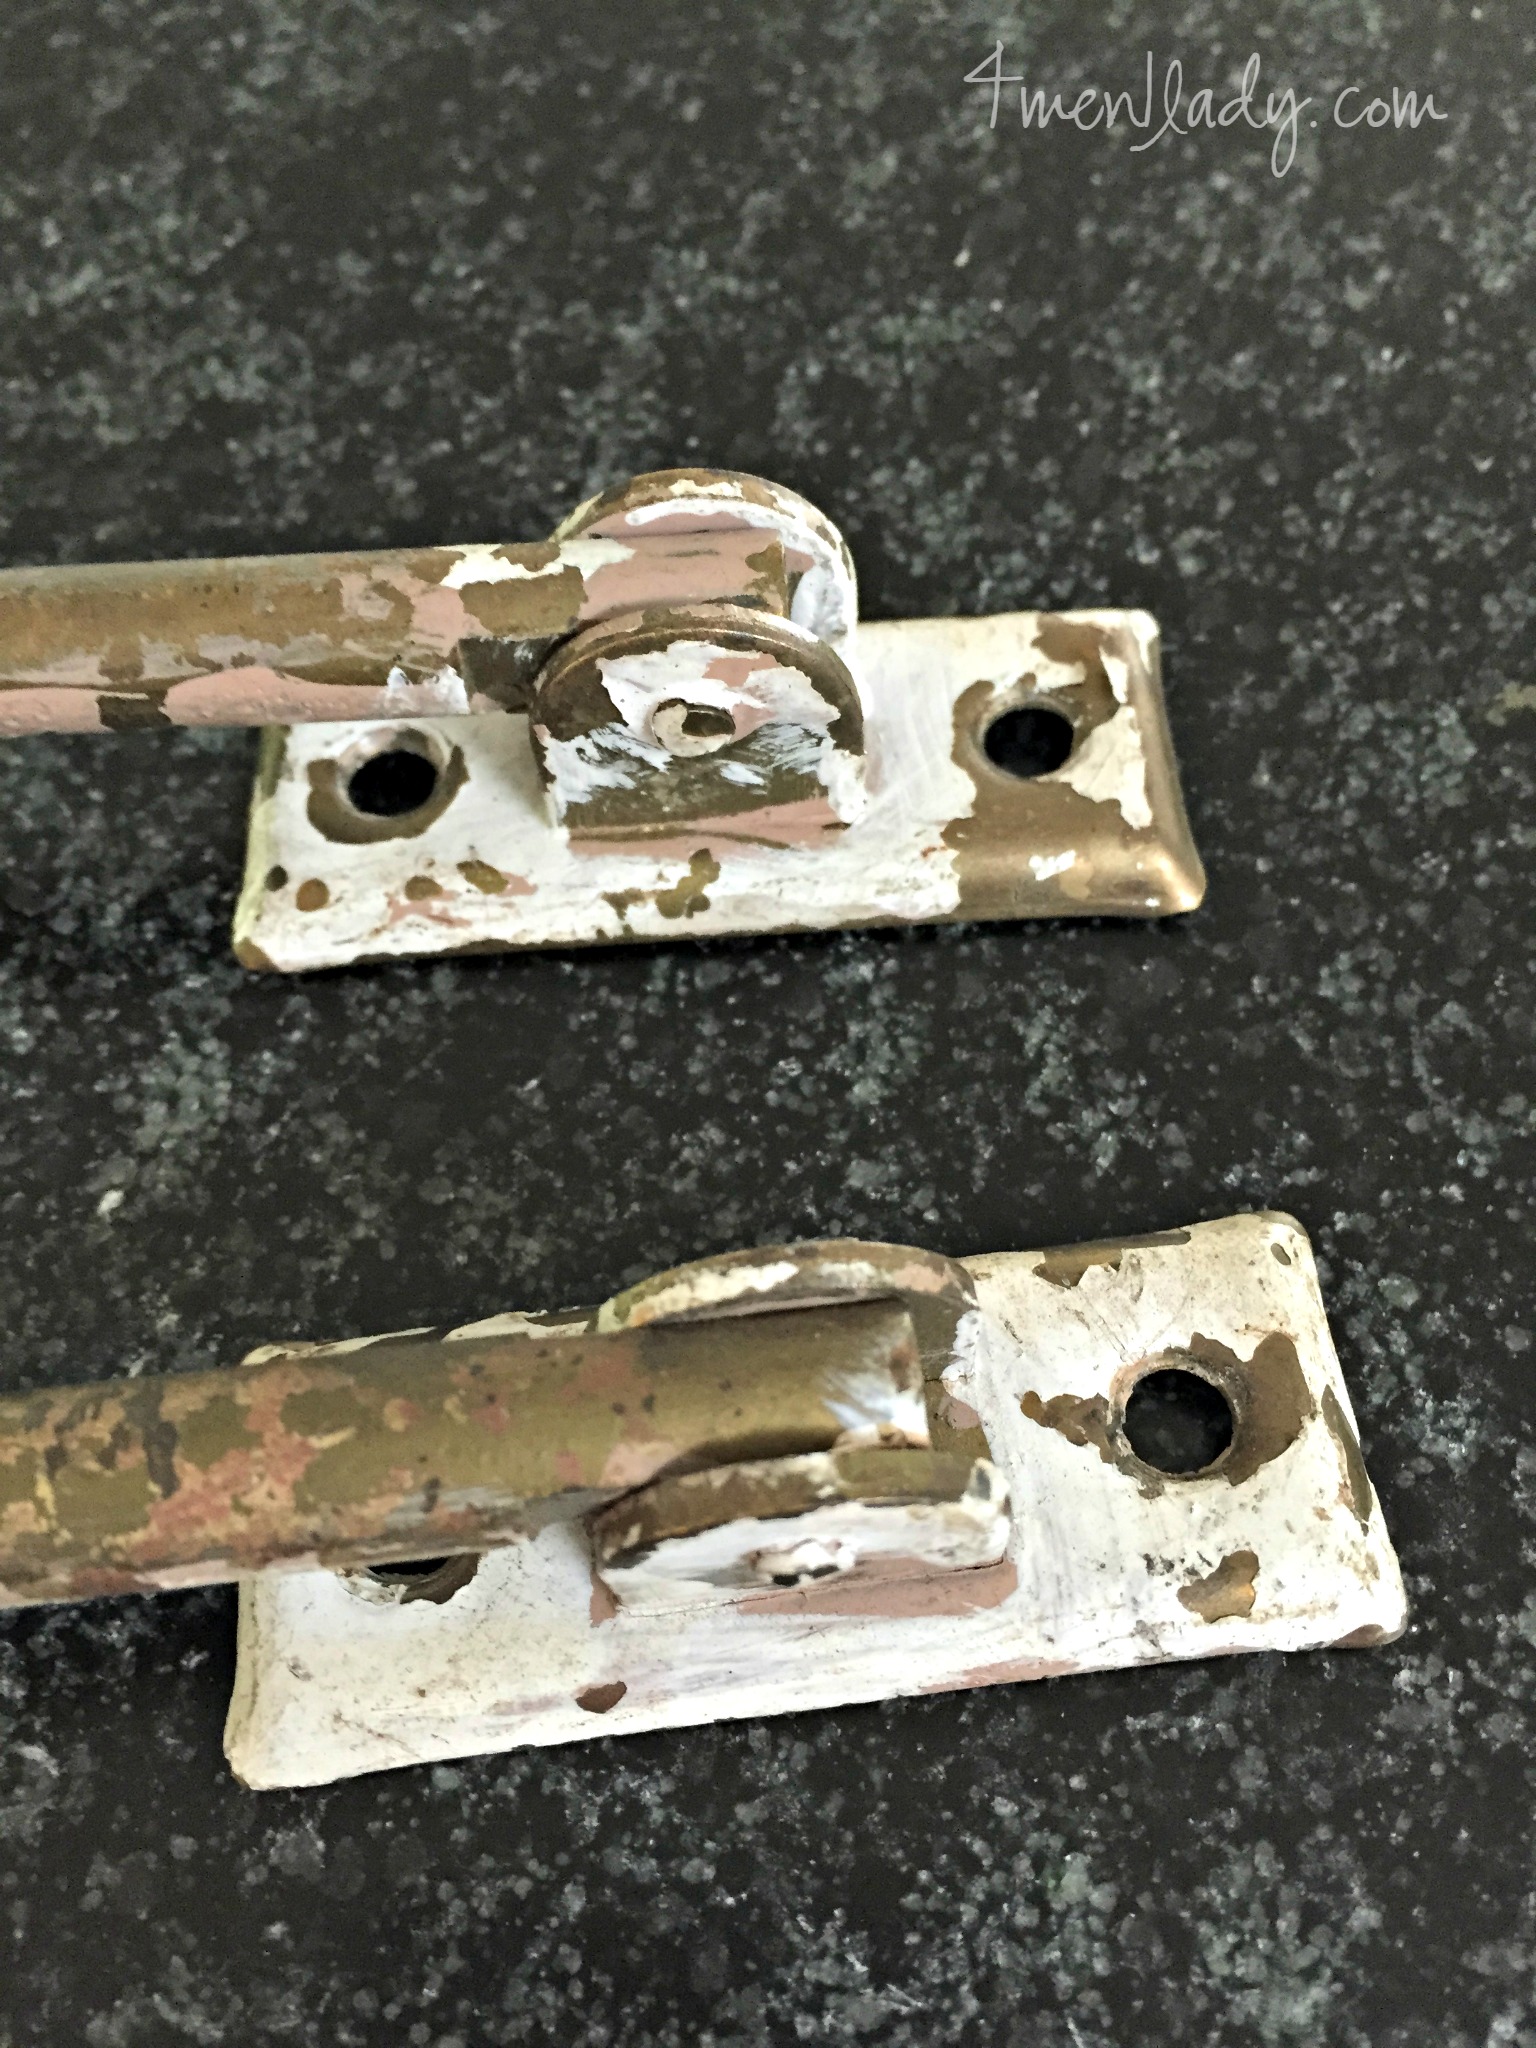
As you can see they were covered with several layers of paint over the years.
5 hour in the crockpot and voila…
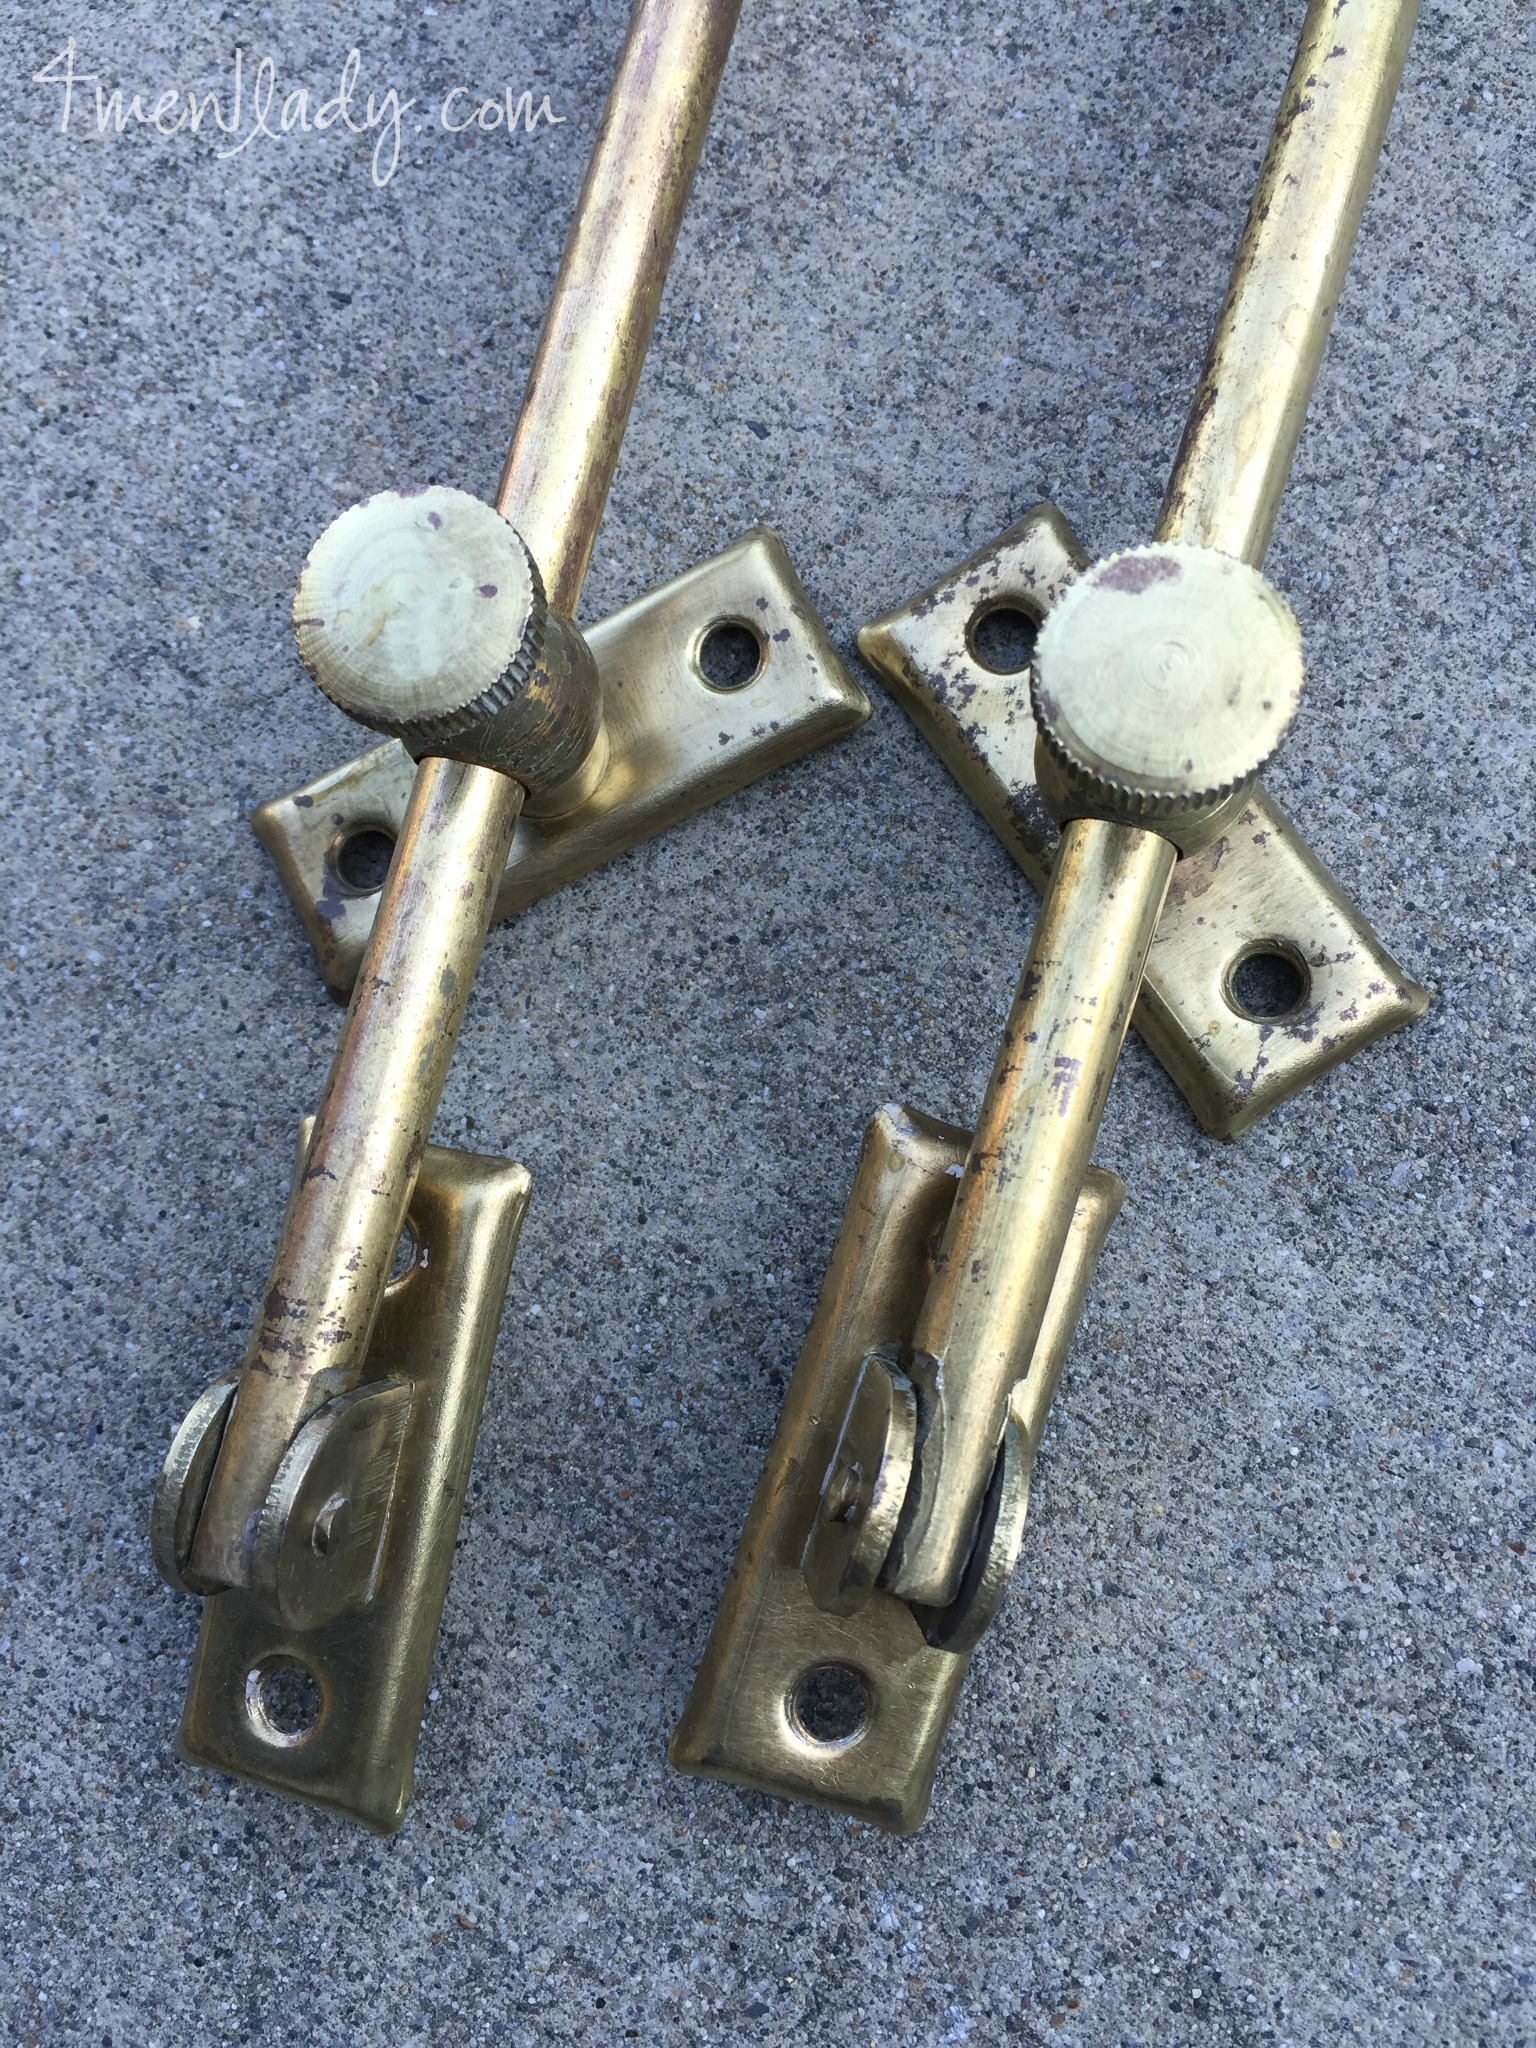
Best non-harsh-chemical solution ever for removing paint from hardware.
If only they made a crockpot big enough for me to submerge my entire dresser…then we’d be in business!
***Remember when working with paint removal always wear a mask and other protection in case the paint may be lead based.***


 Hey there! I’m Michelle; I’m an Passionate DIY’er and in constant pursuit of how to bring beauty to my house full of men (3 boys + 1 hubby). Stick around and see what I’ve got up my hard-working sleaves!
I love that you’re still fighting the bad paint jobs and over-painted hardware! I’ve seen the crockpot idea before but not from a blog that I read on a regular basis so I’ve been hesitant in the past to try it with all of my second hand finds. It’s summer which means estate sale time. That means cleaning and refinishing cheap treasures. I’m chatting a little bit about my estate sale finds and tips over on my blog: http://www.alittledailyhappiness.com/2015/06/12/what-to-buy-at-estate-sales/
Thanks Katy…yes, it’s such an easy method! Can’t believe I haven’t tried it before. P.S. Great post about estate sale find tips! I LOVE that gold framed art you find. I have a perfect spot for that if you ever want to get rid of it! 😉 Michelle
I need to try this trick! Also, mind sharing the place in KC where you got those? I live there so I’d love to check it out!
I believe it’s just called Architectural Salvage. It’s located at 2045 Broadway Blvd. Hope that helps!
For a super-sized slowcooker, I suppose one could get a stock tank, fill it with water, put it over a gas burner (like one for a turkey fryer), and soak one side at a time. But, this seems a tad excessive. I wonder if a heat gun or even a steamer might loosen the paint a bit. Personally, I’d probably try some paint stripper because I am lazy and impatient.
Great information and very useful for all of us. Thanks for sharing!
Yo!!! Don’t use that crock pot to cook food now!! Lead paint is so bad for you!! I buy a cheap pot from the thrift store and then boil it on the stove. You can buy pretty big pots!! I like the paint kinda on and kinda off look on the dresser!!
Thanks girl…I’ll have to go back and mention that in the post. My crockpot is now permanently housed in the garage with the tools. 🙂
This is what I’ve done over the years. Heat 1 cup of white vinegar with 1 cup of water in a pot on a stove. Pour the heated mixture into an old cake pan with the painted hardware.Let the hardware sit in the vinegar until the paint softens.
Great idea! I’ll have to try that method next time. Thanks for sharing. Michelle 🙂
For movable parts, do you need to grease them or wax them or anything after you boil them? I want to get the paint of my window hardware but I’m afraid they won’t work smoothly anymore. Any one know?