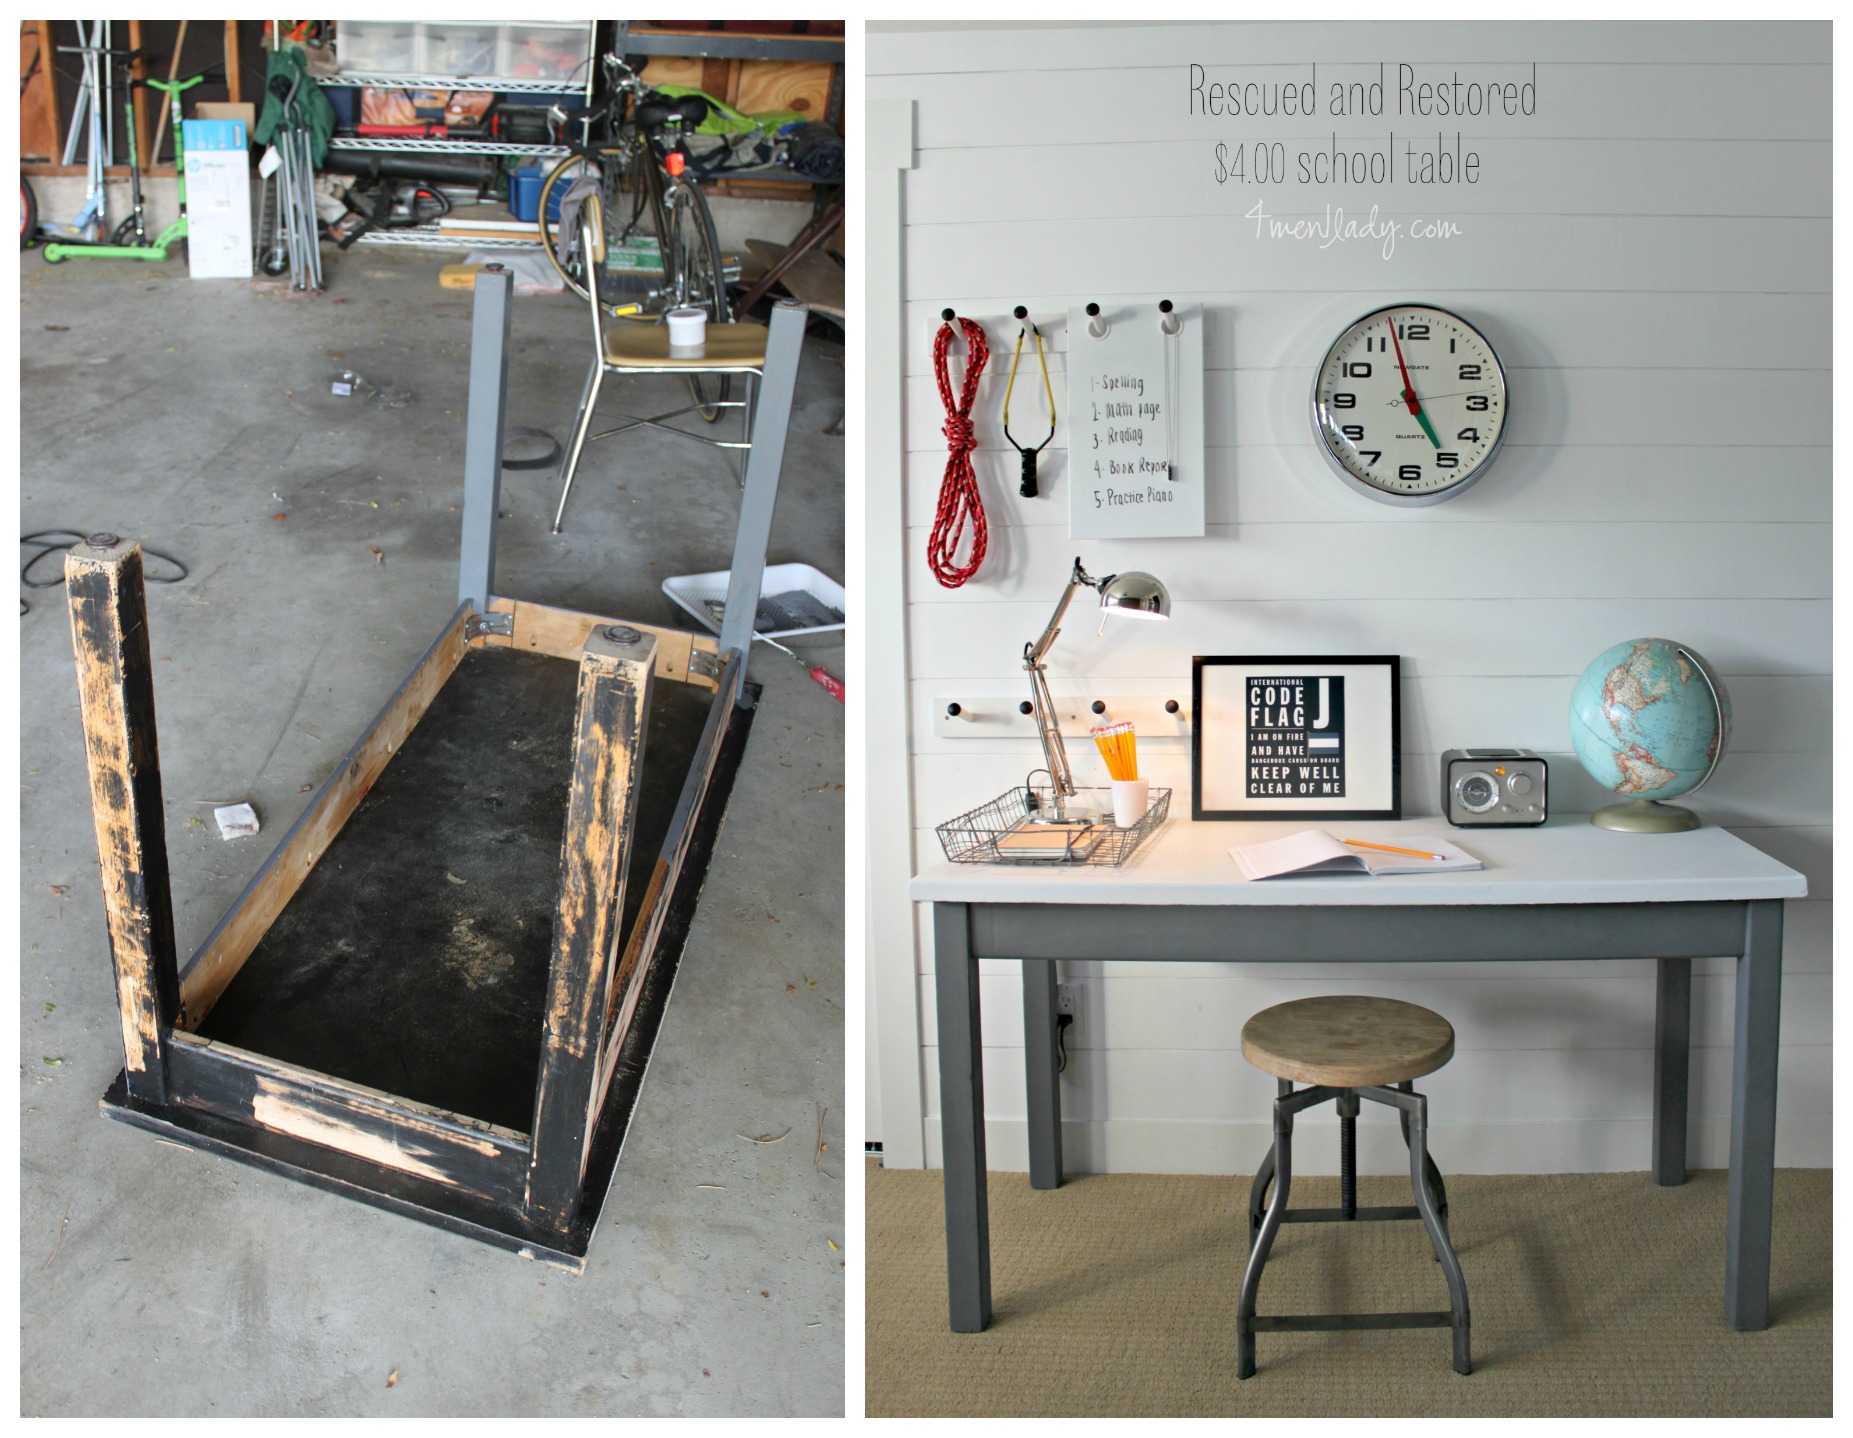
I just performed a makeover on this school science table last month and I’m already thinking of ways to re-invent it.
Of course I can’t leave well enough alone.
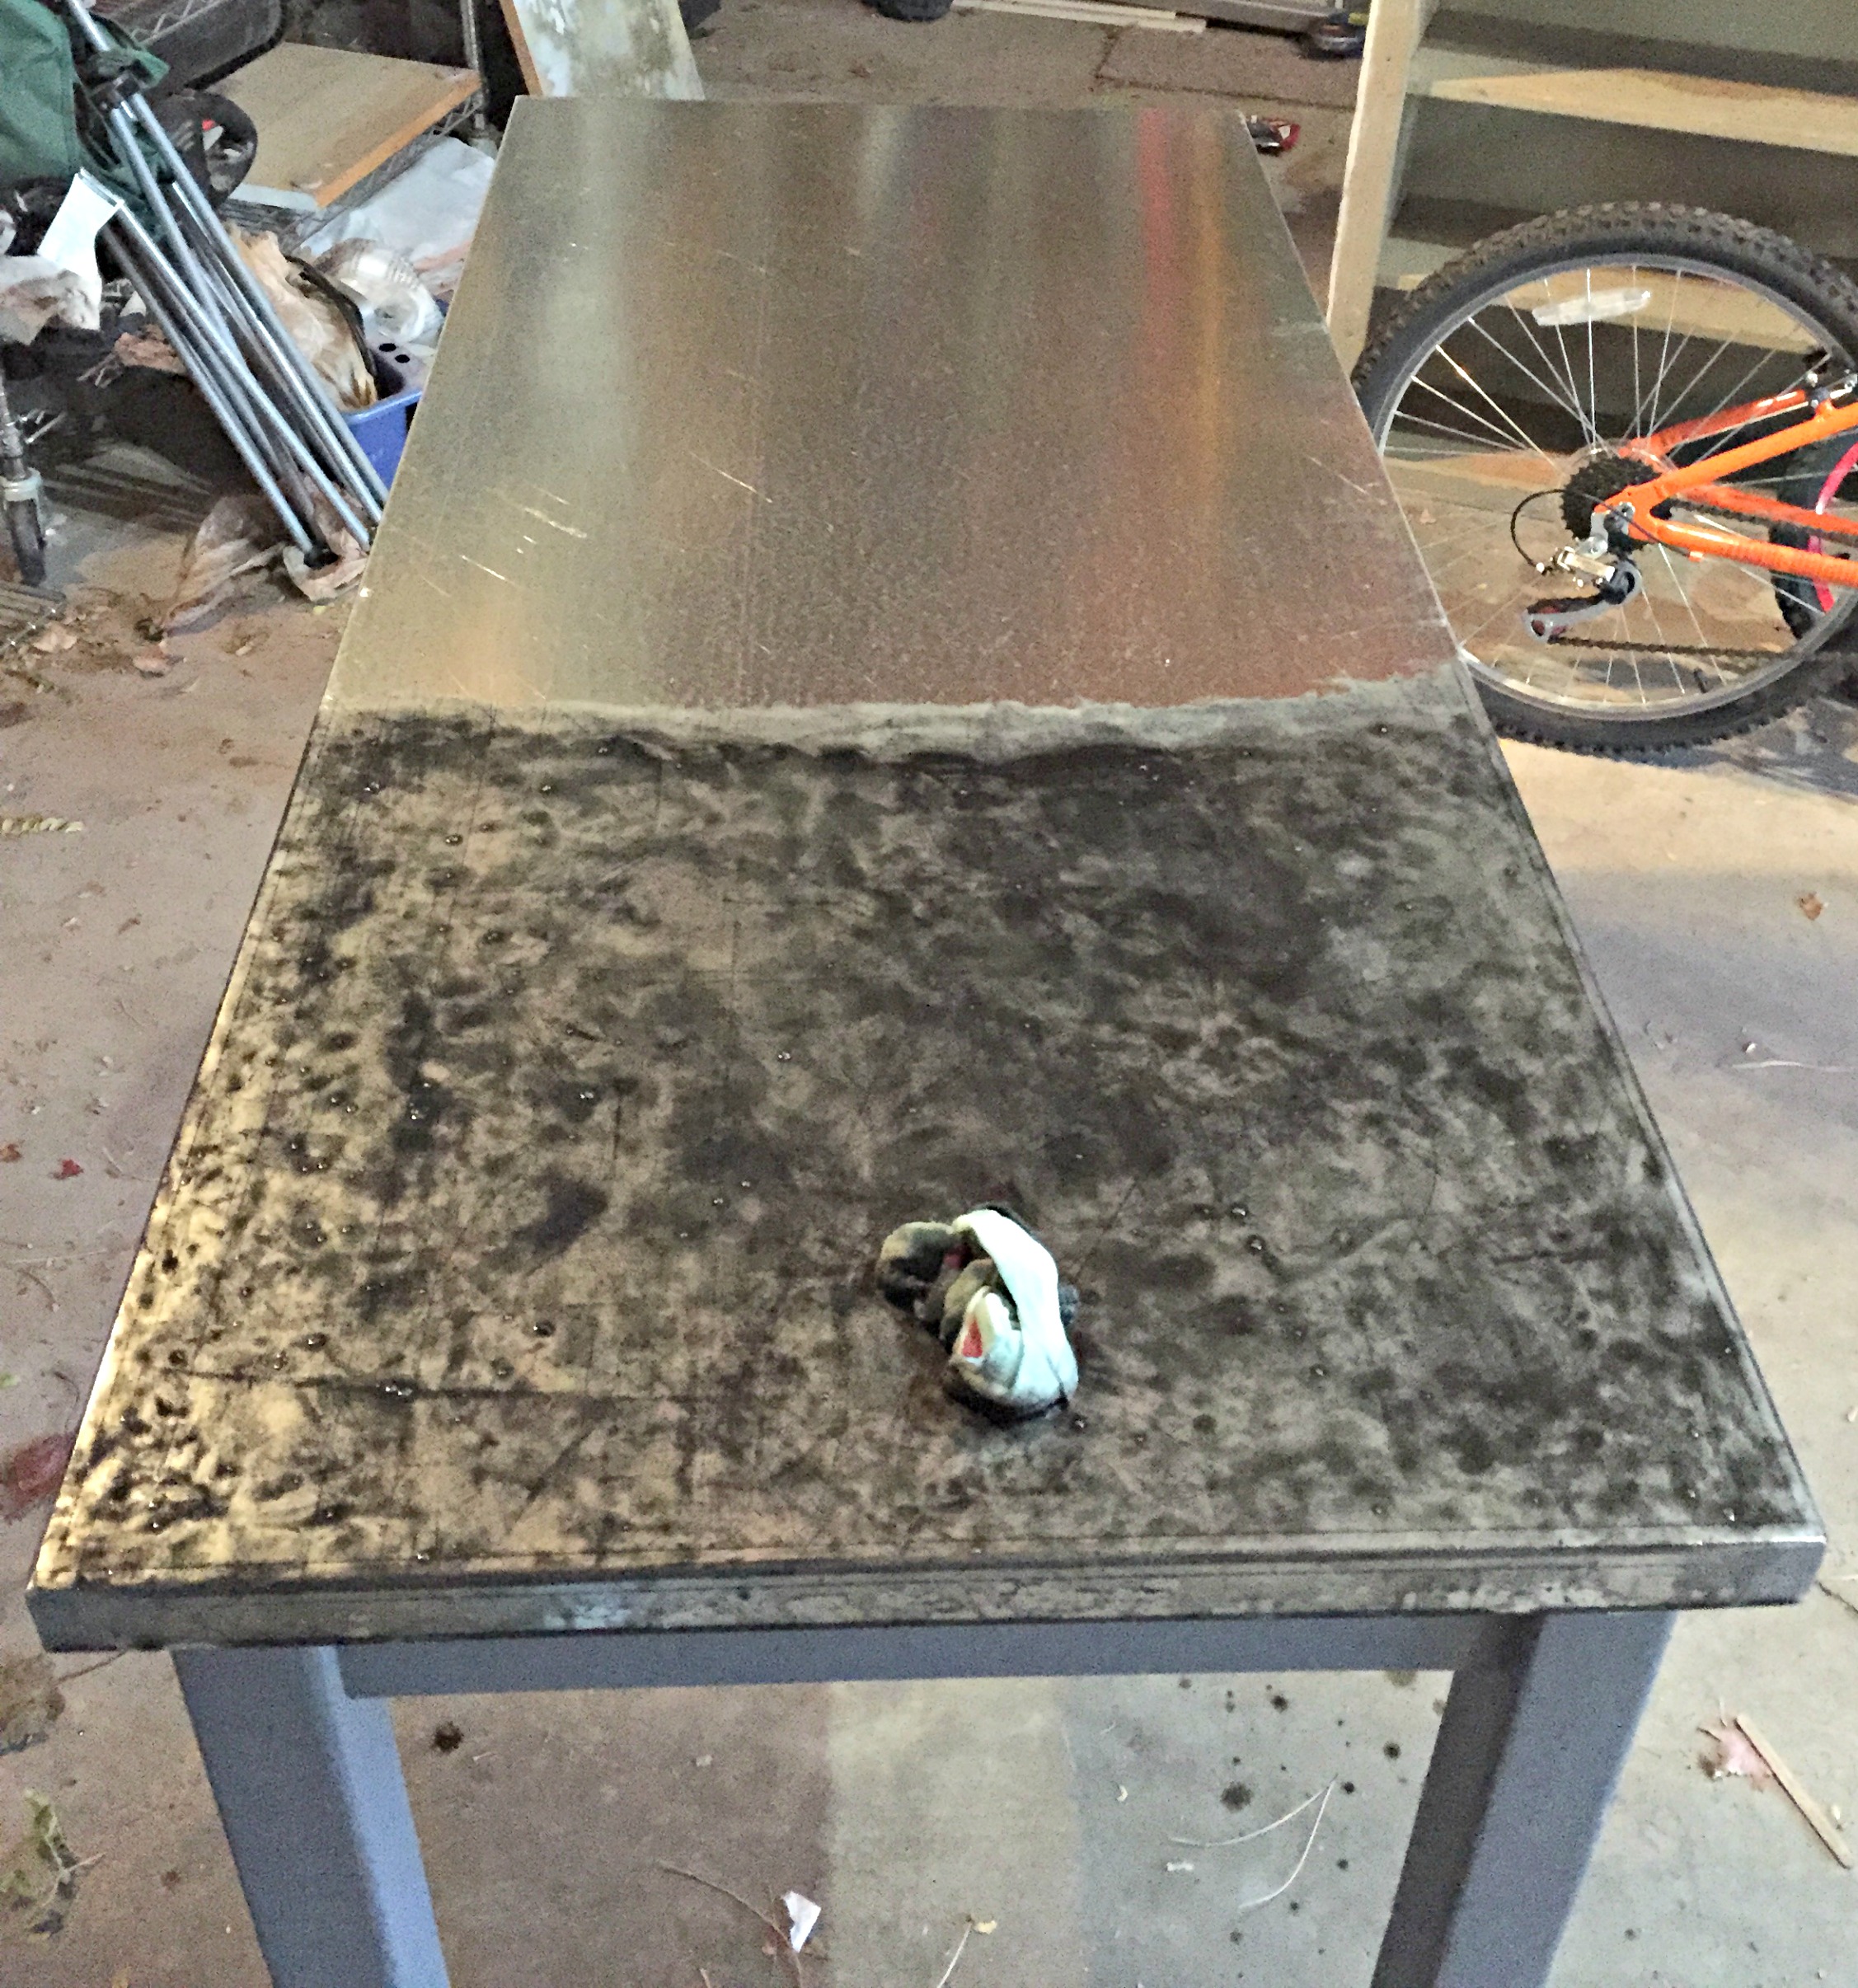
Why not have it outfitted with a galvanized steel top?
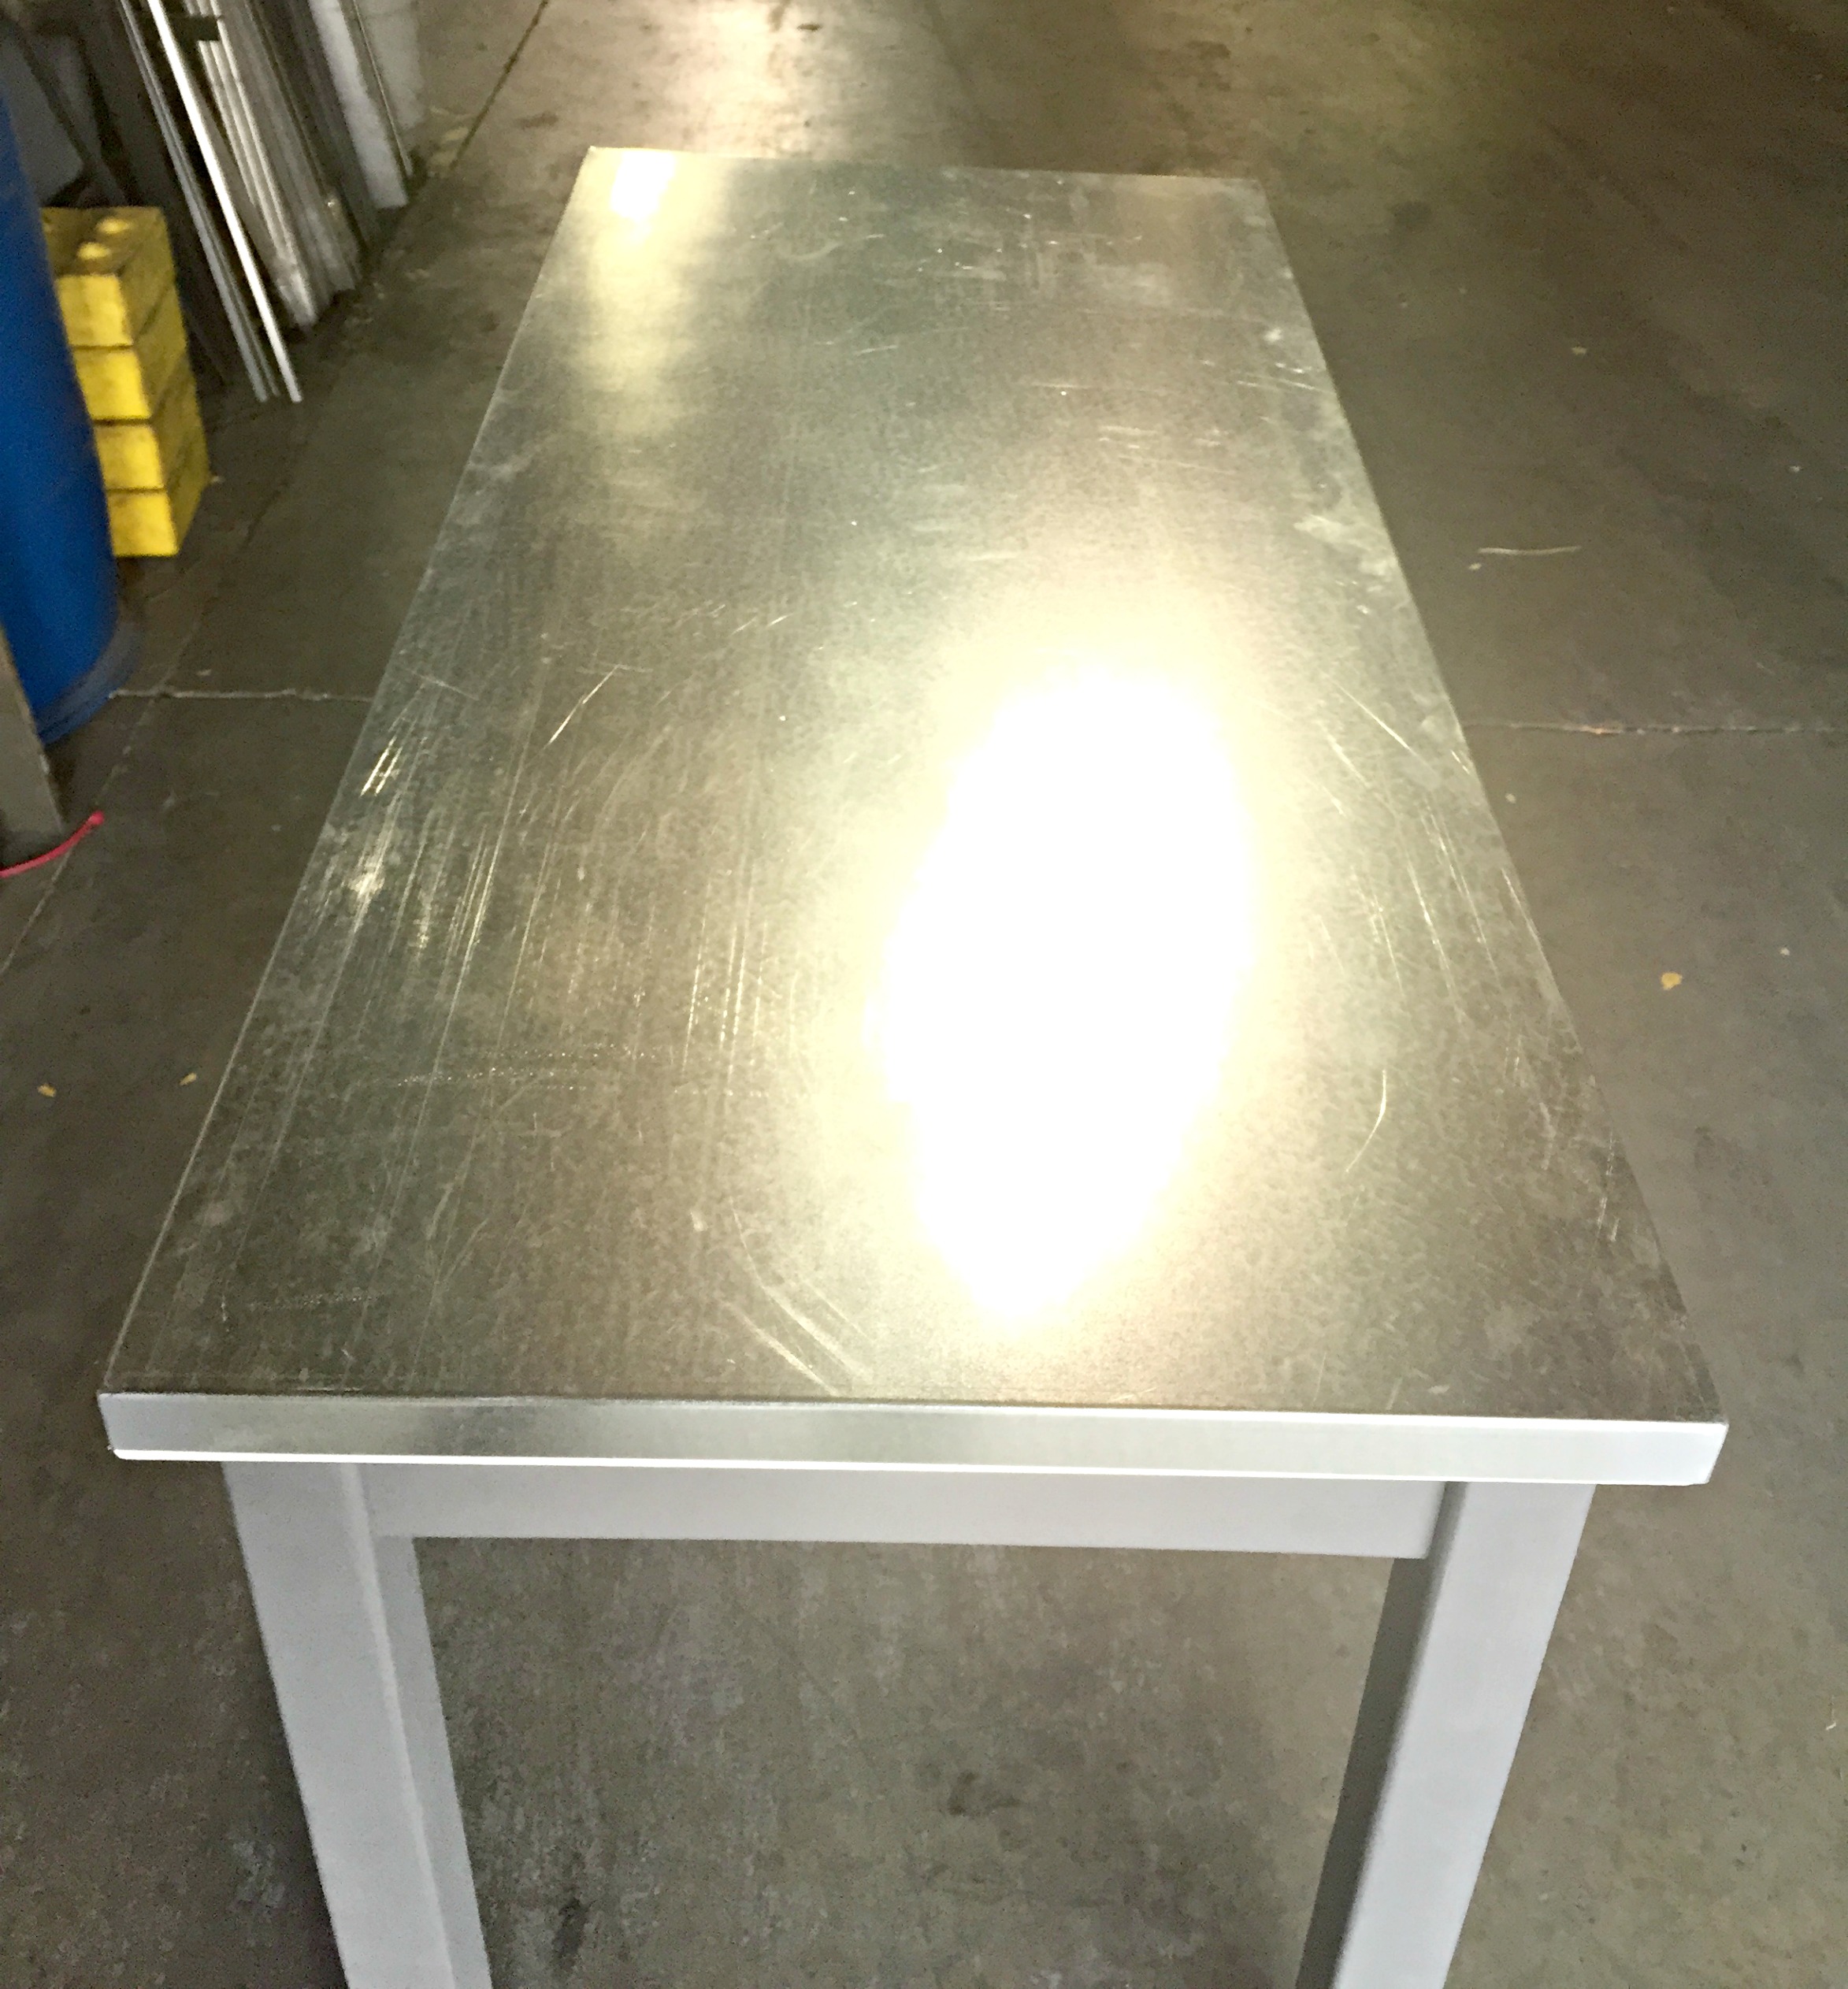
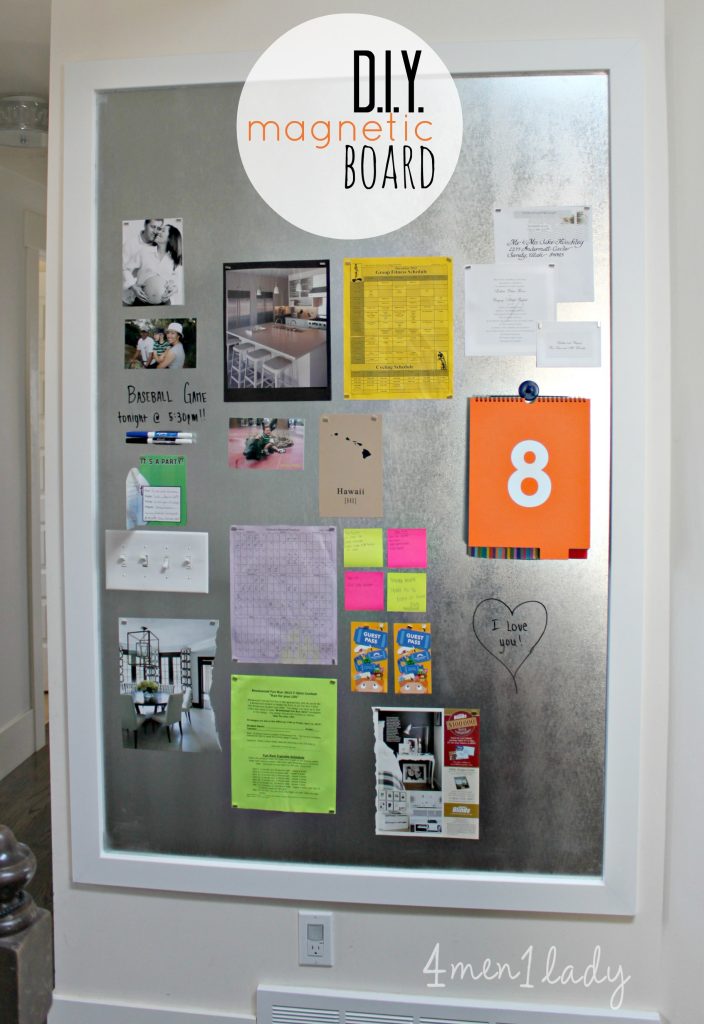
I turned to the same company that cut a sheet of galvanized steel for our huge Magnetic Board.
Metal Supermarkets charges approx $35. for a piece of 22 gauge galvanized steel metal piece to cover the table. However the labor to have it wrapped and corners welded was about $150.00. I could have bought the metal and shopped for less expensive labor but I was in a time crunch (and impatient).
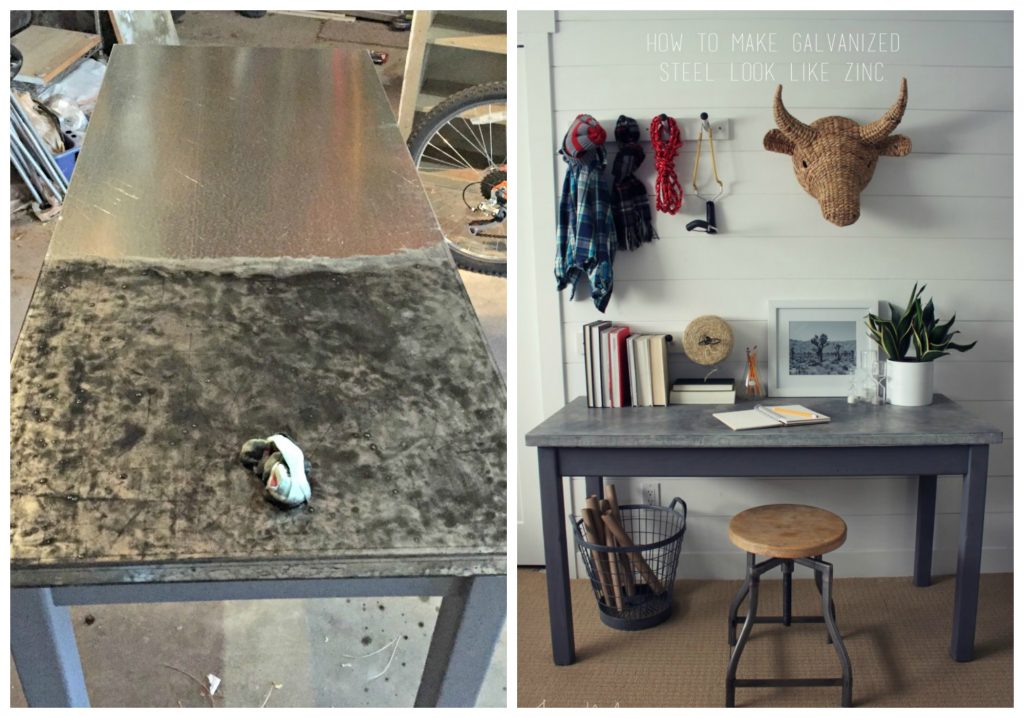
Here’s what I did to turn the shiny metal in to an aged zinc look…
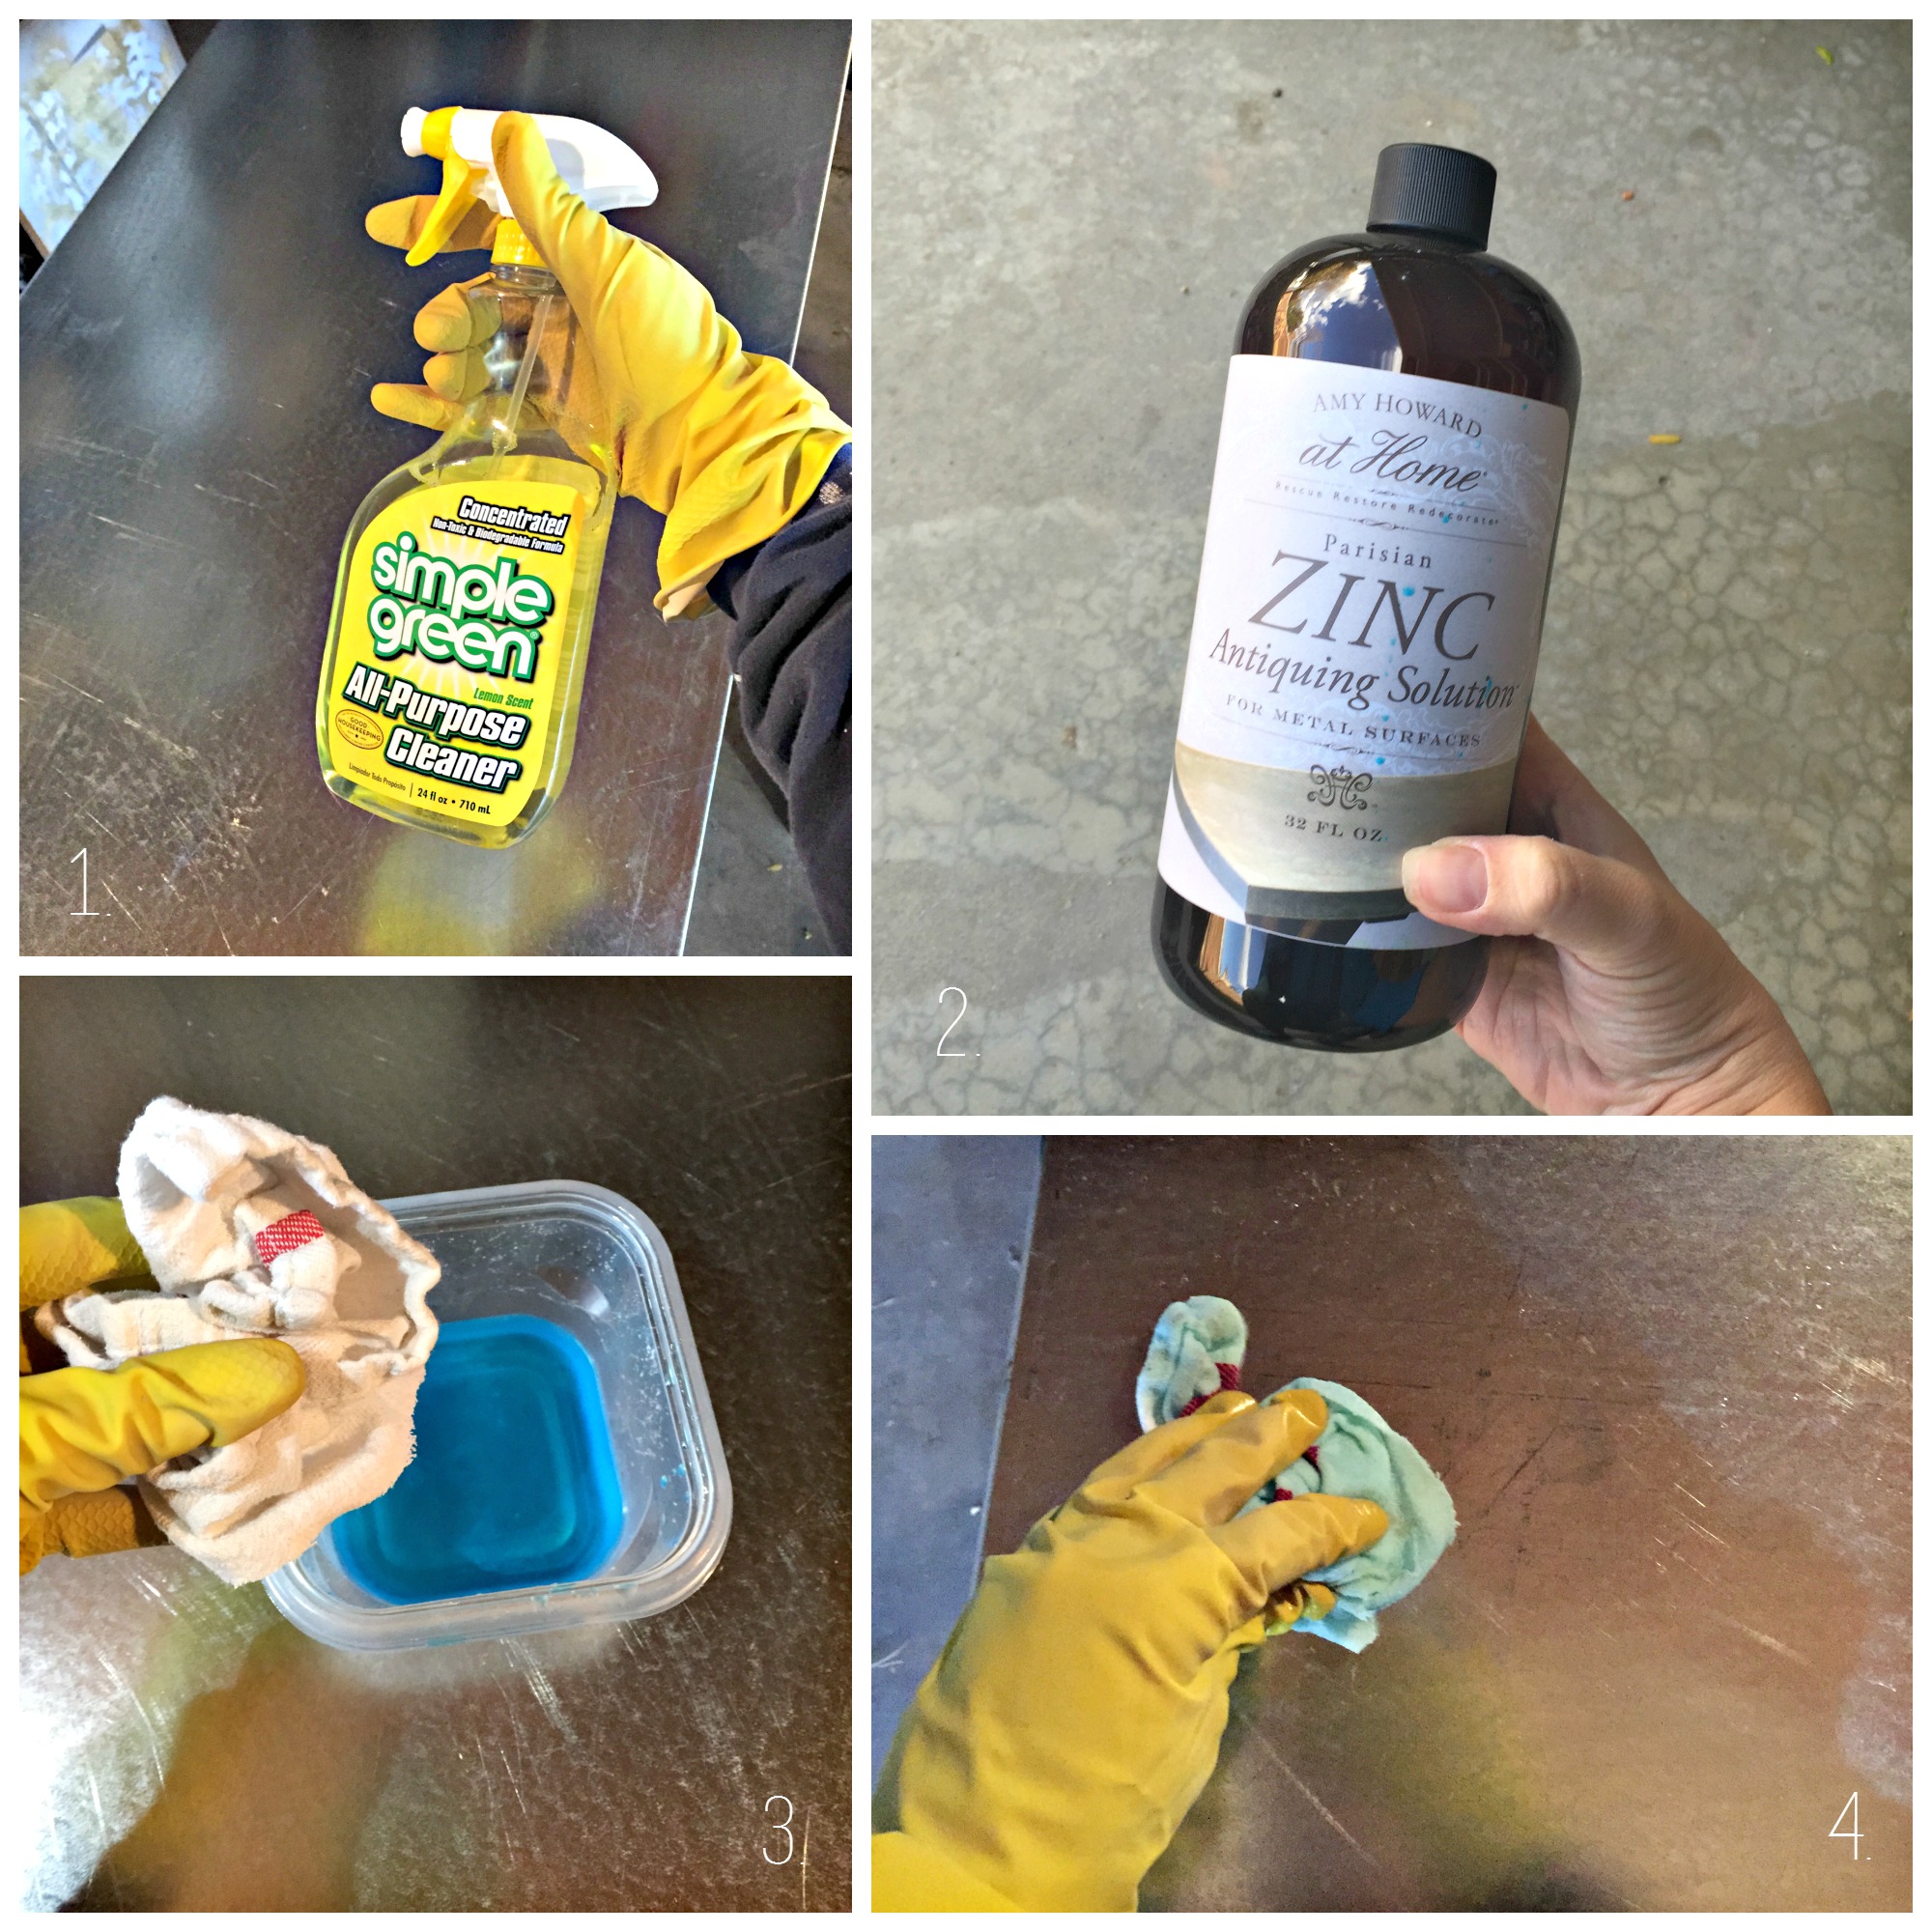
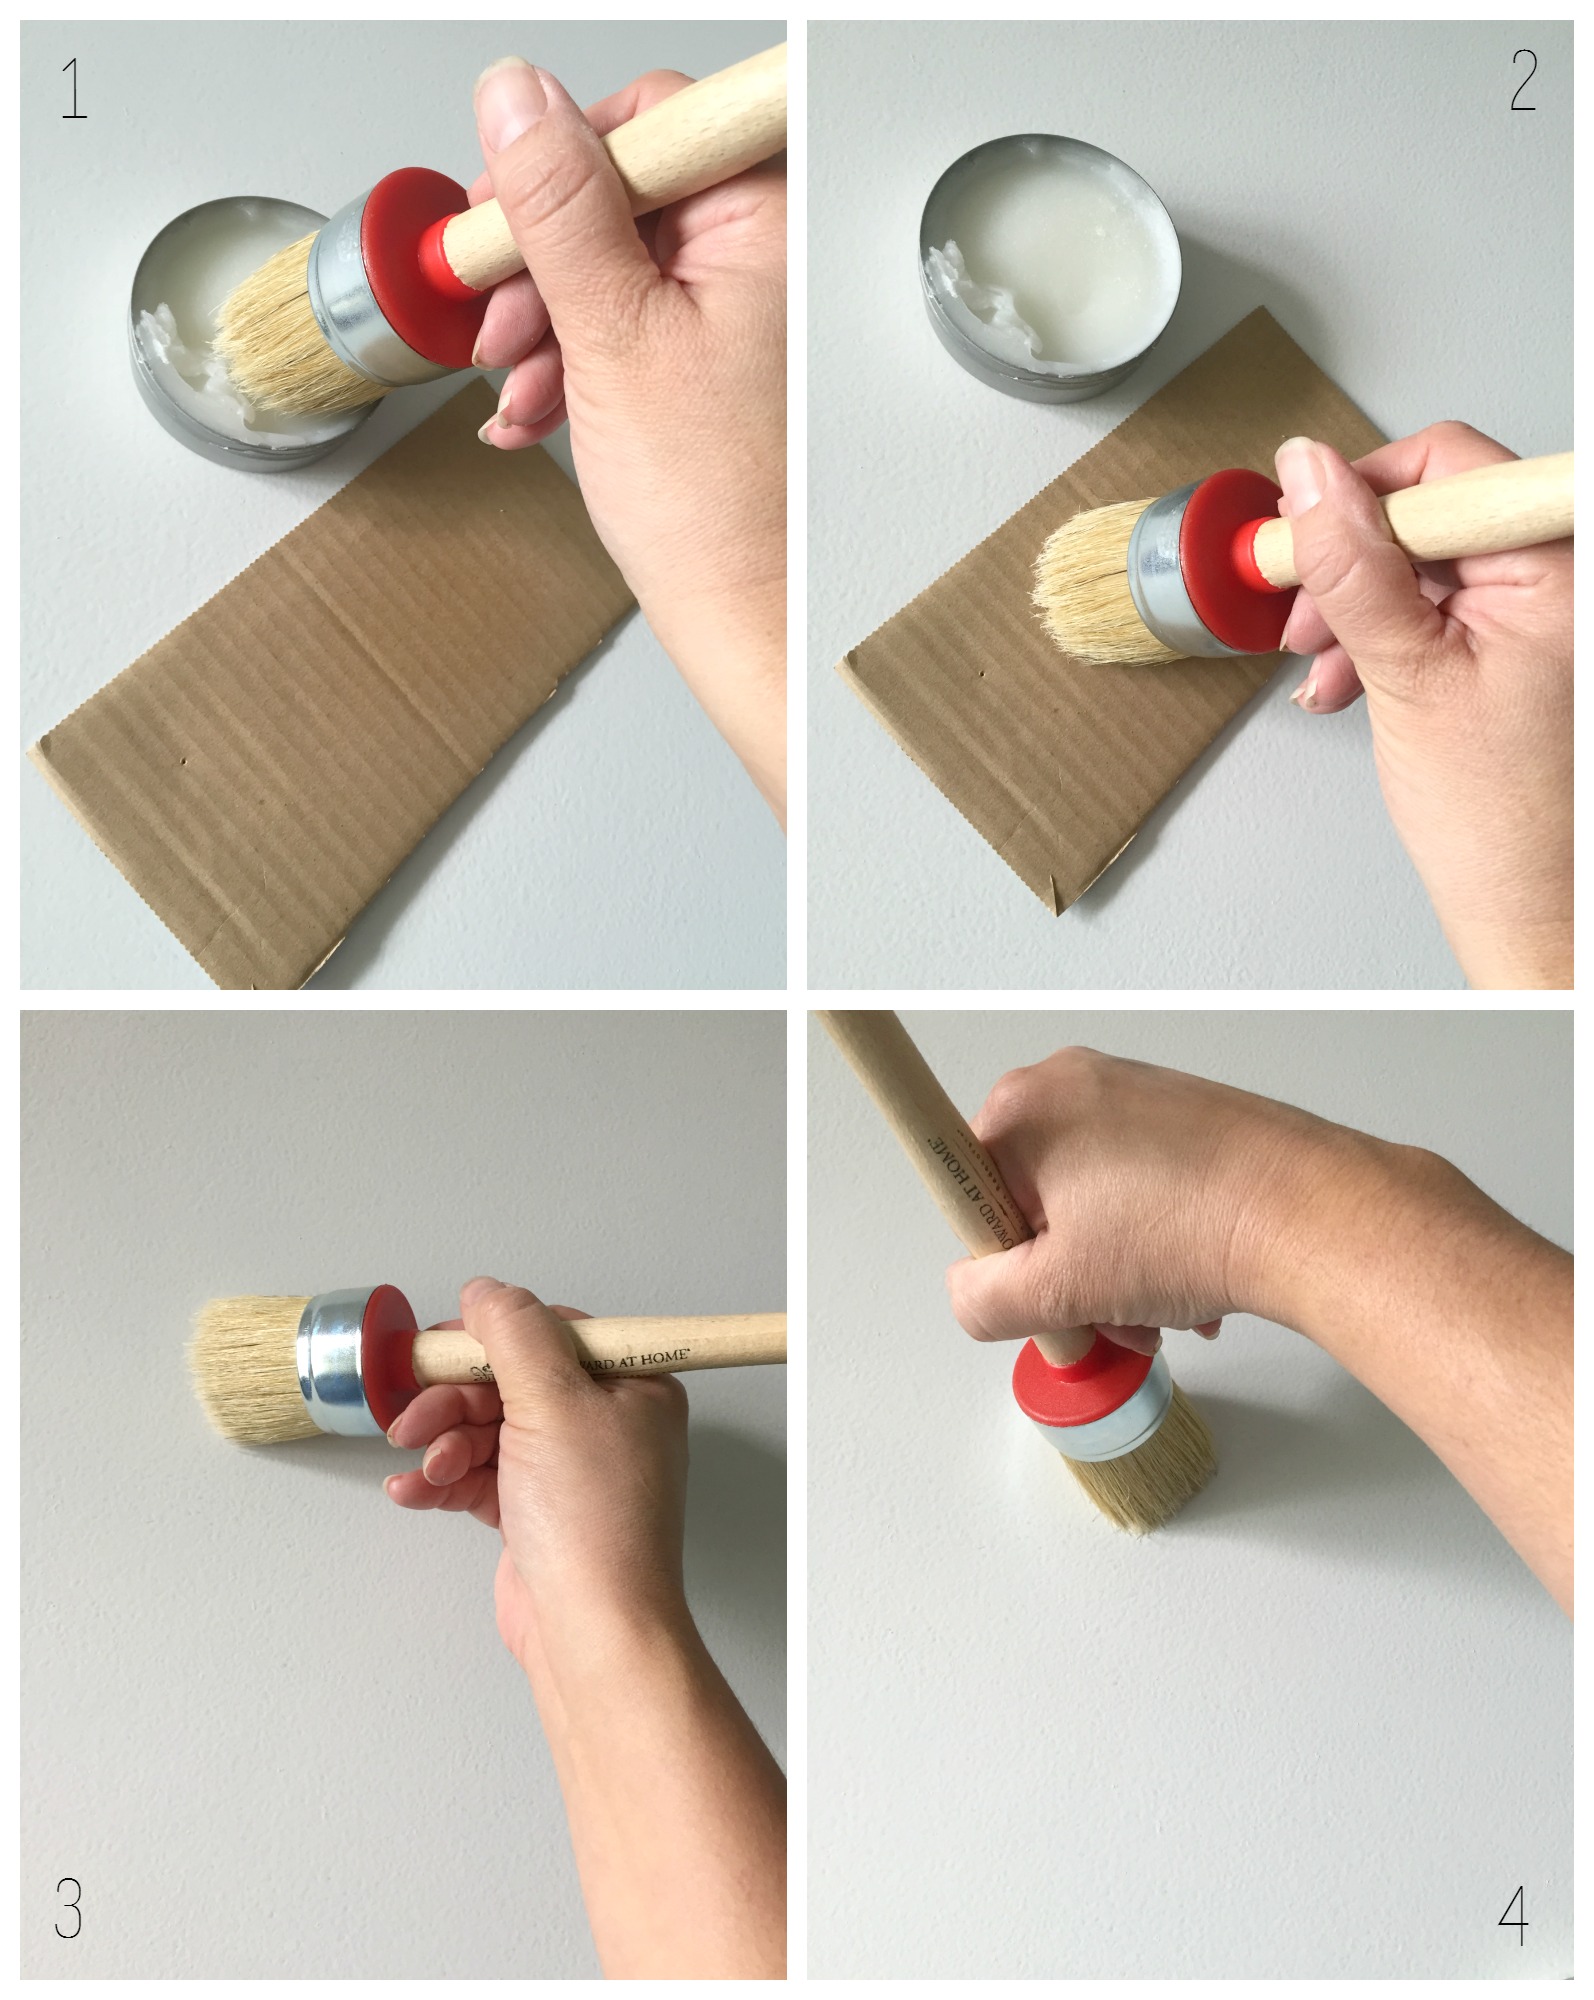
First (1), clean and de-grease your surface. I used Simple Green (be sure to dilute it according to directions on the back).
Next (2), shake Amy Howard’s Zinc solution (found this at ACE Hardware. One bottle will cover approx 25-30 sq ft).
(3), Put it in an old container that you can either throw away or use specifically for only this solution.
Last (4), wear rubber gloves and apply the solution with a lint-free rag.
Dip and pat on surface randomly. You can see the oxidation process starts immediately and will have a black appearance.
Leave on about 15-20 minutes or when your surface has reached the desired look.
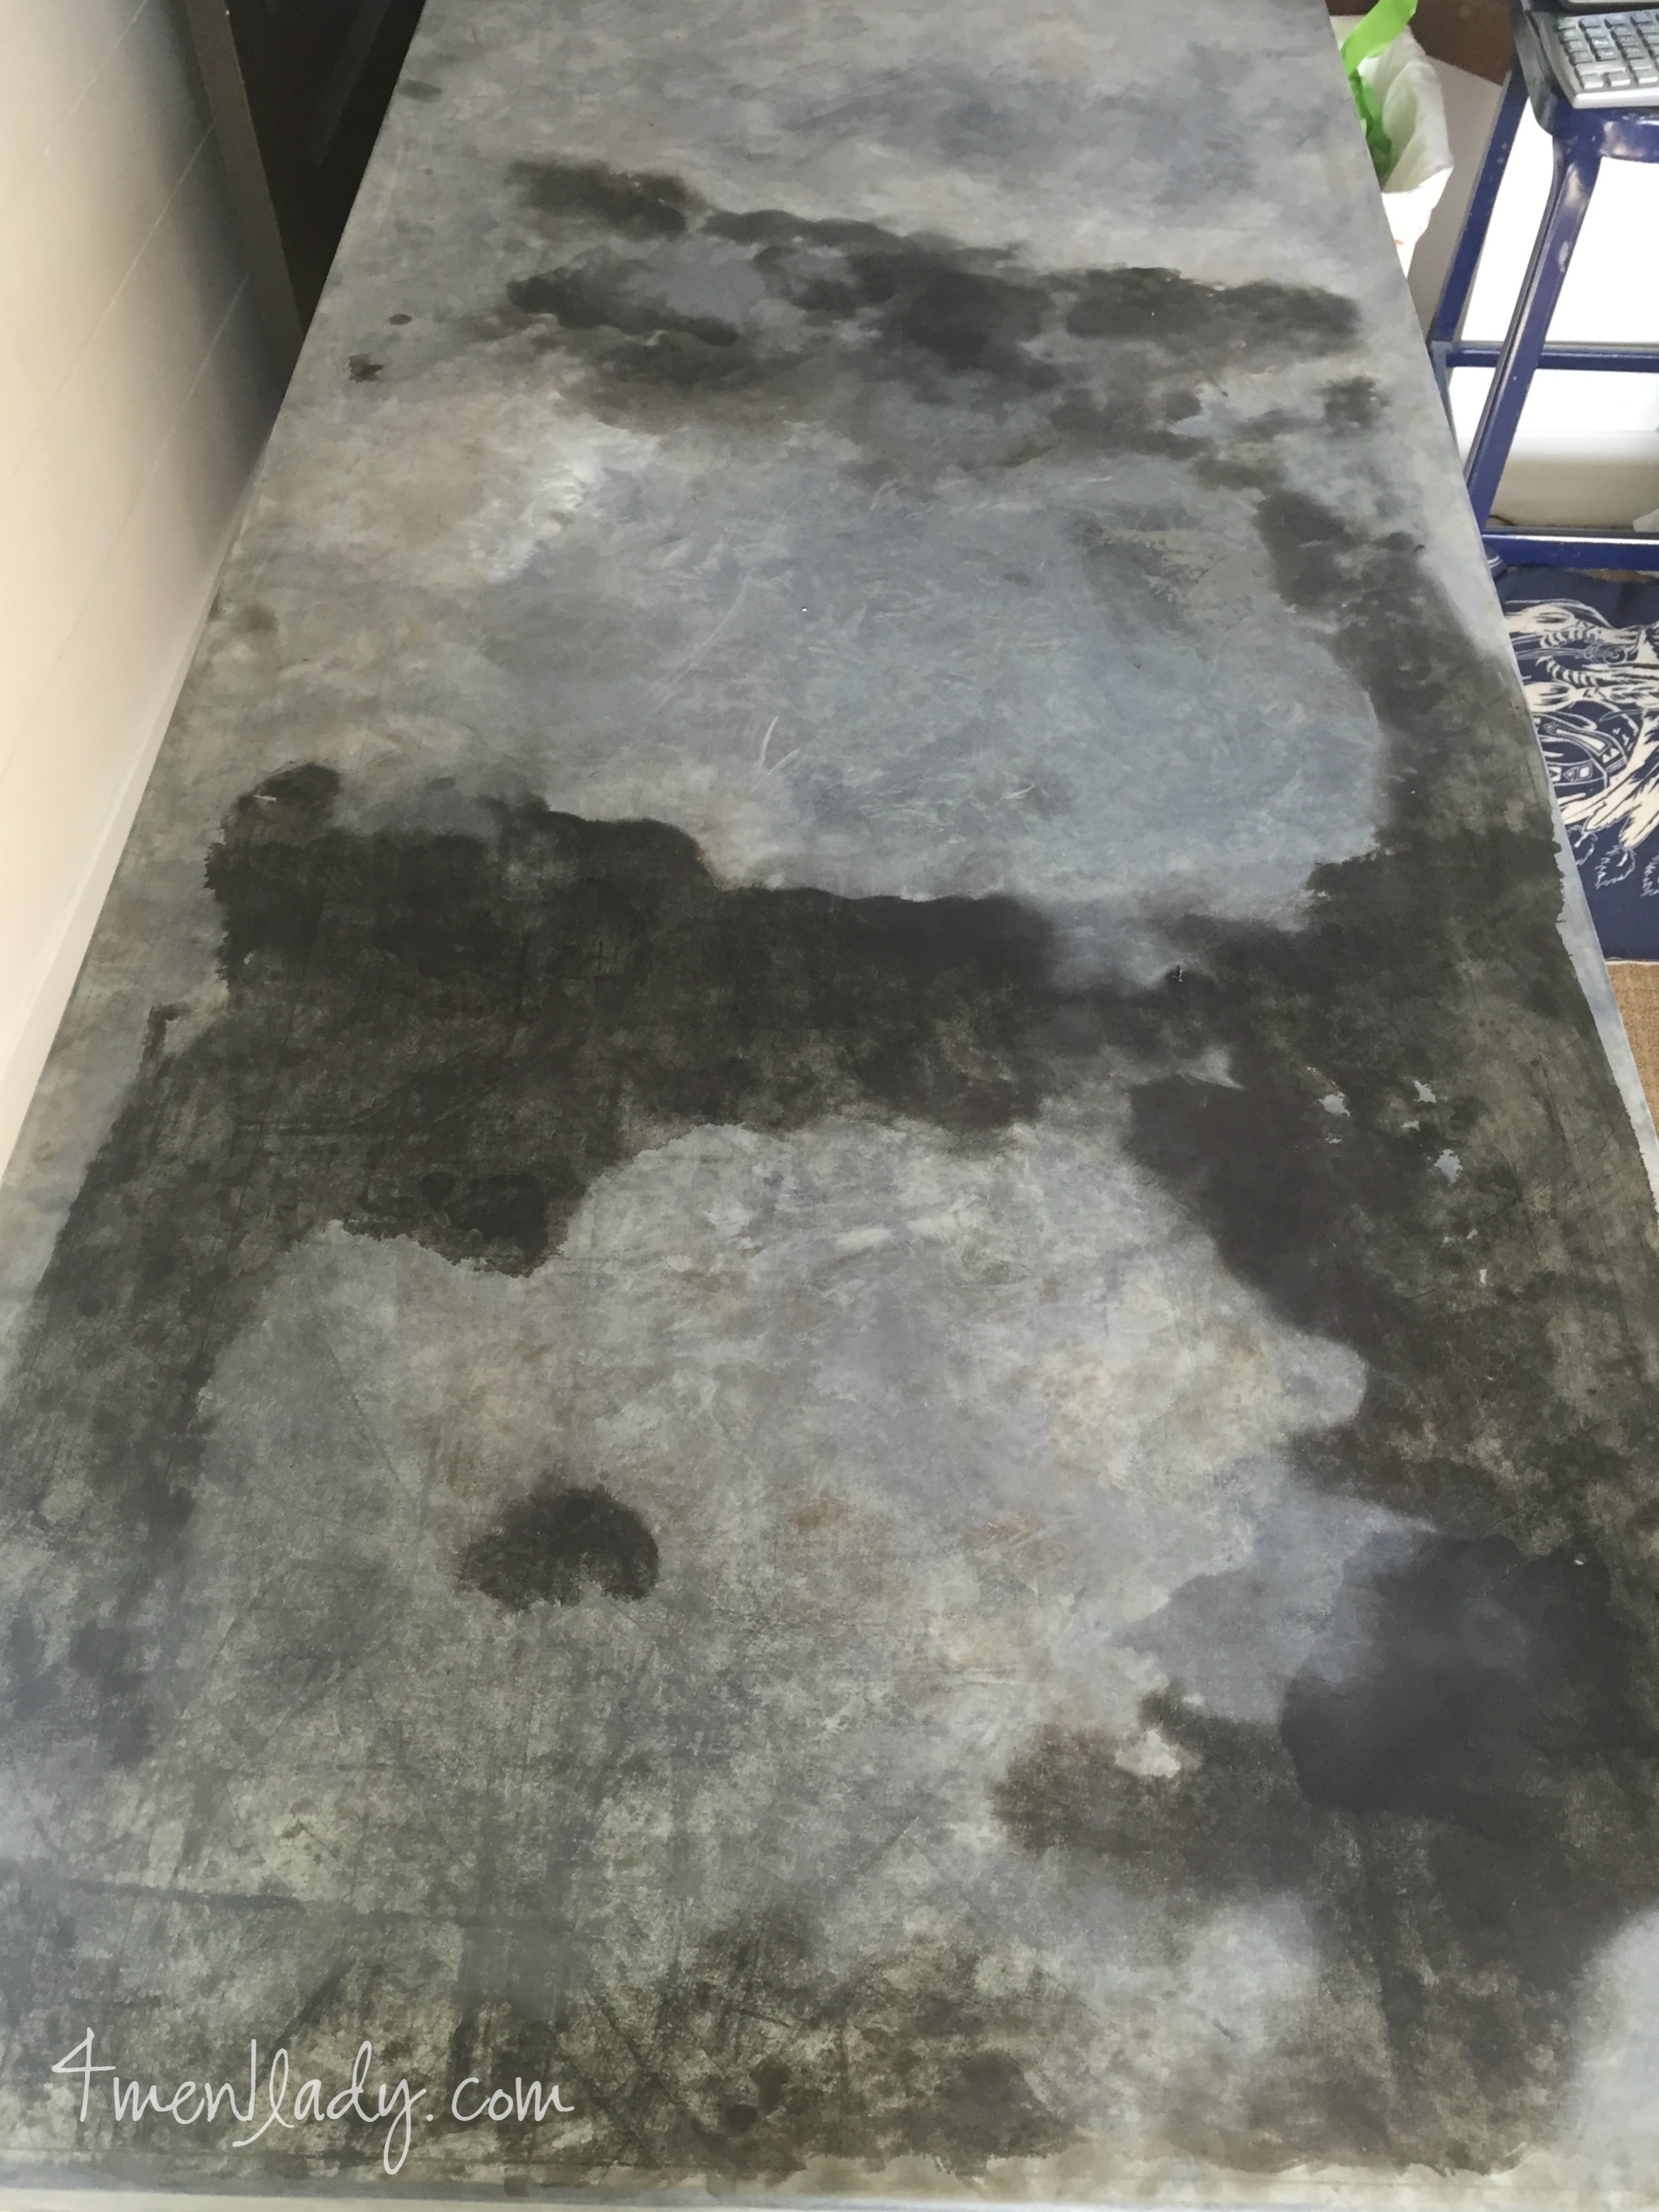
Pat excess off with a dry rag (don’t completely dry it). As it dries you’ll see the chalked aged finish appear. Let it sit over night.
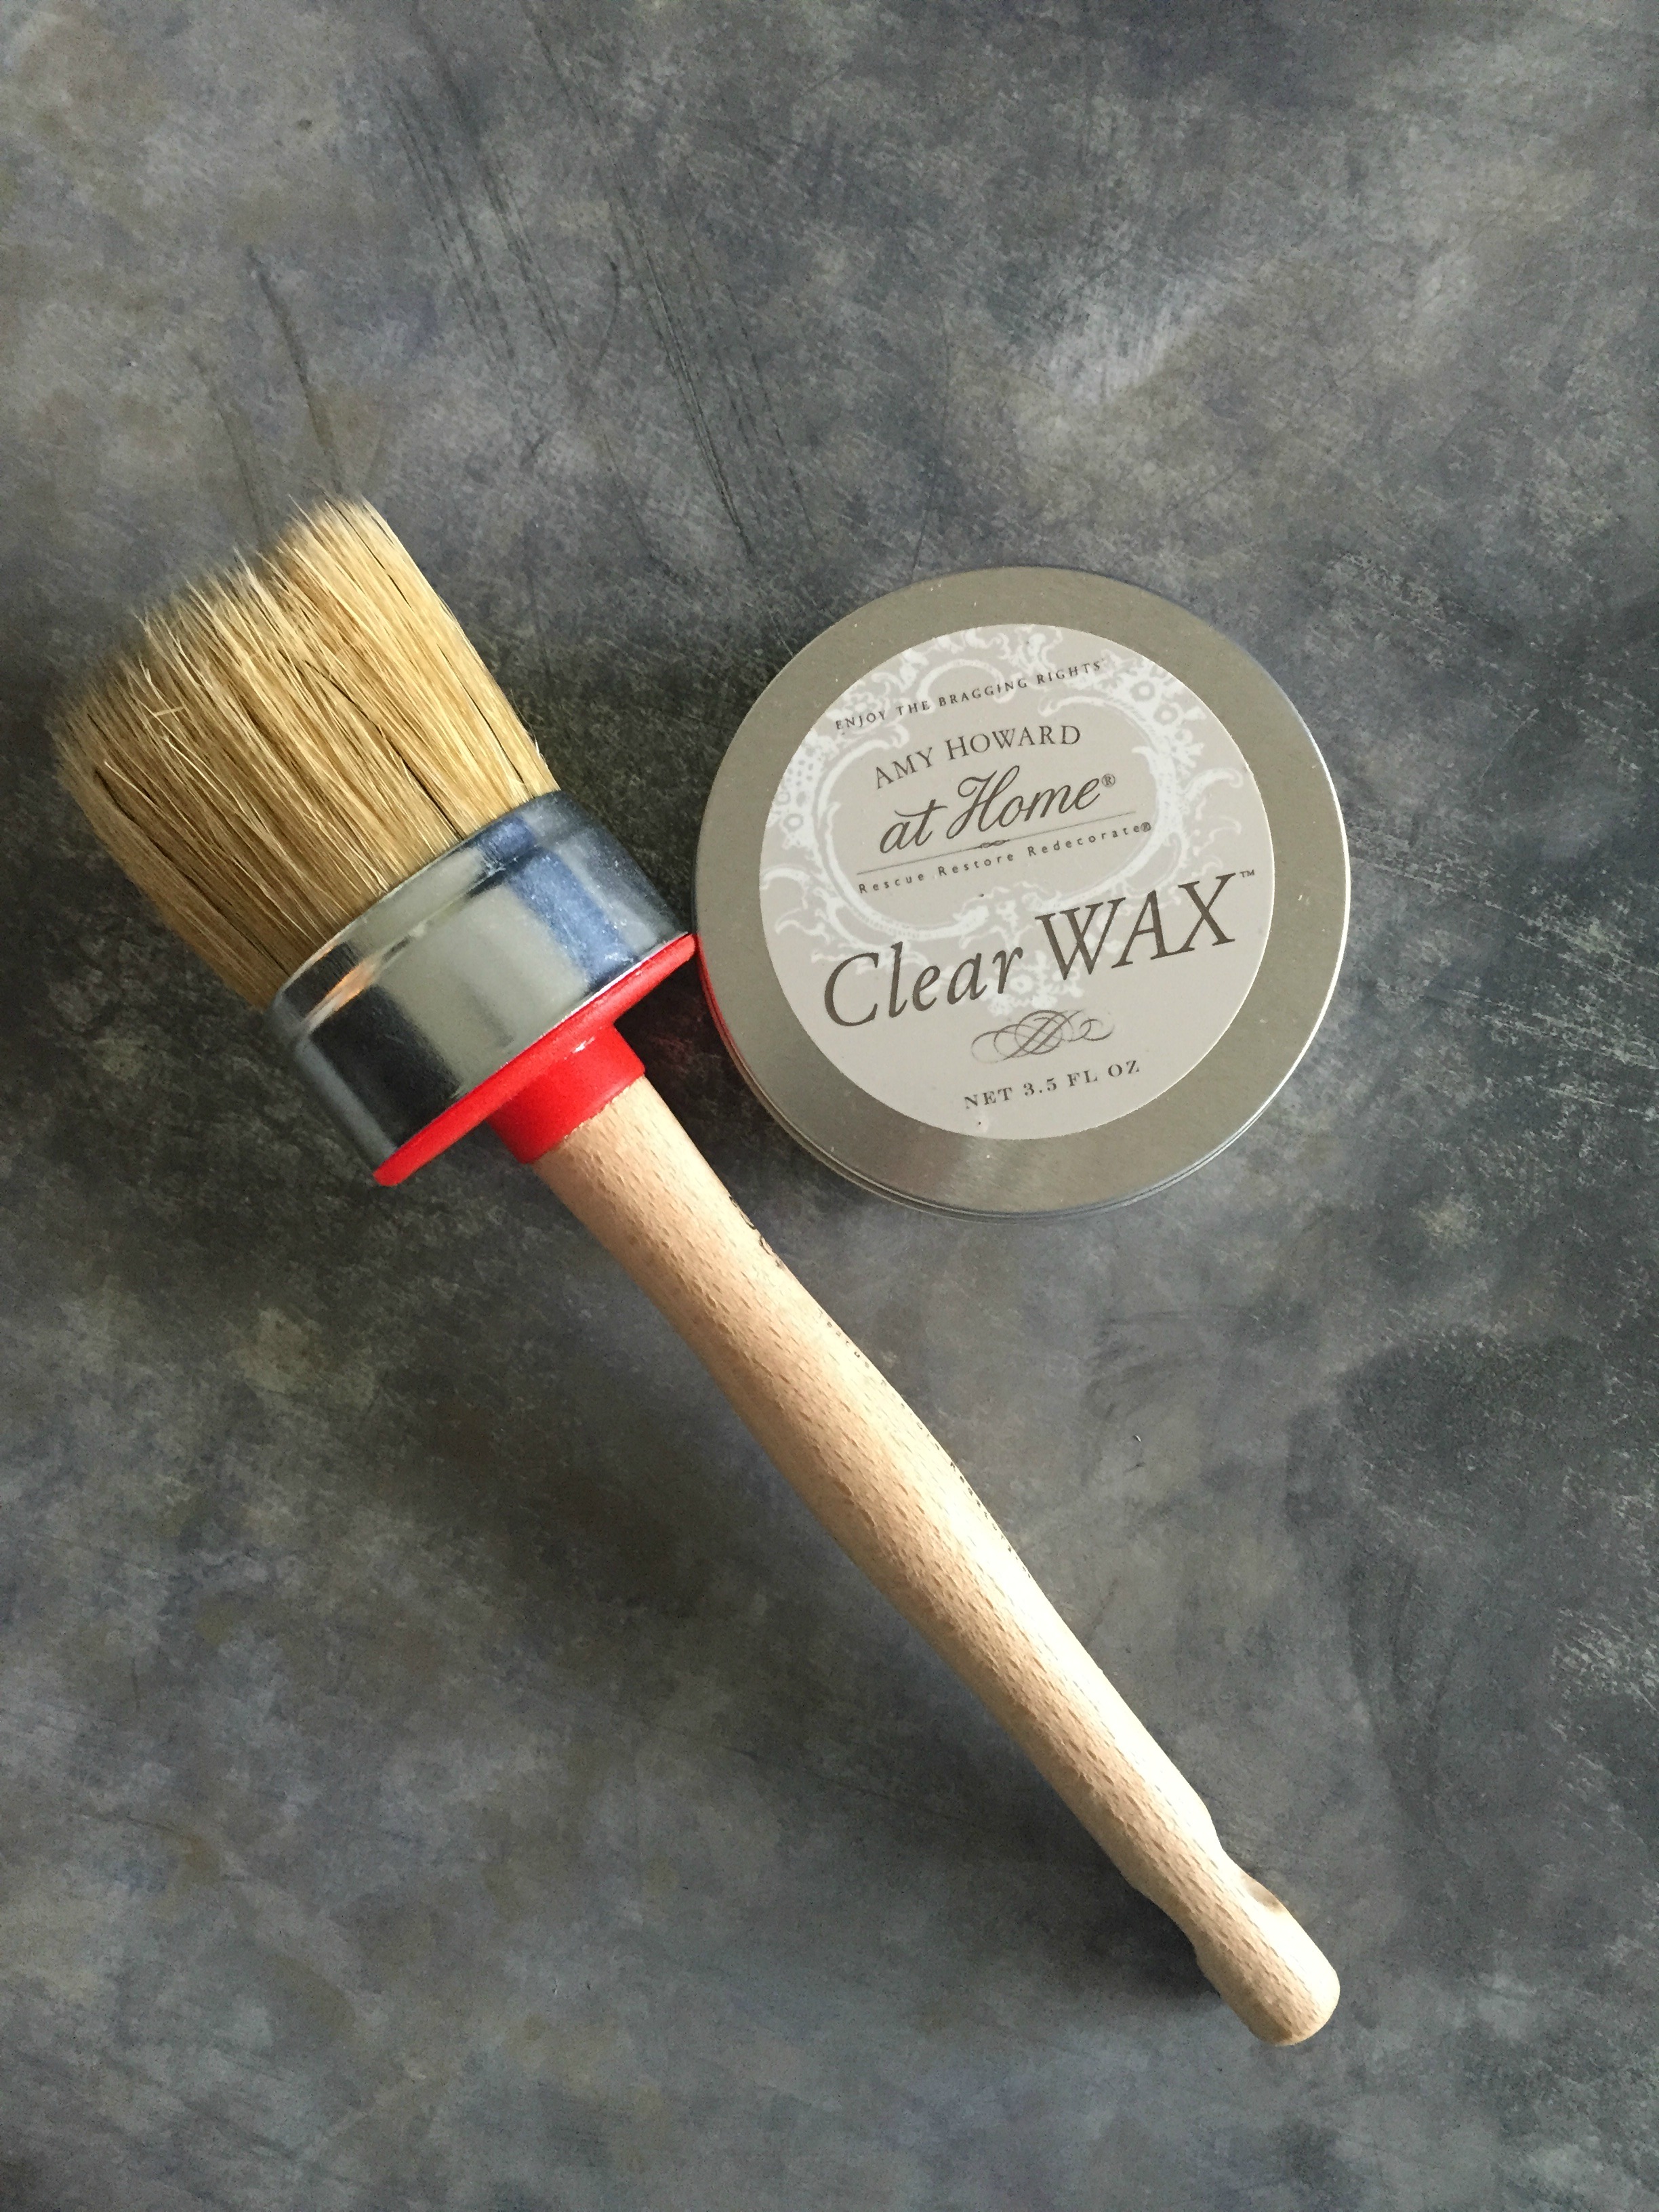
Apply Amy Howard’s clear wax thinly over entire surface to protect it (found at ACE Hardware).
Apply the wax the same way you would over a painted surface or over your zinc surface using an up-down, side to side motion randomly.
After about 15-20 minutes buff it out with a lint-free dry rag.
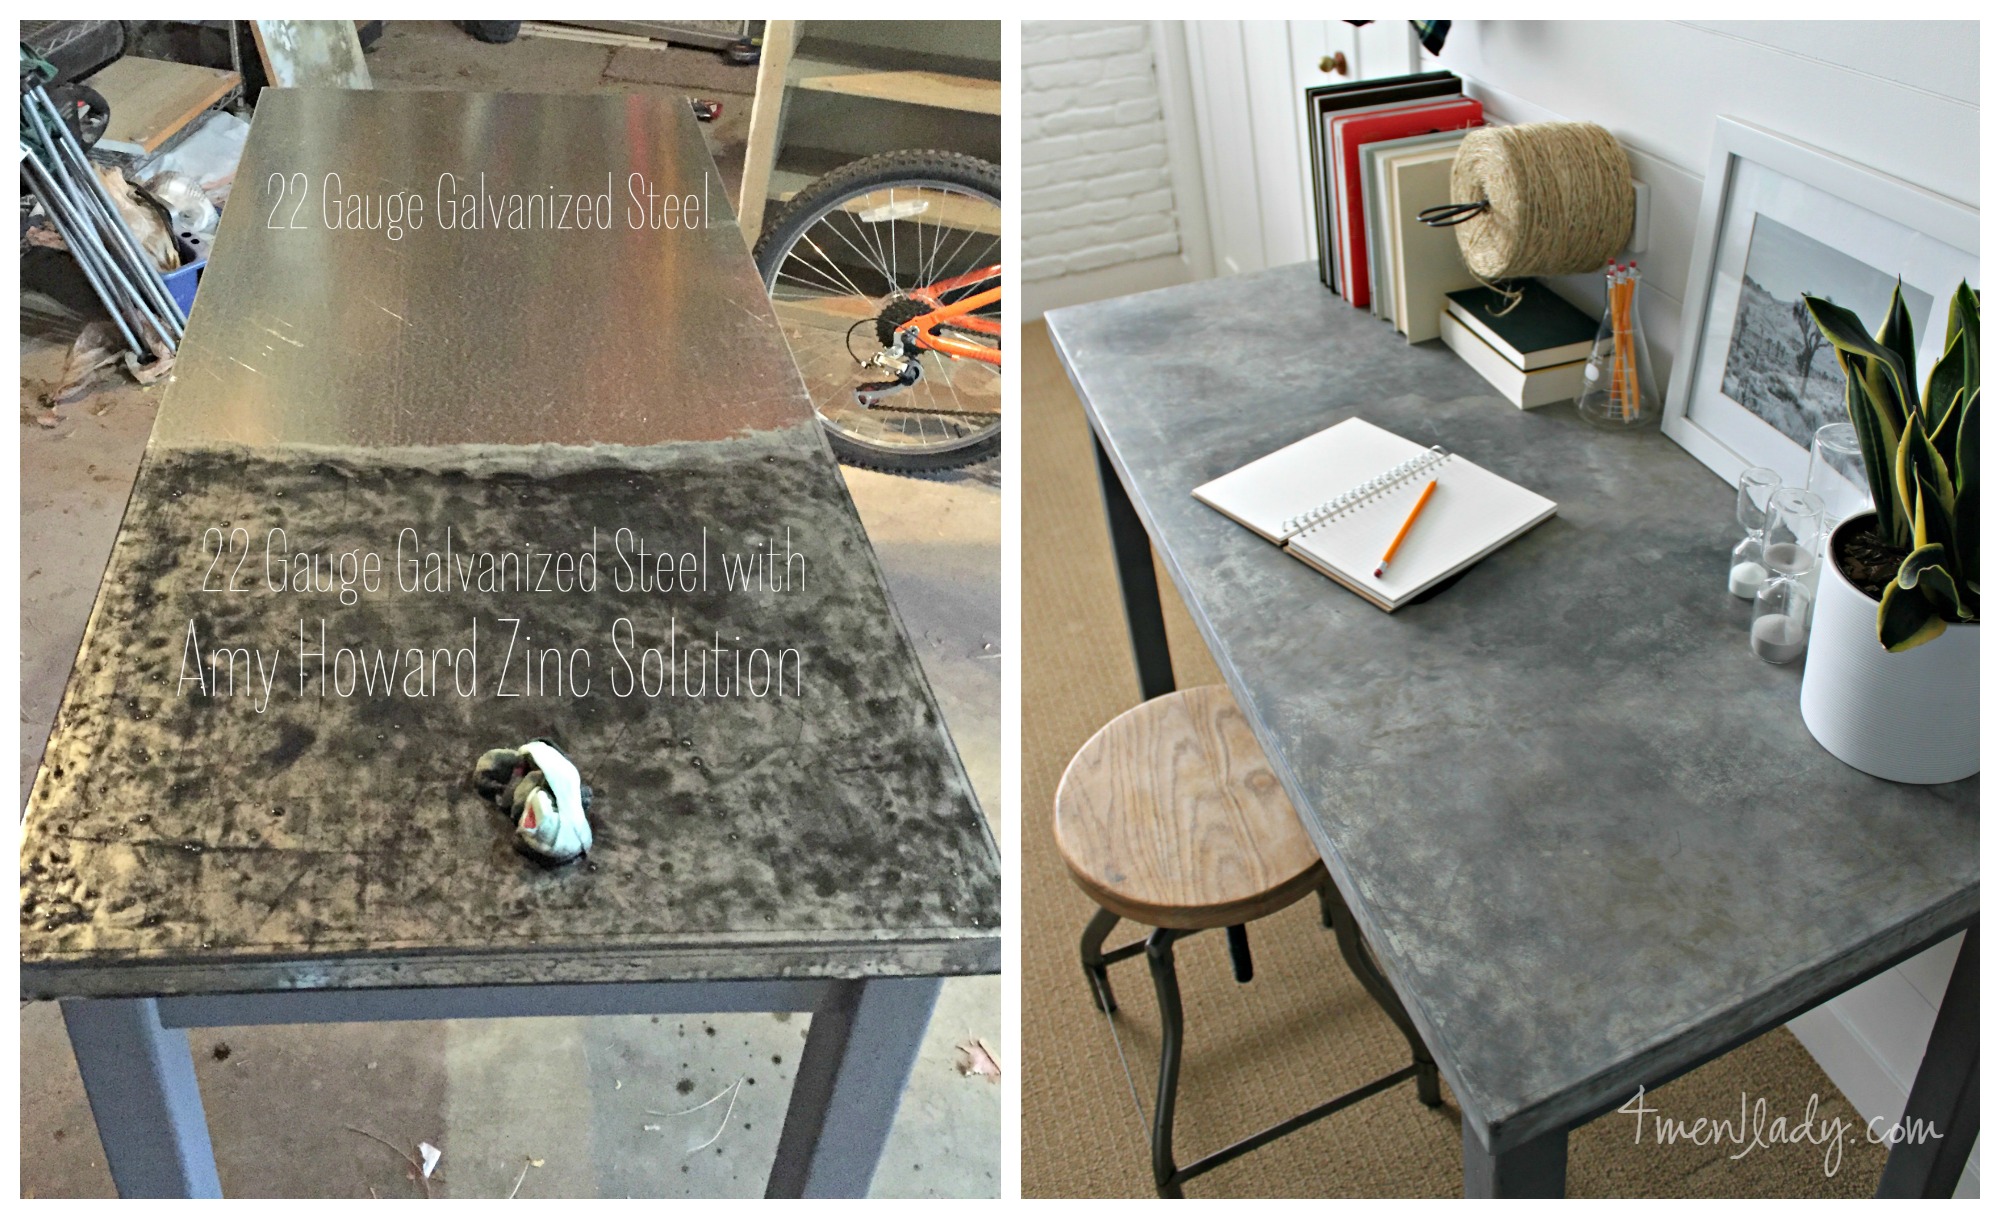
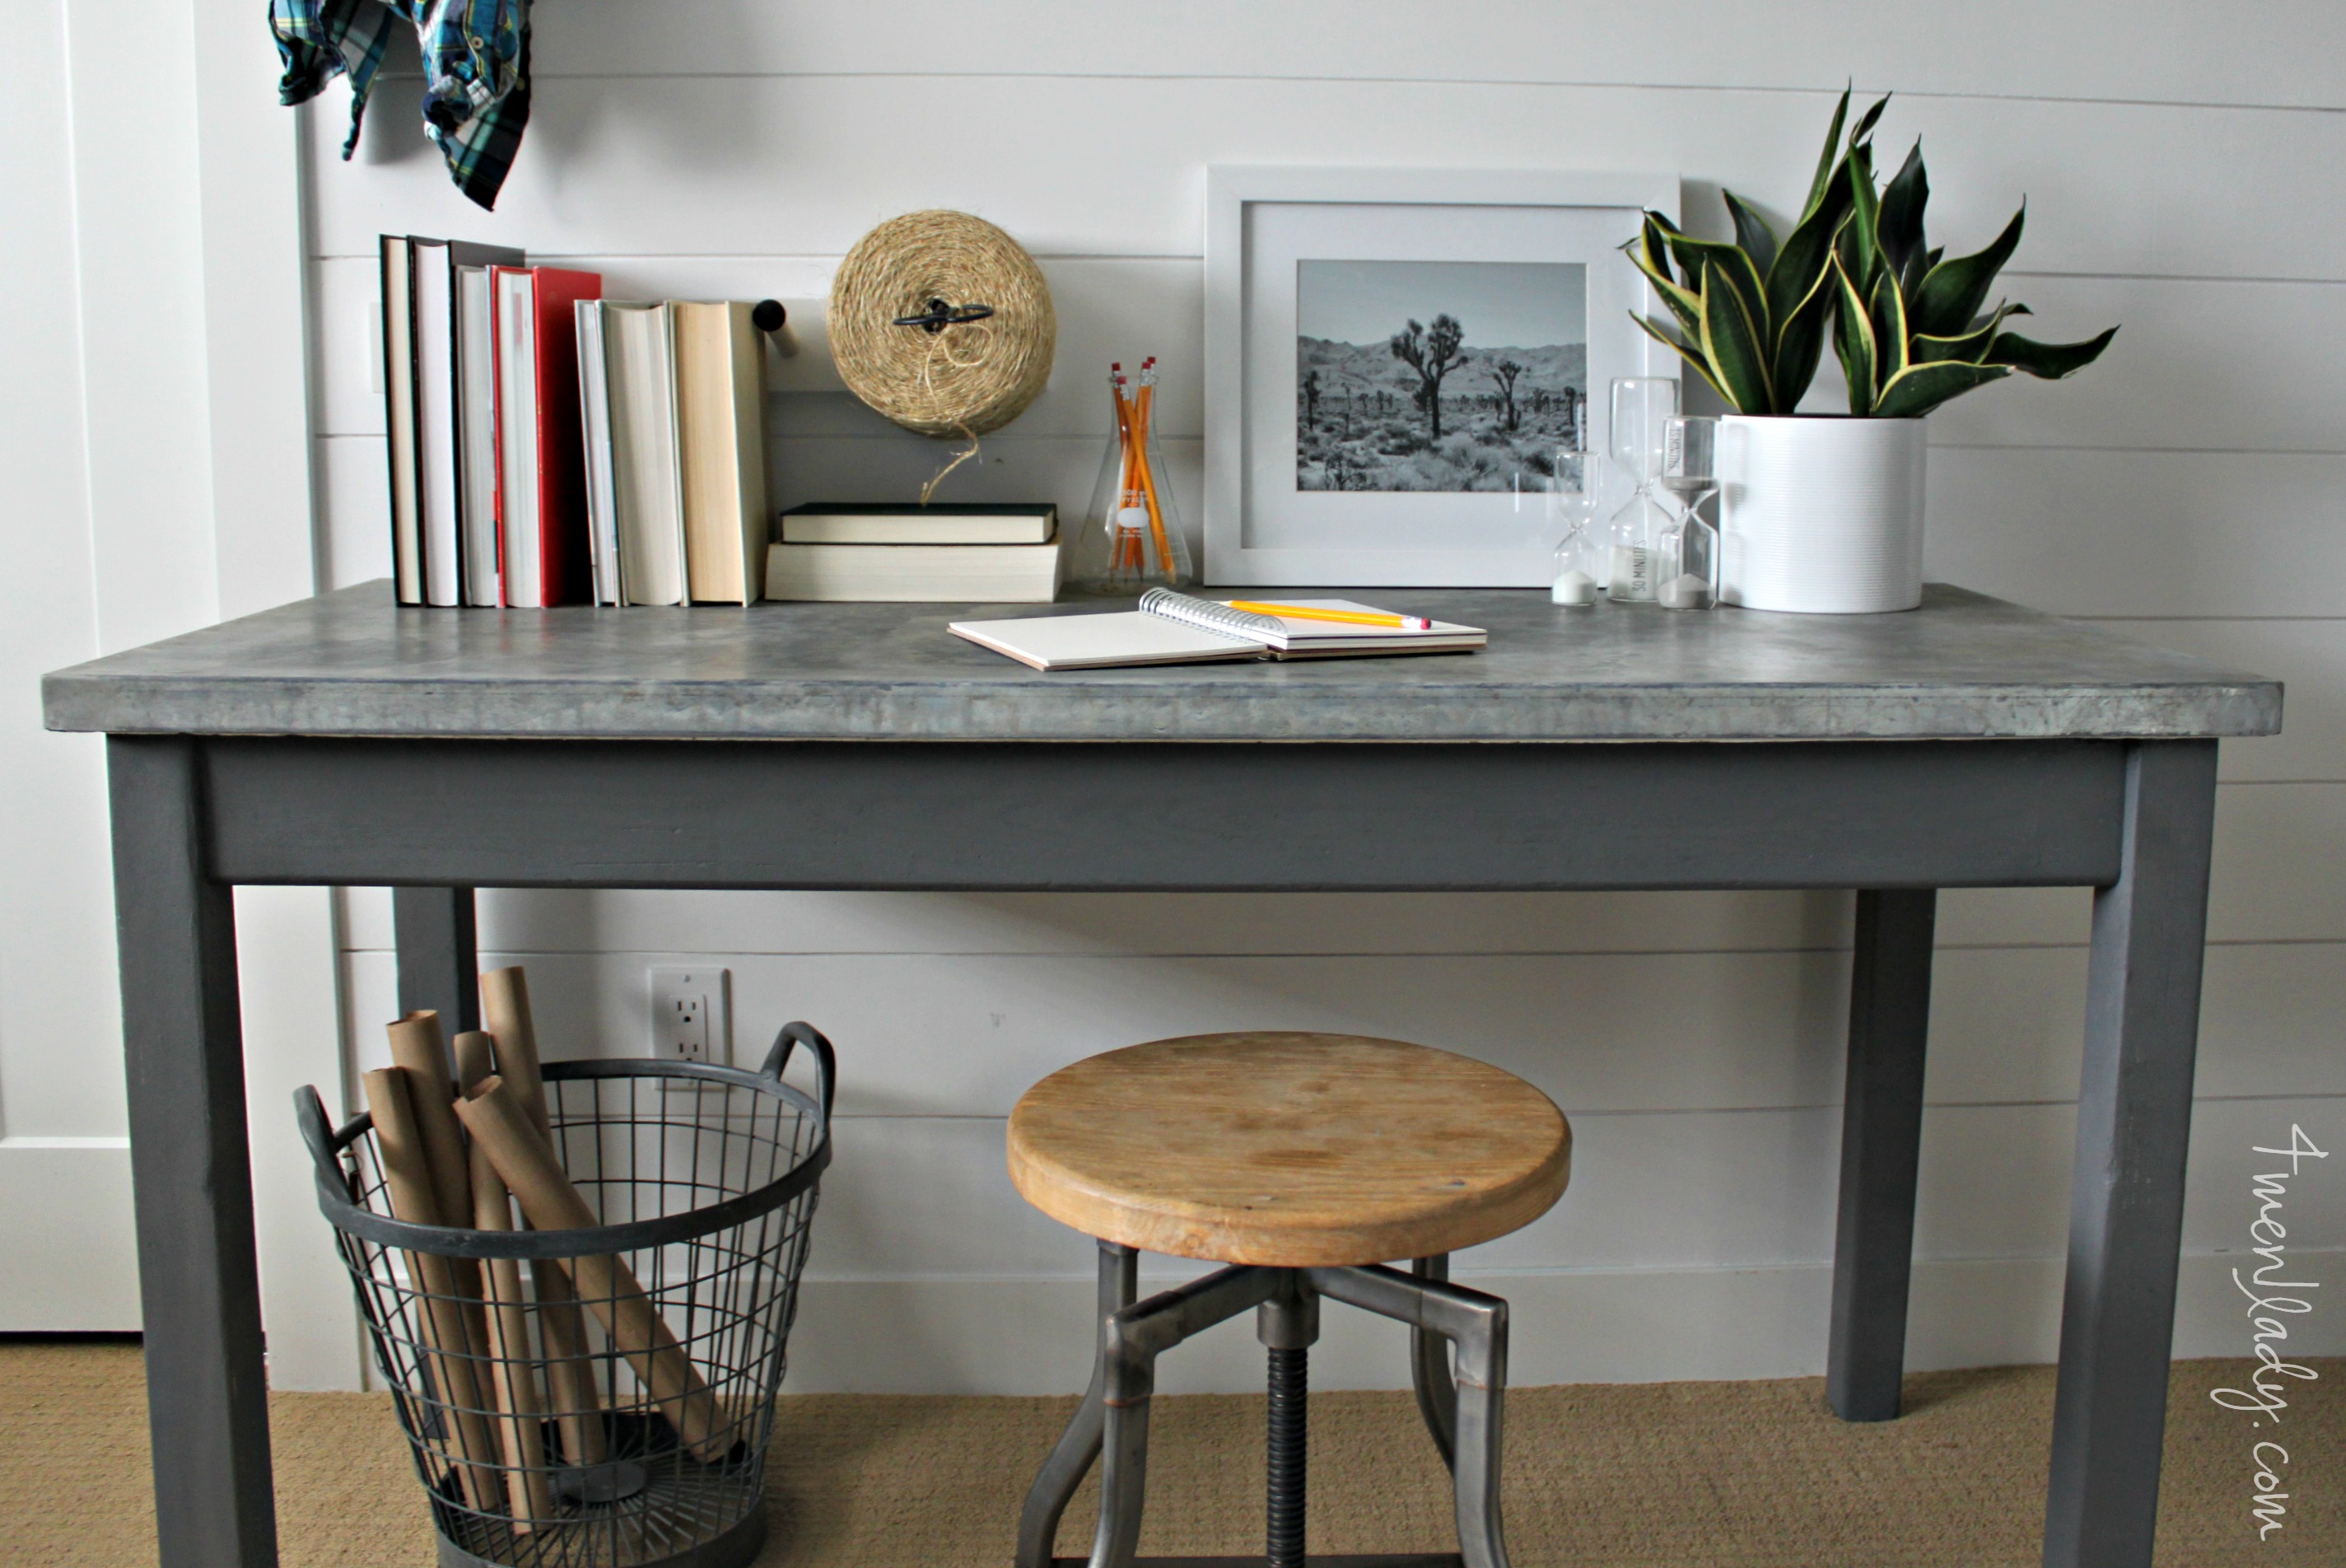
The result is a weathered surface that looks like it’s been around for ages.
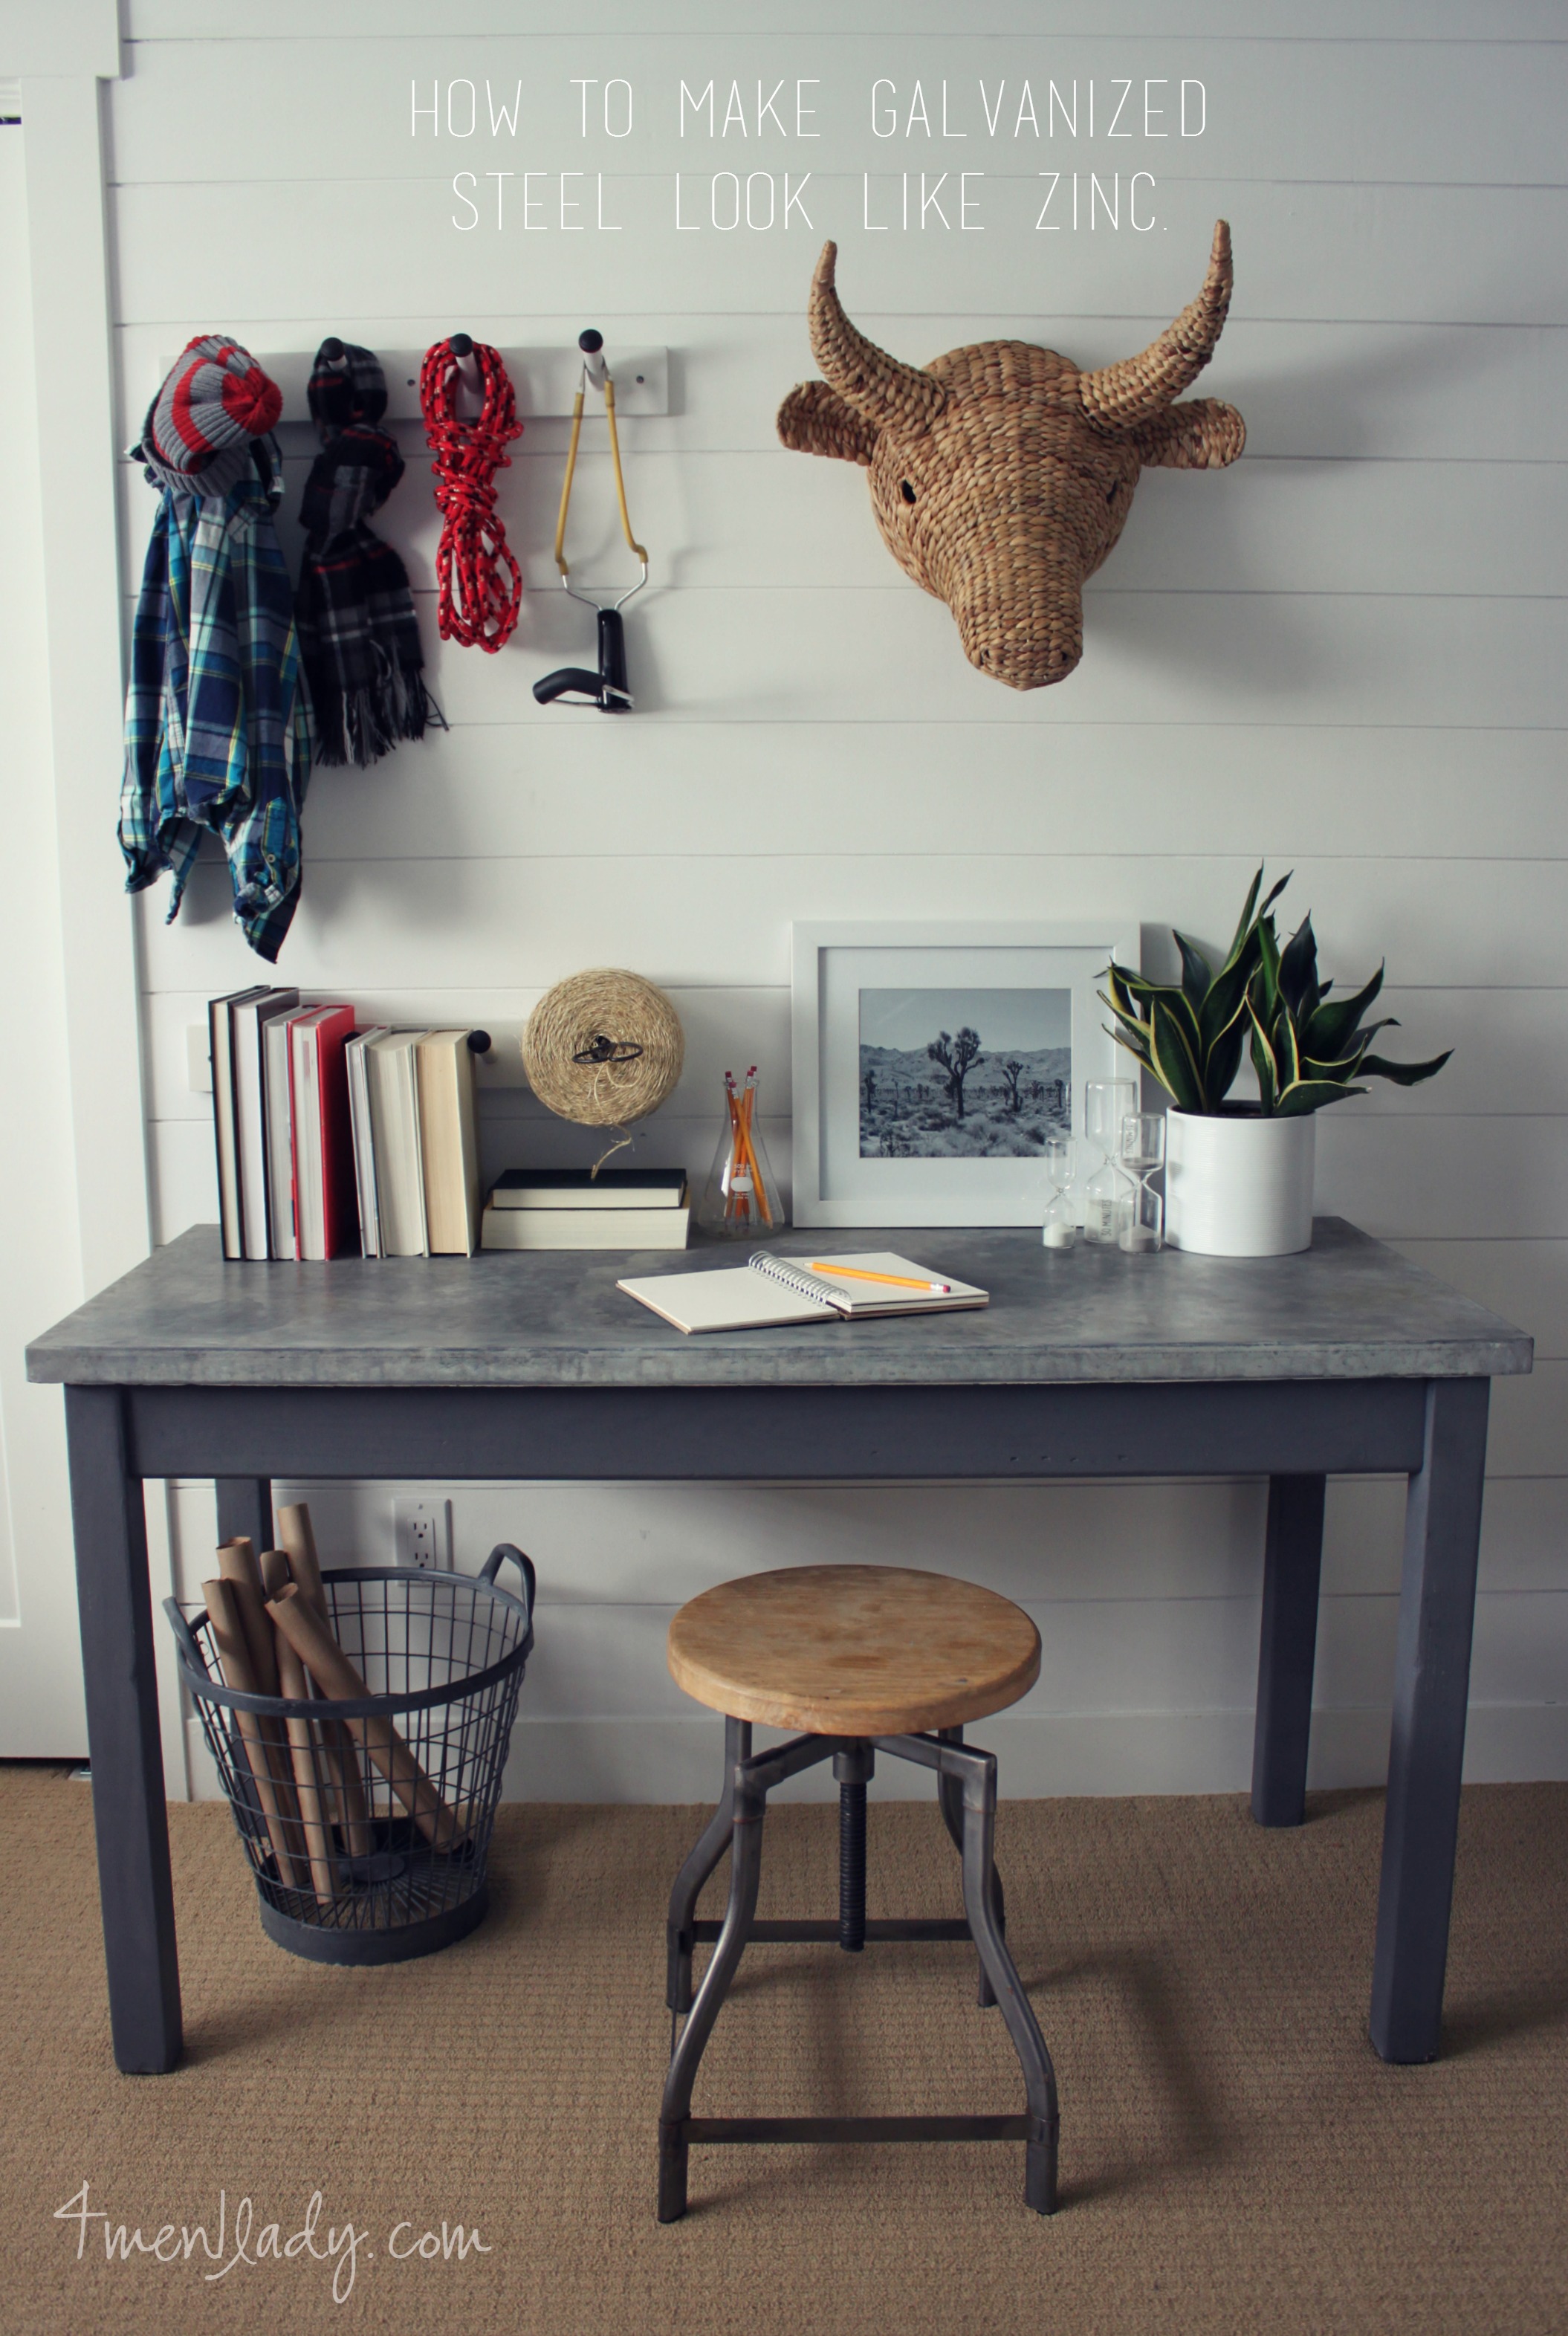
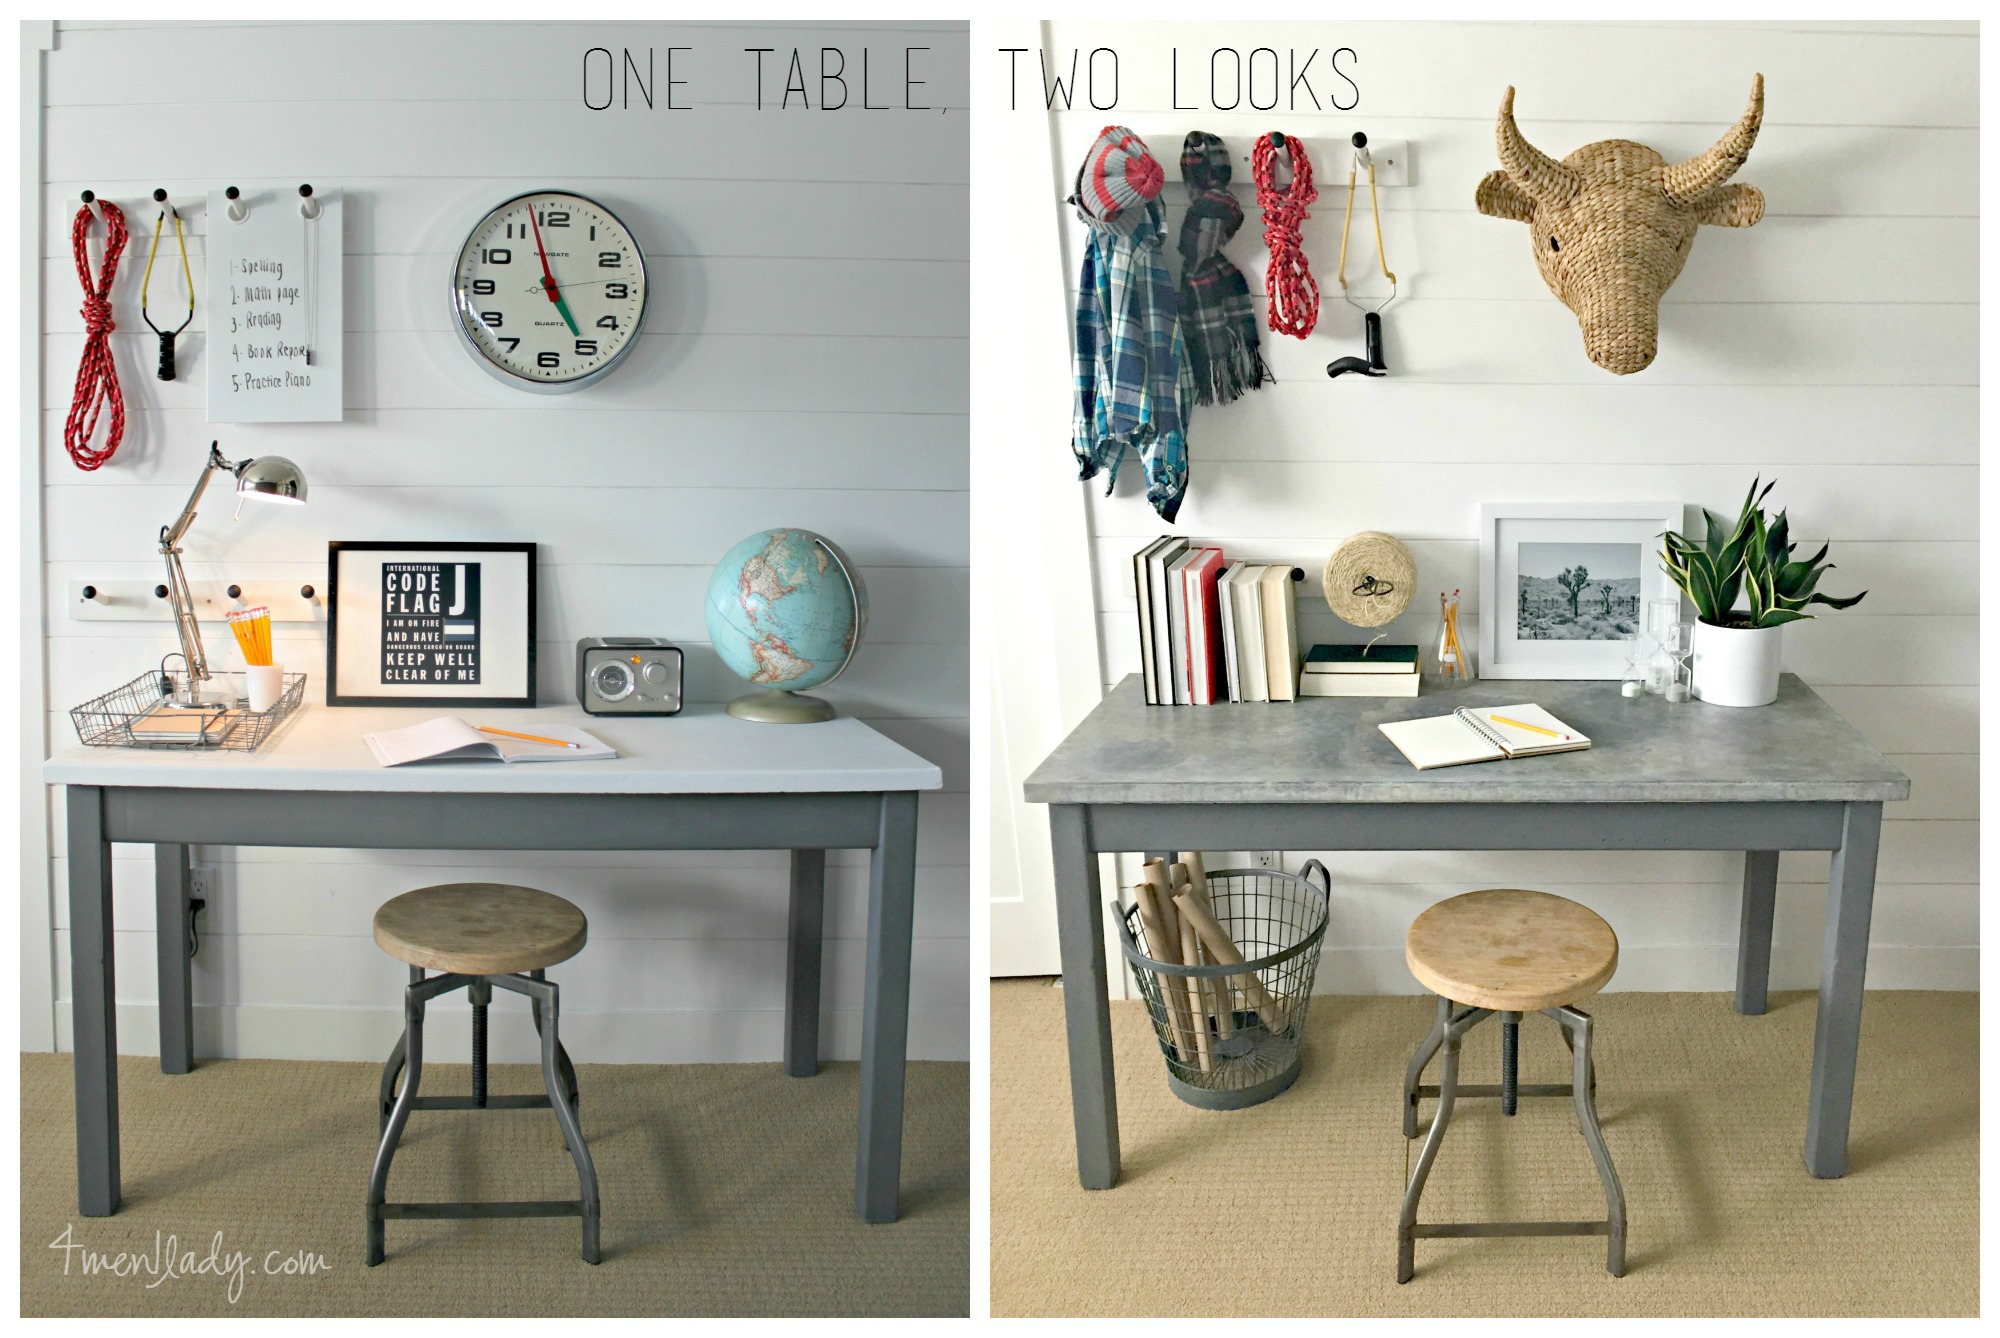
Which look do you like better?
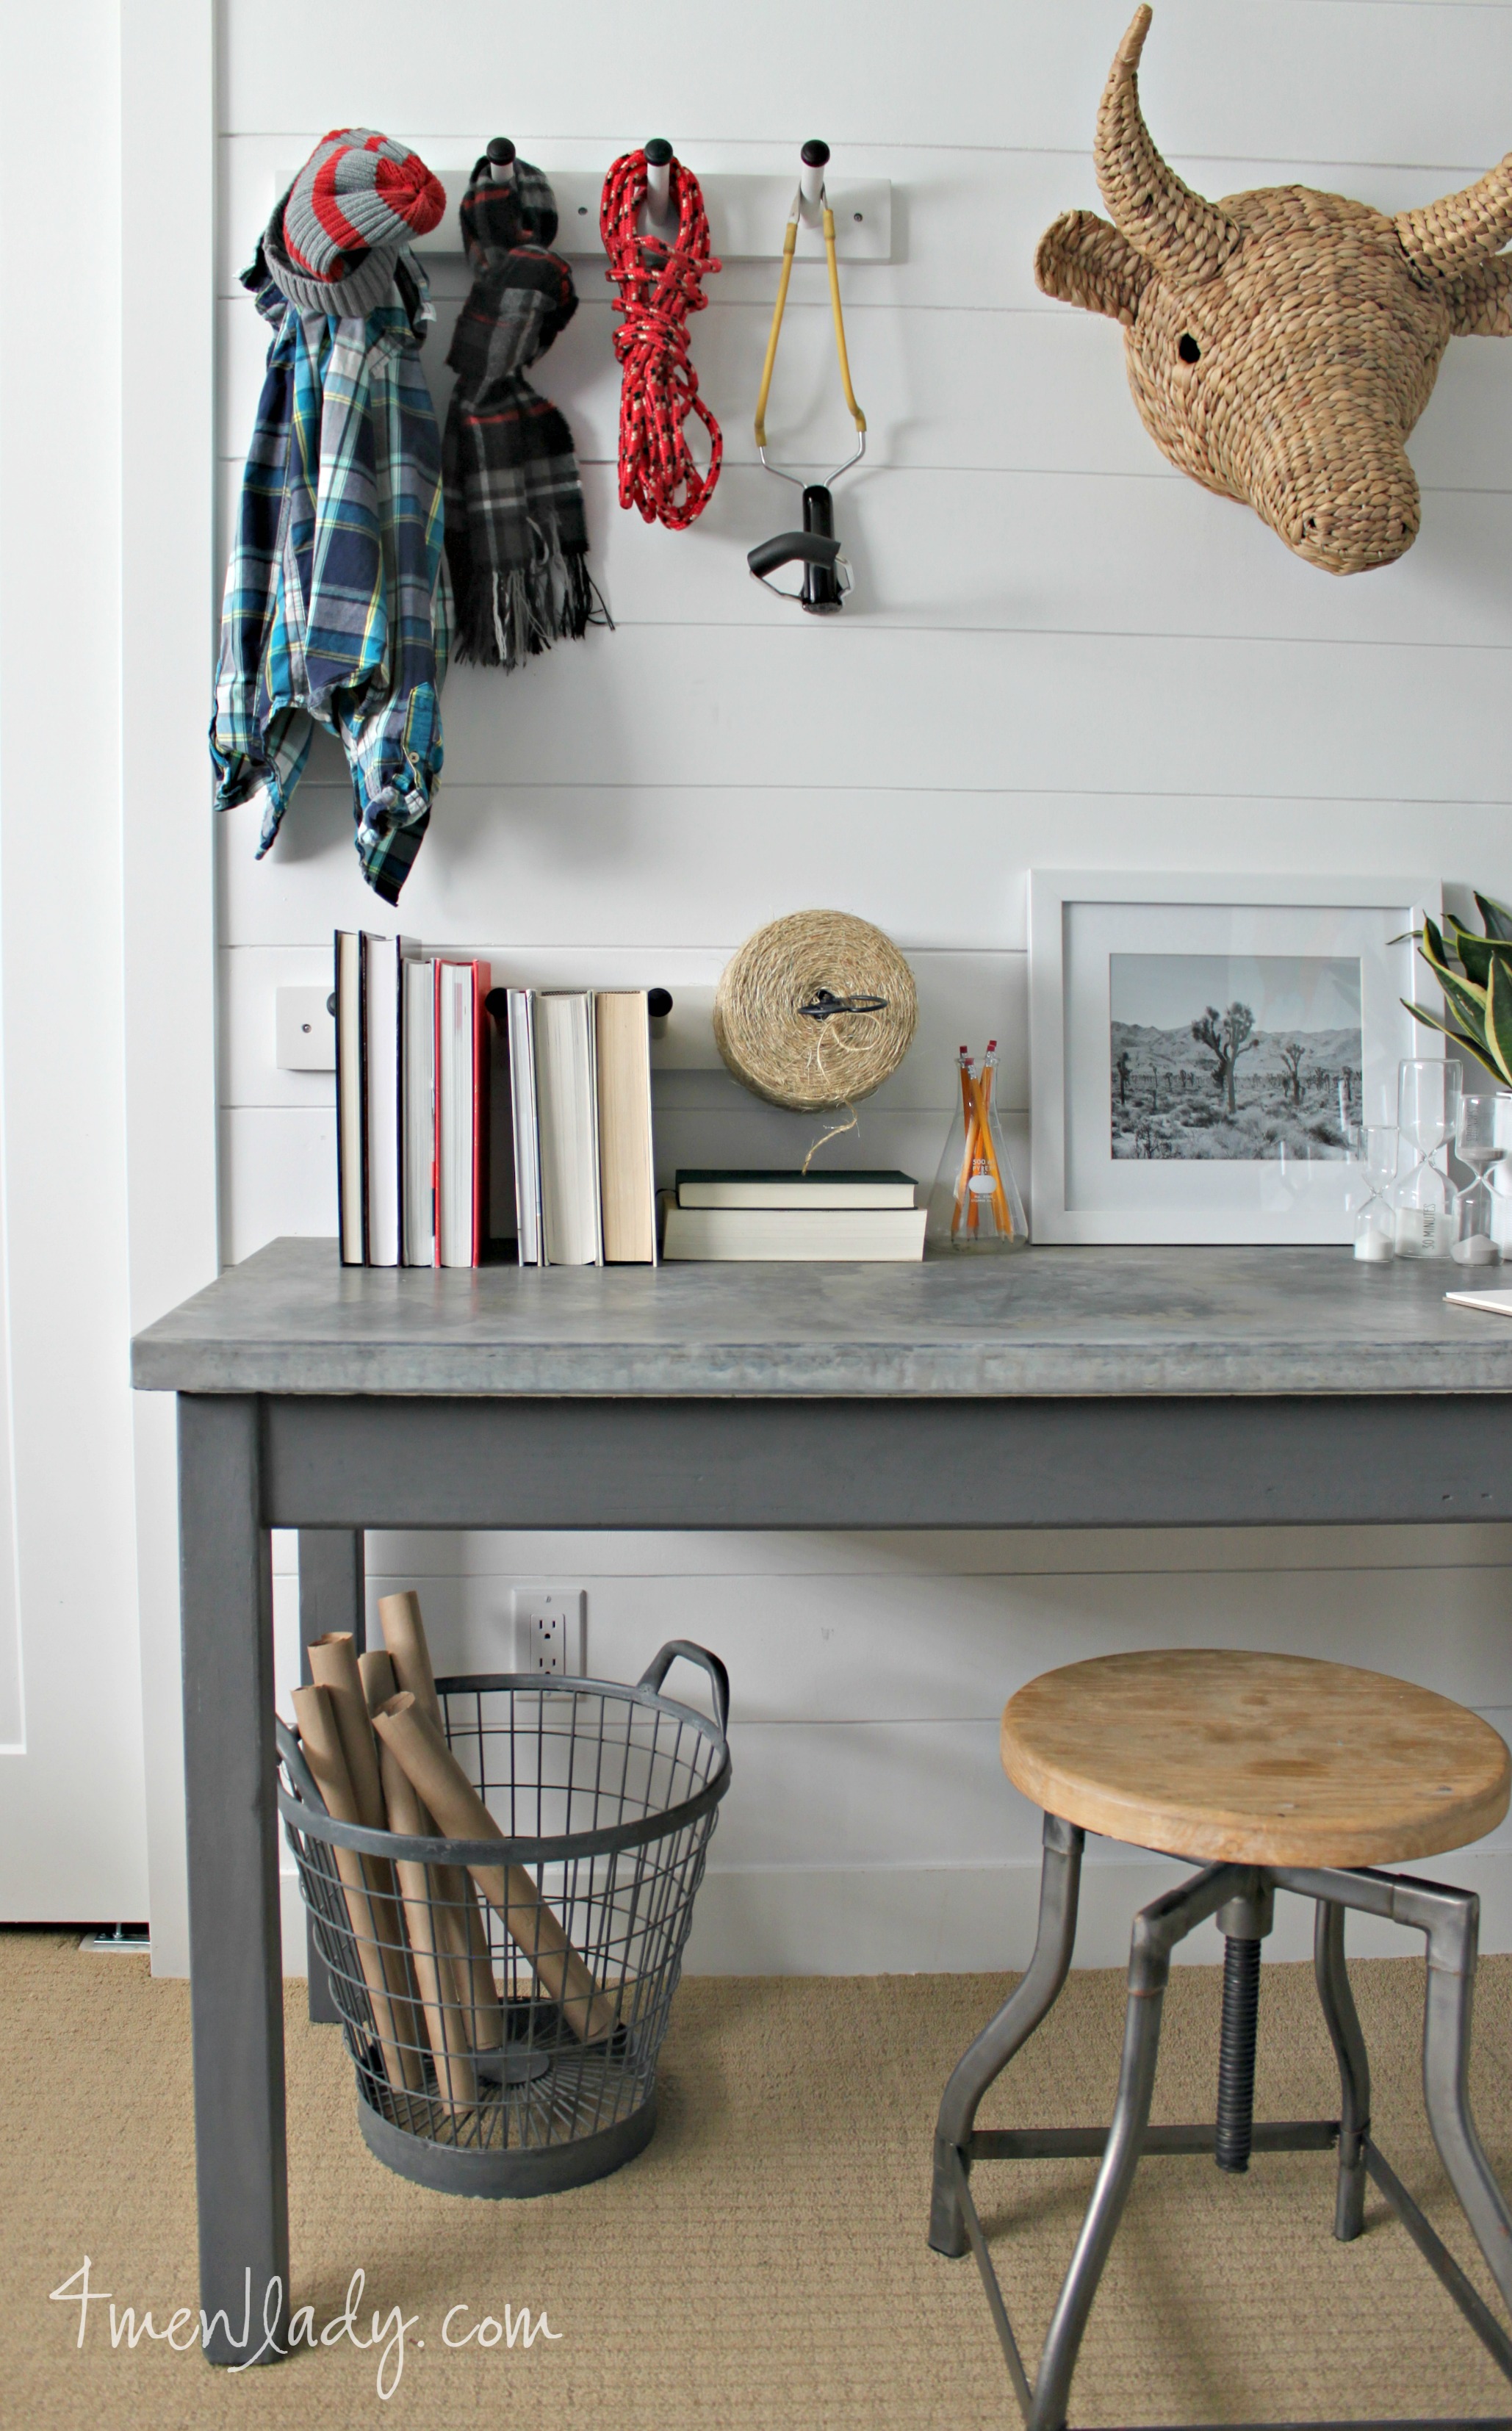
Being as this table will live in my son’s room, the zinc surface is so much more well suited for him who will no doubt beat the heck out of it.
Luckily it should only look better with time and wear.
(See how I transformed this $4.00 science table the first time).
Check out Amy Howard demonstrate how to make steel look like zinc.


 Hey there! I’m Michelle; I’m an Passionate DIY’er and in constant pursuit of how to bring beauty to my house full of men (3 boys + 1 hubby). Stick around and see what I’ve got up my hard-working sleaves!
I love it! Nice job. I love zinc topped tables. I have a vintage cabinet with a zinc top that was pulled out of an old house in Pittsburgh. The patina just gets better and better!
I bet it’s gorgeous! Those kinds of things are seriously treasures!
What a fabulous idea! My son is in need of a desk, I may just have to attempt this idea. Thanks!
Thanks Andrea! 🙂
SO good. I love the zinc and the chunky legs of the desk 🙂
xo – kb
Thanks Katie! I’ve fallen in love with it much more than I thought I would. Hugs, Michelle
SWOON!!!! it looks amazing!!!!
Thanks Cassie! xoxo
Love the look! How do you think it would hold up on a much used kitchen table?
I’ve heard it holds up great. It is a metal and metal scratches but that’s also what gives it “character” and “patina”. 🙂
When you wipe your hand across it, does any black come off on your hand? I did a sample patch – let it dry – but when I wipe my hand over it, I get some rub off on my hand (I haven’t waxed yet). I’m wondering – if it does this now, will it continue (especially when I wipe it with a wet rag). Thank you so much!
Yes, that will happen until you seal it with the wax. Unsealed you also run the risk of it rusting if you’re using water on the steel. I would make sure to wax right away. Also note that you’re supposed to re-wax every few months. Amy Howard’s site can give you more info on that. Good luck!
I love this but how did you wrap the corners?
I had it professionally done by a welder. Wish I knew how to DIY it.
Love it! I have an entire zinc hutch my hubby and I scored at Goodwill in the early years of our marriage for $10!!! It looked like it had been kept in a potting shed or garage for many years.
A bit of cleaning and waxing and it is lovely in its weathered-ness. It now sits in my kitchen displaying milk glass and ironware (and Lego creations – we now have 2 kids). 🙂
I did this to a piece and it turned out great, but unfortunately, I got a huge scratch in it, and not one that adds to the patina. It’s very shiny and ugly. Have you had any issues like this and did you do anything to fix it?
Yep, mine did too. Did you seal it with the wax? I actually just put a little more of the solution on it and re-zink-ed the scratch itself. Worked out great.
Yes, I did seal it with wax. Not sure what happened, I left and came back and there was a huge scratch in it! I’ve done a couple metal surfaces now, I wonder if there are other sealer options out there, like a urethane, even a water-based sealer. I do love the look and had also thought about doing a counter-top. I’m open to scratches, just not ugly ones! Thanks for your help, it sure turned out beautiful.
Please let me know if you try sealing it with a different sealer. I’d be very curious. Thanks Jessie!