This post is sponsored by KILZ® Brand but the content and opinions expressed here are my own. Read my full disclosure policy here.
If you’ve been following me over the past 10 years you know I love me a good DIY furniture refinishing project. Over that time I’ve tackled just about every kind of furniture piece and every different method out there when it comes to refinishing. I’ve had disastrous project outcomes and also amazing successes through my trial by error experimenting. Today I want to share the tried-and-true method for painting furniture that will give you amazing results.
My dear friend List (@tulsaforatime) recently moved to OK and left me this bookshelf she found on one of her pickin’ trips.
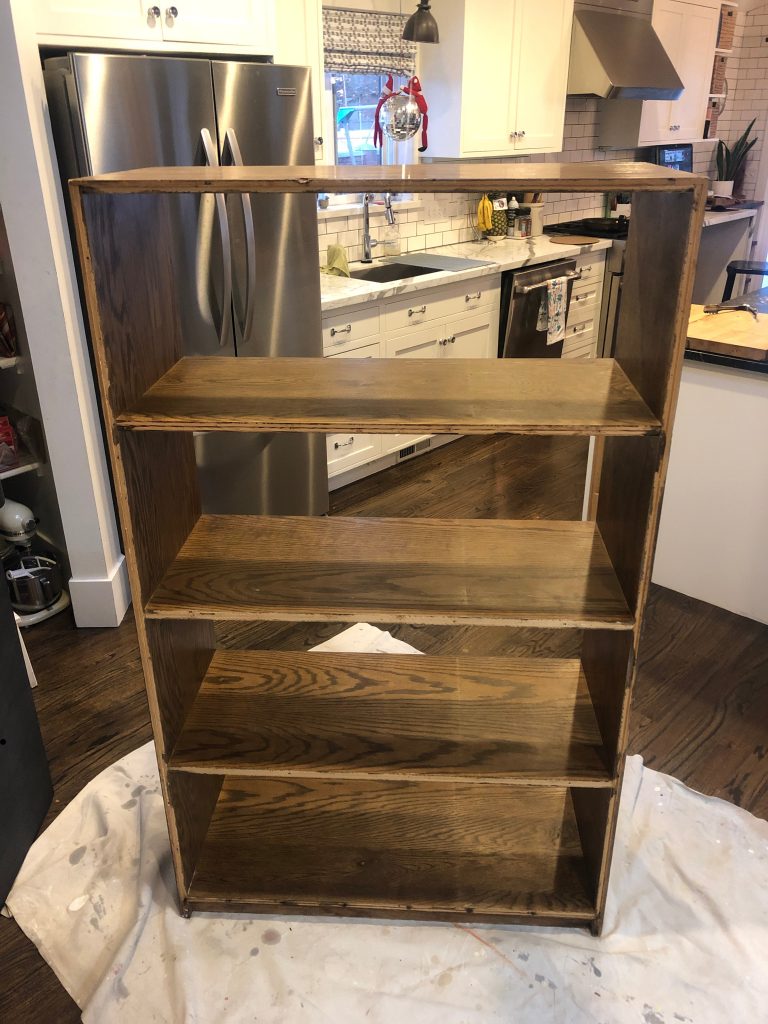
It’s old, and dinged, and very…brown, but it’s bones are good and sturdy. With a little foundation and lipstick I knew I could give it a punchy-makeover.
I’ve been finishing furniture long enough to know that results you get are pretty equal to the amount of work you put in to them. Cut corners and you will be able to tell in the end result.
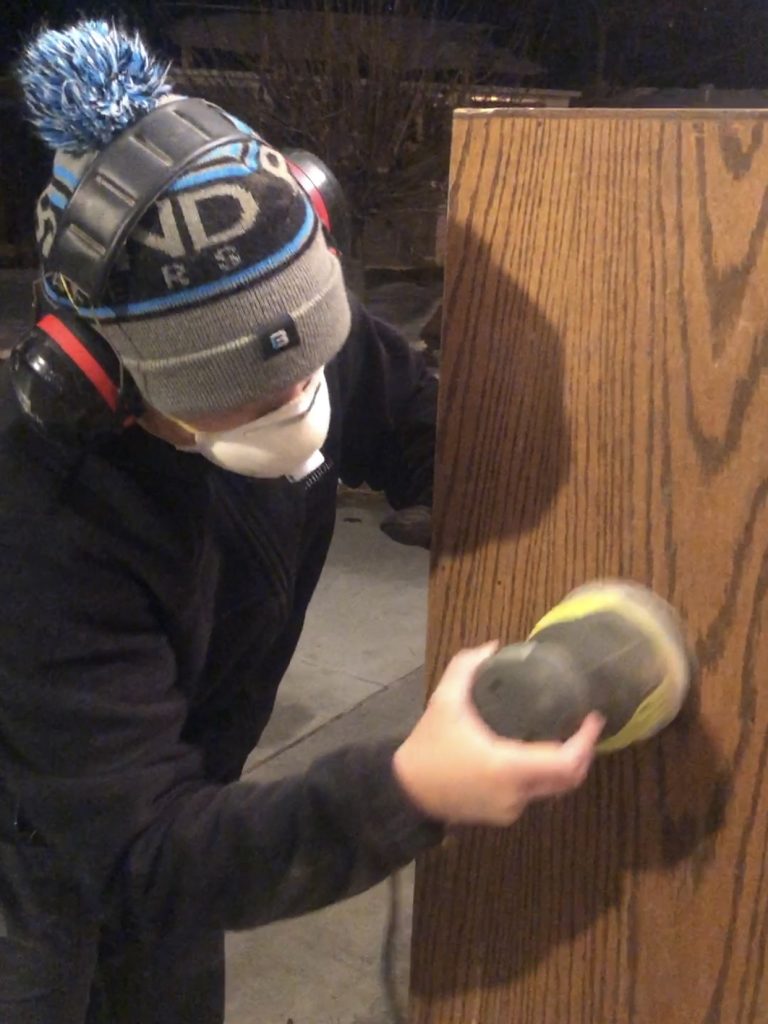
I know, I know. Everyone hates sanding…including me! But it’s less daunting than you would imagine. I spent 10 minutes sanding this whole bookcase. The hardest part about it was dragging myself outside in the cold winter temps (I was just as freezing as I looked). If my surface is in good condition I sand just to rough it up and give a texture for the primer and paint to bite in to and adhere. I’ve done projects where I don’t sand first and I always tend to regret it.
*Disclaimer…Always take the proper precautions to not inhale dust when sanding as some surfaces can have toxic finishes or lead-based paint. Use a face mask and/or respirator.
After sanding, make sure to thoroughly wipe down your furniture piece so no dust is present.
Next step is to prime. Primer is an undercoat that gives your paint better adhesion, durability and longer life. Many people skip the priming step (and I have too in the past but it never serves me). So which primer to use?
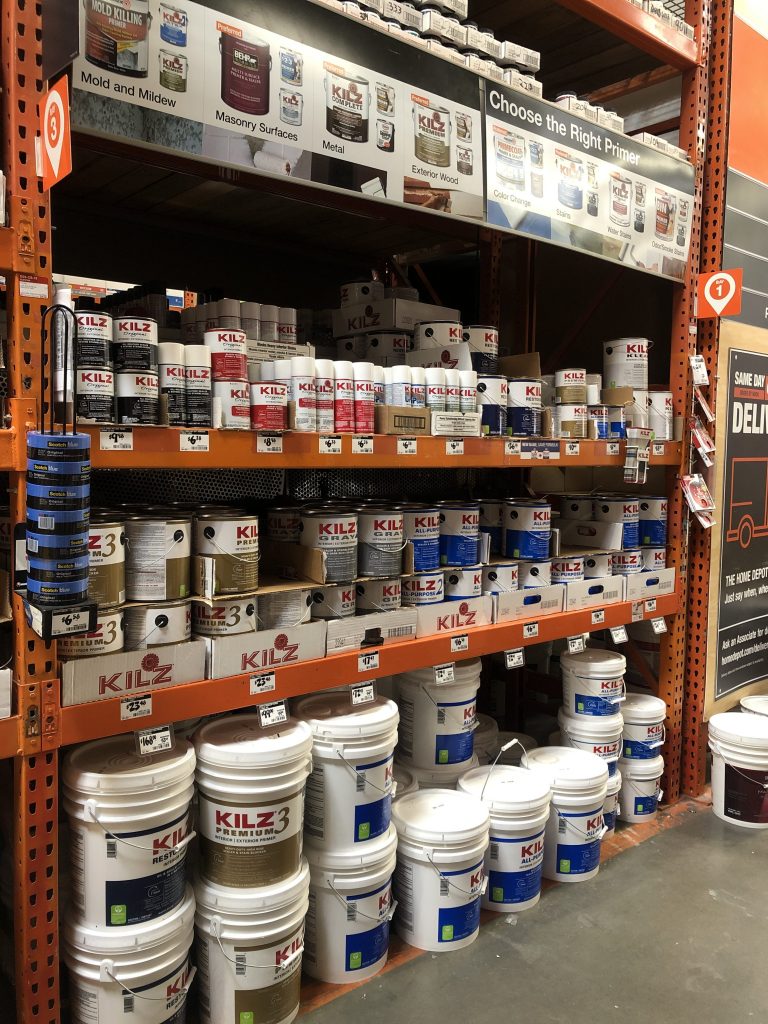
Hands down, one of my favorite primers is KILZ® Brand. The thing that KILZ has is sealer and stain blocker. I can’t tell you how many times I’ve skipped the priming step, move on to painting and find a stain on the furniture piece bleed through. No many how many coats I apply, the darn stain still comes through. Don’t skip primer! KILZ makes every project worth it.
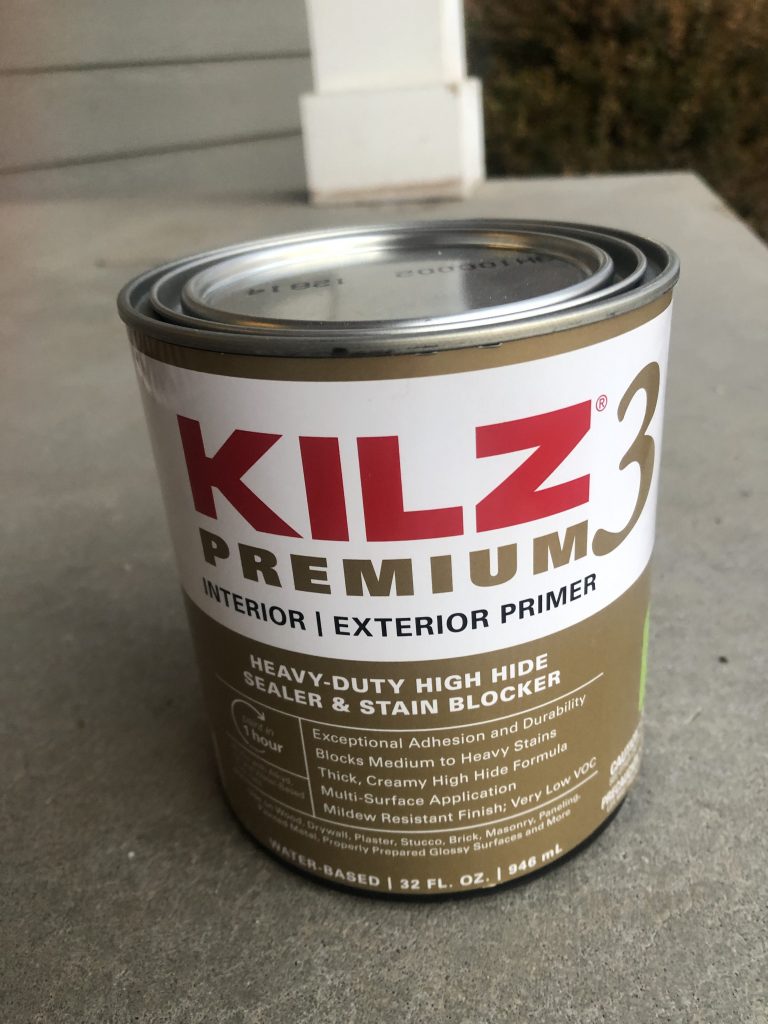
For this project I chose to use KILZ 3™ Premium. It gives great adhesion for paint, blocks stains, is mildew resistant and has very low VOC’s.
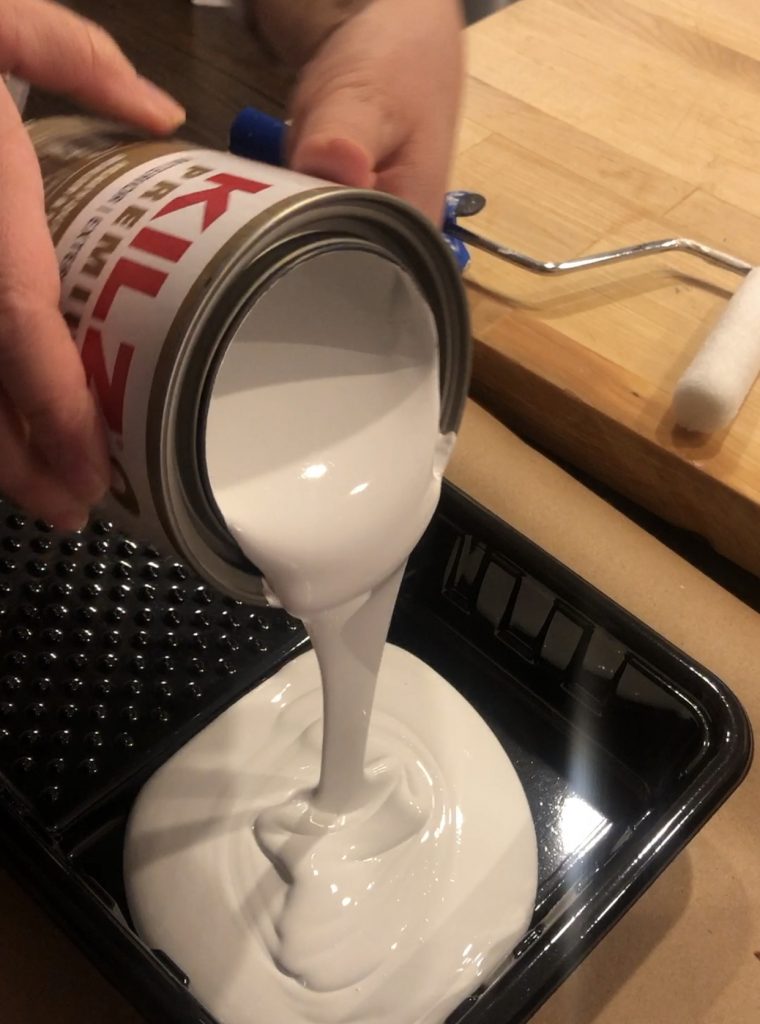
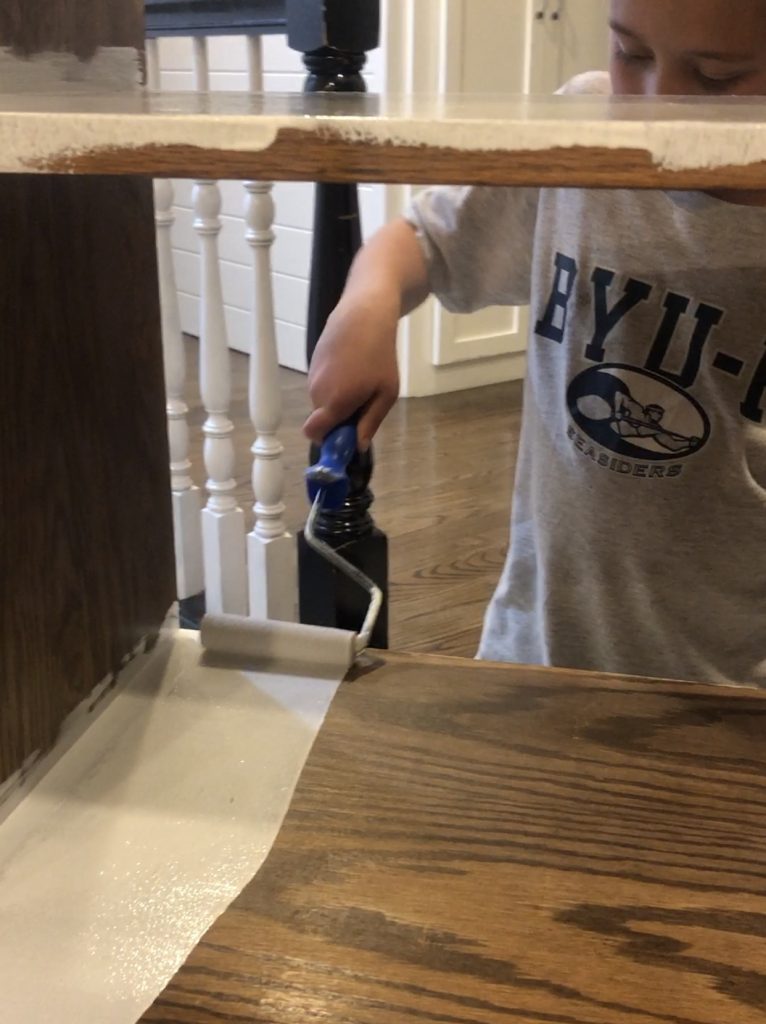
Application is simple. Even my little guy could roll it one without any issues. My plan was to wallpaper the inside back wall of the bookcase. You wouldn’t think I would need to prime or paint but what I’ve found when wallpapering, the color of the surface will be bleed through and tint the overall look of the wallpaper. (I learned this the hard way on a bathroom wallpaper install). The wallpaper I had planned had an overall white background. So I primed the board before wallpapering.
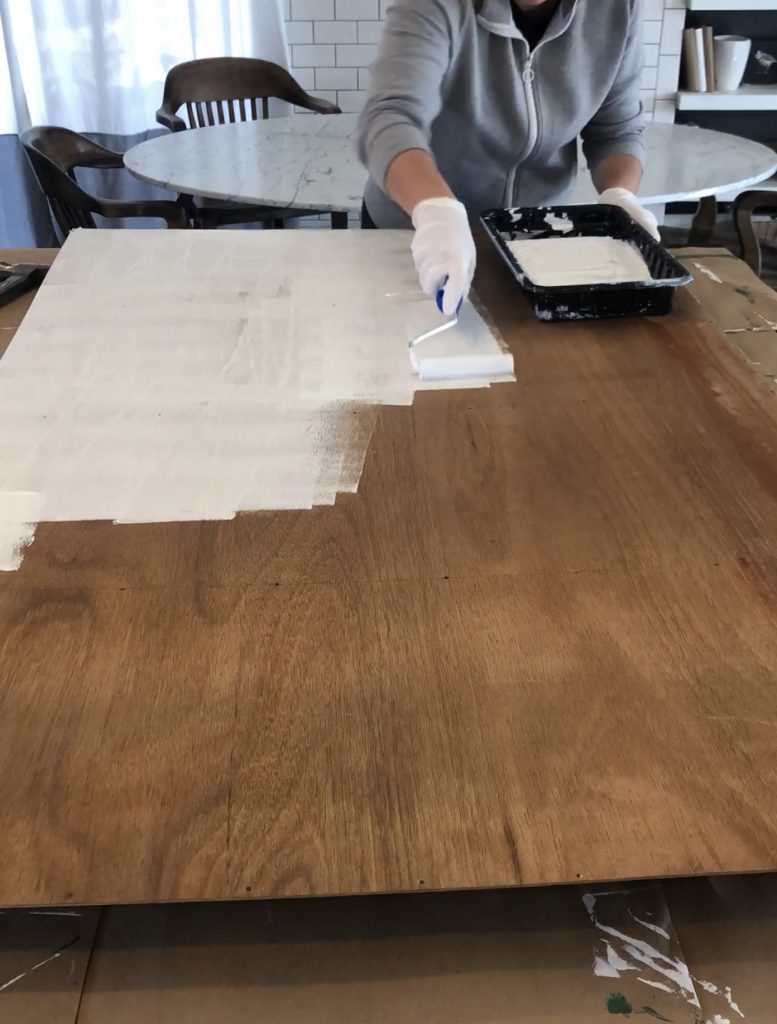
The other benefit of priming before wallpapering is your paper will have better adhesion.

After the primer dried overnight, my bookcase was ready for paint. Choose a good quality paint. One of the major problems of paint not sticking is often times what’s underneath it. If you’ve done your sanding and priming your paint will have the best chance of good adhesion and longevity.

Ready for the result?
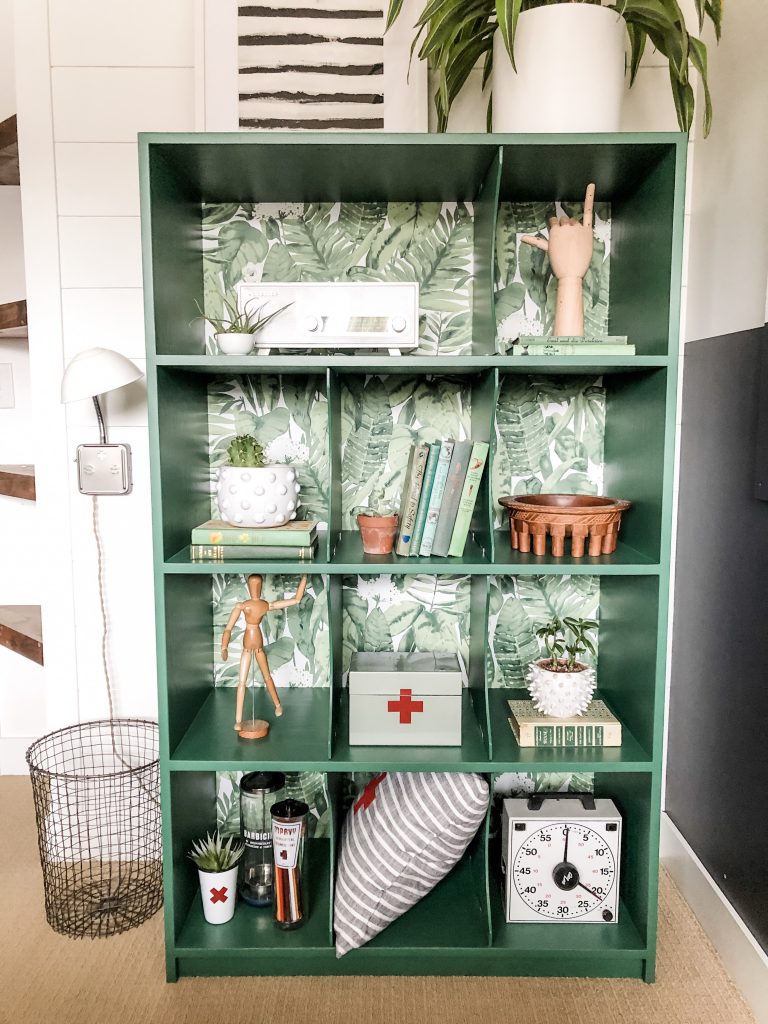
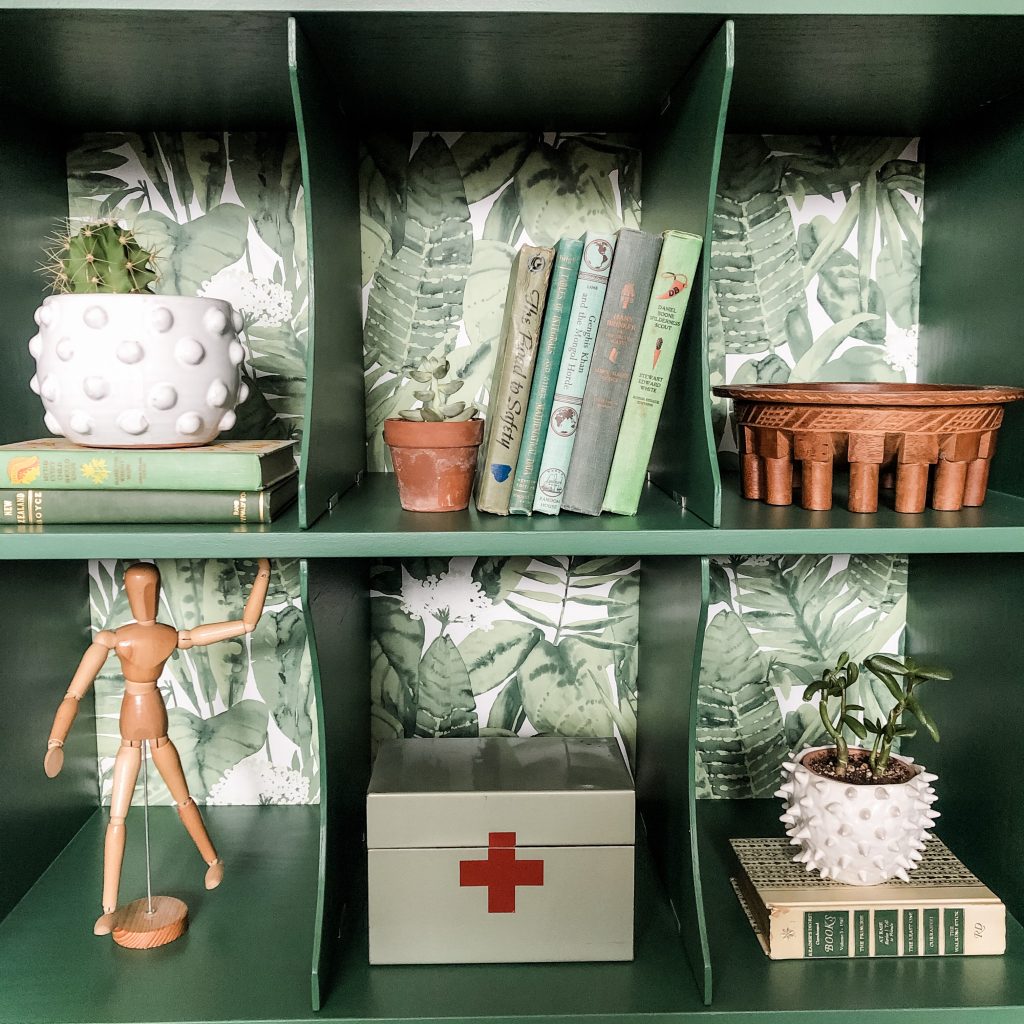
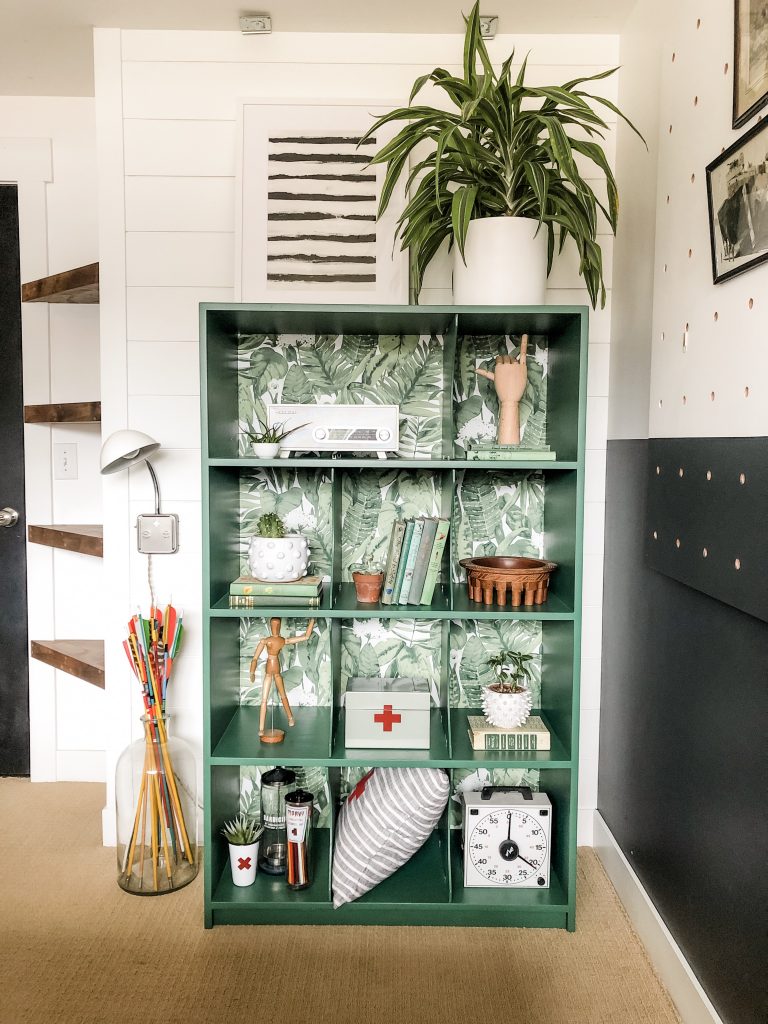
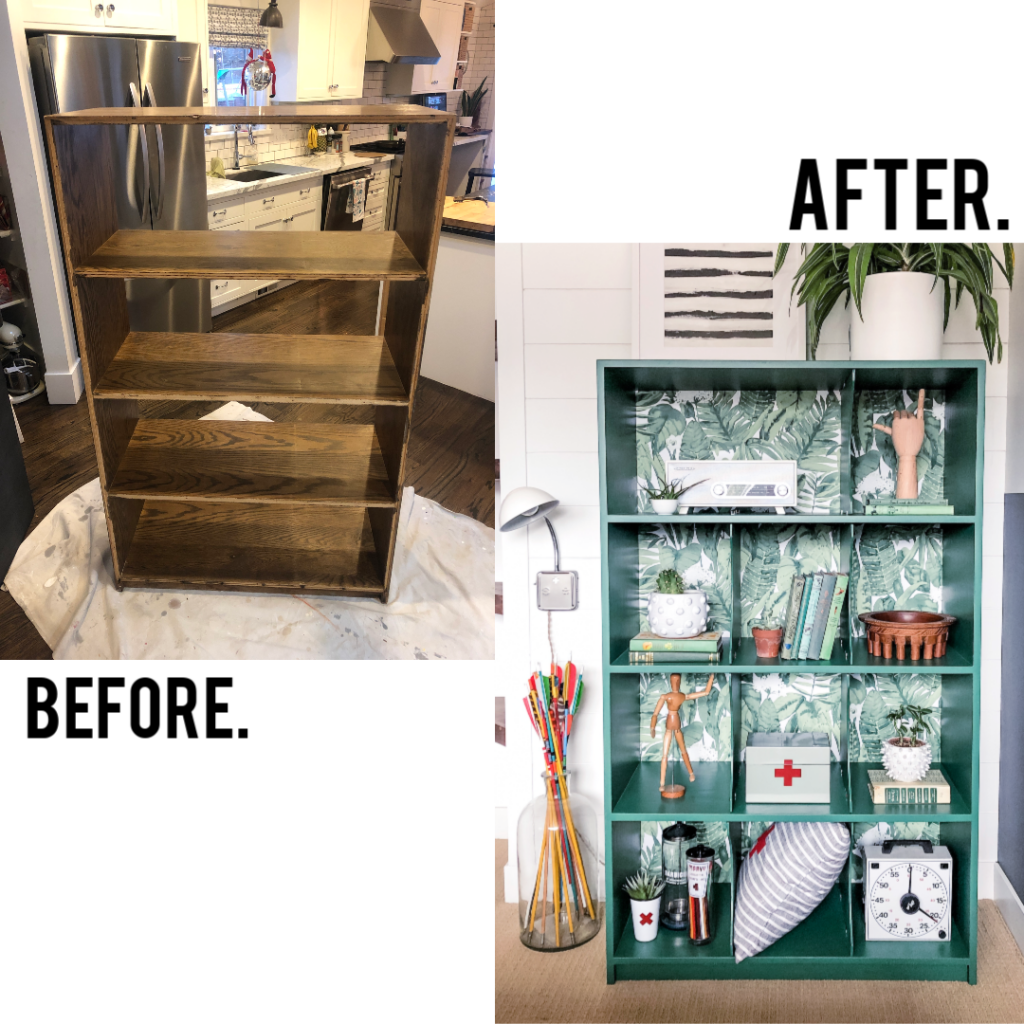
Say “Aloha” to our new tropical-inspired bookcase. Interested in learning more about KILZ primers? Click here for more information.


 Hey there! I’m Michelle; I’m an Passionate DIY’er and in constant pursuit of how to bring beauty to my house full of men (3 boys + 1 hubby). Stick around and see what I’ve got up my hard-working sleaves!
so nice! for the wallpaper you used, is it the self sticking kind or regular ones that needs agent? thanks for sharing