Last week I went to Home Depot with a sketch and a few rough measurements to build a king sized, upholstered wing bed.
I had the design in my head but I needed some input on the engineering of the thing.
As an aside, can I just say how helpful those sweet guys are at Home Depot?!
Finding someone to help you is tricky but once you have their attention they’ll move mountains to help you.
I came home with a truck load of hardware and various sized boards. We puzzle-pieced everything together to form this:

Then my mom came to town with all her upholstery tools and we got to work (and when I say “we” I mean she was the cruise director and I was the first mate).
Fast forward through three days and this came about:
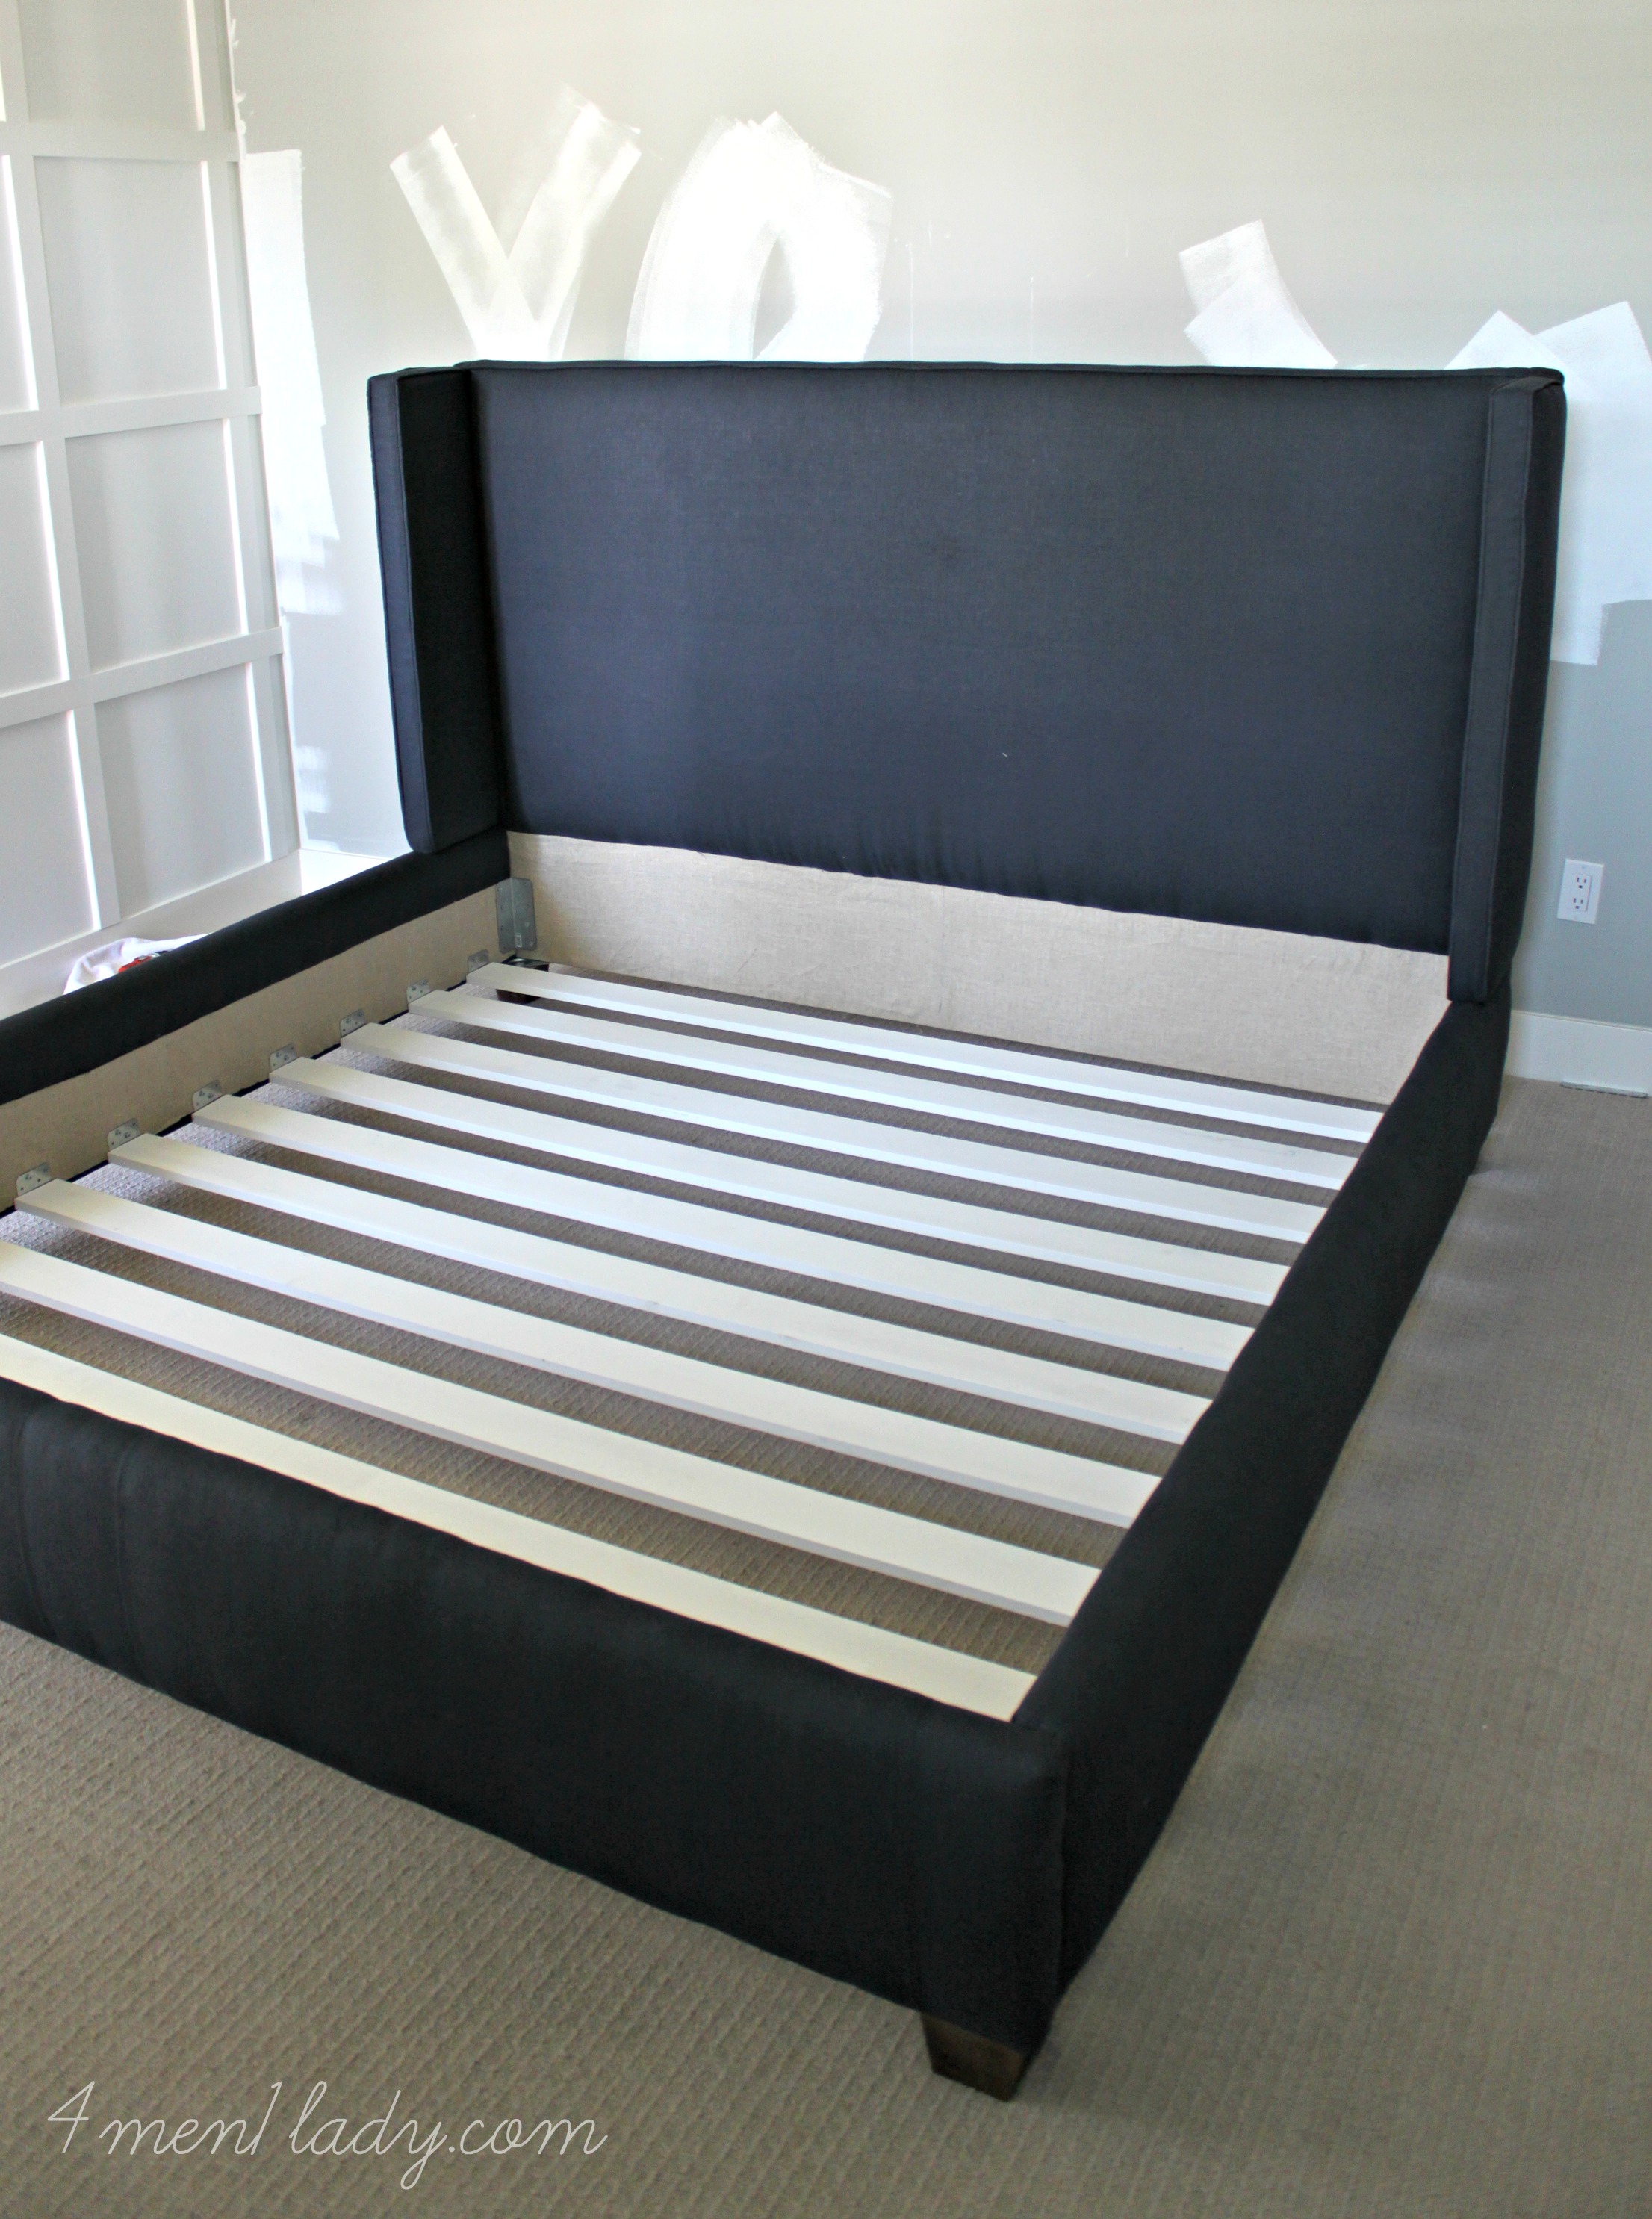
Every bit of this bed, minus the upholstery, came from Home Depot…even the furniture feet…who would have thunk it, Home Depot sells furniture feet and legs! My inspiration was the Presidio Bed from Williams Sonoma. But with the price ranging from $2,350-5,450 I figured we could recreate the look for a fraction of the price.
While were putting the bed frame together we leaned our mattress up against the wall and it stayed there all day long. As the day went on the mattress sort of folded in to itself and got smaller and smaller. When we laid the mattress down on the bed it was completely deformed…deformed as in it looked like an animal had crawled in there and was hiding out. Or died. It’s bad. I’m kind of sick about it. (The mattress, not the animal. Wait, there is no animal in there. Maybe I should double check).
Any ideas or suggestions?
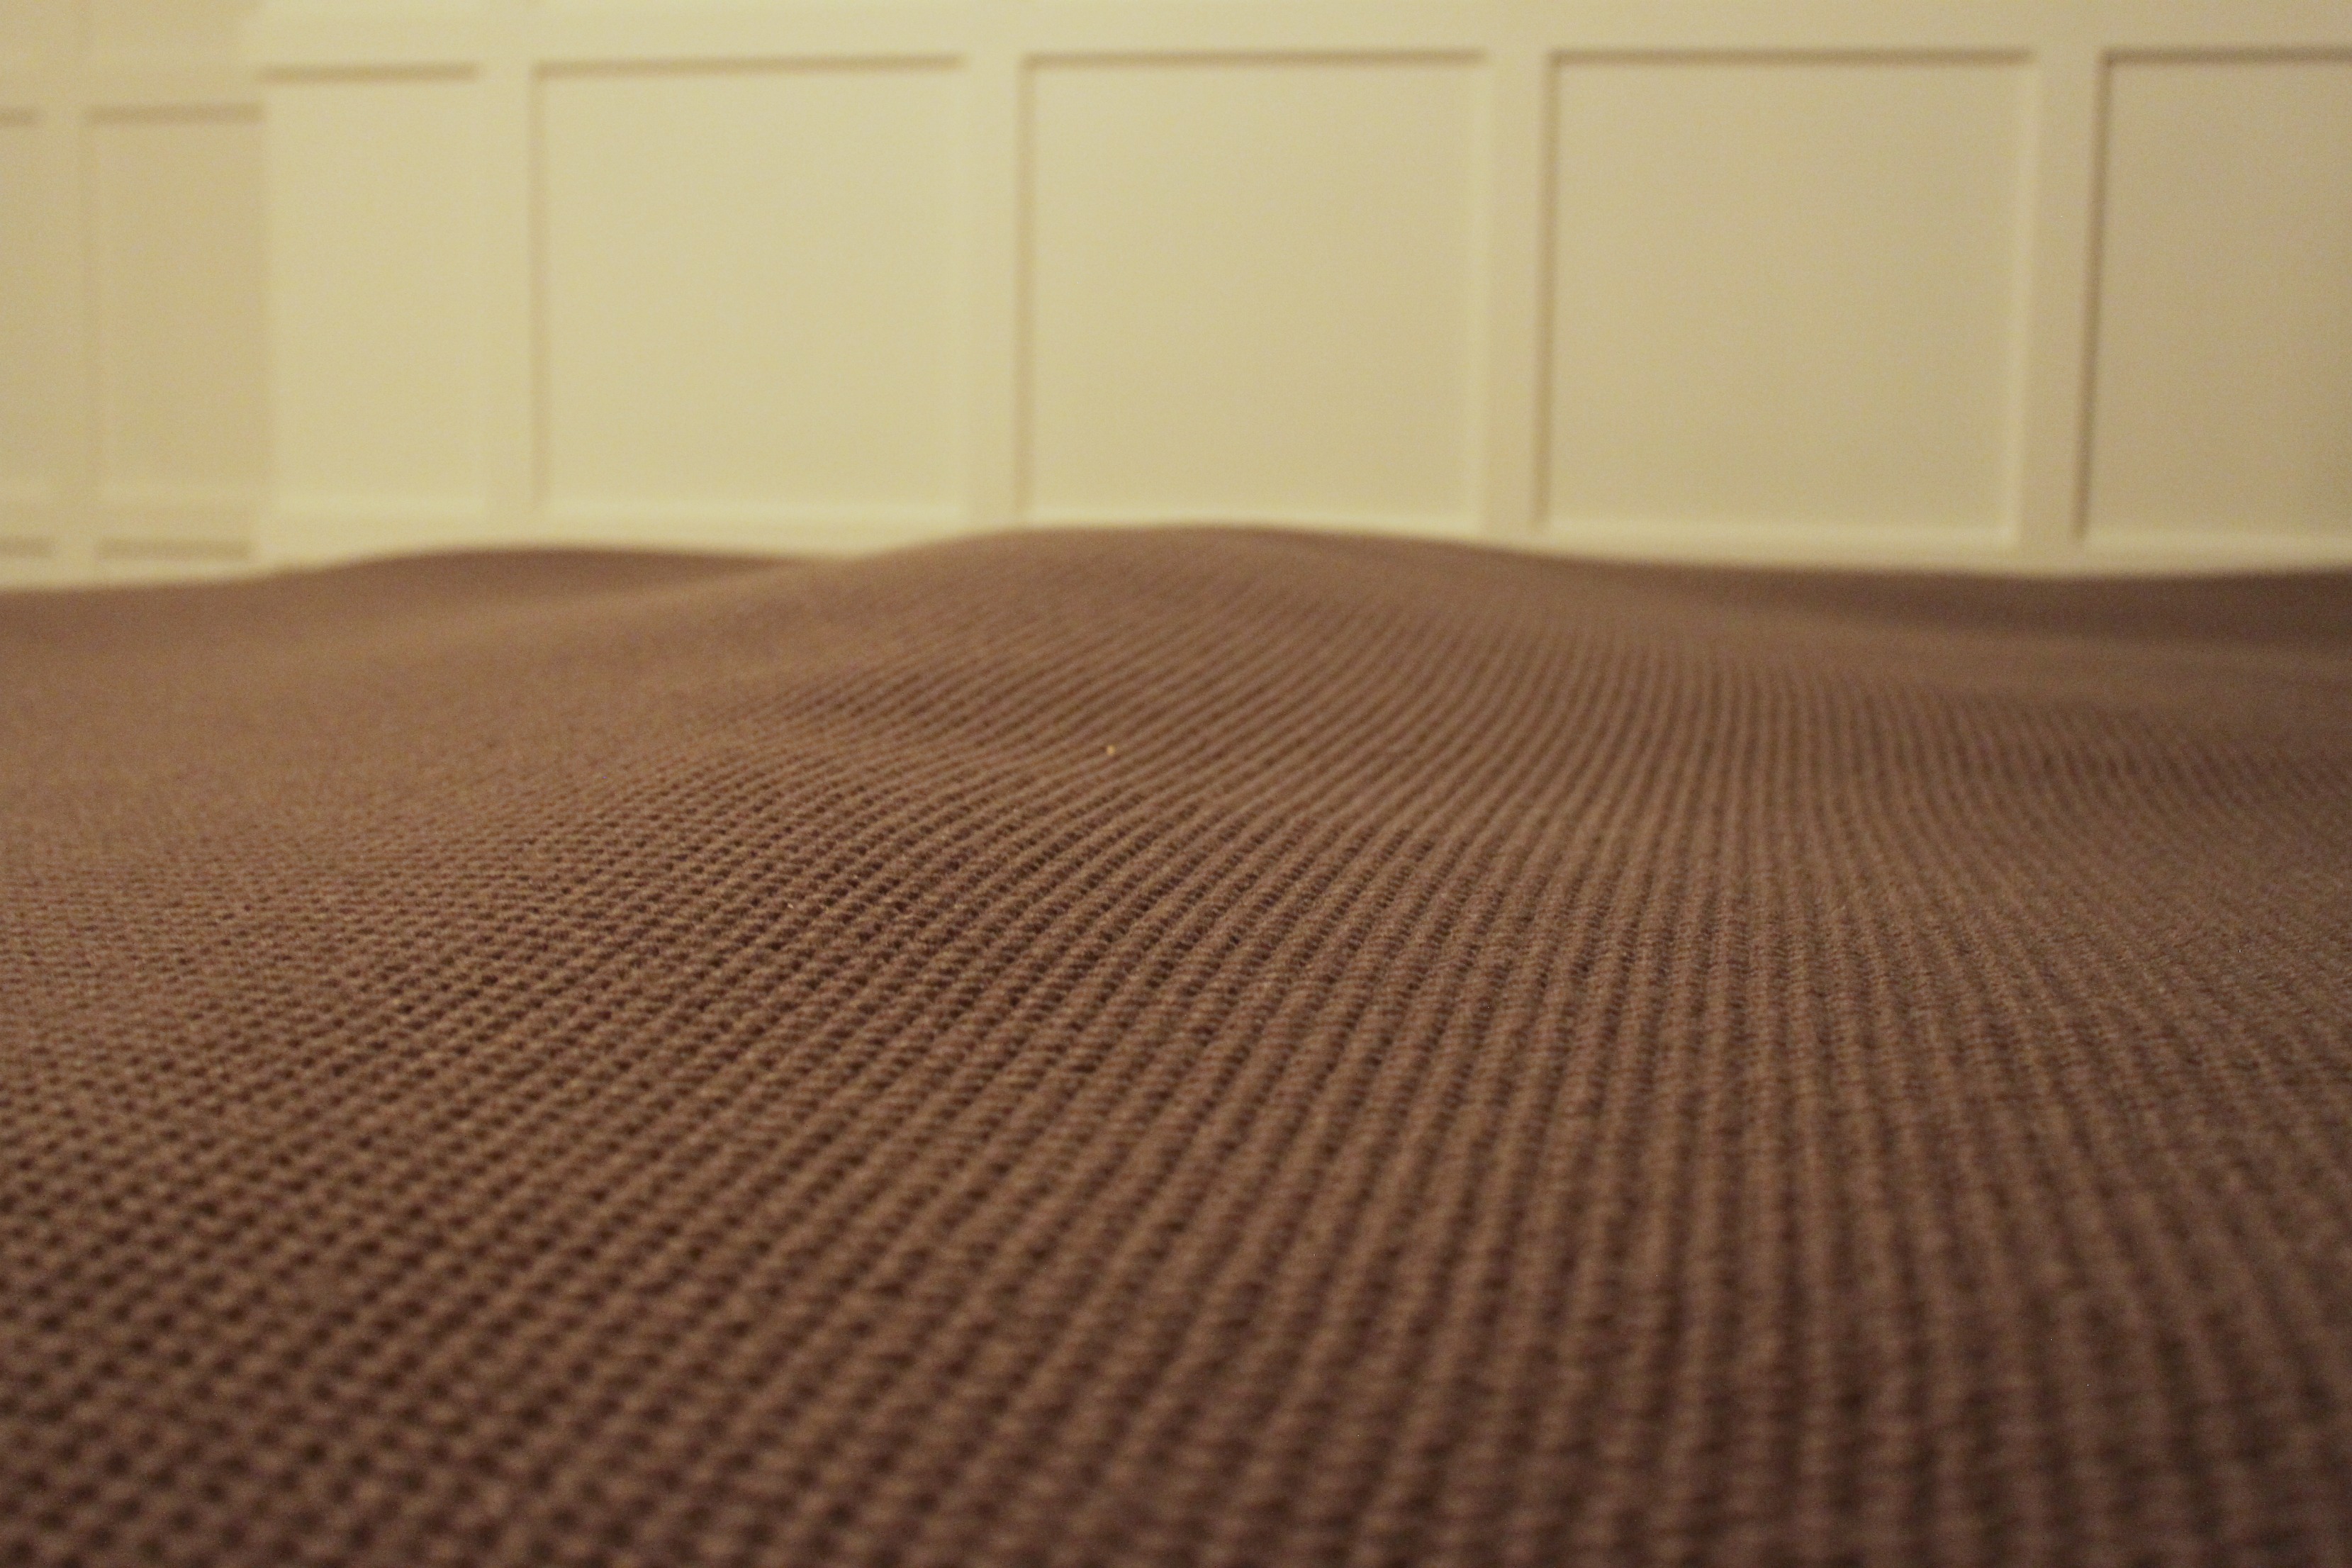
The coil mattress is only 6 years old and while some mattress companies say you should get a new one after 5-10, I wasn’t planning on having to go out and buy a stinkin’ new mattress. It’s like all the coils migrated to the center of the bed. My back is all tweaked. Oye.
As a result of our lumpity-bumpity mattress I’m not going to show full reveal pictures yet because if you’re not reading my explanation and just looking at the pictures (like I often do) you may think I don’t know how to make a bed. So here’s a sneak peak in the meantime until we figure out what to do about the mattress.
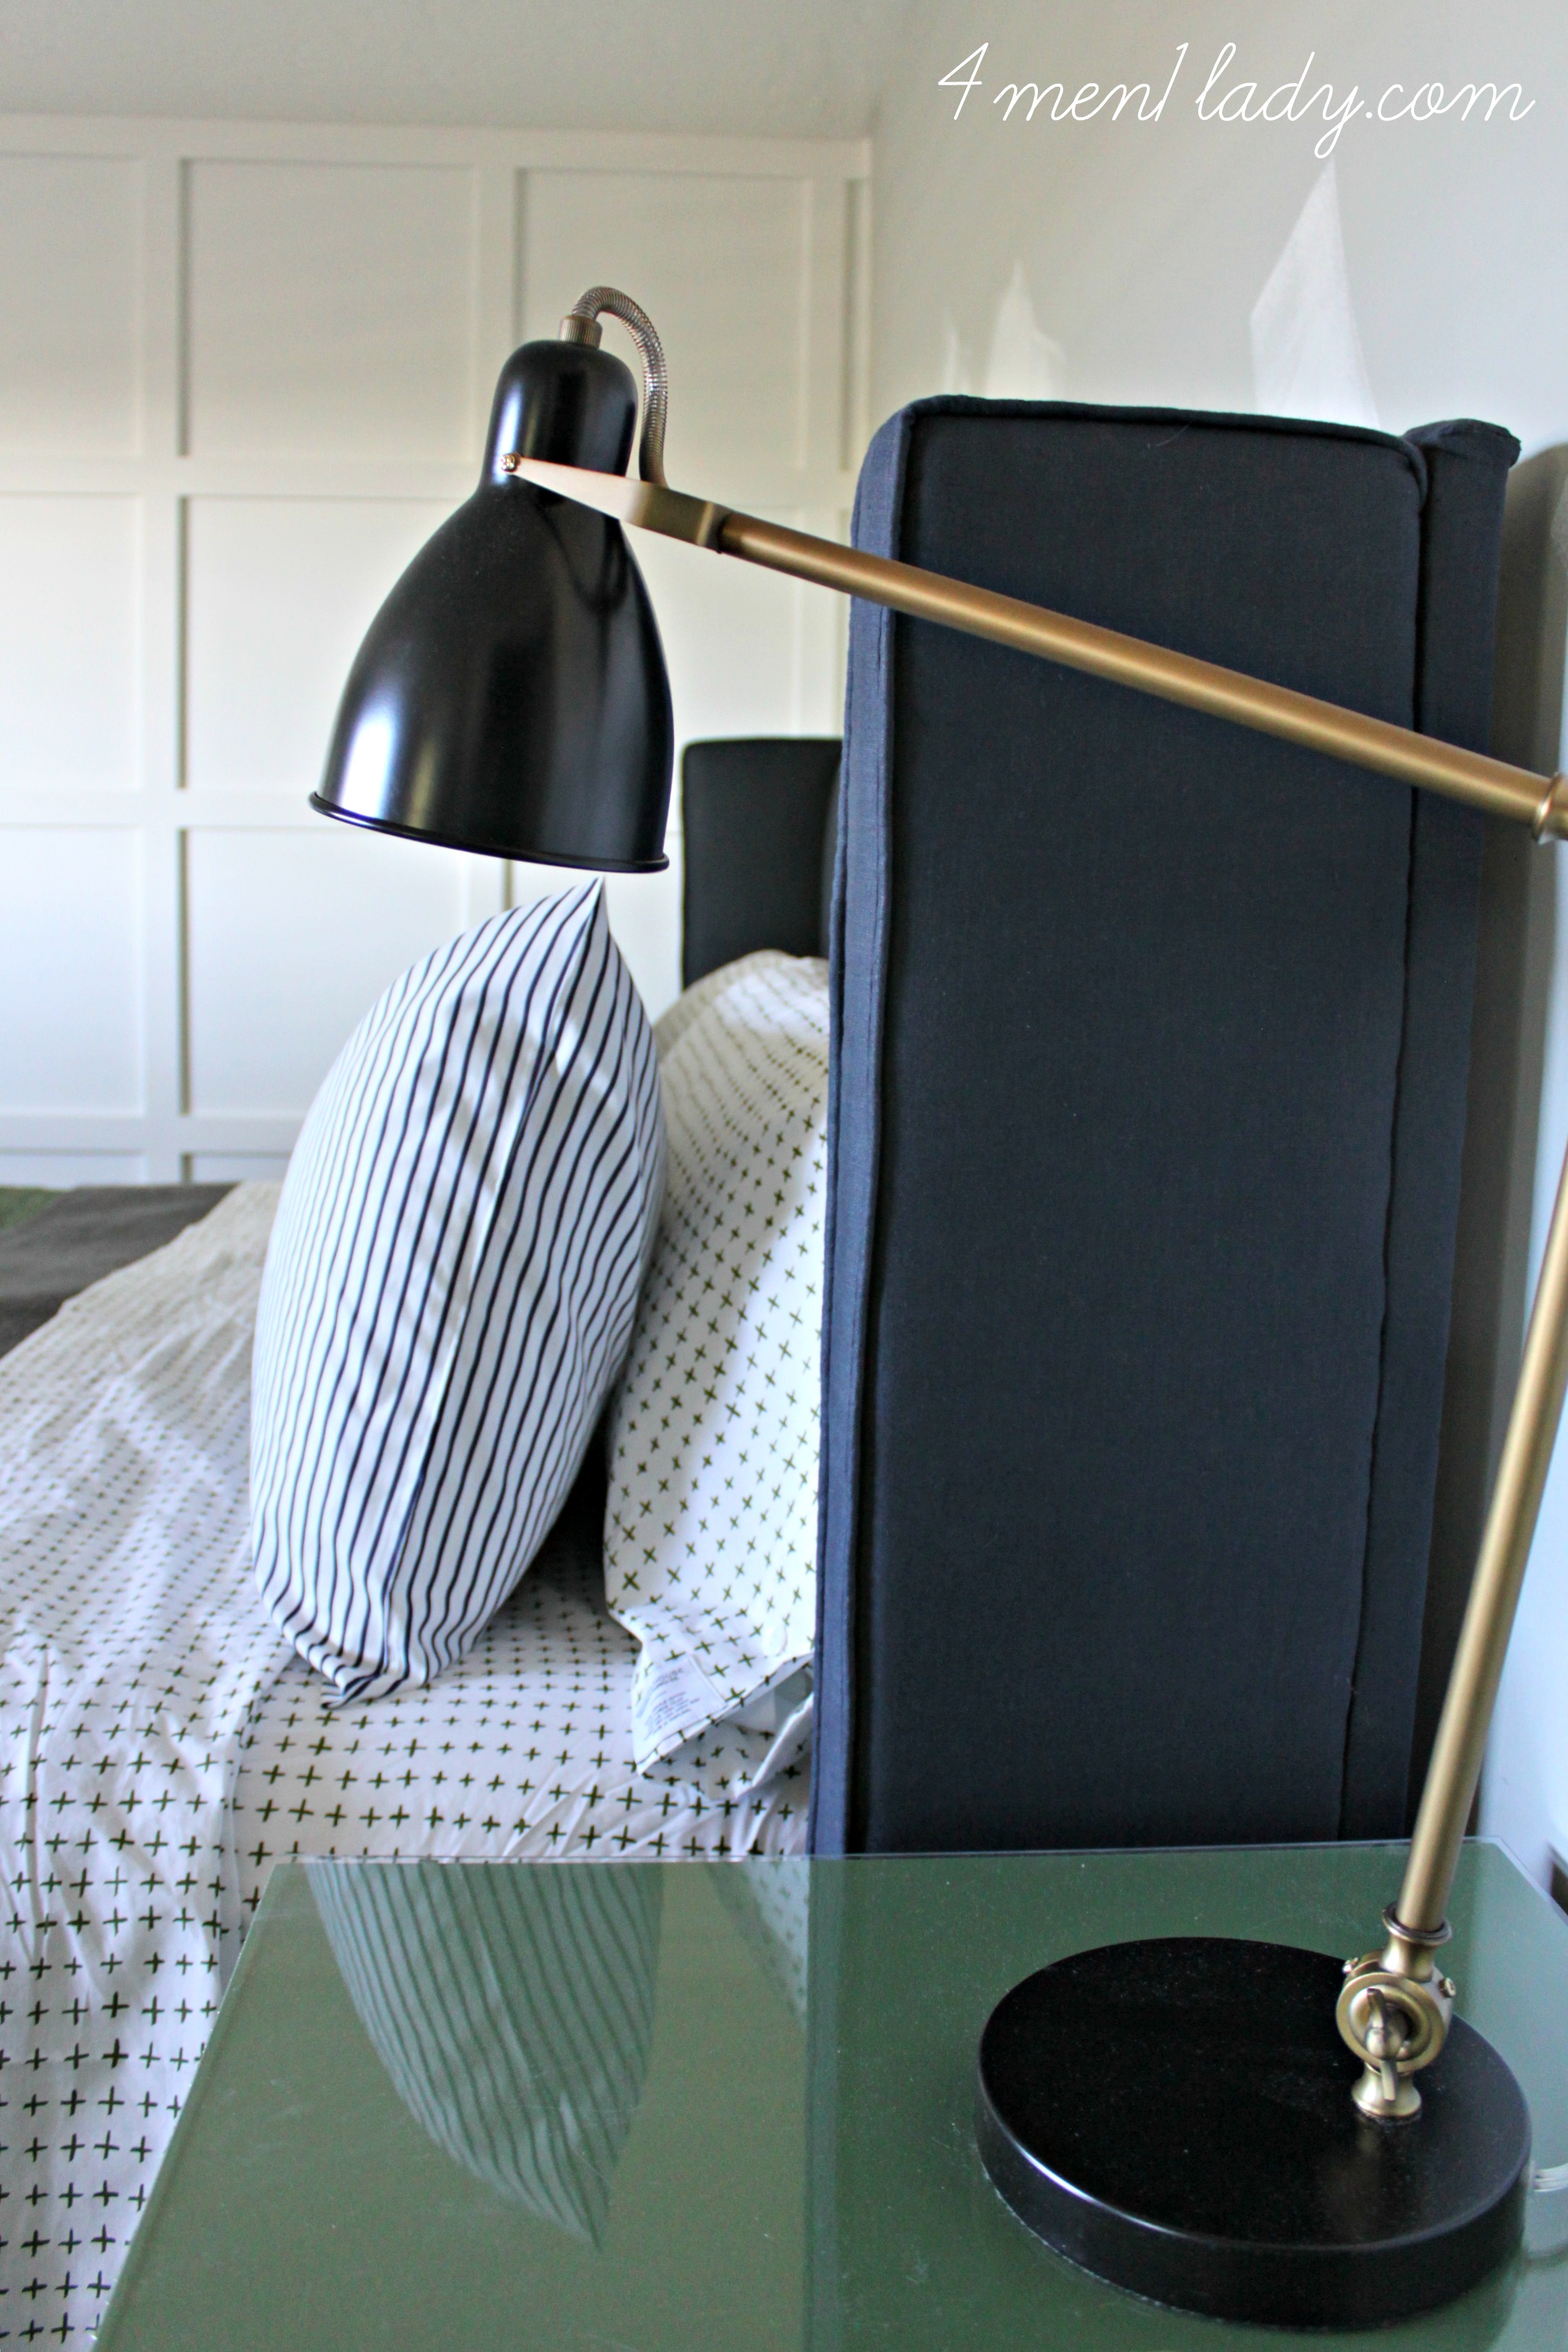
I was finally able to pull out bedding I’ve been hanging on for ages and make a proper bed.
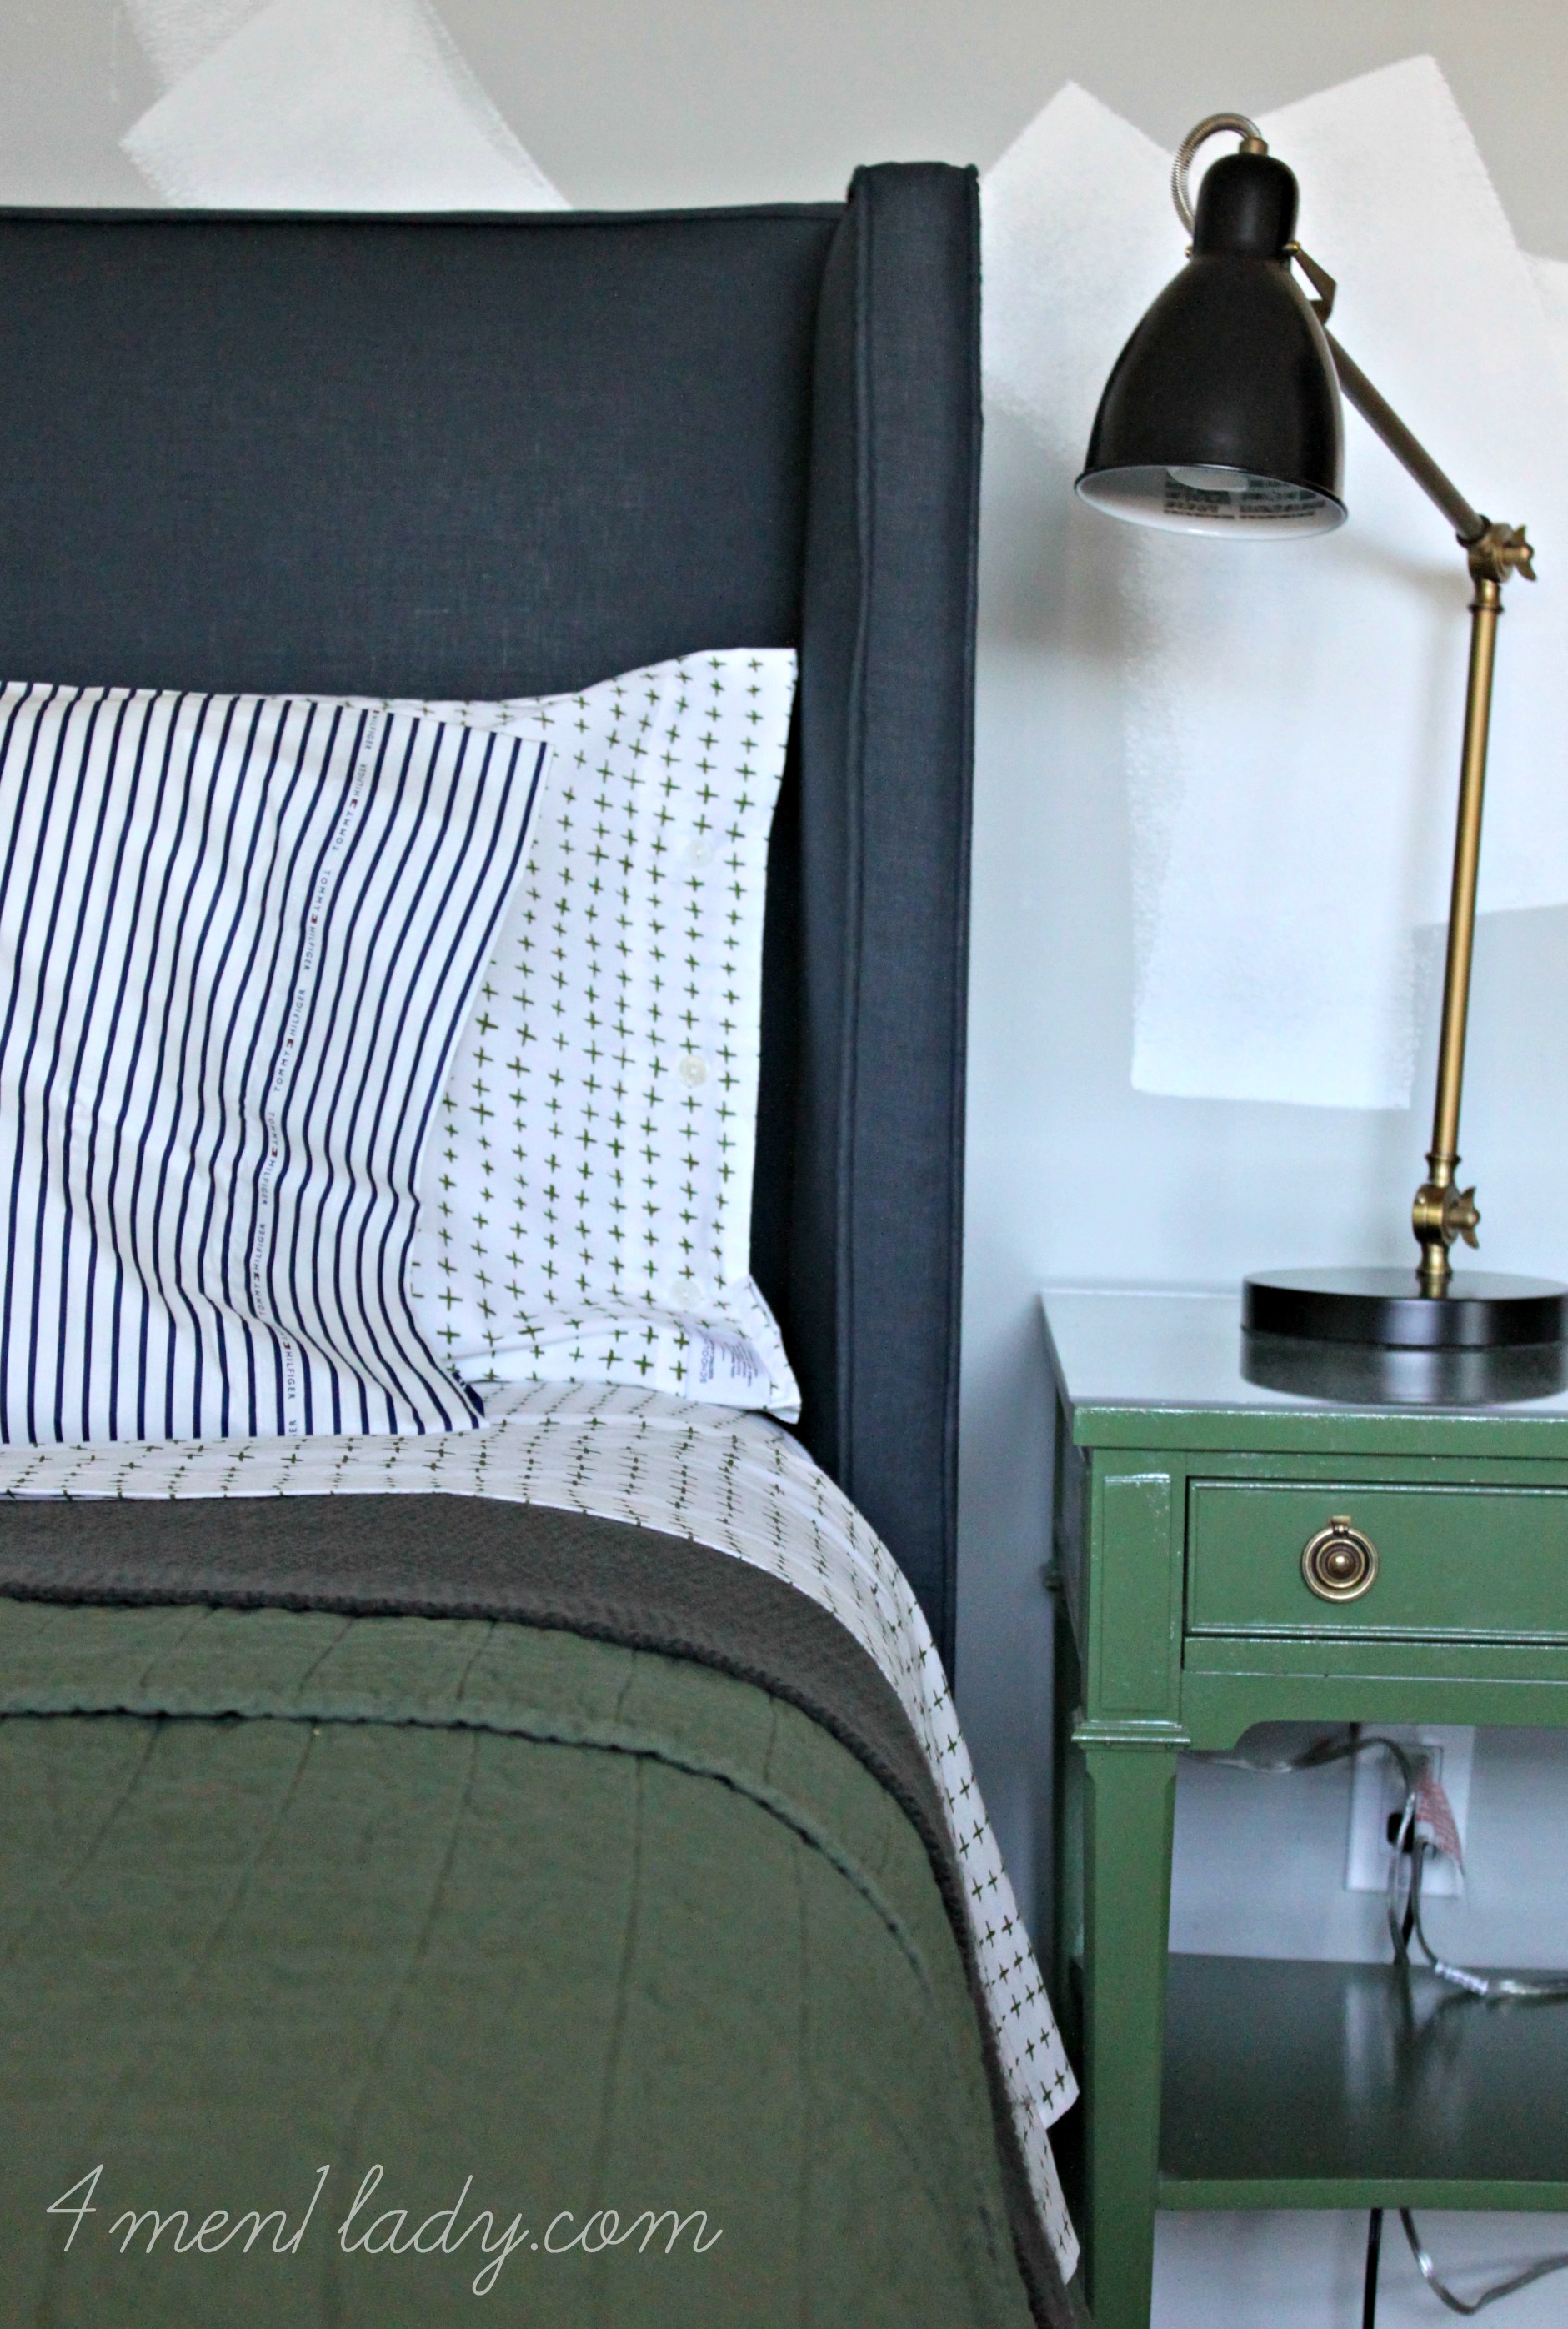
The green Plus sheets are from School House Electric, navy stripes were found at HomeGoods and green comforter is from Target. Lamp from West Elm.
Next up, make some curtains, throw pillows and get that hideous wall painted. Oh yeah, and the mattress…
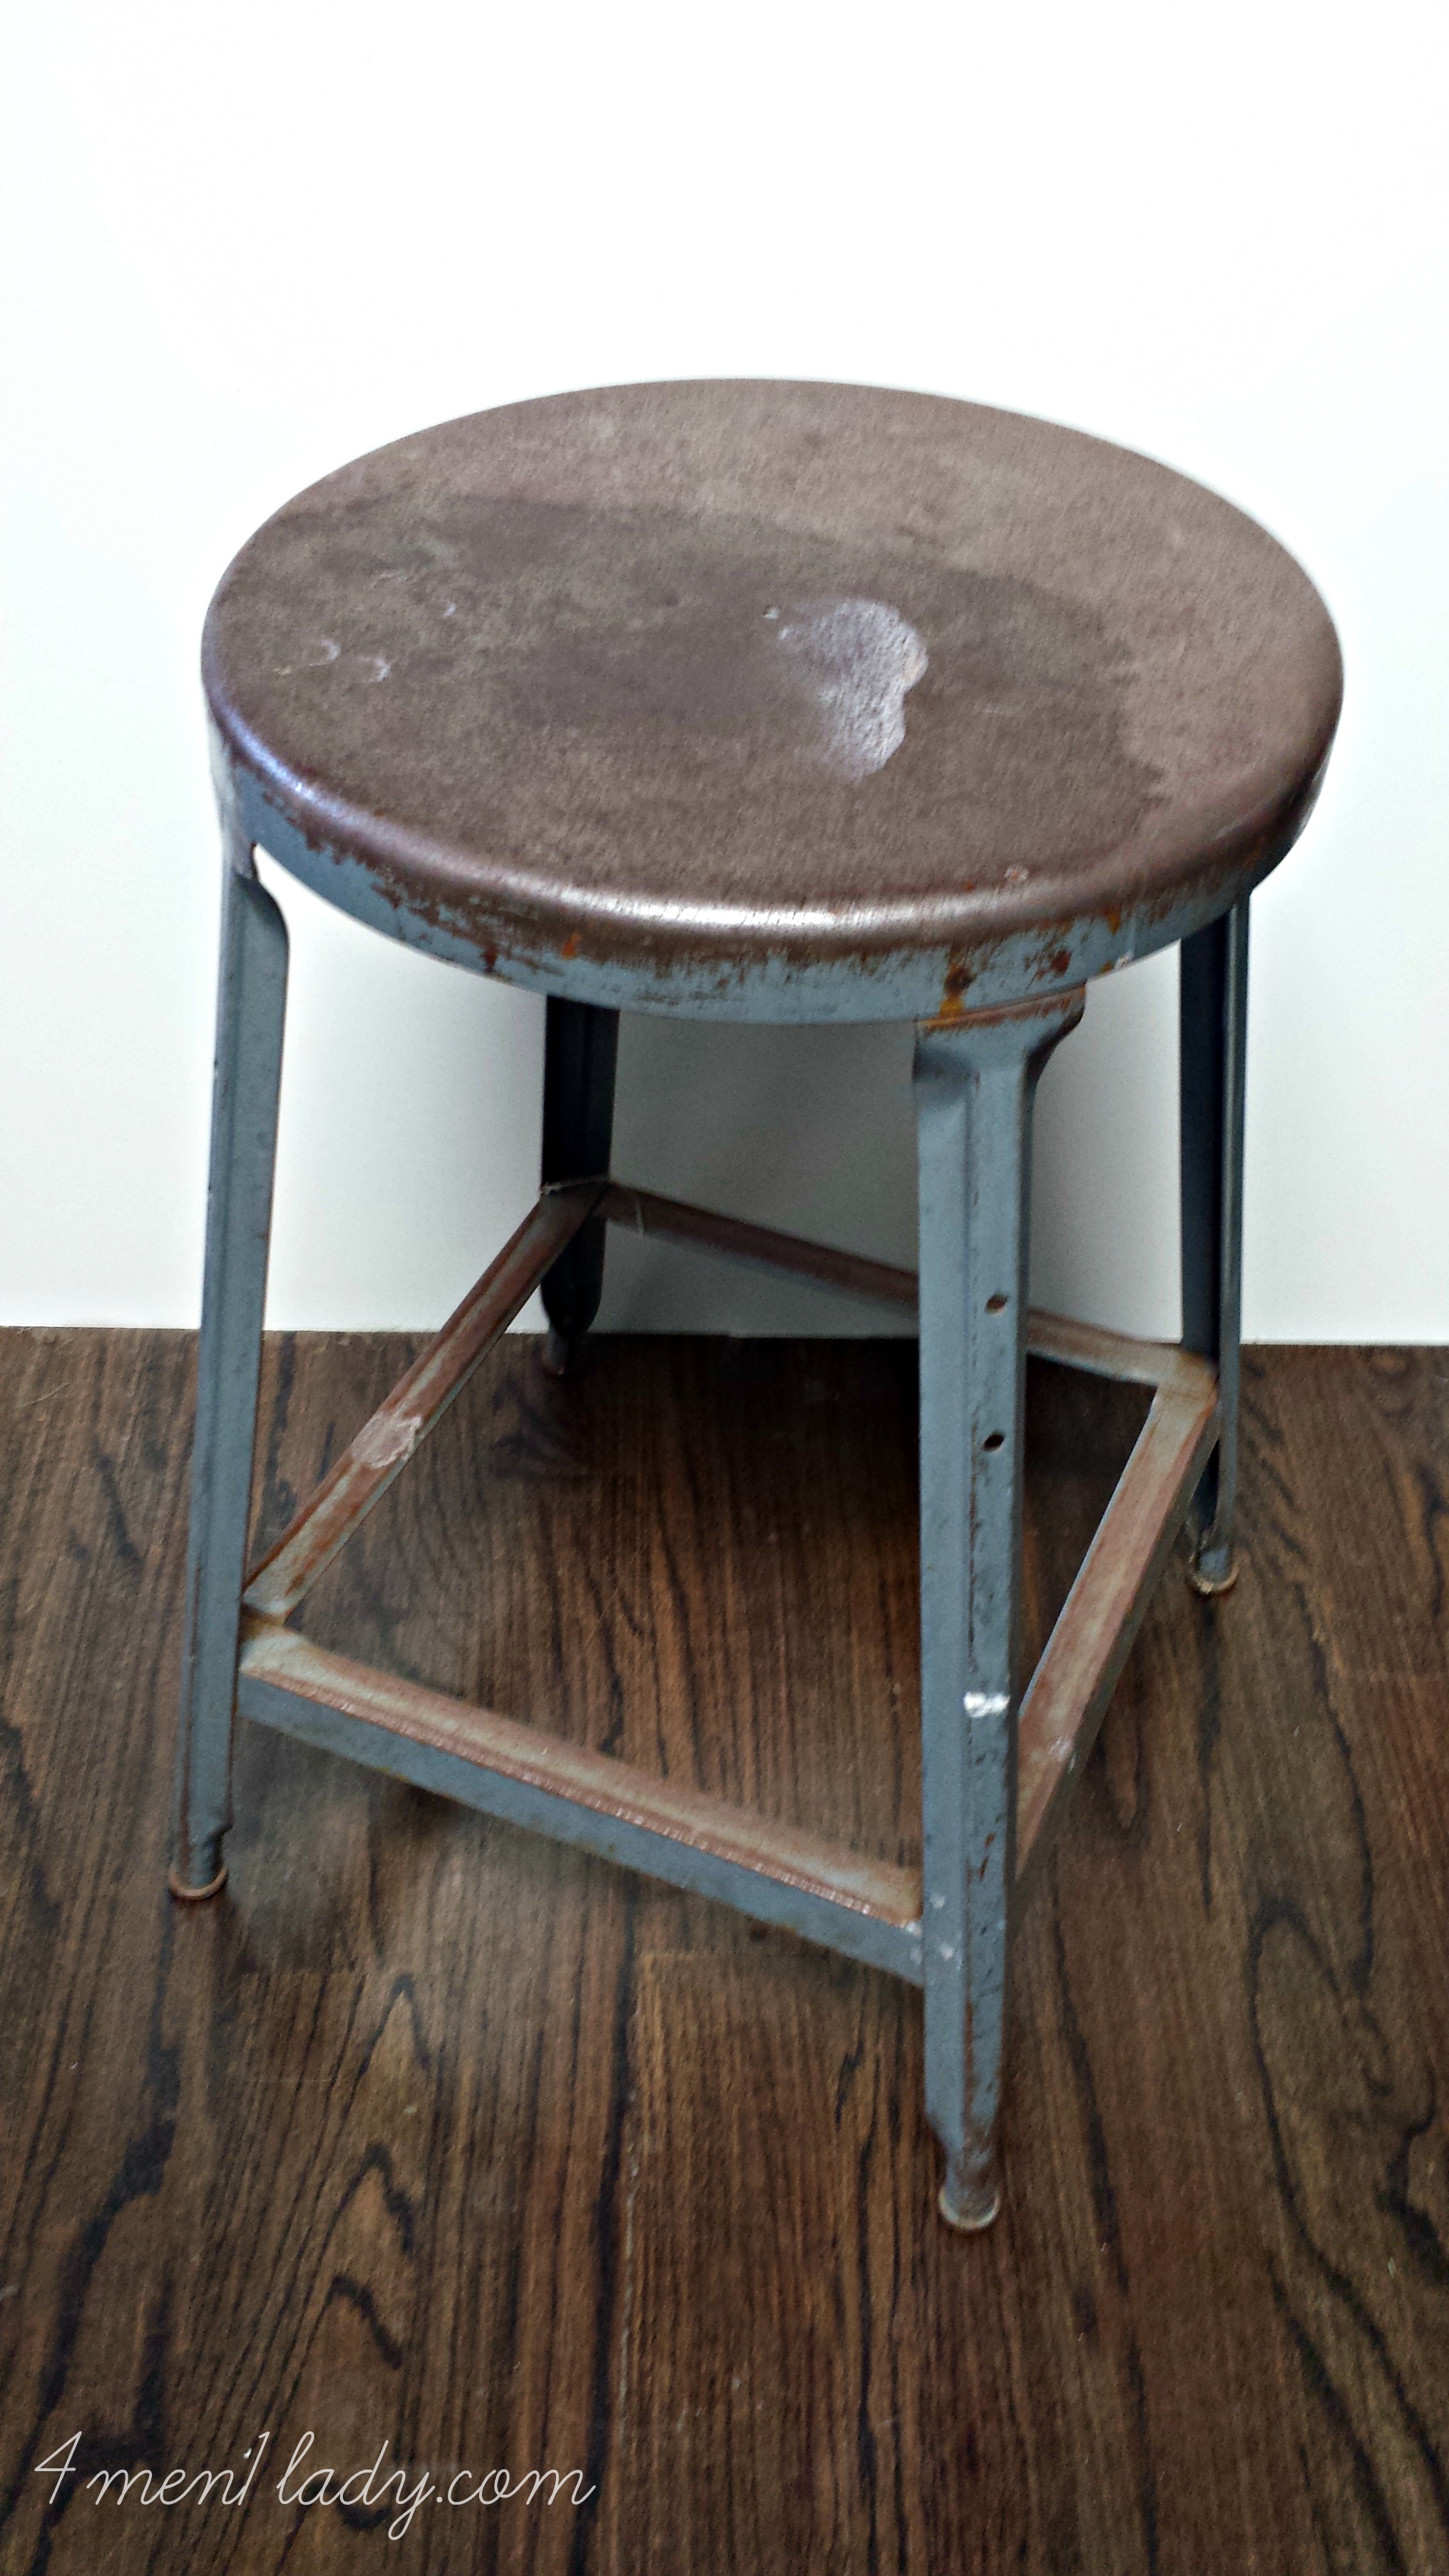
I’m also going to be working this old, rusted metal bench in to the bedroom. When I get done with it, it is going to look drastically different. You won’t ever recognize it. I know what you’re thinking but it doesn’t include spray paint. Have I become that predictable?
Upholstered Wing Bed tutorial coming soon.
P.S. Mom, you are the most talented woman I know. Thanks a million.
School House Electric was so kind to send us their Imperfect Plus Sheets to review.


 Hey there! I’m Michelle; I’m an Passionate DIY’er and in constant pursuit of how to bring beauty to my house full of men (3 boys + 1 hubby). Stick around and see what I’ve got up my hard-working sleaves!
First off, what a great idea!! Problems aside, I think it looks great and your mom did a very good job with the upholstery 🙂
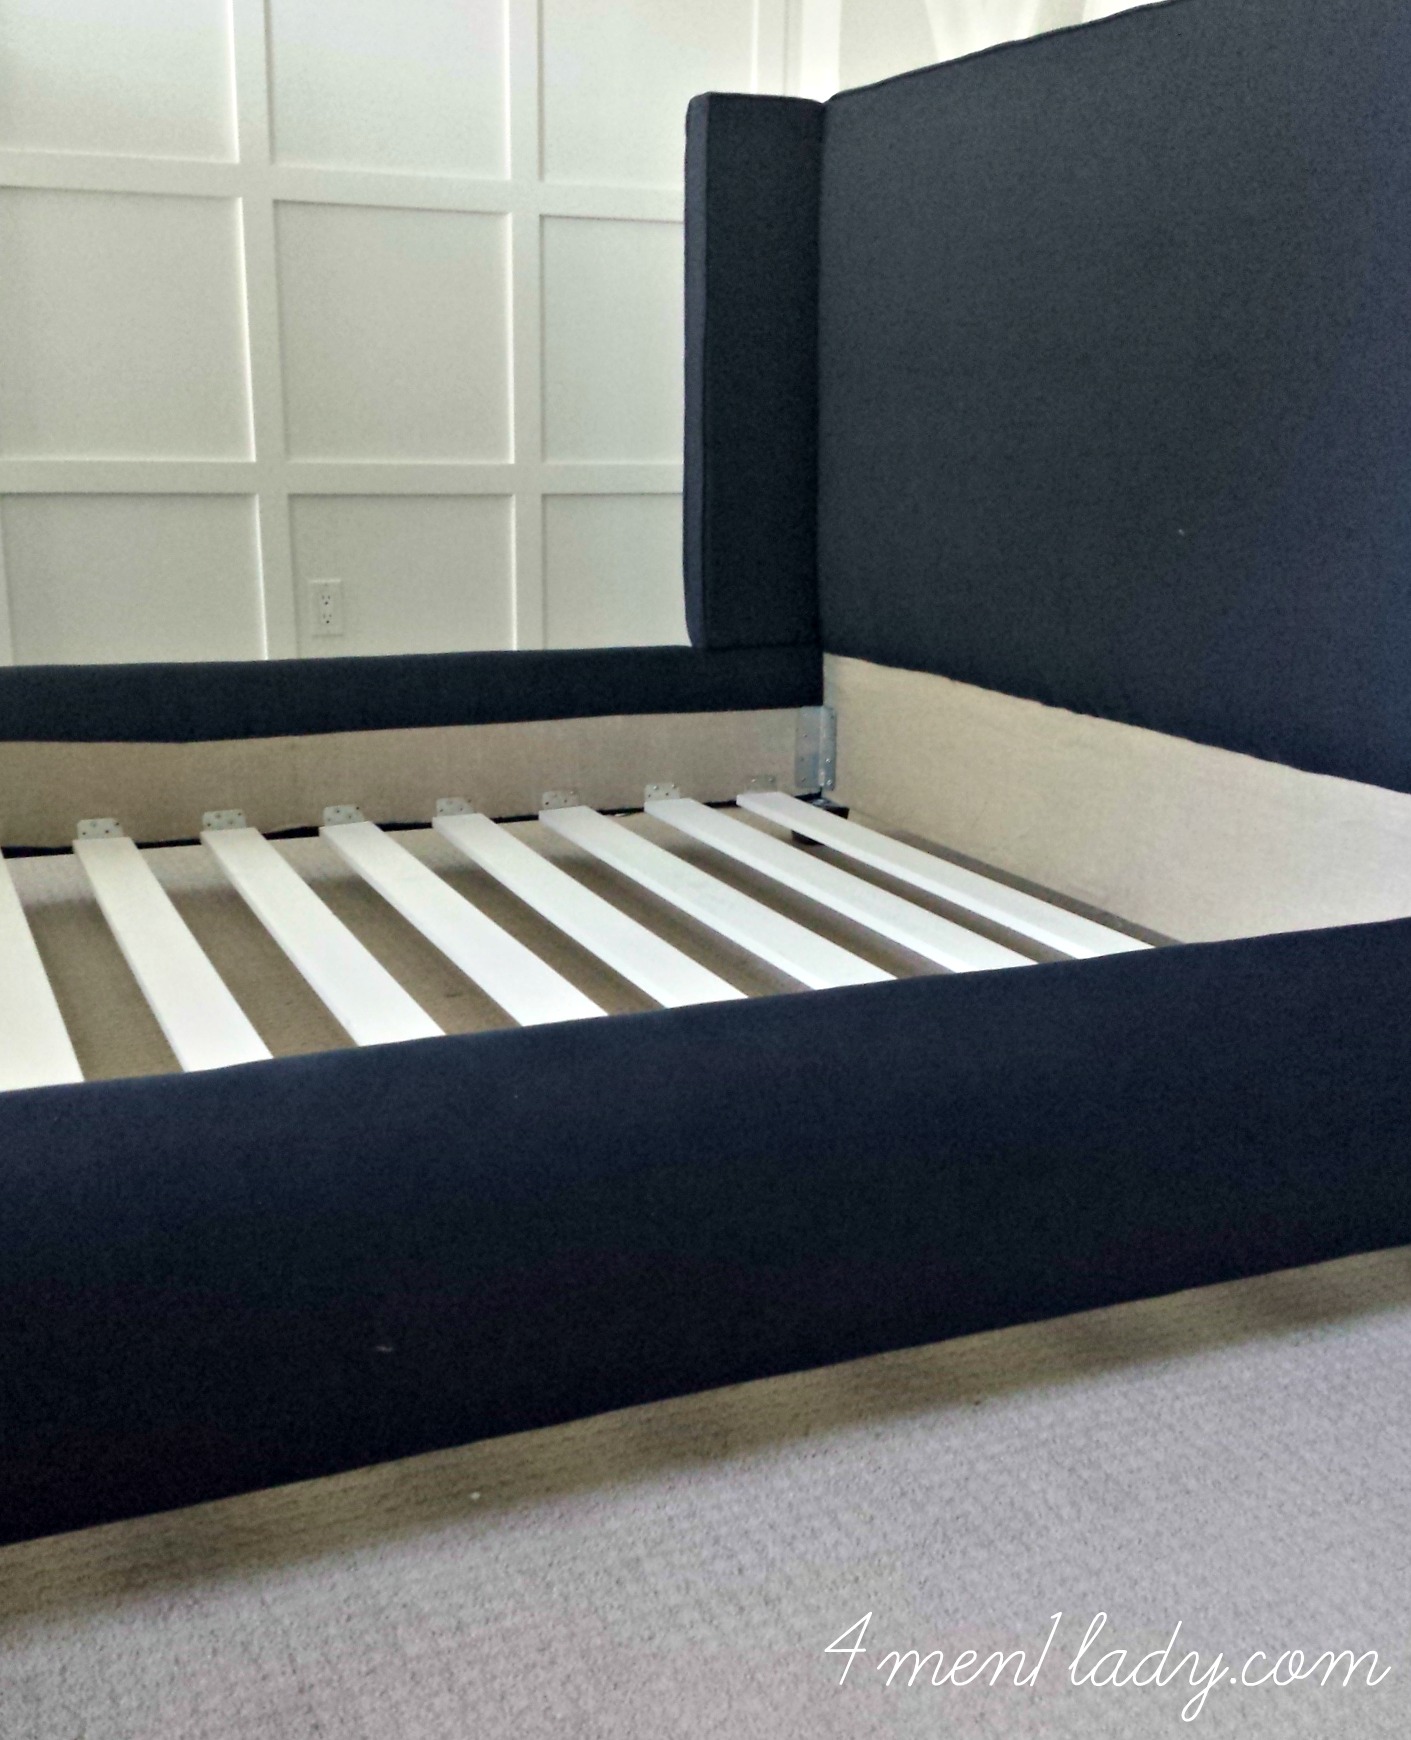
My first thought upon looking at the bed frame in the second picture was if there was any support in the middle. I’m not sure if that’s what’s causing the lumps and bumps, but adding in another vertical method of supporting the bed from the centre is probably a good idea, especially because it’s a king sized. Maybe add a slat from head to foot down the centre of the bed (perpendicular to the others) and an extra leg where the slats meet in the middle?
Good luck!
In the picture you can’t actually see the support under those wood slats but yes…each board is supported and solid as a rock. There’s actually no give…the Mr. made sure of that. 🙂
This is awesome!! And I totally understand your fear of people thinking you can’t make a bed. I get a weird sense of pride from how well I can make a bed. Irrational? Yes. But whatever gets ya through the day!
Phew! Glad I’m not alone. 🙂
Great job, Michelle! It all looks amaze balls.:)
Thanks Anna…what home projects have you been up to lately?
Hello, Long time reader first time commenter. I just finished my master bedroom and I totally empathize with you regarding your mattress. I recently went through a whole mattress search debacle and I got a new one on January 1st. the past seven months have been the best EVER. I bought a bed in a box brand foam mattress.
I love your colors. The antiqued brass is amazing. I also used a similiar Lacefield fabric for my Roman Shades. Its such a lovely print. Your bedroom is coming together quickly. I can’t wait to see the reveal.
-Ayisha
HOLY COW! Your bedroom is stunning. That bed it GORGEOUS! I love your roman shades…in fact I almost used that same print but at the last minute changed my mind. Great taste, looks like a fancy botique hotel!
What is the warranty on your mattress? If it is still under they will replace it for free.
Duh. Didn’t even think of that. Thanks a million, going to check it now. 🙂
I have been looking for an emerald green comforter like that everywhere! Target? I didn’t see it on the website =[
Yes, I bought it last year and have been hanging on to it ever since. I did see one last month…same print but in navy.
I can’t wait to see your tutorial – I love the look of this bed, almost exactly what I’ve been after but can’t find – I’m excited to see the cost breakdown as well. I really want to try this when we upgrade from our queen to a KING!
🙂
I love it! You always have such great projects. Can’t wait to see the whole thing. And I love those sheets, I just bought similar ones from target with a smaller print for my sons room redo. Then I went back and bought the same set for my room redo too cause I loved them so much!
It looks amazing so far. I’m glad someone mentioned the warranty. Someone should come out, they measure the dips and if you have no stains on your mattress, they will replace it. Good luck!
Regarding the mattress. It looks like the foam layer has sagged due to the gravity. With the foam layer bunched up it could be moving the springs out of place. If the mattress is no longer under warrenty you can open the seam down the side, straighten out the foam layers and resew the seam together.
Great job on the bed frame and headboard!
Great tip, thank you! How do you know so much about mattresses? 🙂
OMG I have been wanting to build almost this exact bed (but add in tufting) – I’m so hoping for a great tutorial! Looks great from the peeks you’ve posted, can’t wait to see more!
What an amazing project–you give me hope for my half-finished projects everywhere!
I say lean the bed on the wall but just the other way and see if things fall into place!!! Other wise call the company and see what they say. Maybe it has a warranty? Fingers crossed!!
Gorgeous! I’ve been wanting to tackle a similar project but haven’t had the guts to do it yet. Yours turned out great and looks so professional!
The colors are perfect. Exactly what I want for my bedroom. What is the paint color name of the night stands?
Please post the DIY on this bed soon. I am ready to tackle this project and cant wait to see how you did it thanks. Looks amazing.