Hello, hello!
Kids are all back in school. Woo hoo, let’s blog!
Remember the post about my plans for our shed makeover in conjunction with my ACE Hardware big summer project?
Well, today I’m sharing our cedar window grow boxes we constructed…and I emphasize “OUR”.
This was the perfect family project (minus the oldest because he was pouting the whole time. There’s always one).
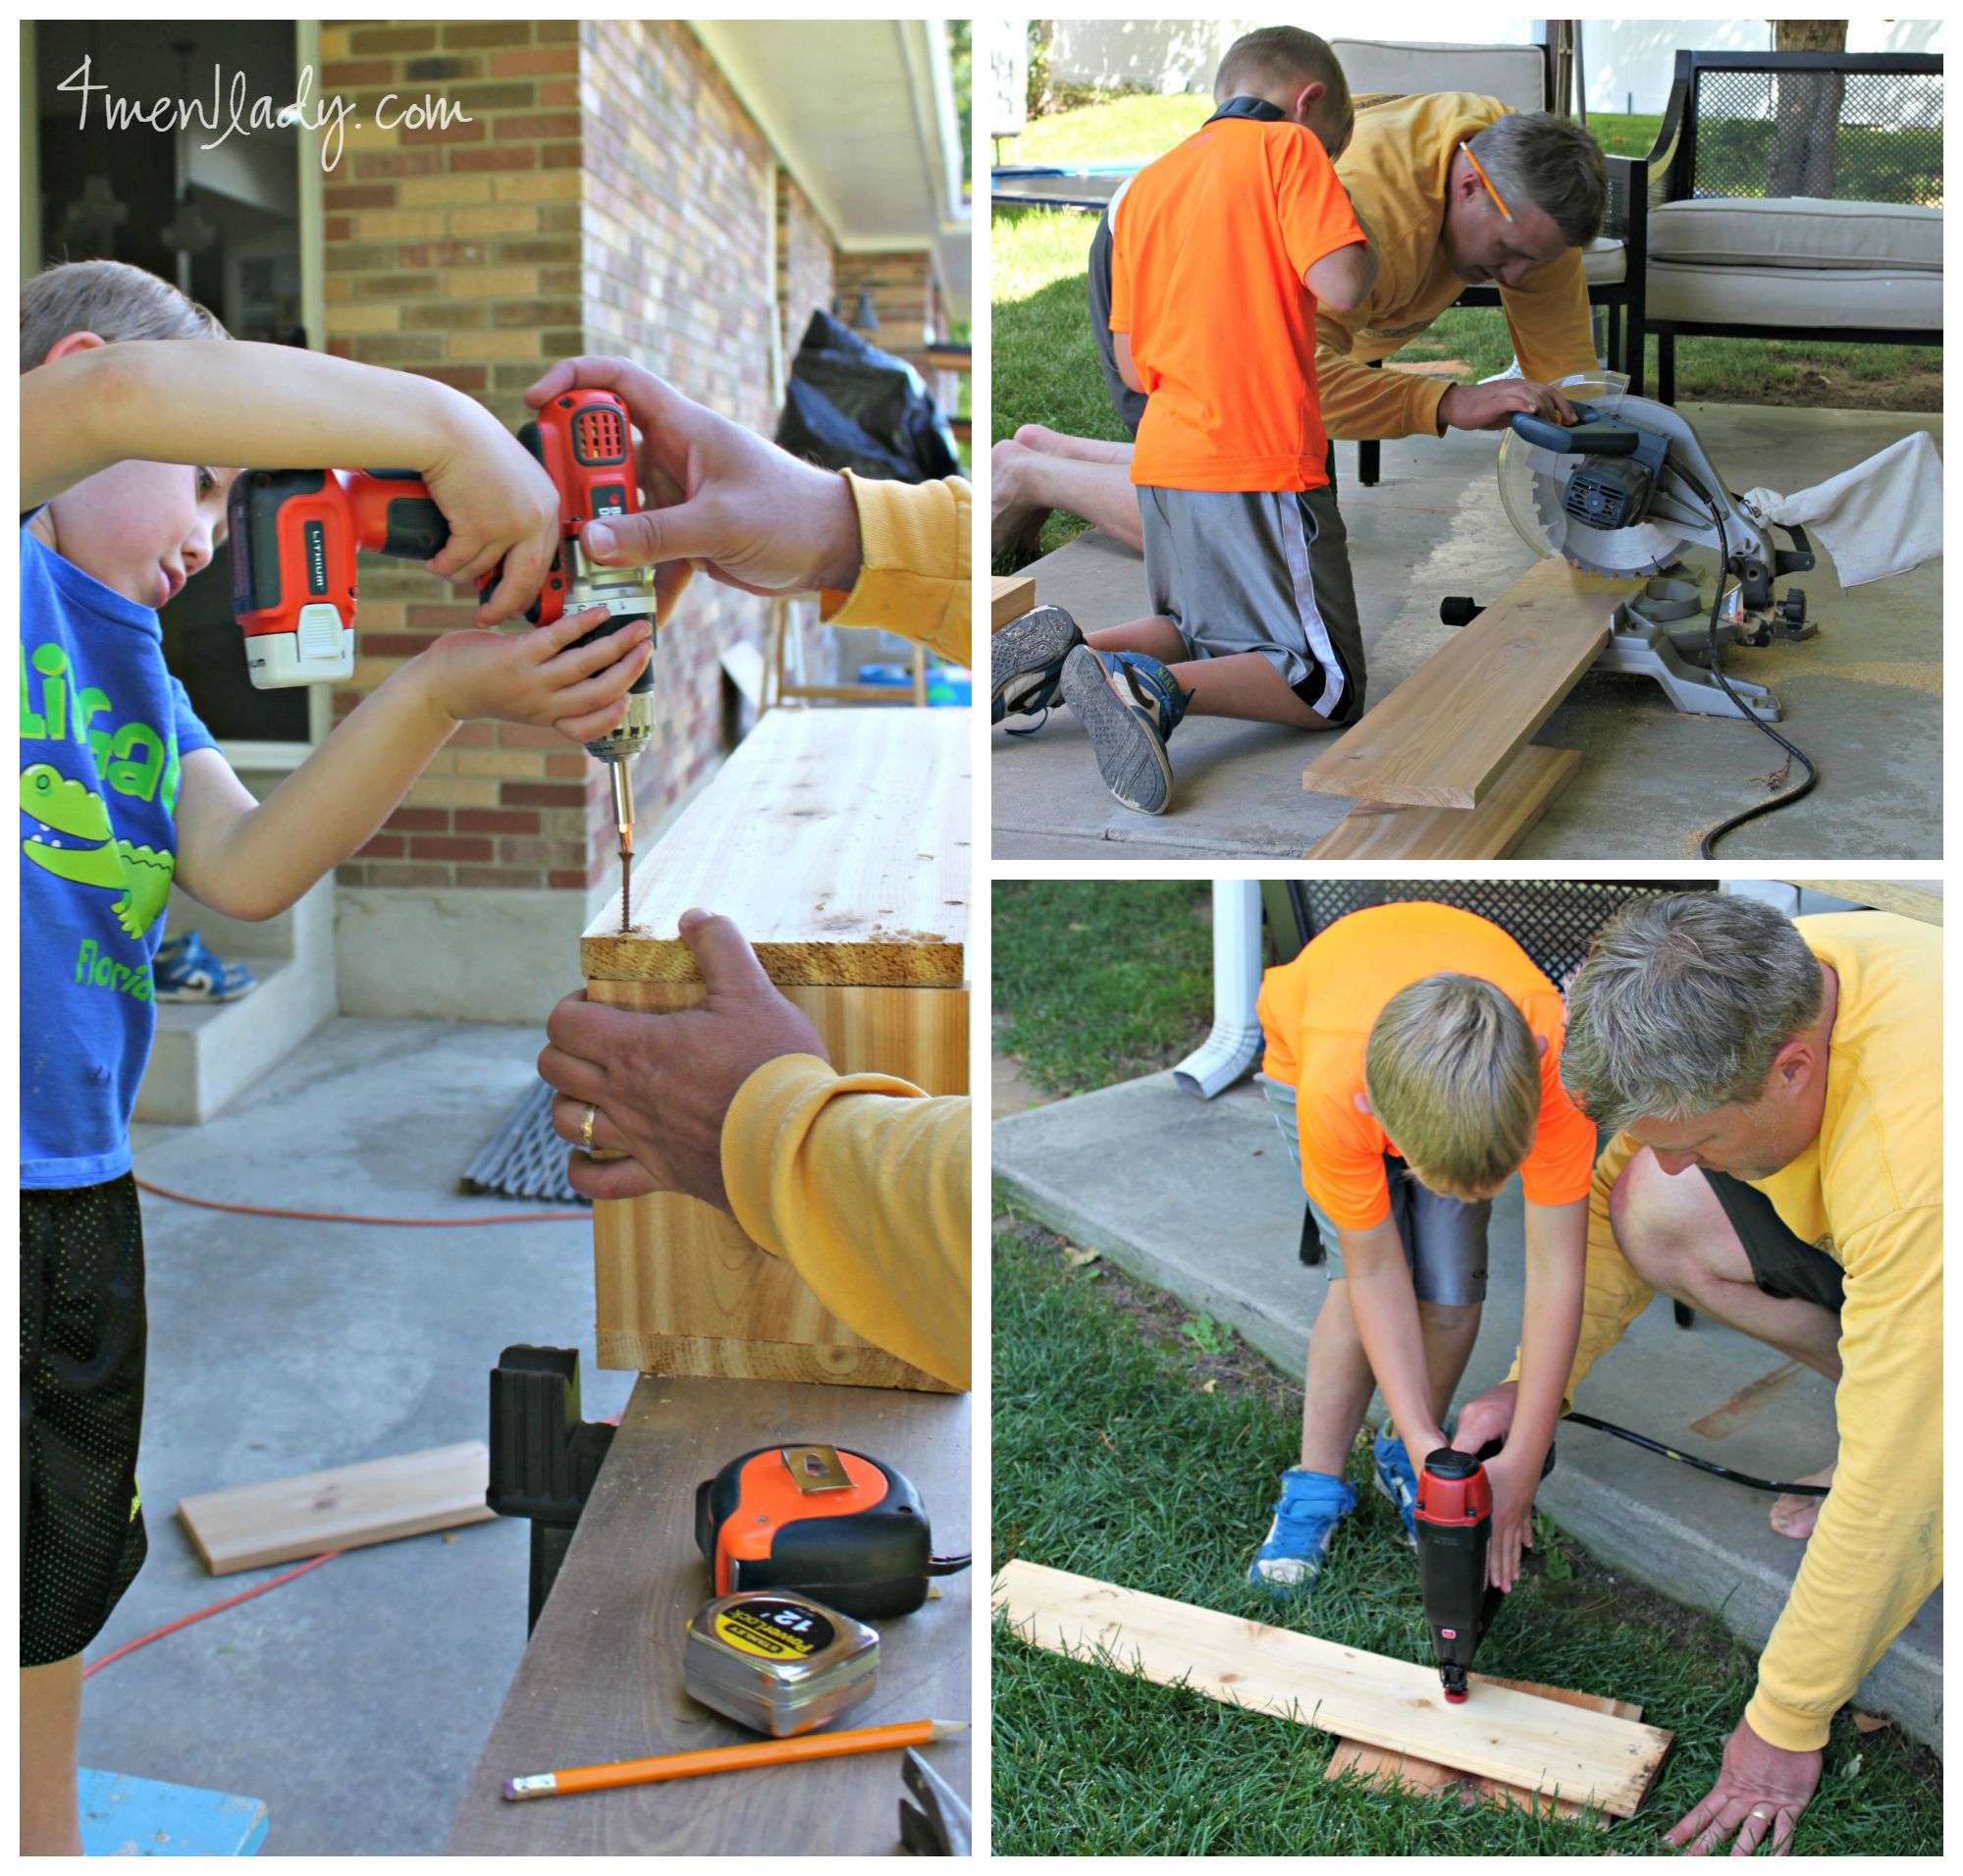
I have to show off my little men,
1). Because they’re darn cute and 2). if these kiddos can help out you know this is a totally doable project.
You may remember we constructed and installed some cedar window boxes on the front of our house earlier this summer.
We did the same thing for our shed but made them slightly smaller.
Quick revisit:
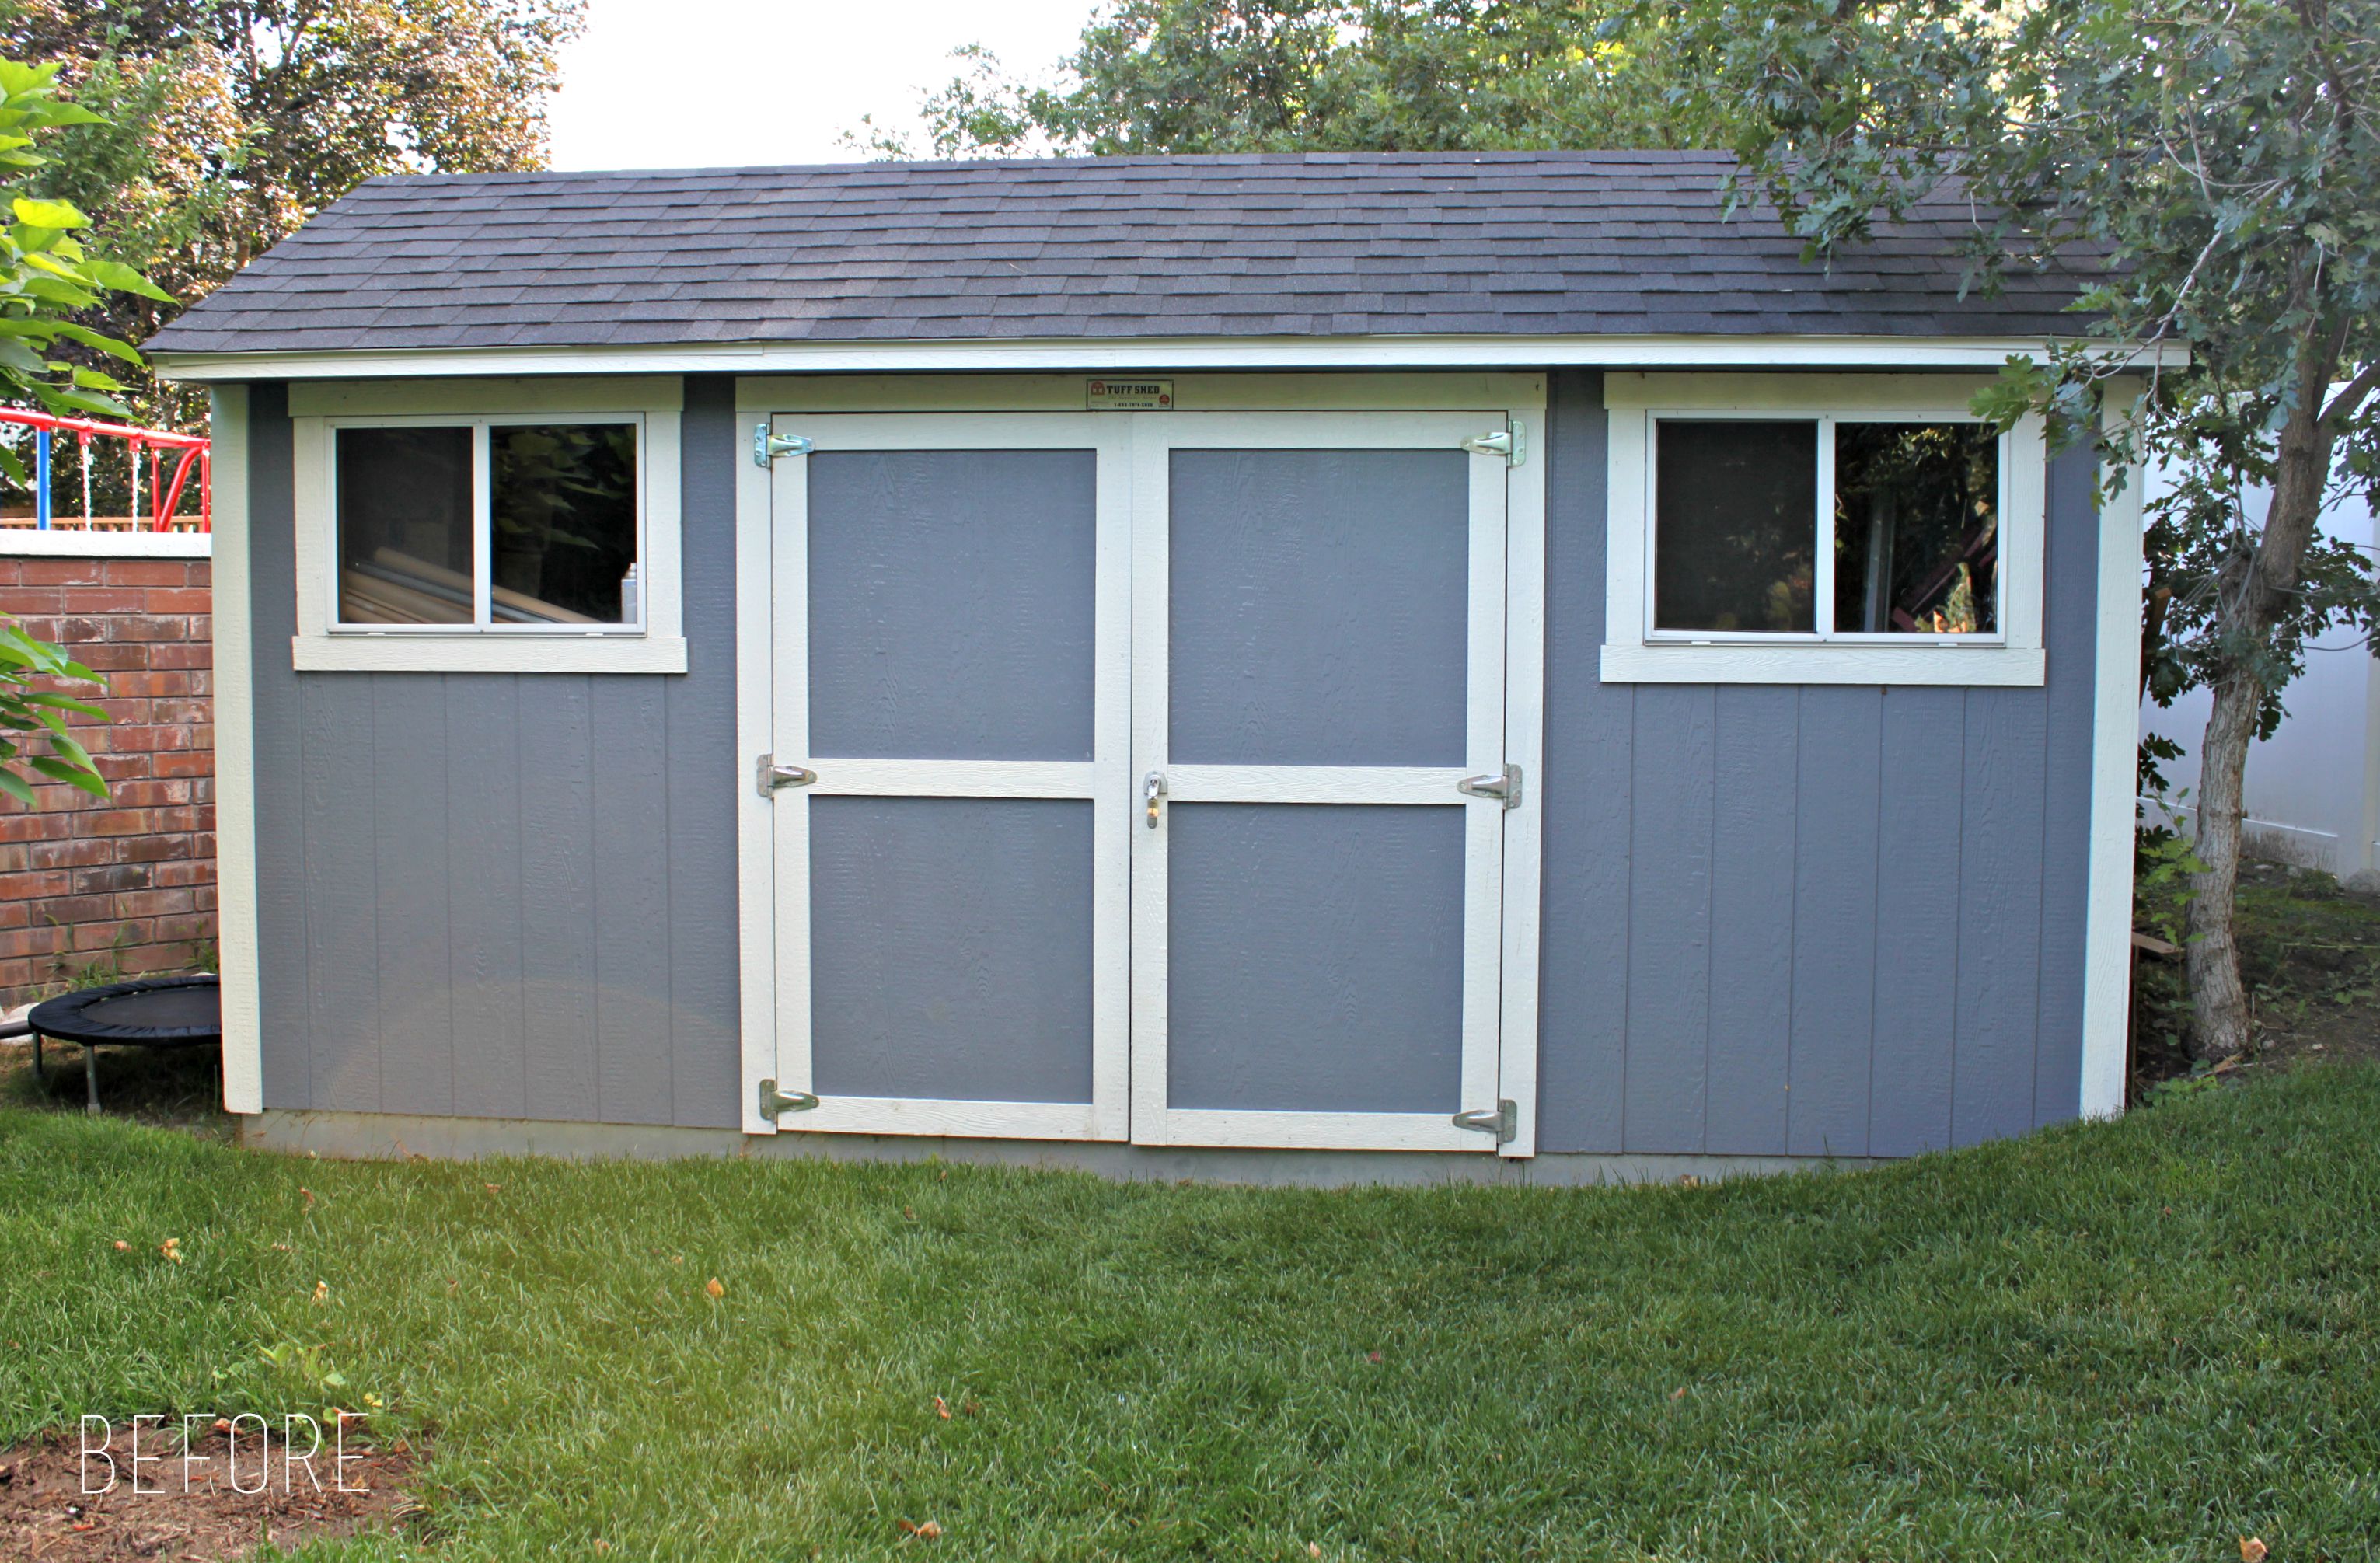
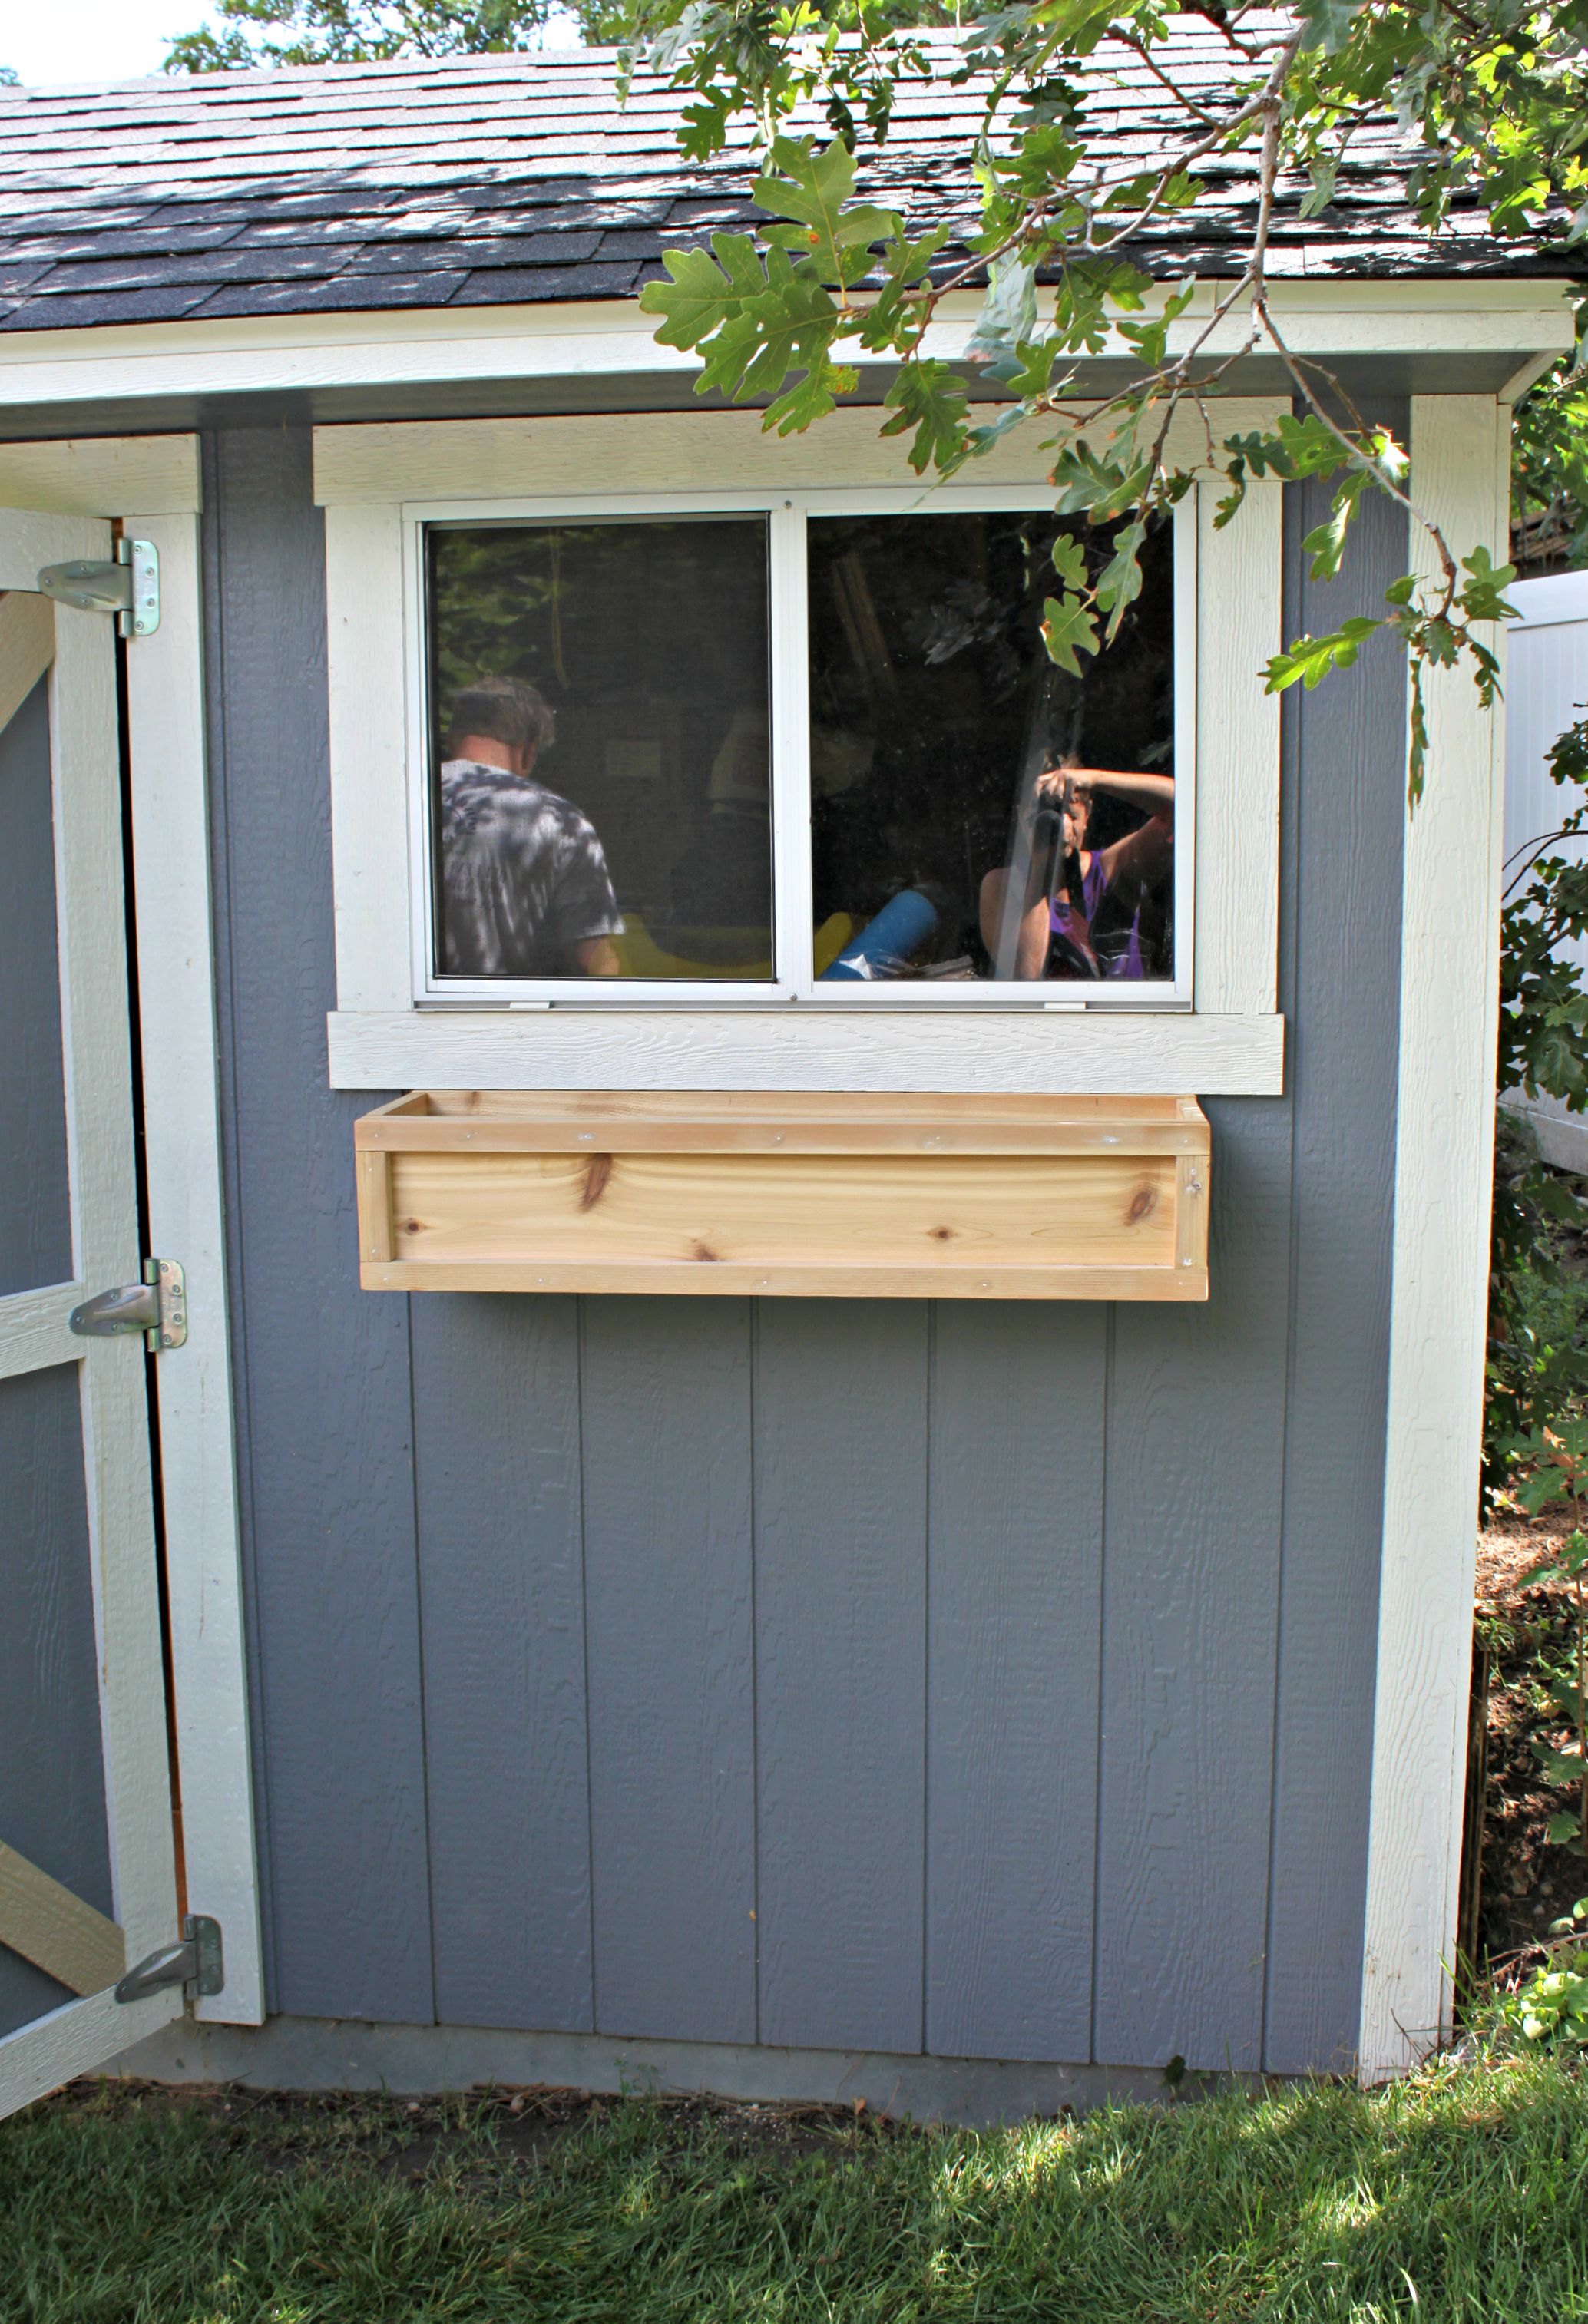
This is our vanilla-boring grade Tuff shed. (Mini-trampoline on the side not included).
The windows are high (and sort of tacky) so to break up some of that real estate we decided to make and install some small garden boxes to go under the windows.
The wood of choice for this project is cedar. It’s a little more pricey but cedar is probably the best choice for outdoor projects for a few reasons. Cedar smells wonderful but pests and insects don’t feel the same way so it’s a natural repellant. It’s also a sturdy wood and won’t warp like other woods do.
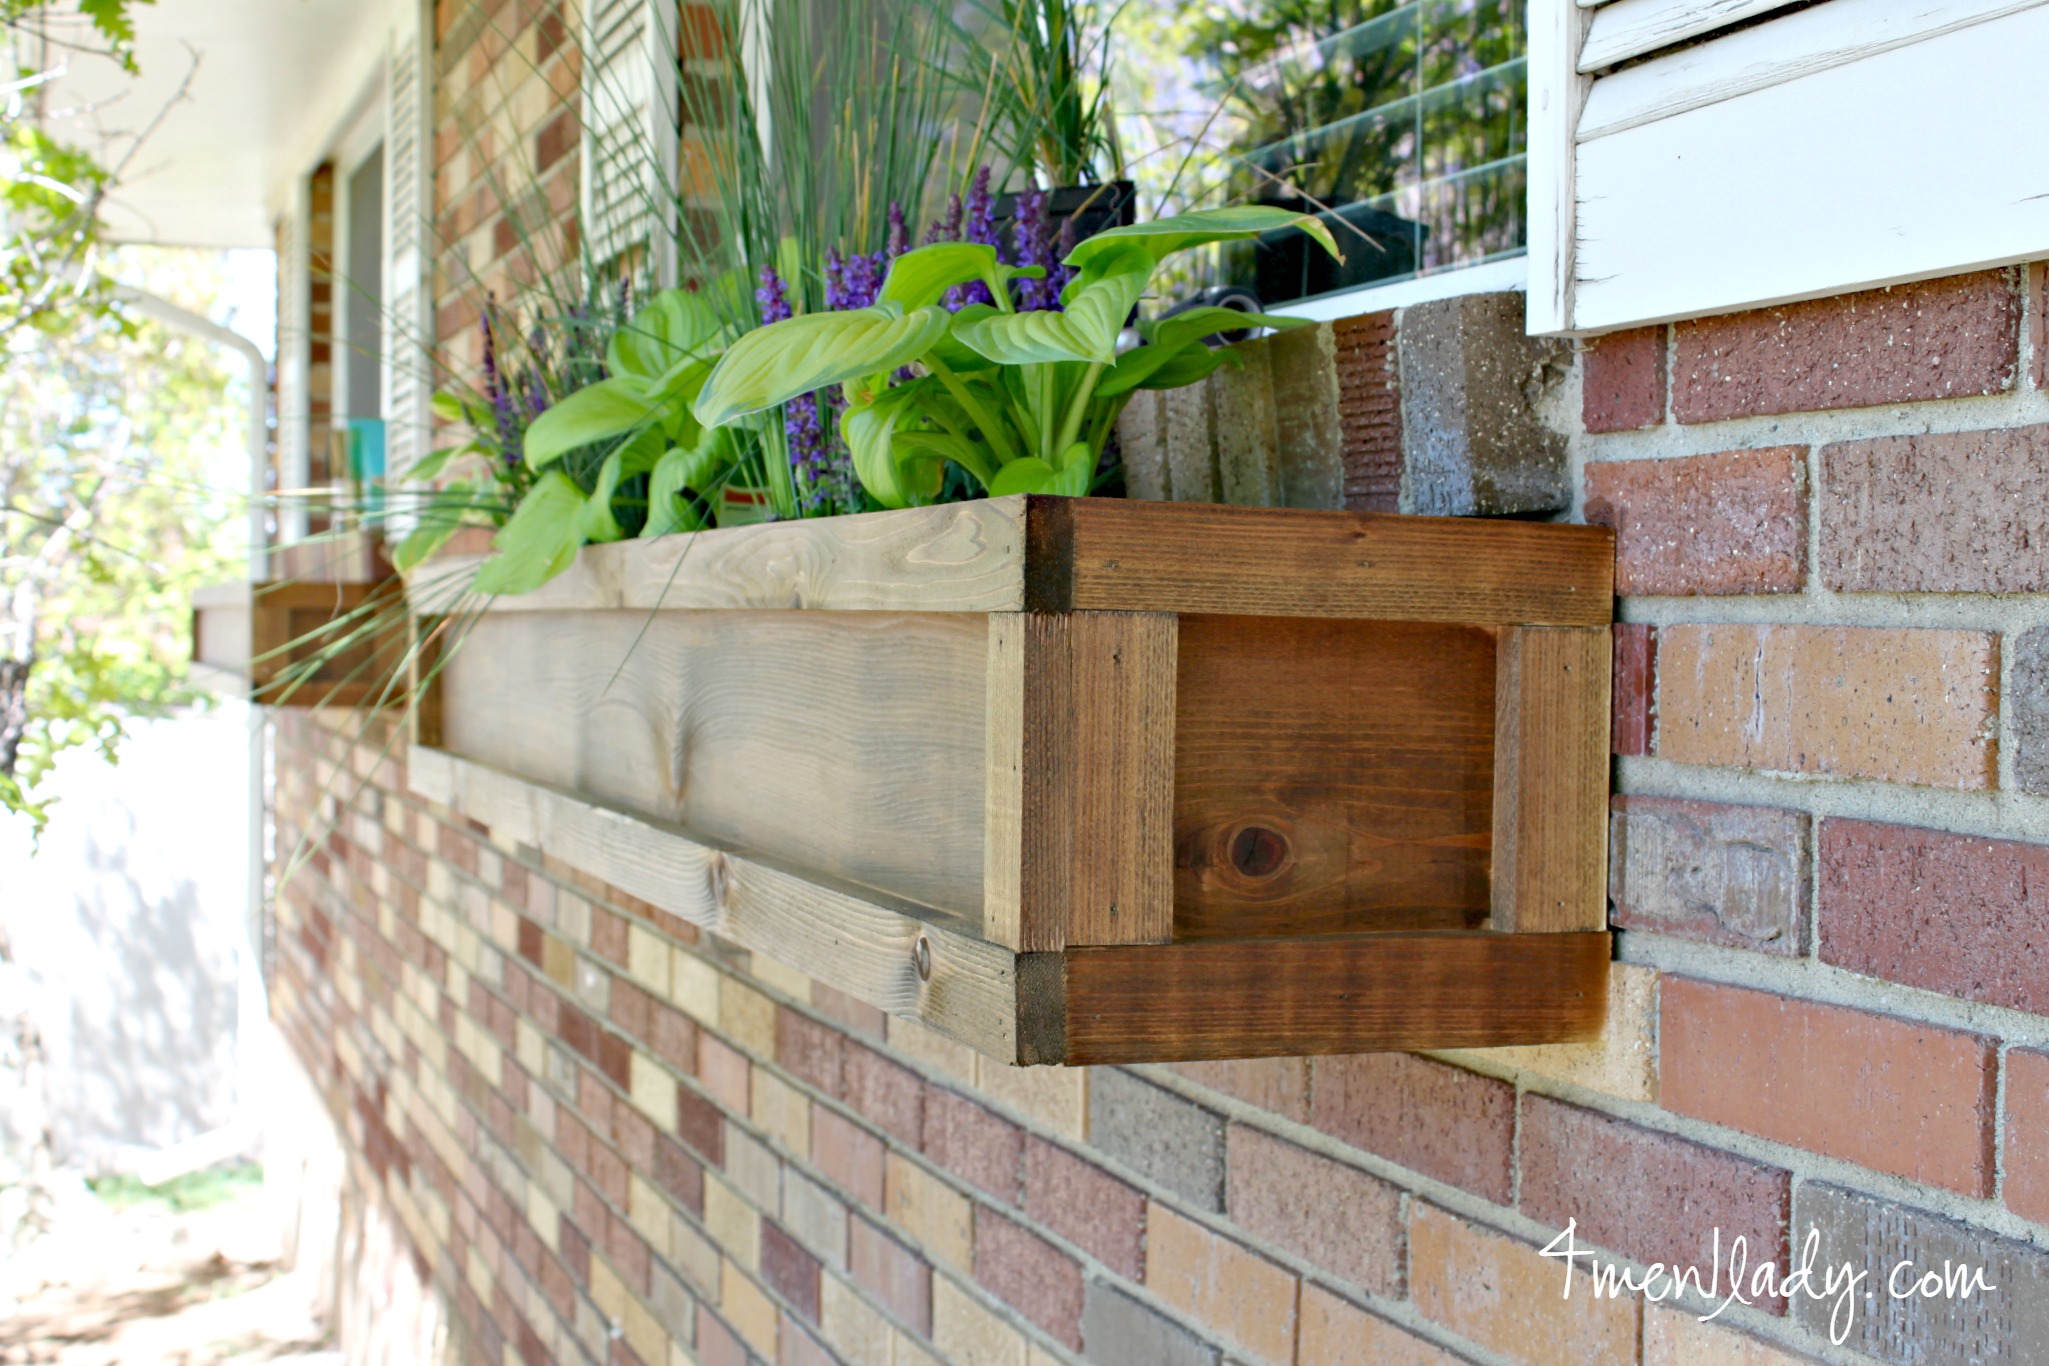
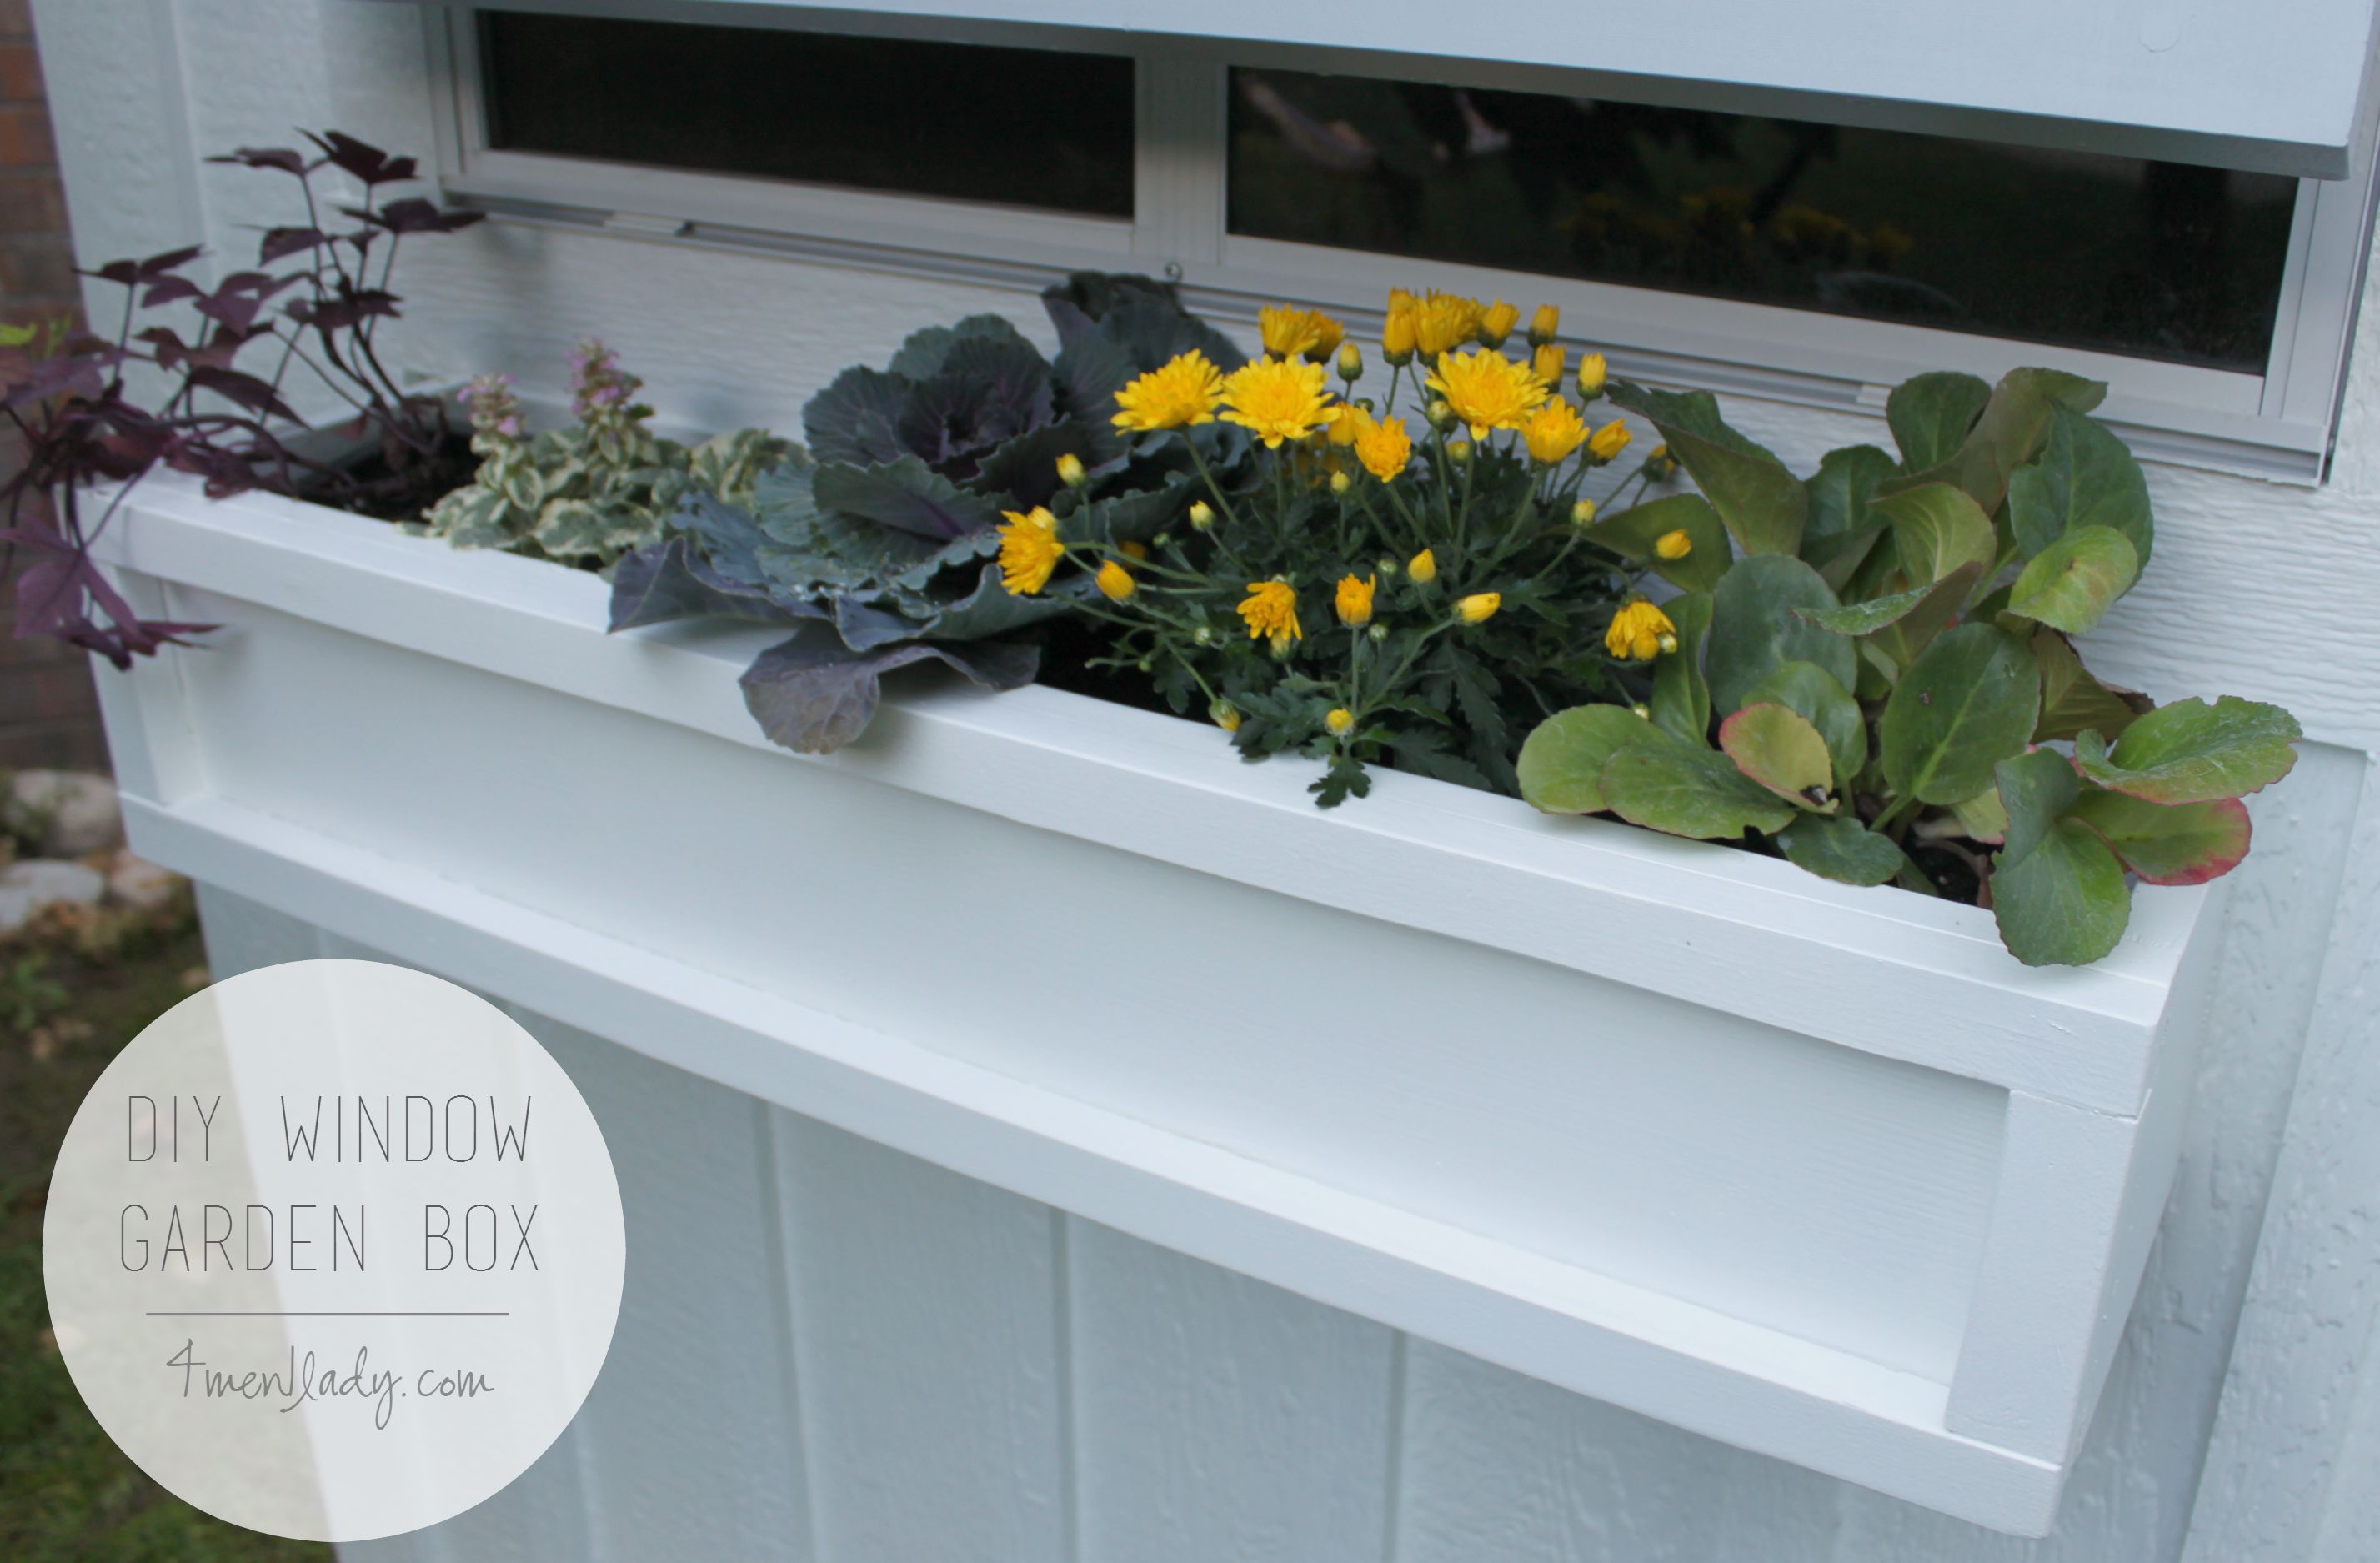
Here is the finished result.
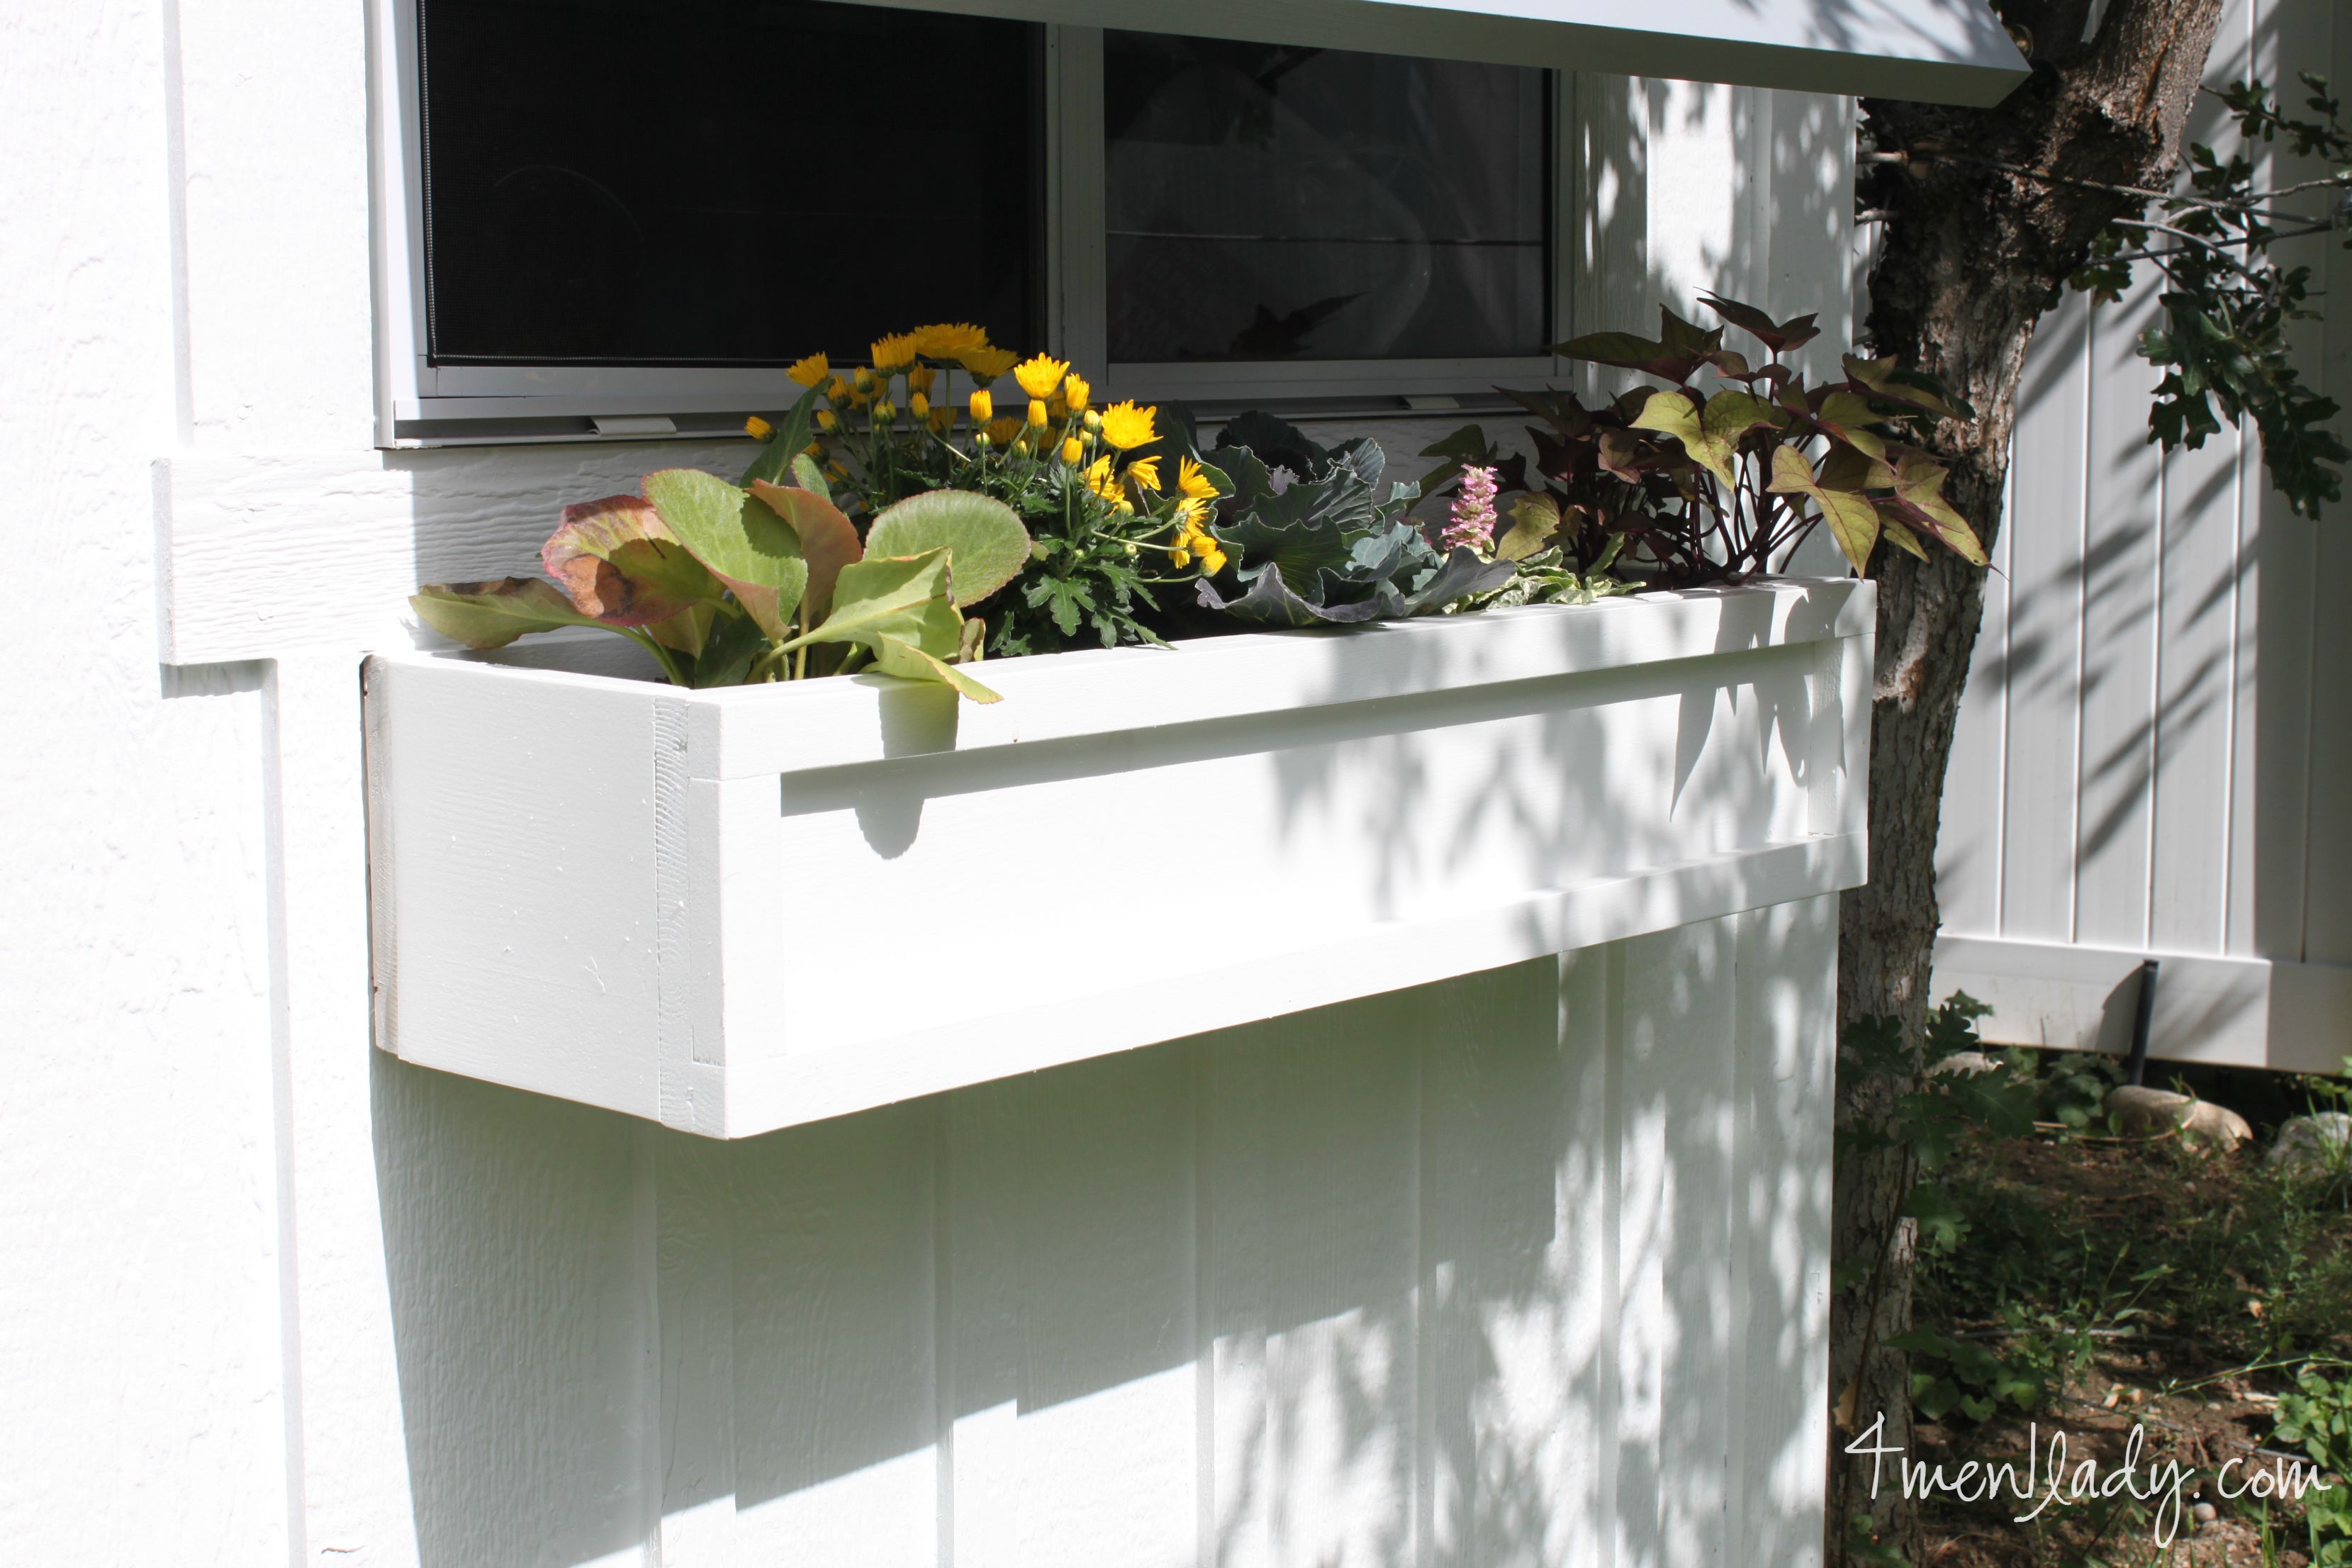
The boxes measure 35″w X 9.5″d X 7″h. We also painted ours with a coat of Clark + Kensington’s “Silent White” from ACE Hardware.
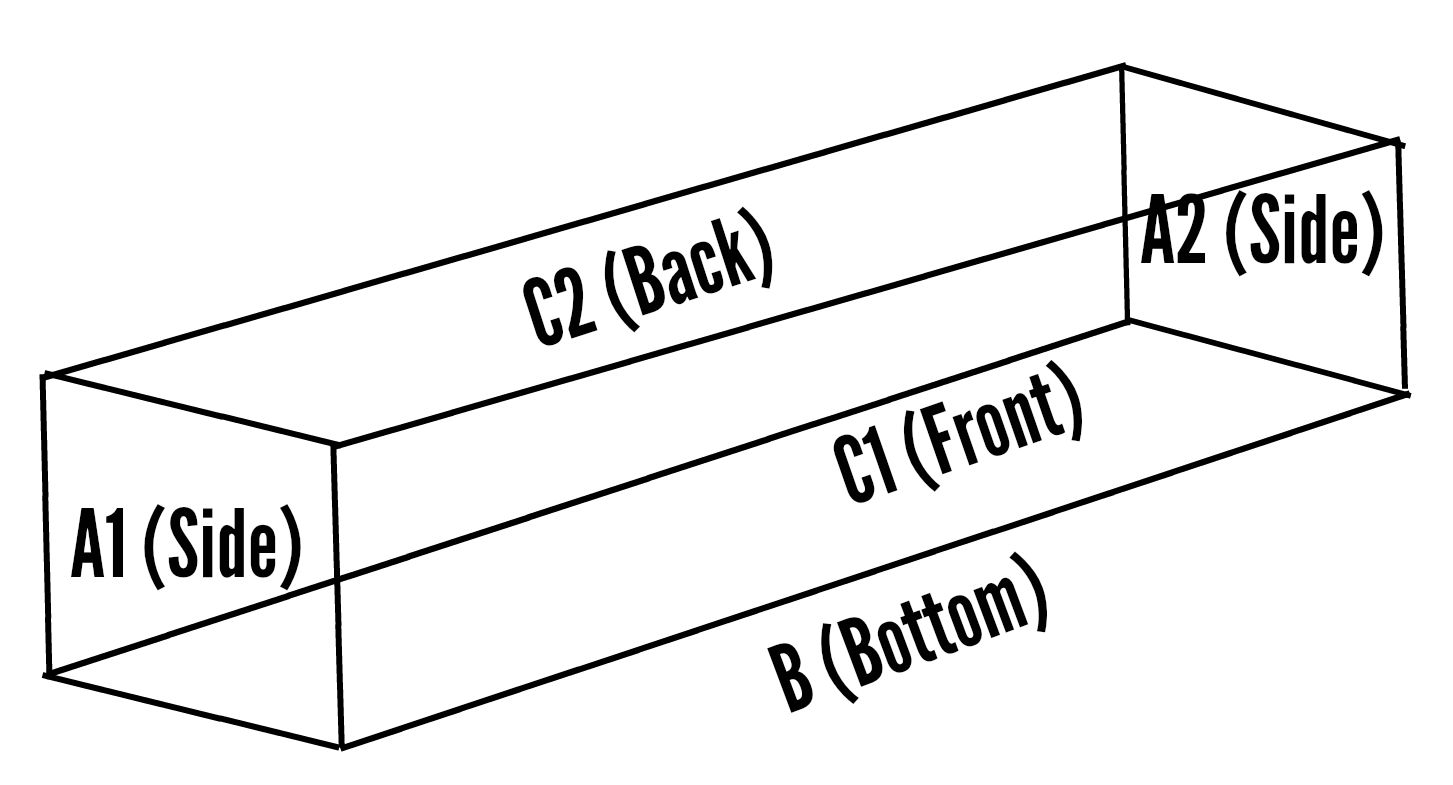
To get started you’ll need the following pieces:
(Most lumber or hardware stores will cut these down for you for free).
-2 – 7/8″ cedar boards @ 7″ x 7″ (these will be the sides).
-2 – 7/8″ cedar boards @ 35″ x 7″ (these will be the front and back).
-1 – 7/8″ cedar board @ 33 1/4″ x 7″ (this will be the bottom).
Optional trim pieces:
-2 – 1″x2″ cedar boards cut @ 35″ and 2 @ 4.5″.
Construction:
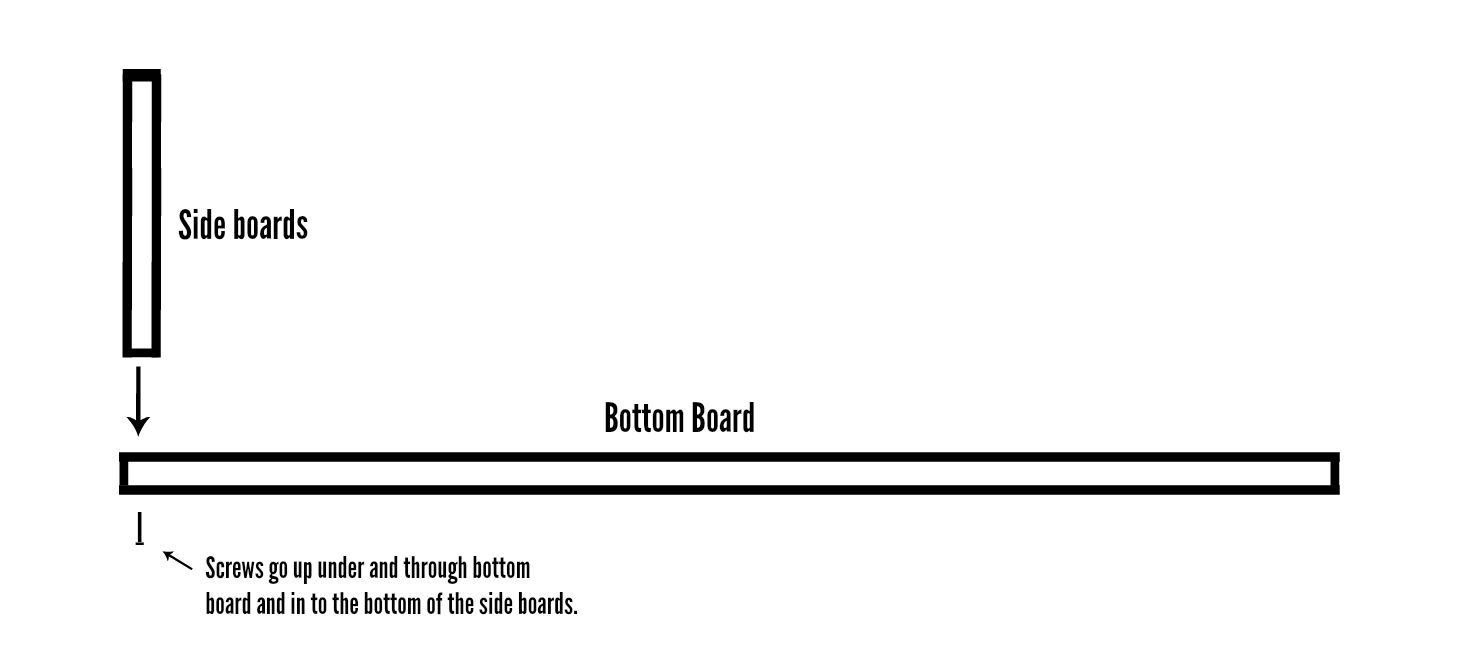
When putting all sides together you’ll want to pre-drill before sinking screws.
We used #8, 2 inch deck screws because they’re not supposed to corrode or rust…especially important because they’ll be outside in the elements. 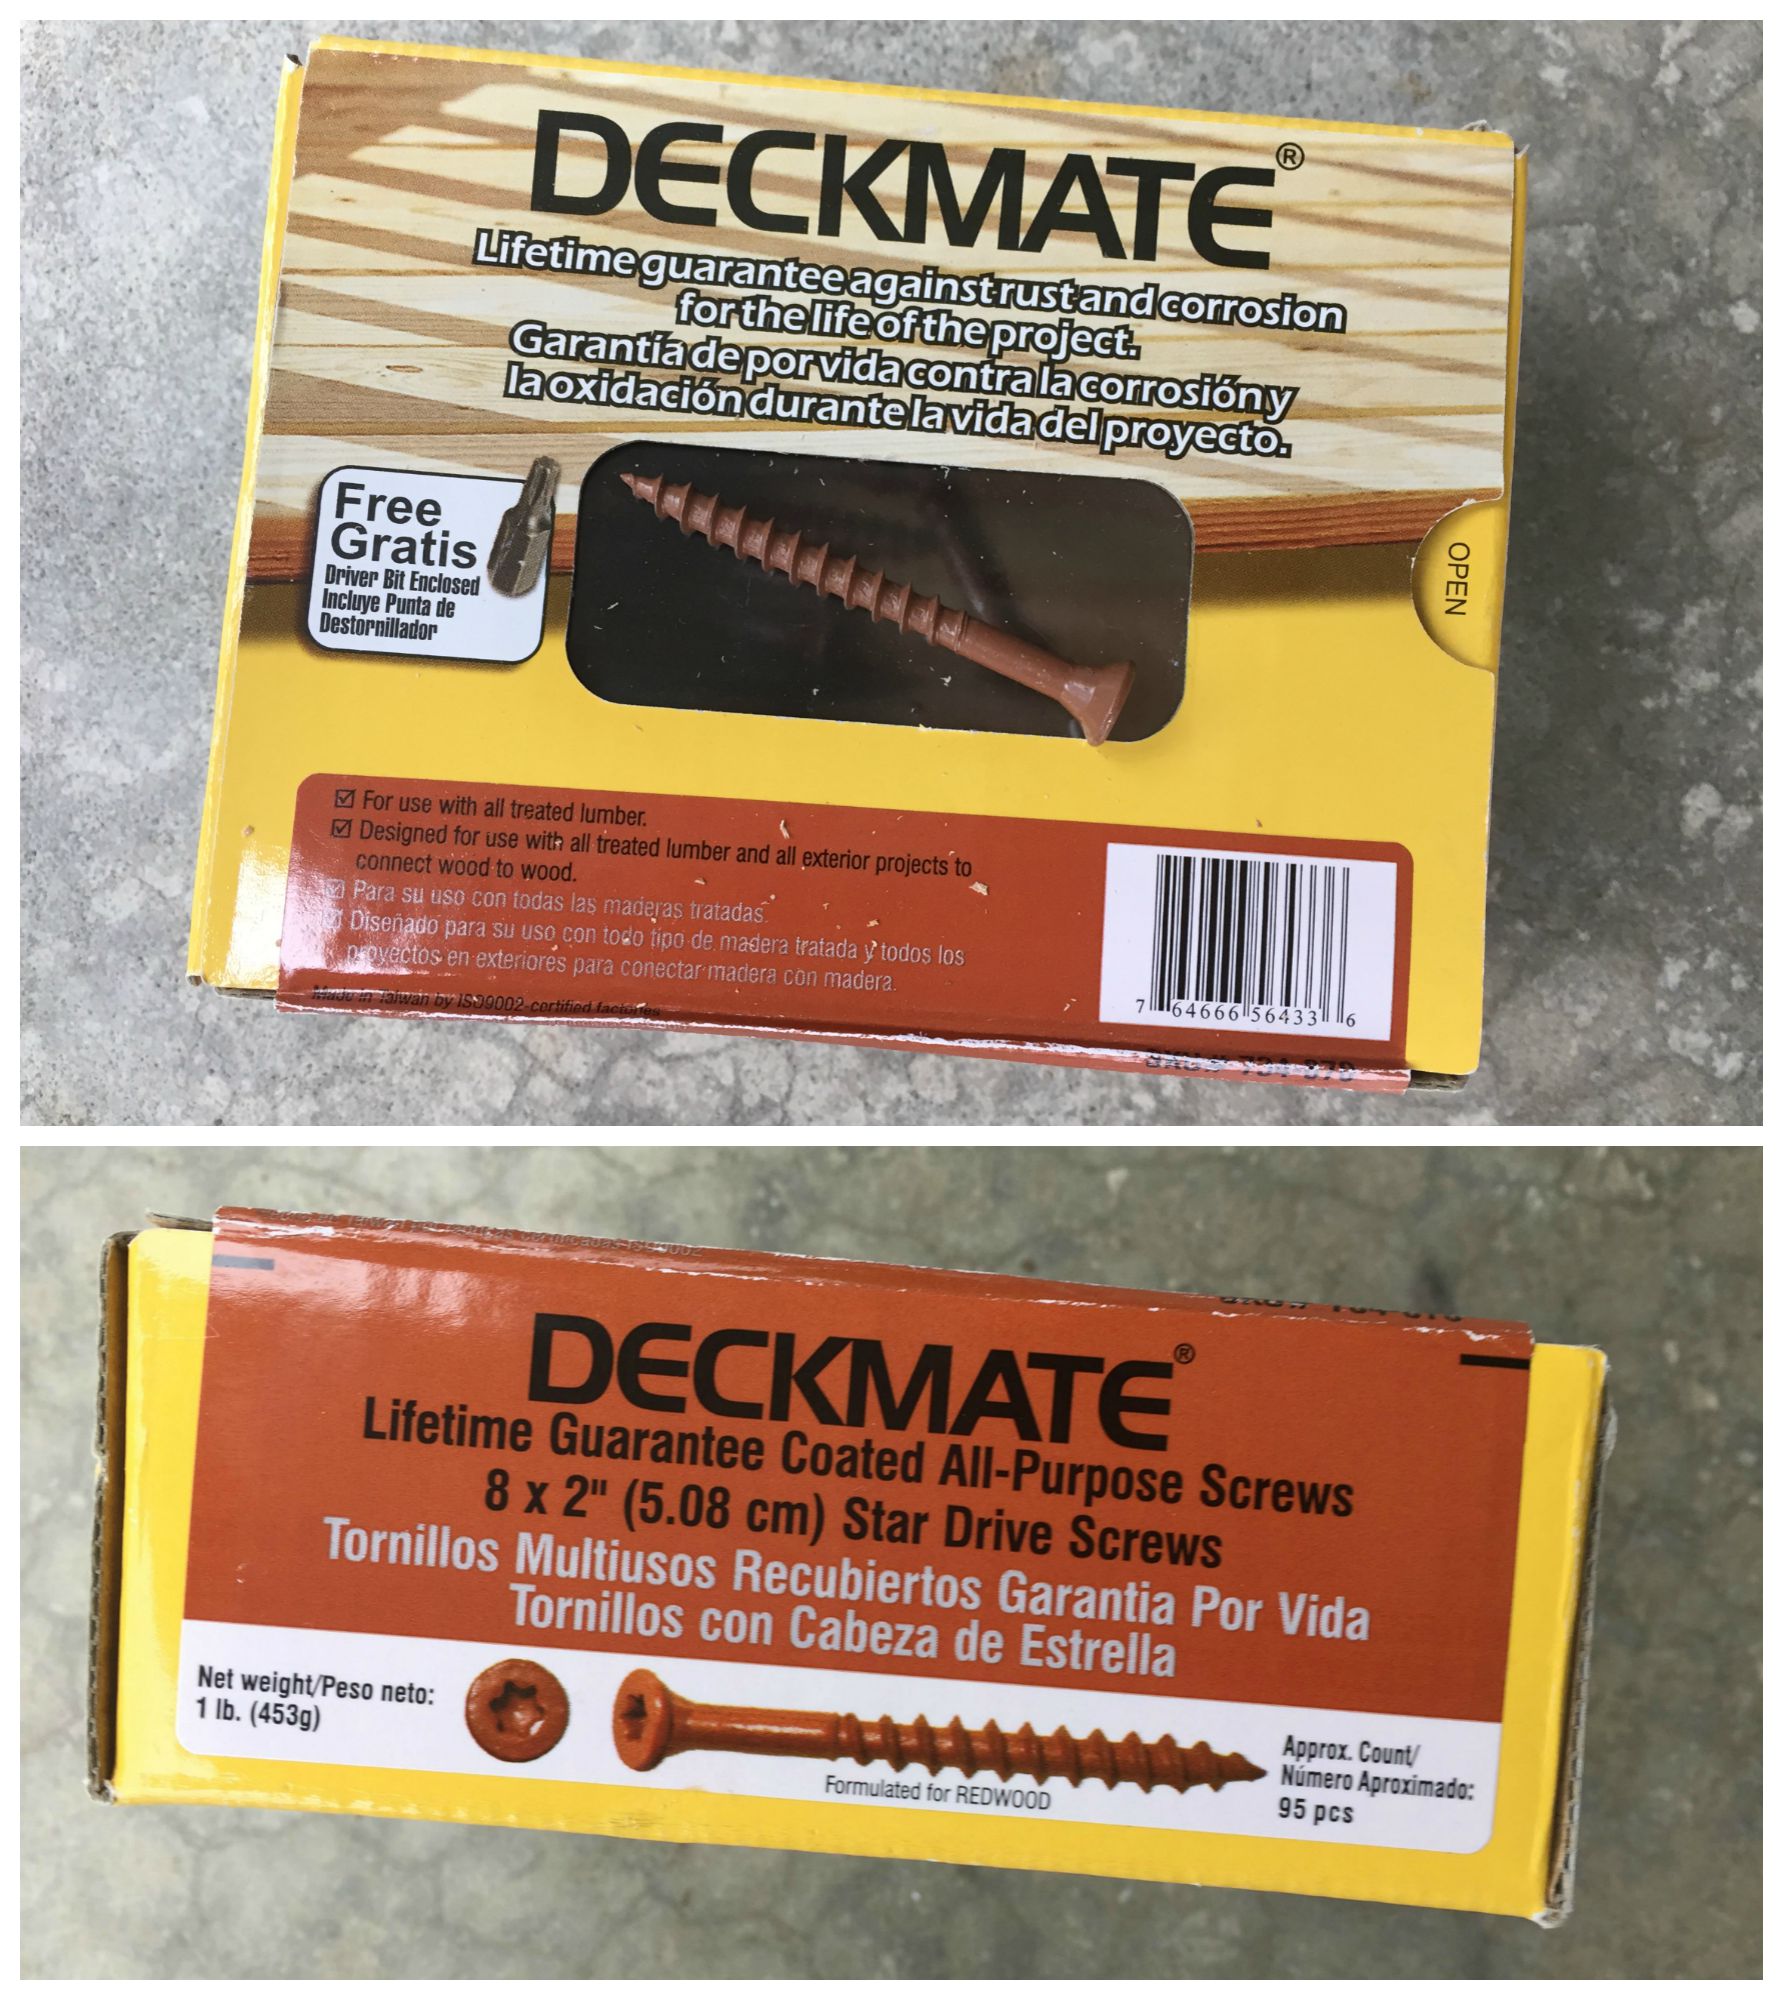
The construction of this is really pretty easy. It’s just a box without a top. I came up with a diagram to help illustrate the process.
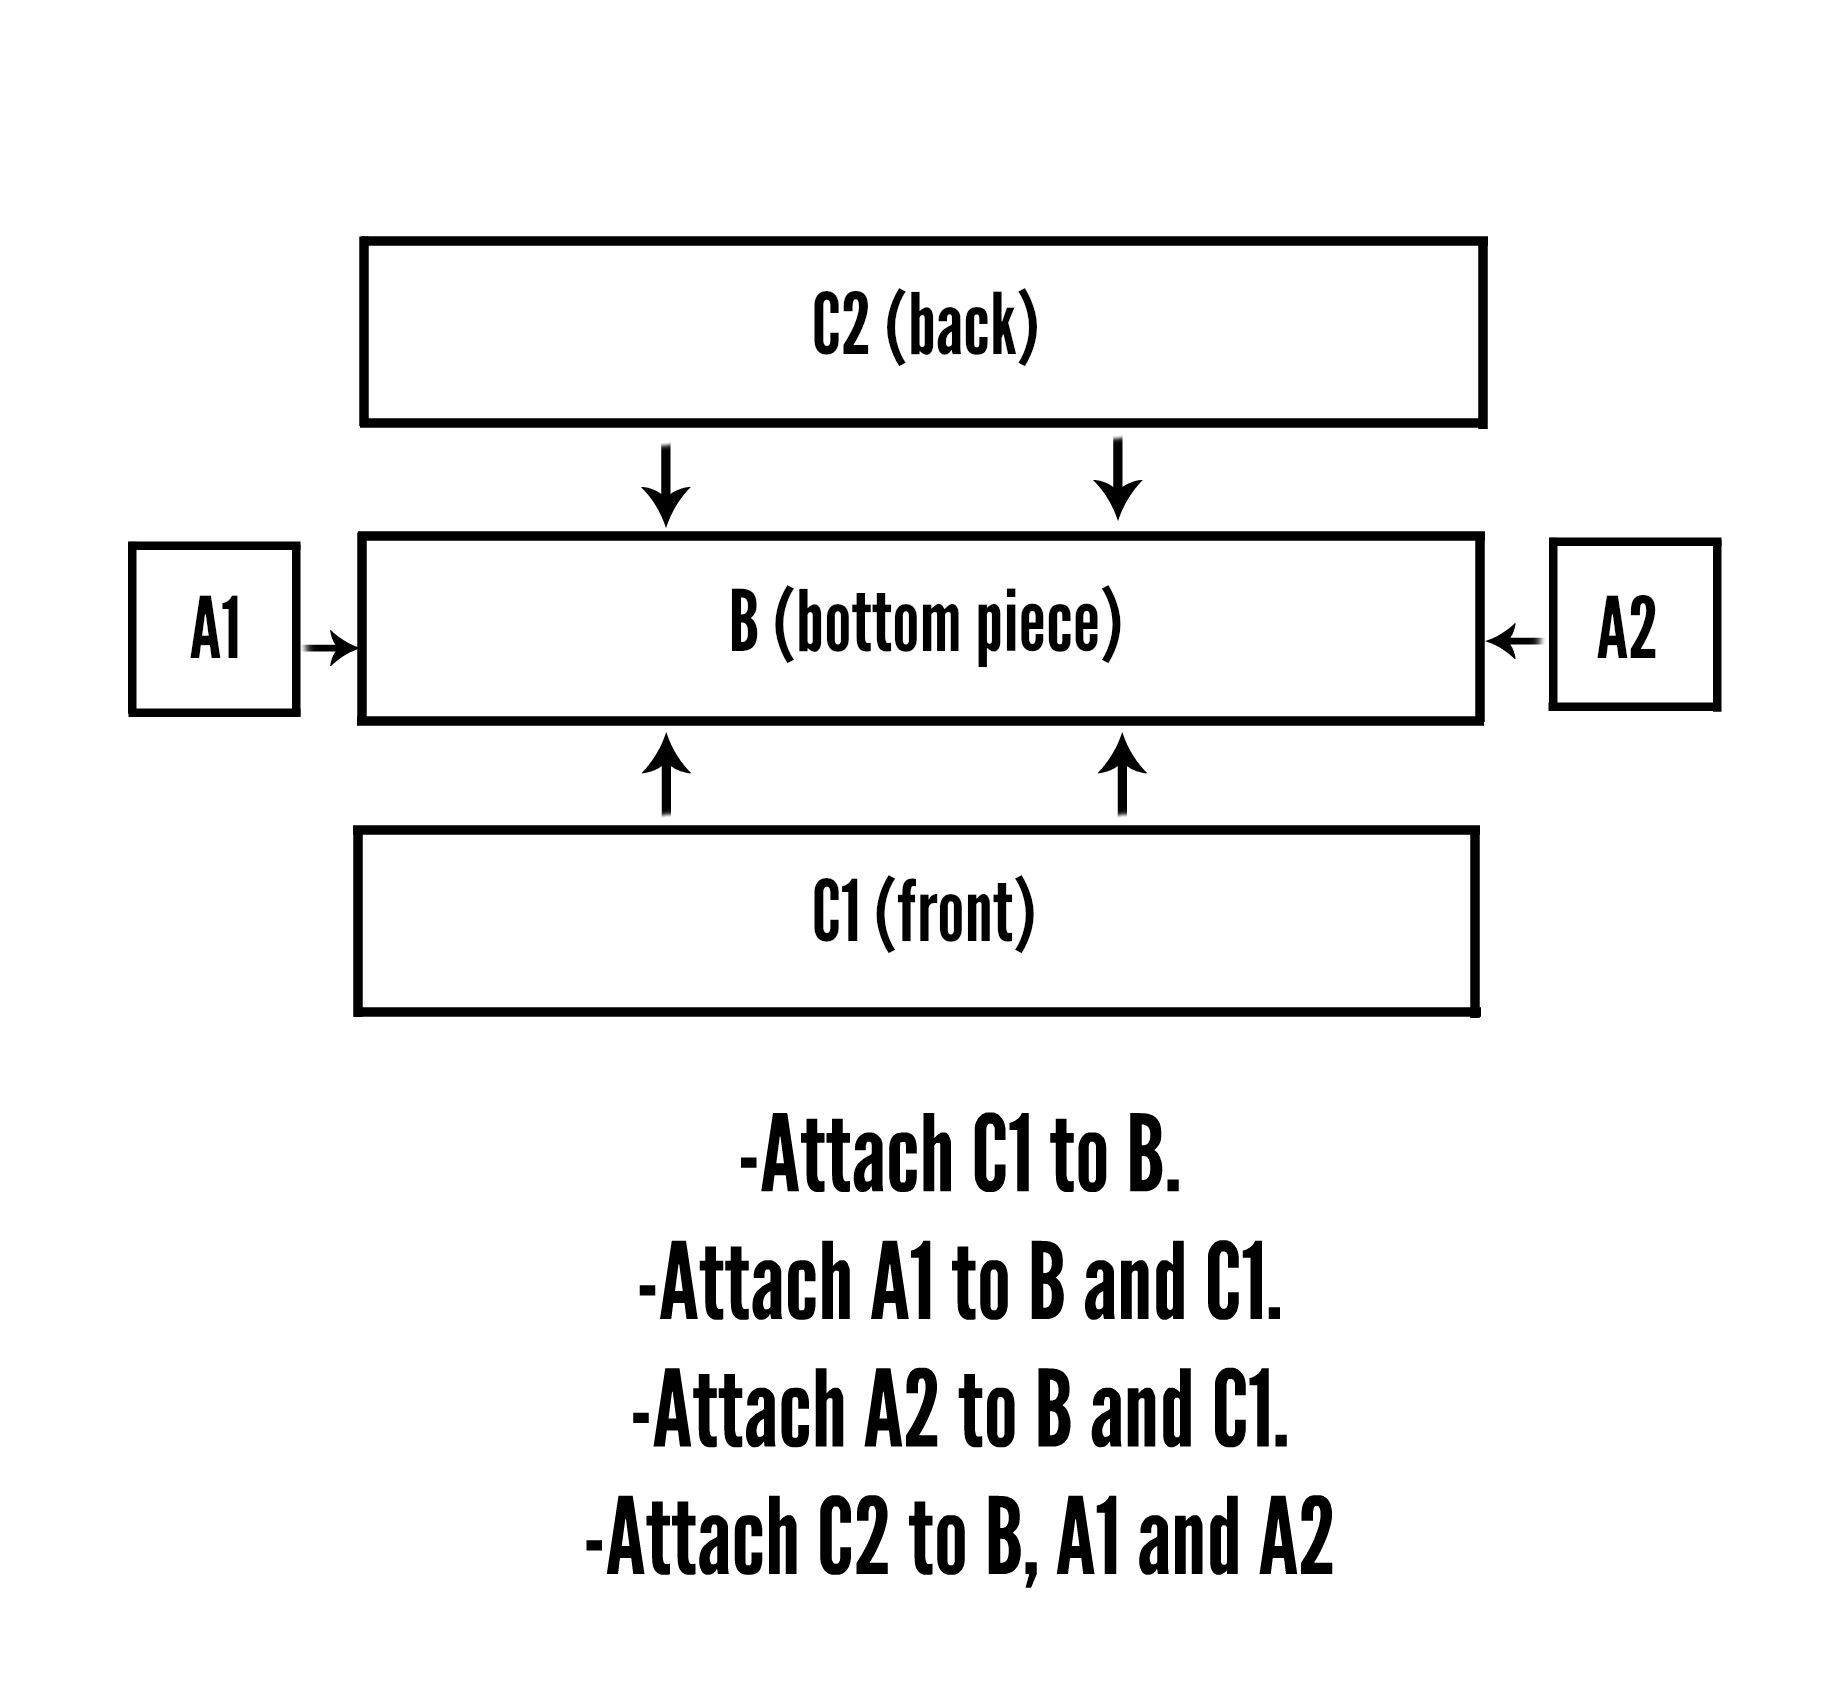
Once you’ve done those steps you will have a box. Adding trim is totally optional. It doesn’t add or detract to the function, it’s just purely decorative.
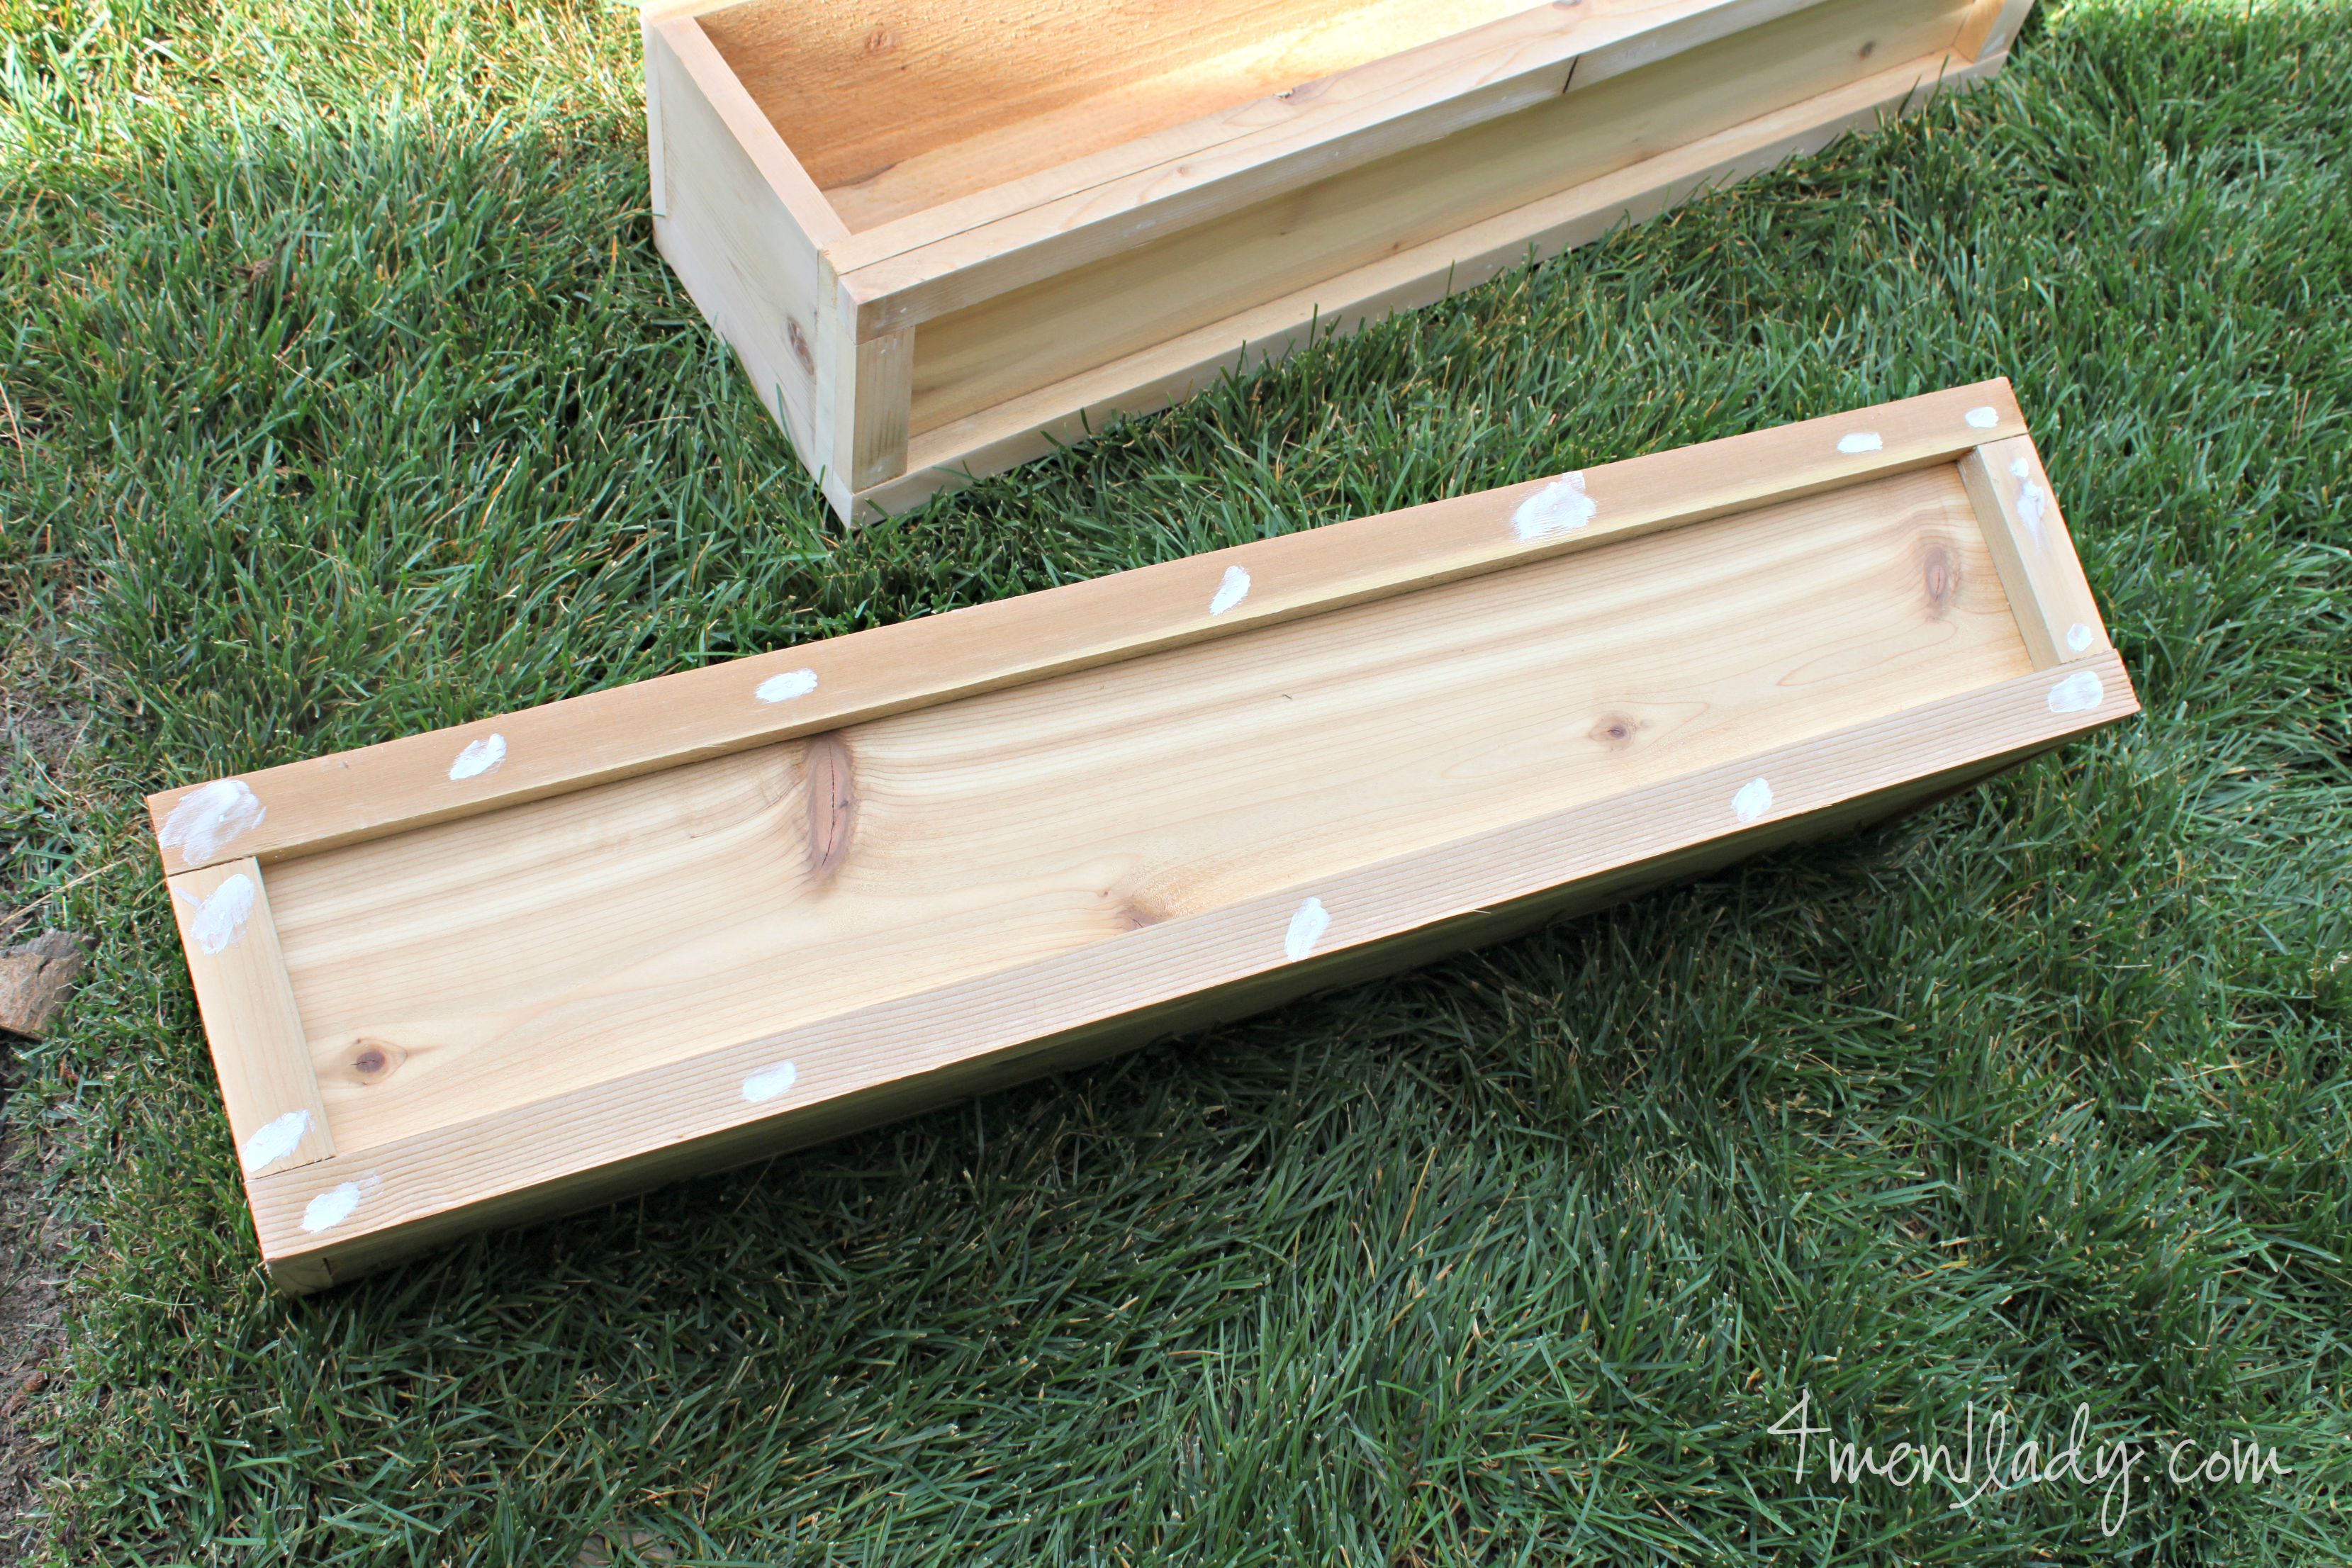
Using 1 x 2’s of cedar we trimmed out the front edges of our boxes with a simple rectangle. If you want to replicate this design you’ll need 2 – 1″x2″ cedar boards cut @ 35″ and 2 @ 4.5″. You could use smaller screws to attach the trim but we used our Craftsman Nail Gun to secure them. Because I was planning on painting the boxes I used wood filler to fill the holes then I sanded them down. If you choose to stain the boxes you may not want to fill the holes because the wood accepts stain differently than wood filler. Even if you use stainable wood filler it still looks different (and by “different” I mean ugly). But, since we painted ours…not an issue.
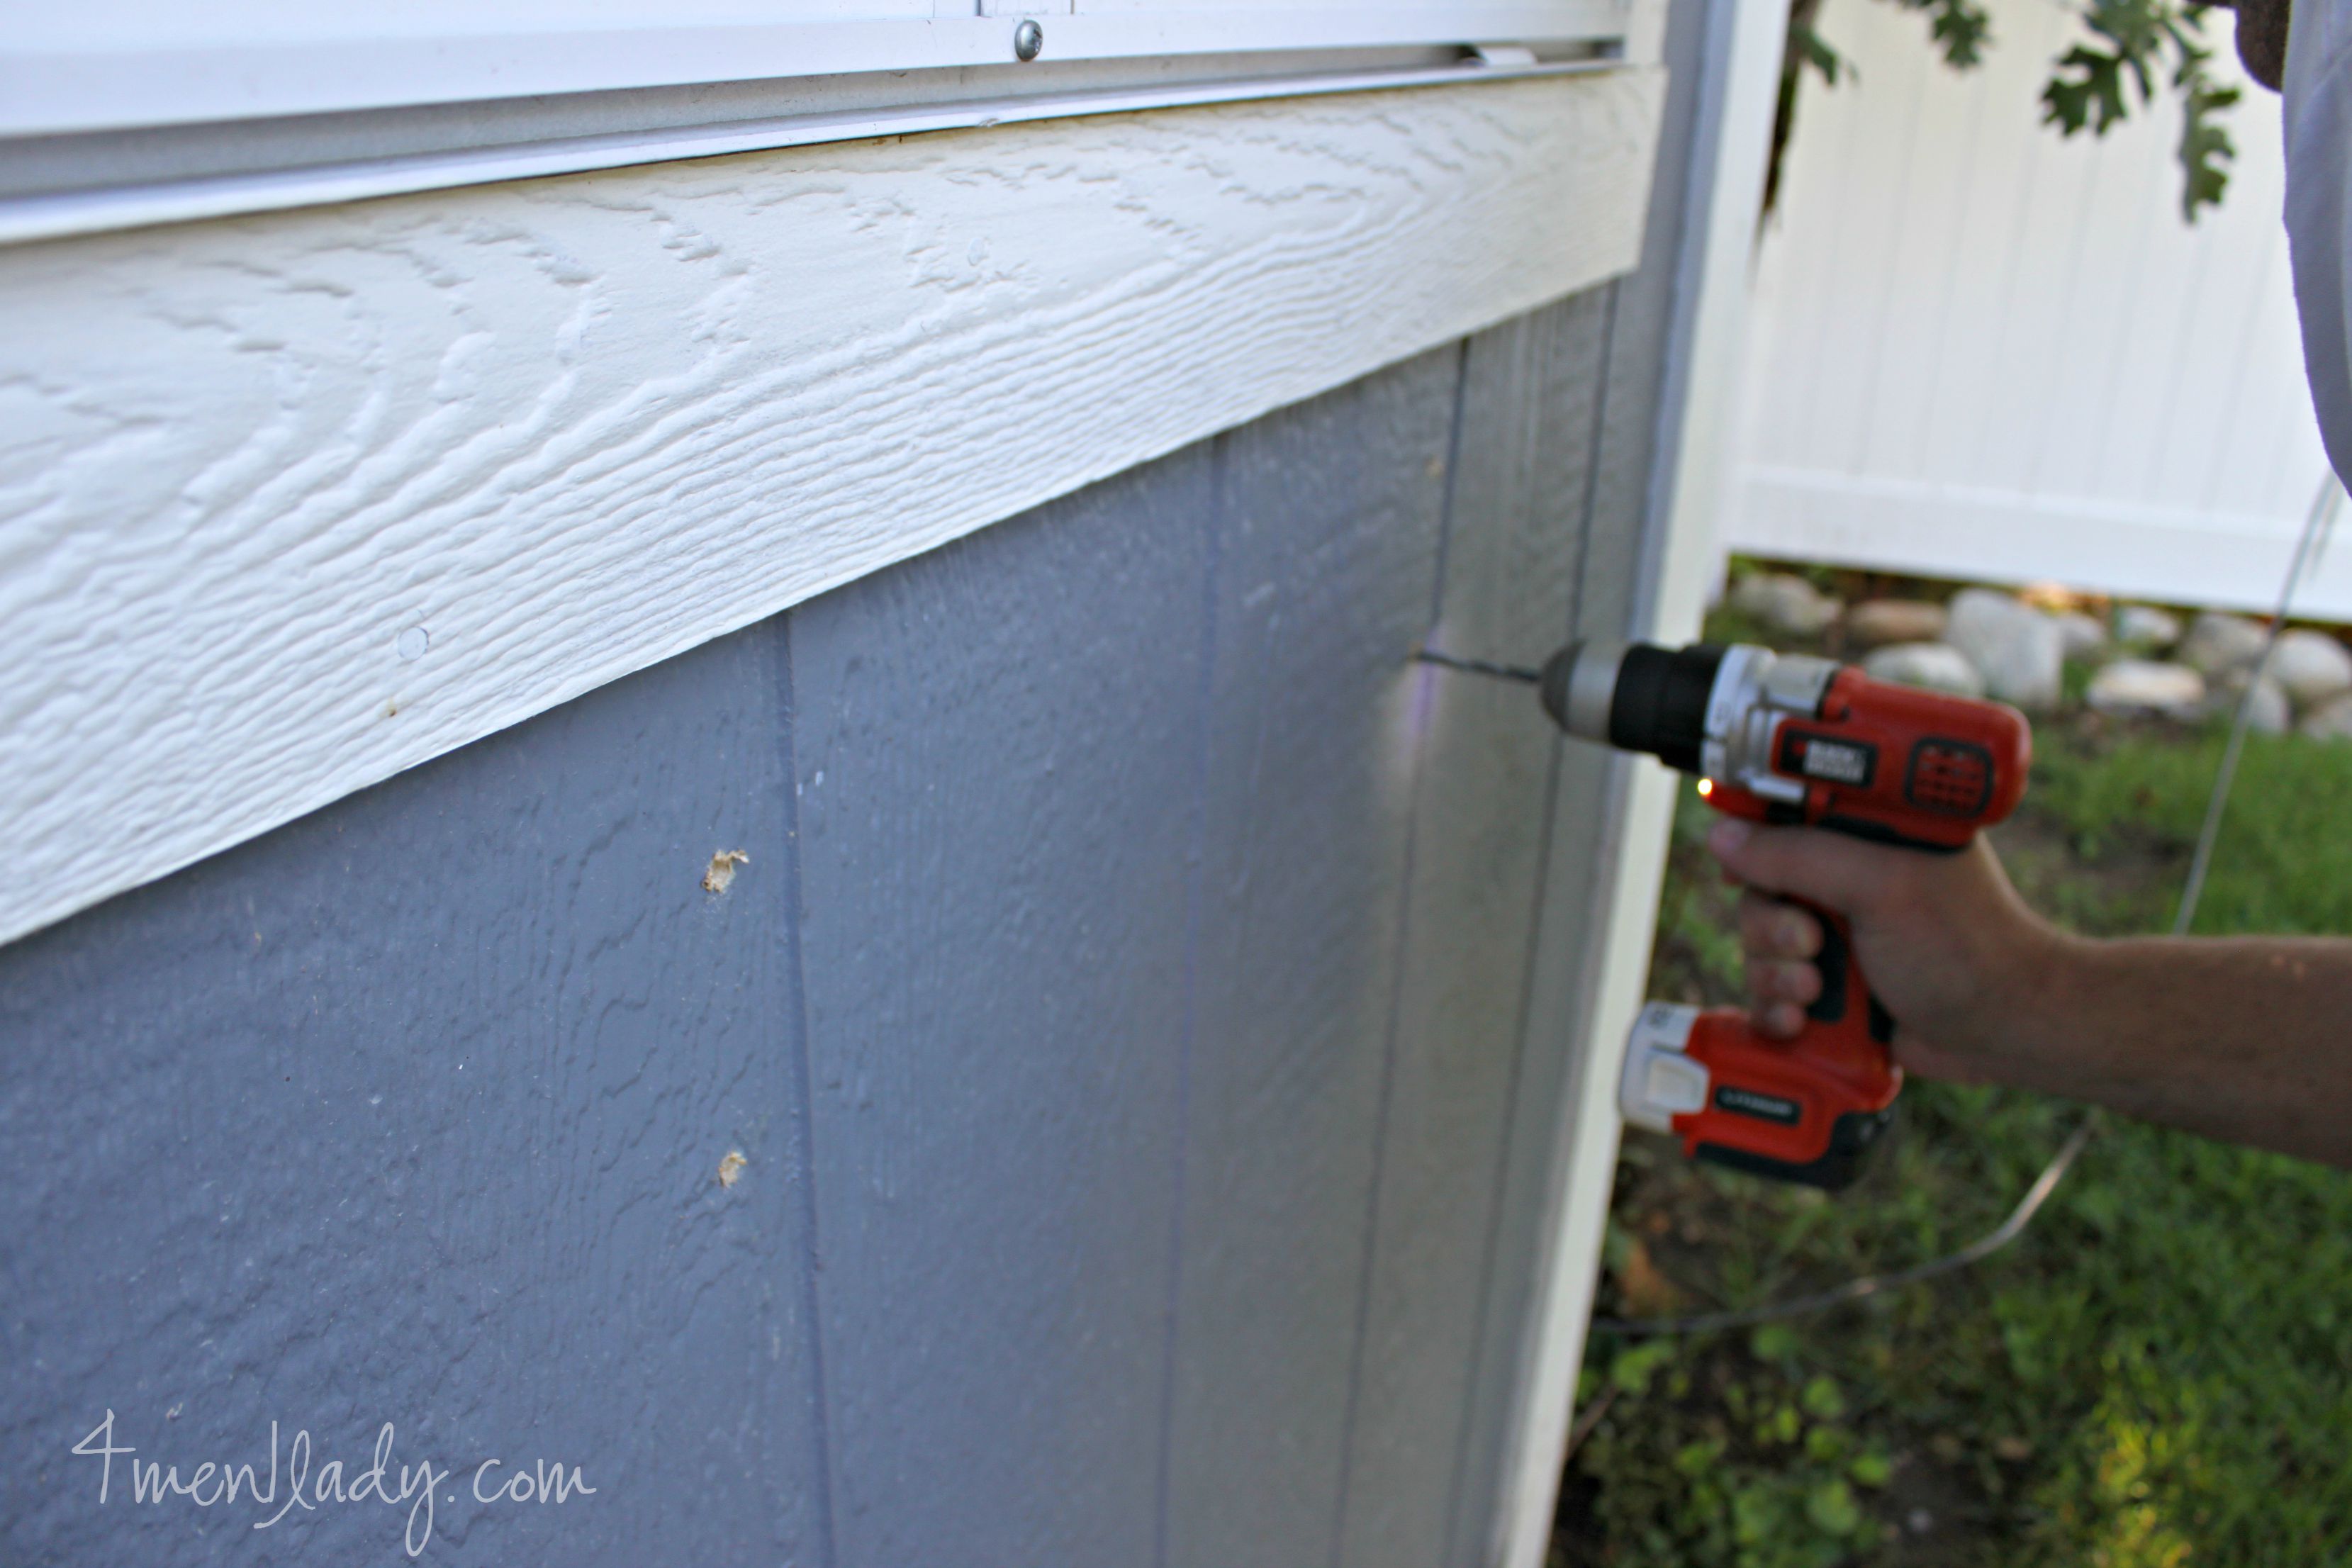
To attach the boxes to the shed you it’s first important to determine what you’re going through. If you’re going through brick you’ll need to use masonry screws. It’s also important to know what’s on the other side. We were fortunate that the studs were visible on the inside of the wall. If there’s no stud you’ll have to use heavy duty anchors. The friendly folks at ACE Hardware can help you determine what to use.
We first pre-drilled our holes. Make sure the drill bit you’re using is smaller than the actual screw. The purpose of pre-drilling is to make it easier for the screw to go in but more importantly to avoid your wood splitting when using the screw.
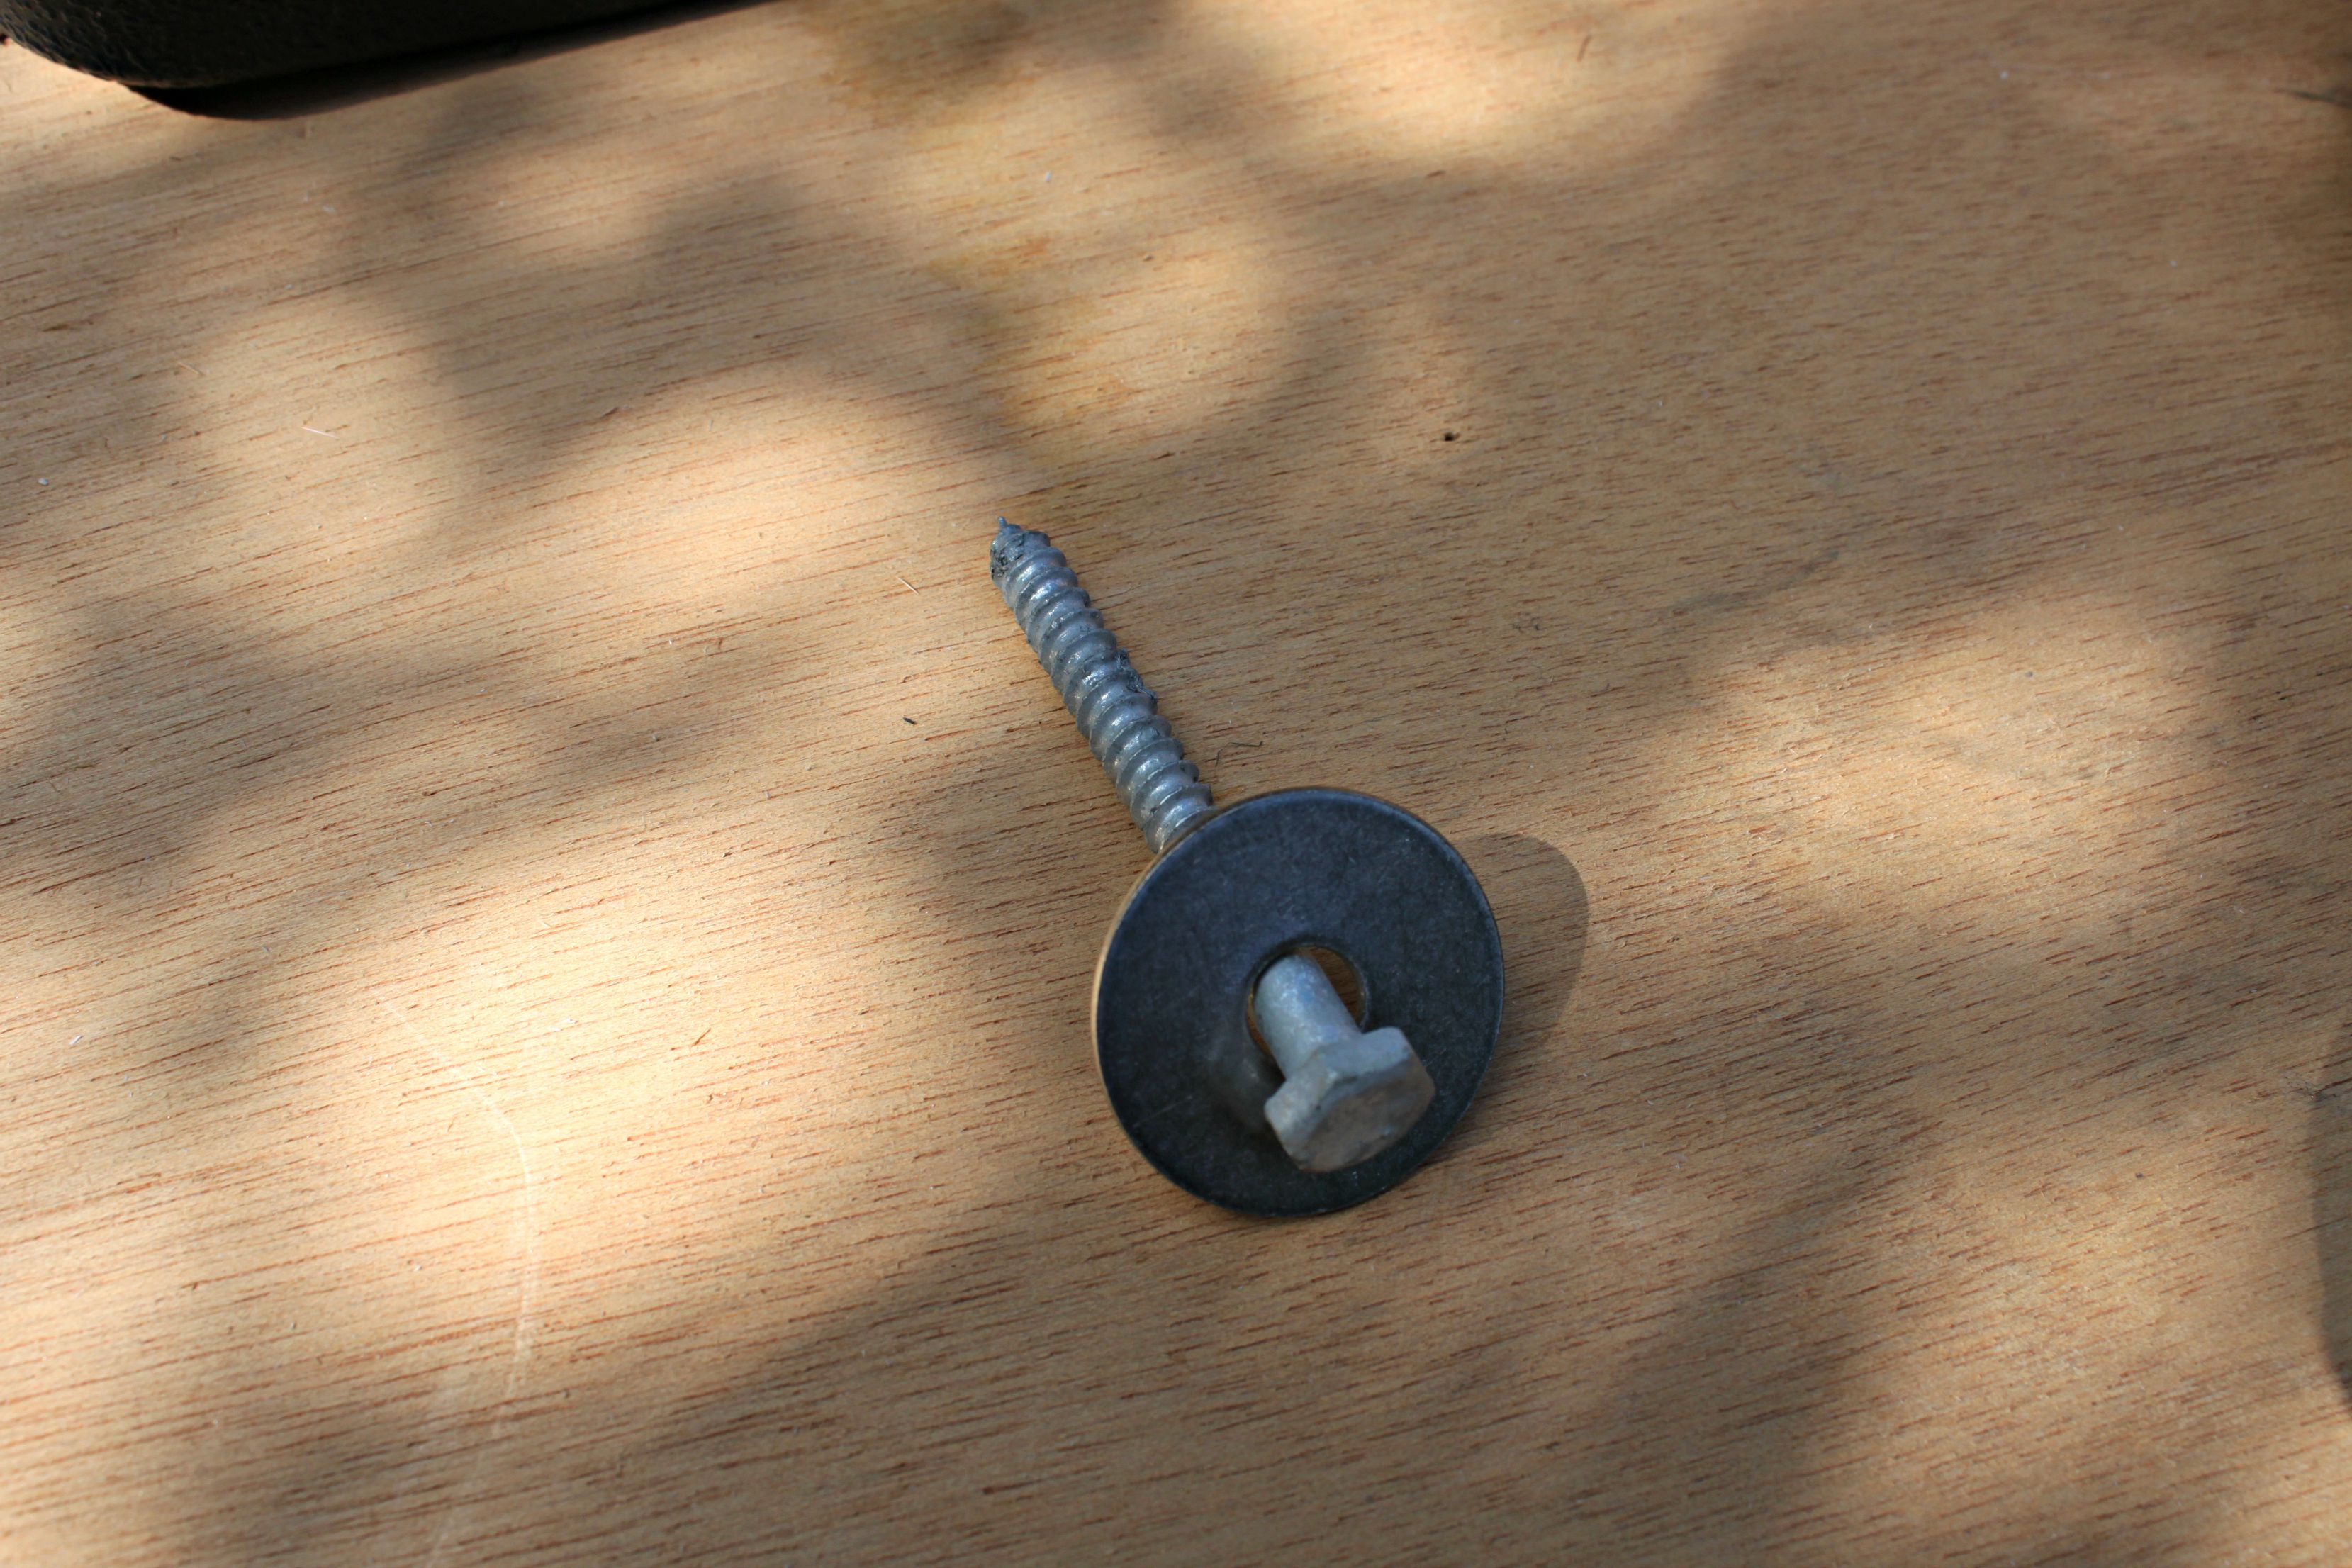
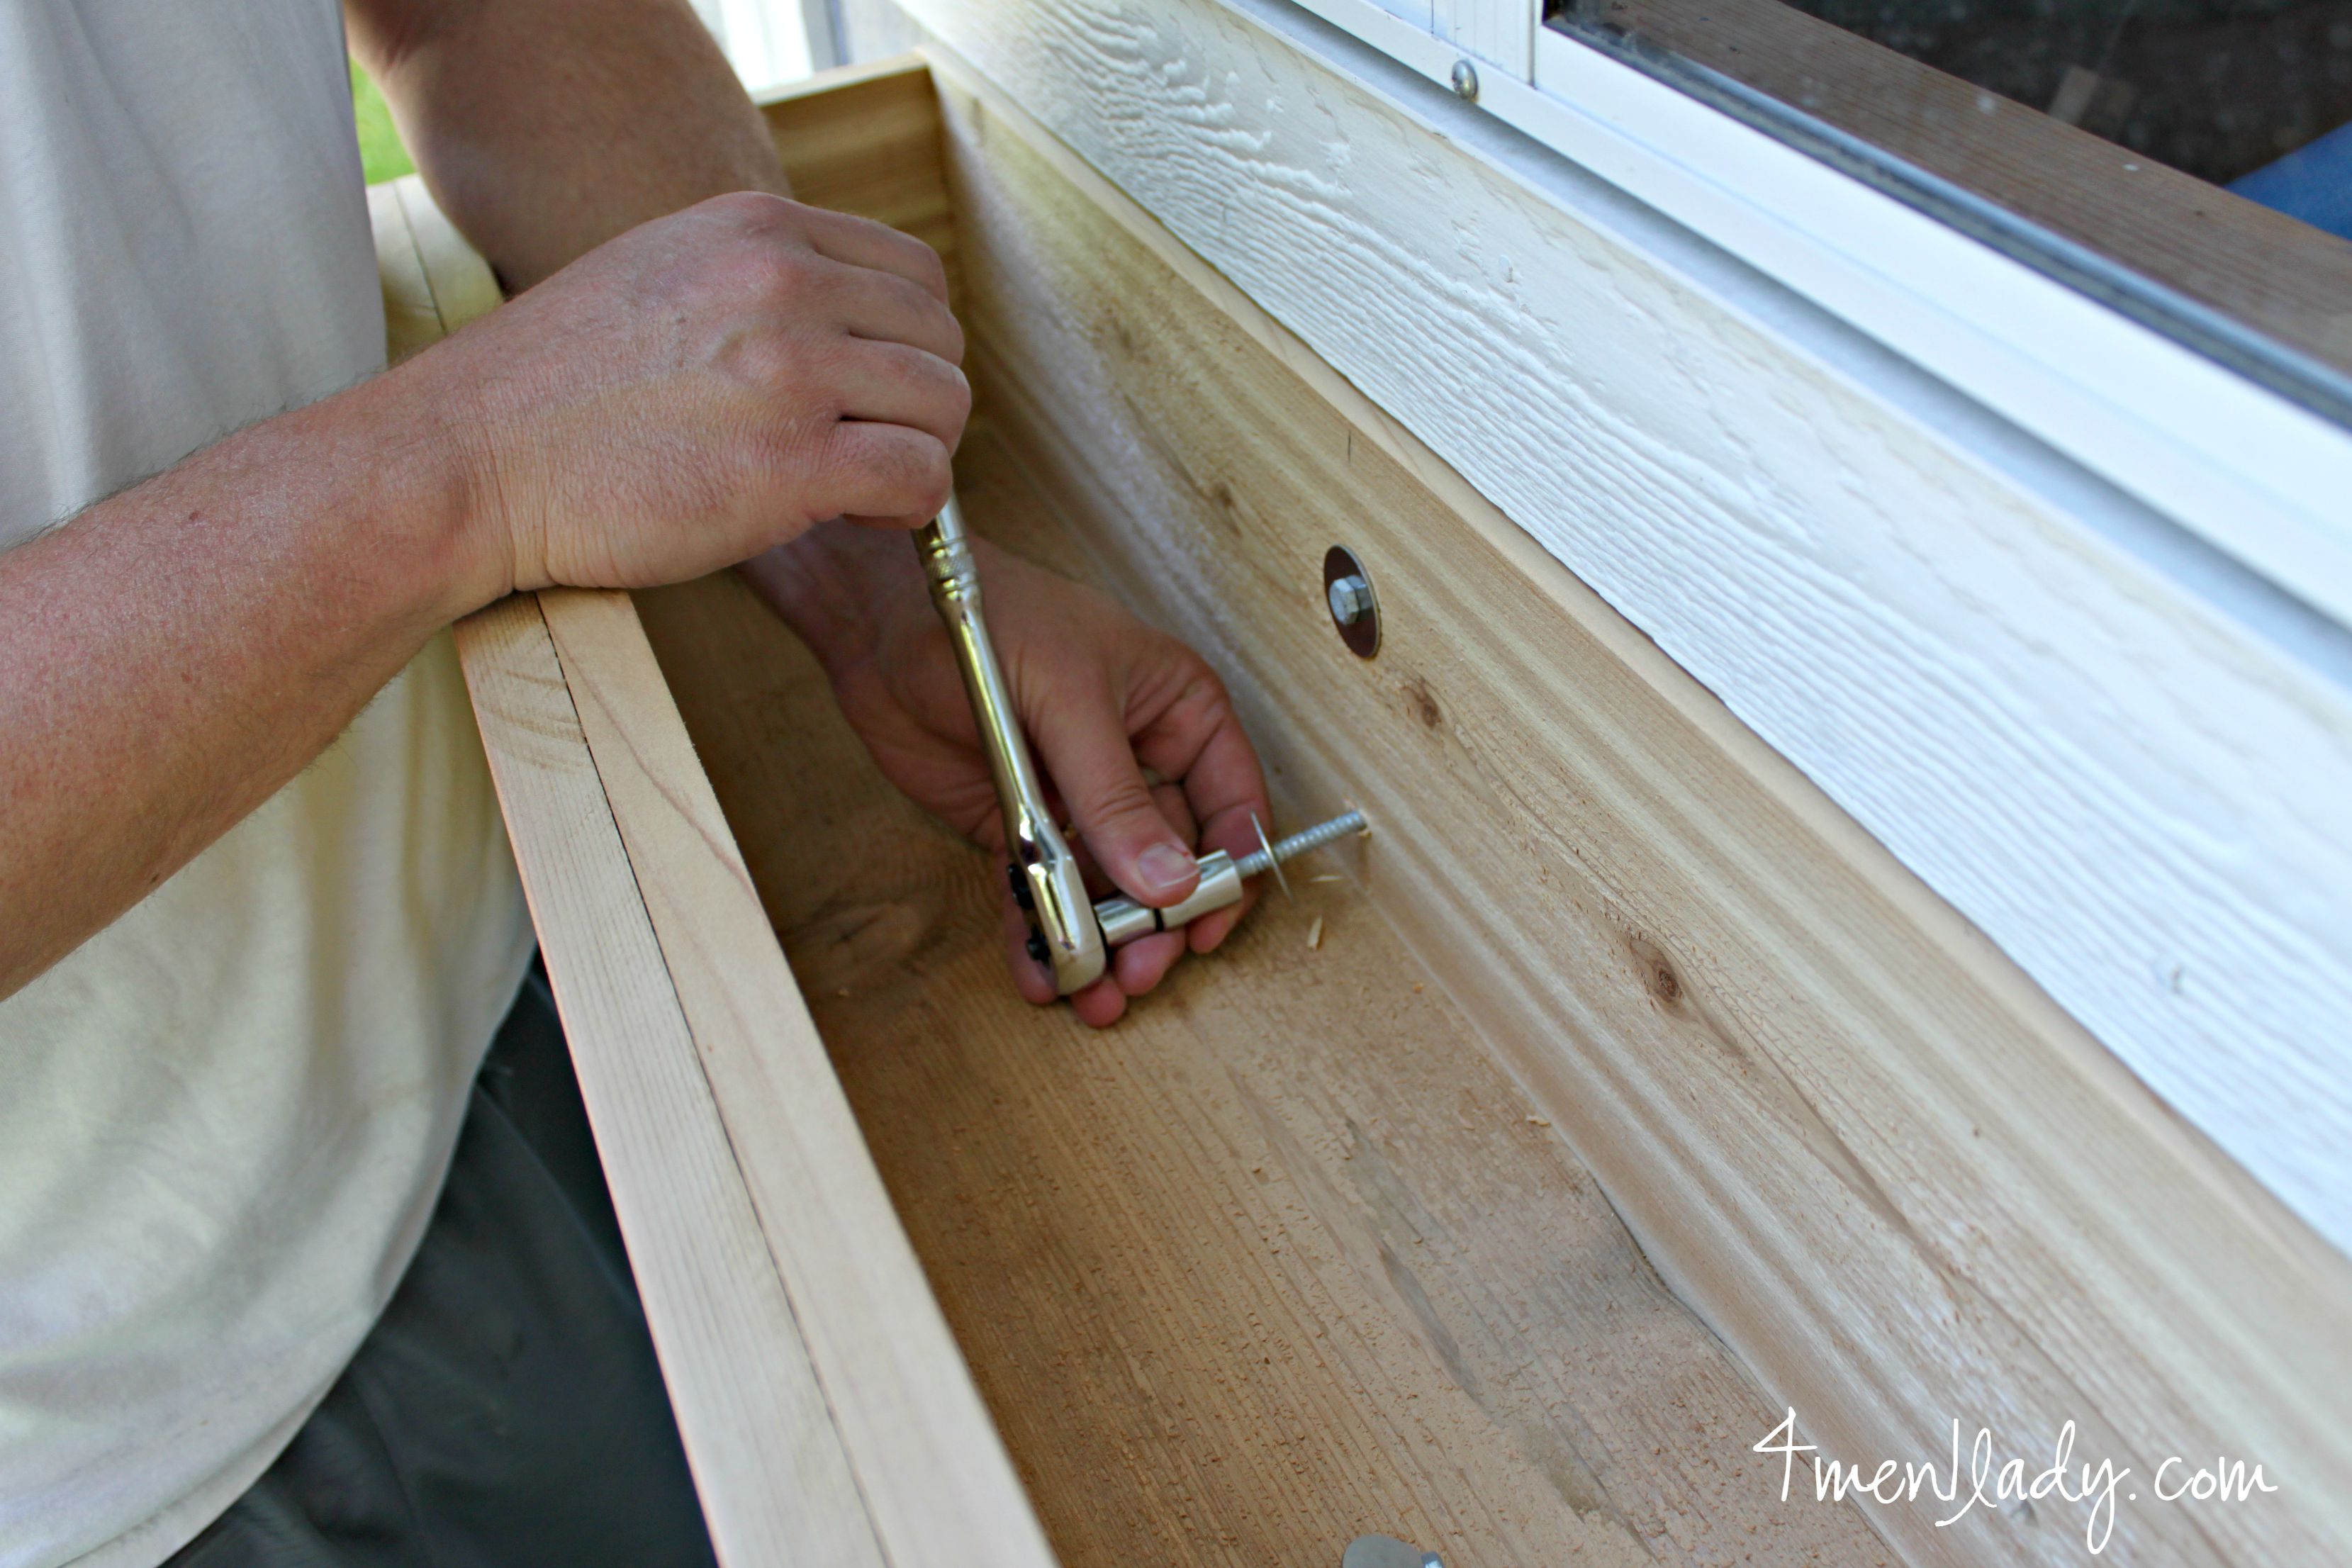
We used this baby with a washer. I really don’t know what size it is because we found them in the nuts and bolts junk drawer. Long enough to go through the thin wall and sink into the stud. The washer provide a surface area for the screw head to lay flat against so it doesn’t sag or dig in to the wood over time.
Using a rachet we twisted the screw secure.
One step I forgot to photograph…make sure to drill a few holes for drainage in the bottom of your box.
Once attached I gave them a coat of Silent White by Clark + Kensington from ACE Hardware.
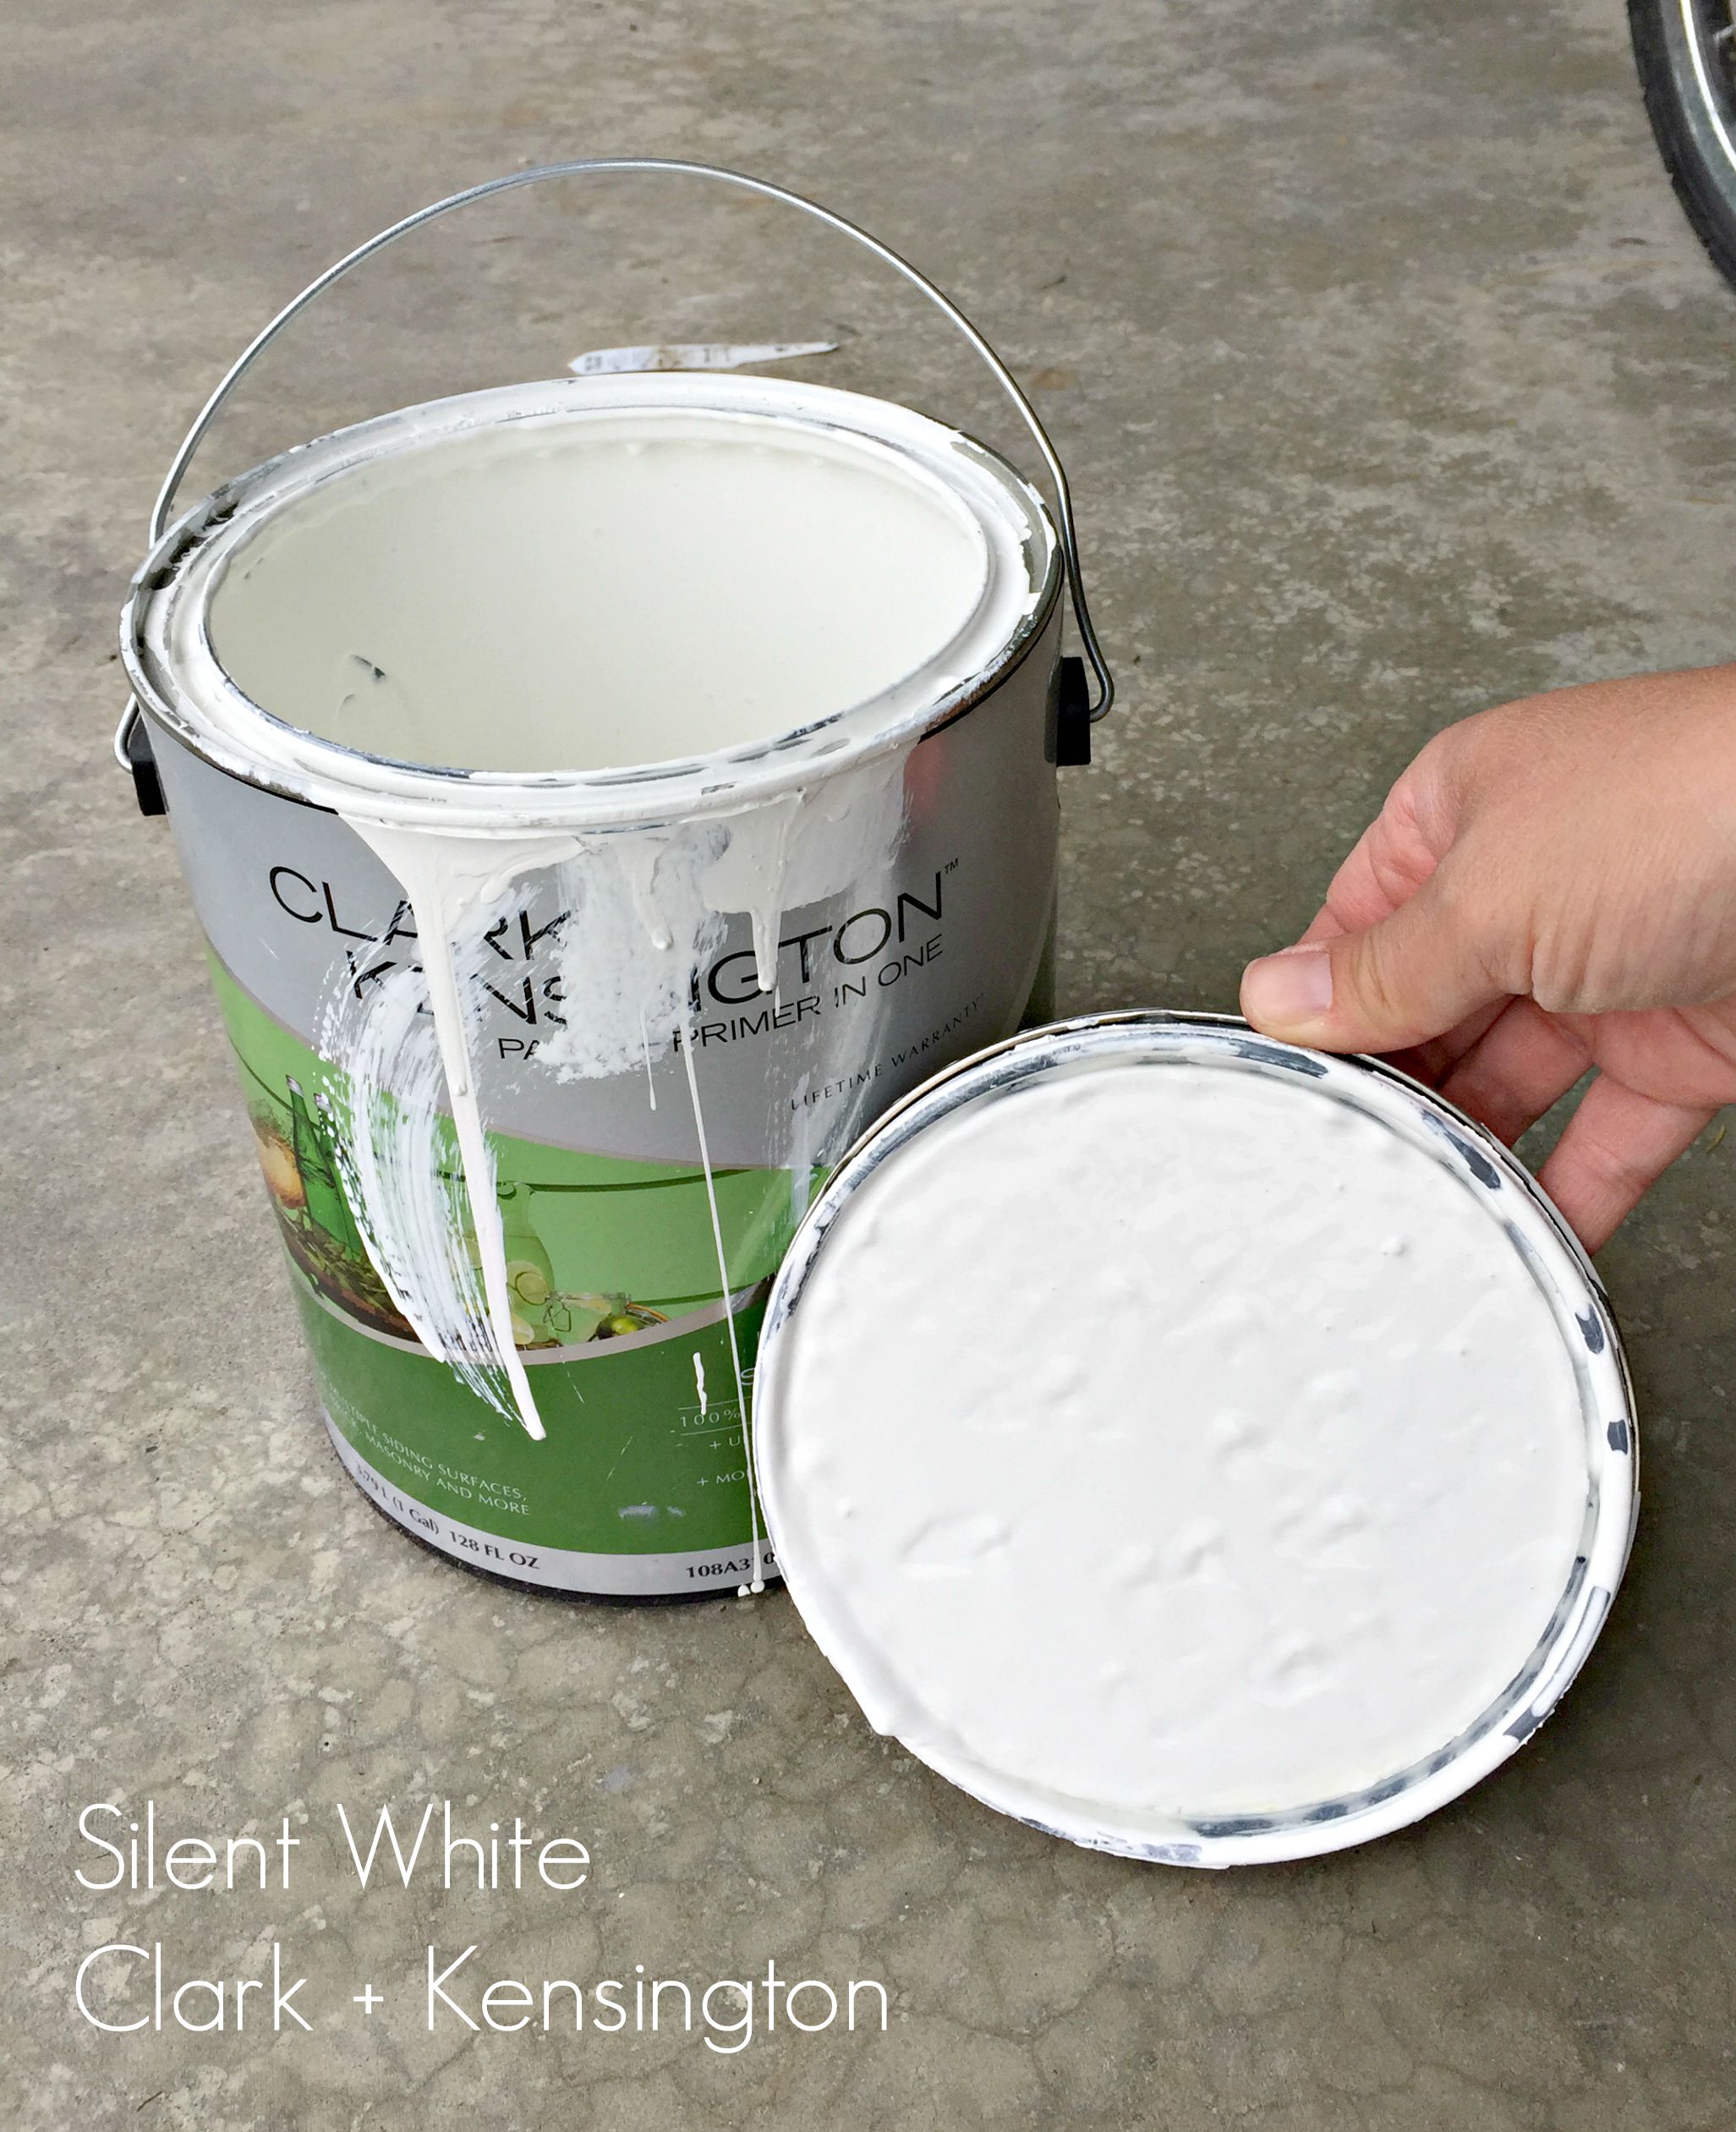
Silent White has become my favorite shade of white as of late. It’s a good true white that’s not too stark and but not too creamy.
I was a little apprehensive about putting my soil and plants directly in to the boxes so instead, I found these box liners. They’re perfect because I can take them and replant, weed… I don’t know, whatever gardeners do to keep their plants alive (I’m praying I can play that part).
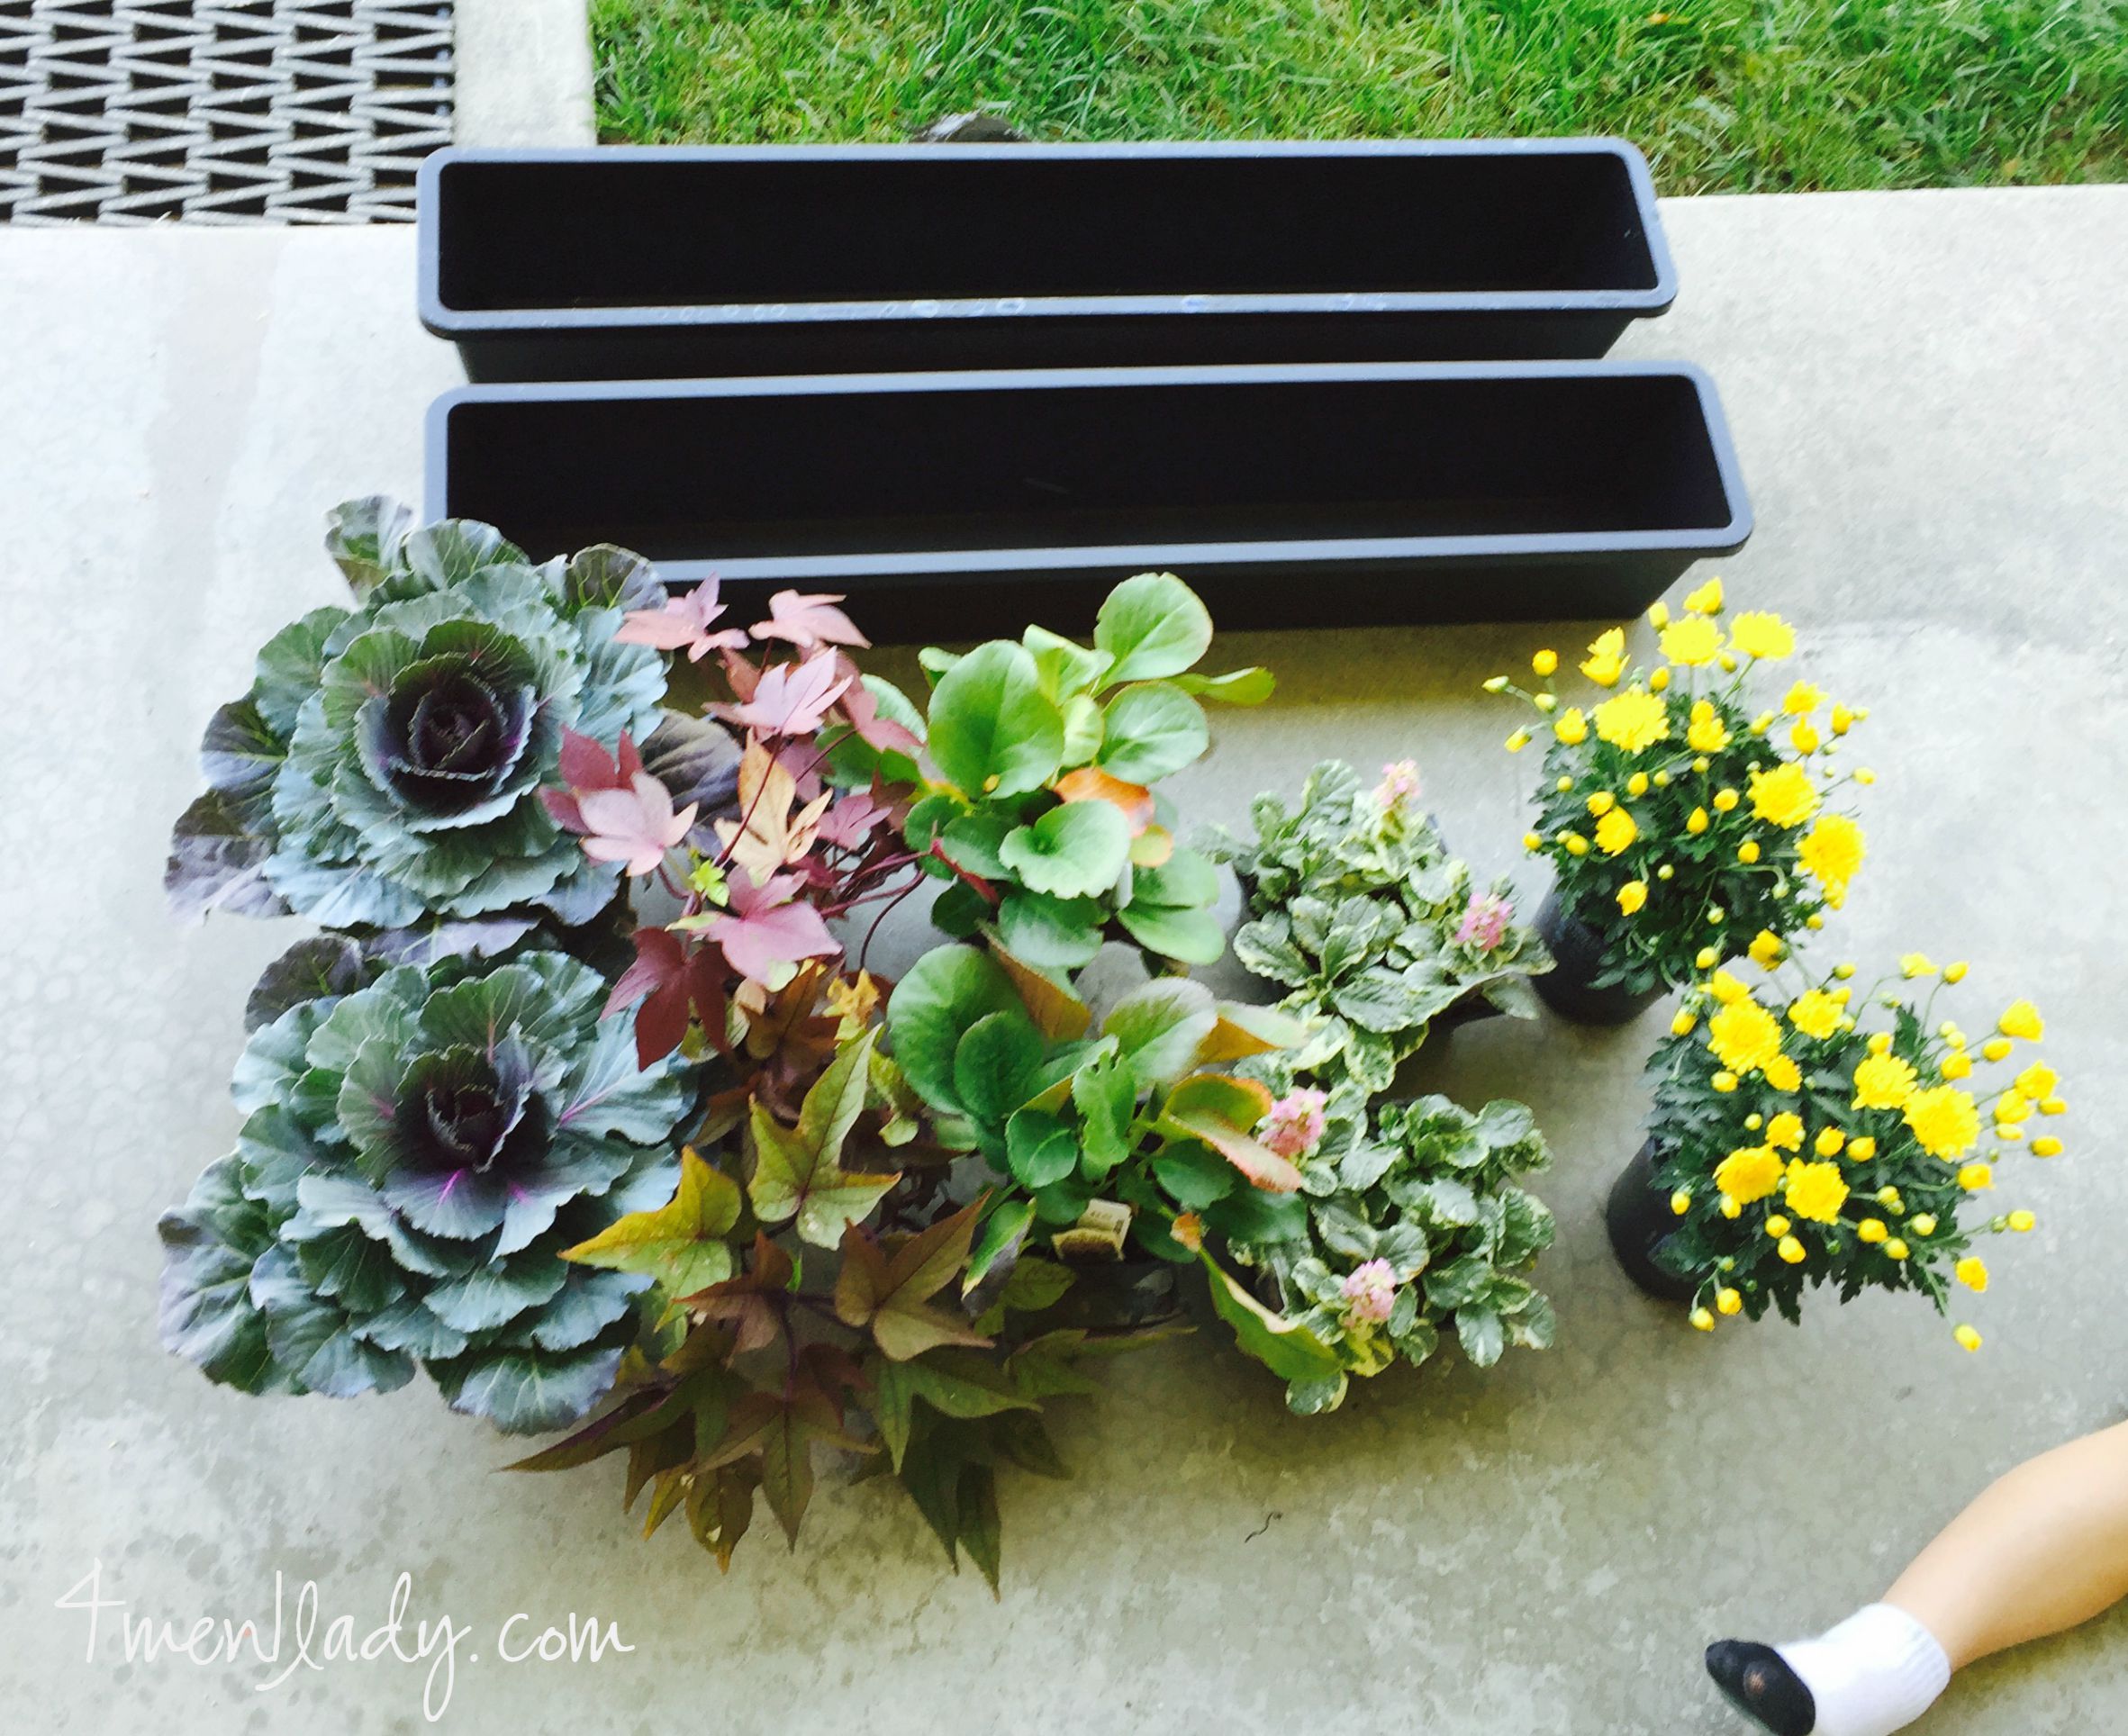
But they’re totally invisible when in the box.
Full reveal coming next week!
Check out our other DIY Cedar Window Boxes here.
I am a part of ACE Hardware’s blogger panel and I have been compensated for this post and products used.
This post was written by myself. All thoughts and opinions are 100% my own.


 Hey there! I’m Michelle; I’m an Passionate DIY’er and in constant pursuit of how to bring beauty to my house full of men (3 boys + 1 hubby). Stick around and see what I’ve got up my hard-working sleaves!
those look amazing! and i love that your oldest was pouting because that is SO typical of my oldest, too. haha! makes me feel more normal.
Everyone always told me boys are so easy to raise and “no drama”. Ha!