Our Christmas tree is almost complete and I can’t wait to share it with you.
But before I do…a little diy, ornament action first.
Aside from the tried and true glass ornament balls I have NEVER purchased or even been inspired by any Christmas ornaments, EVER.
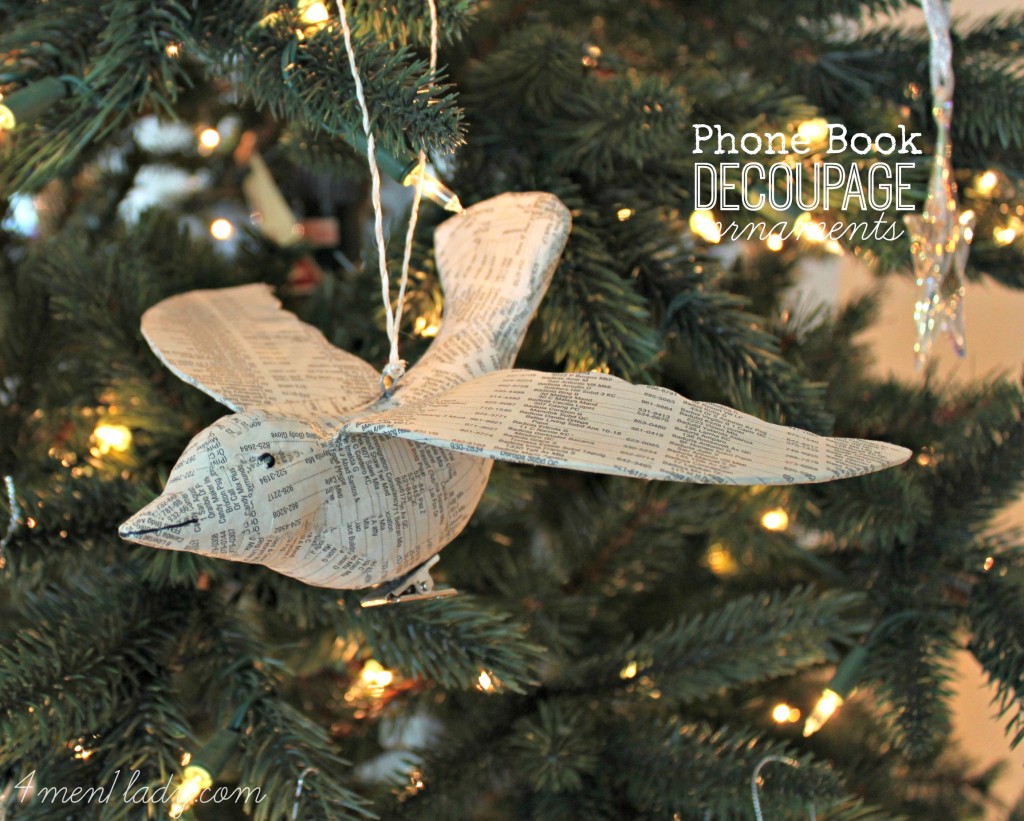
Then I happened to be at Home Goods the other week looking for new sheets and this little bird tweeted at me.
I thought he was sporting the Sunday newspaper but upon closer inspection he was actually wearing the “C”, “R”, and “M” sections of the phone book.
I immediately purchased three at $3.00 each.
When I got home I had a pang of buyers remorse. Seriously, did I just spend $10.00 on three Christmas ornaments?
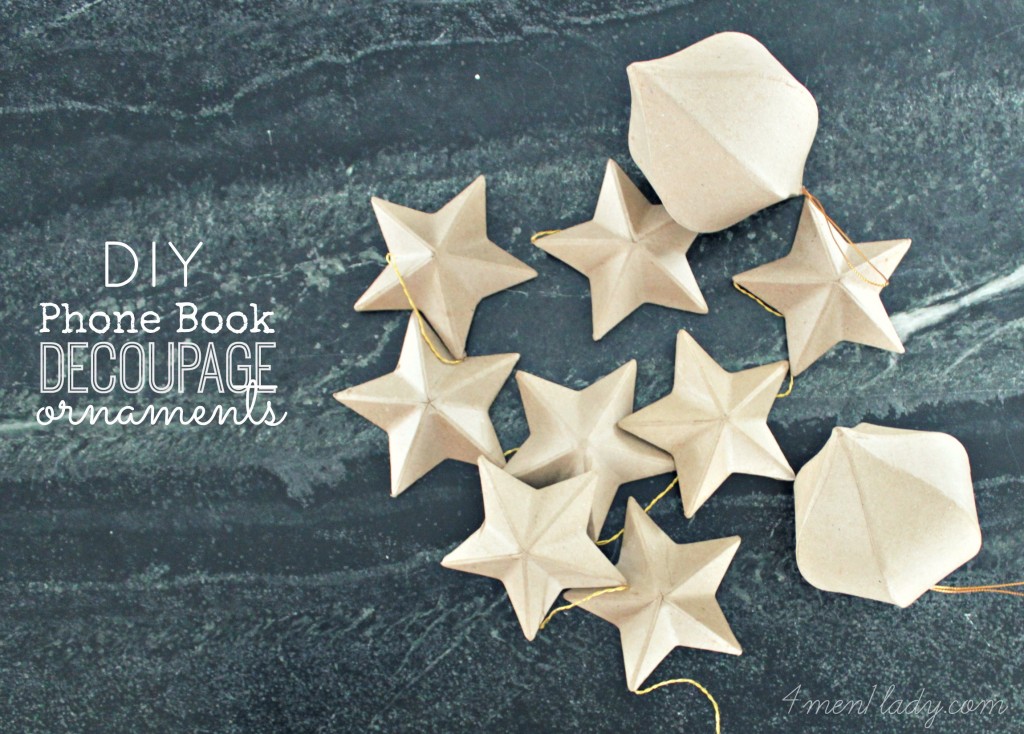
Cheepskate that I am, I decided to use them as inspiration to diy some Phone Book ornaments of my own.
Easy-peasy right?
Wrong.
Apparently phone books have gone extinct. Not one of 20 people I texted had one.
Two weeks later, I finally found a phone book (thank you again Linda)!
Why didn’t I just go pick up a free phone book at the phone book place, you ask?
“Cheepskate”, remember?
I’ve never decoupaged before but I remembered Rosie O’Donnell (queen of funny AND decoupaging) did a how-to on Martha Stewart a while back and it looked totally easy.
(It was a “Trust me, I know what I’m doing. I’ve seen it on Pinterest.” moment).
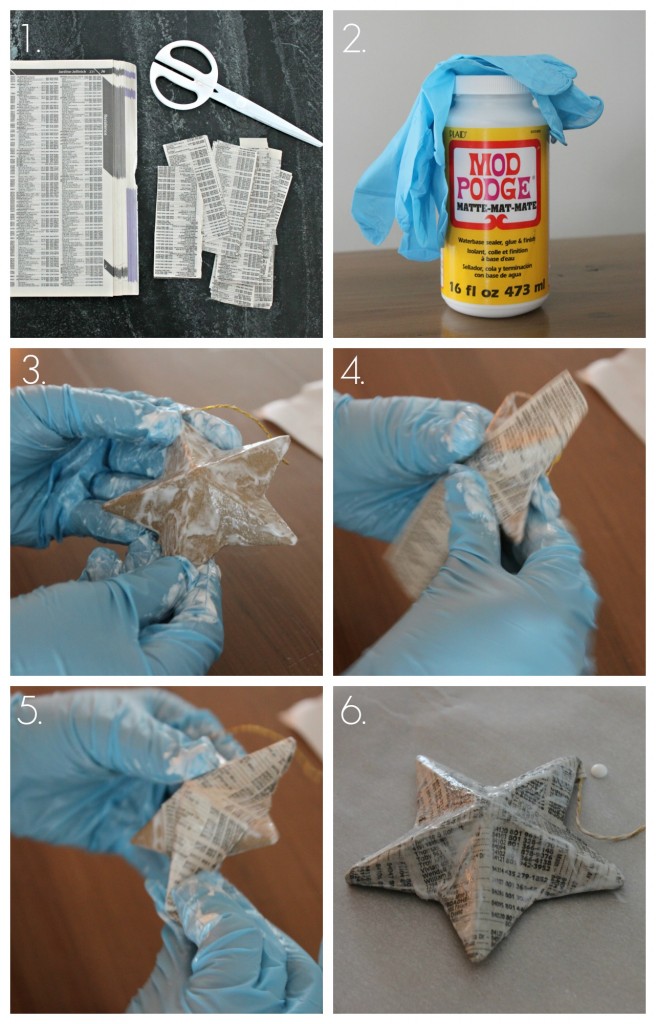
Here’s how I did it…
1. Cut several strips (any length) out of the phone book.
2. Get a jar of Mod Podge and gloves.
3. Dip your gloved fingers in the jar of Mod Podge and slather it all over your ornament.
(I found these paper mache ornaments at Hobby Lobby for around $.30-$1.00 each).
Some people are more neat and nifty and use a brush but I’ve got three kids and dinner on the stove…ain’t got time for that.
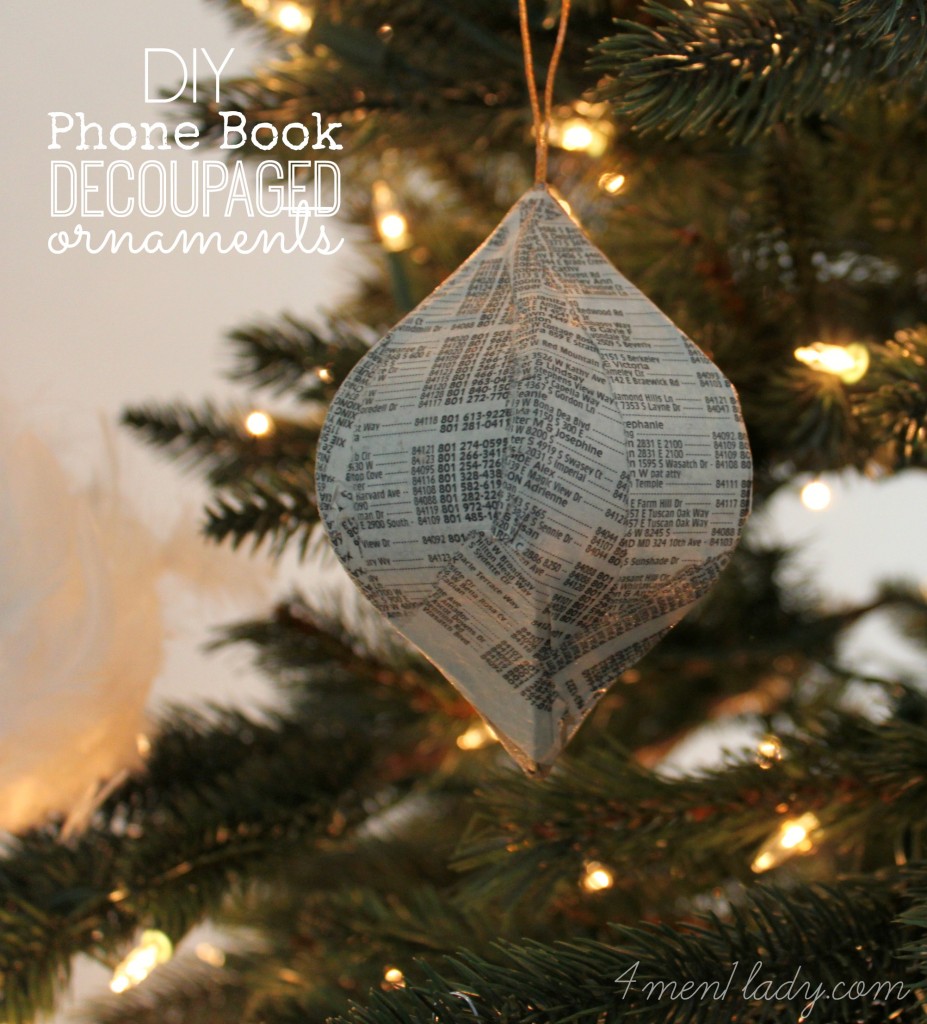
4-5. Apply your strips directly to the ornament. Smooth as many creases or air bubbles as you can.
6. Once the ornament is covered with the paper apply another coat of Mod Podge with your fingers. The ornament will look white but don’t worry, it will dry clear.
 t
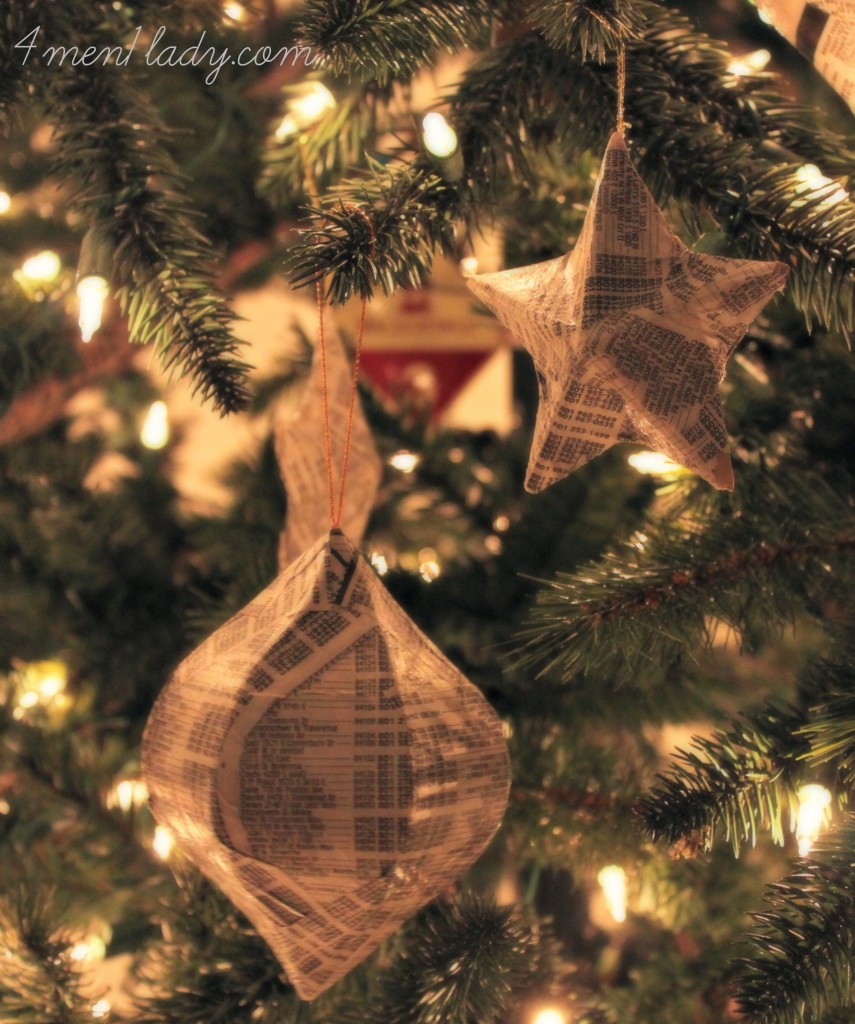
tThe pictures don’t really do them justice but they really are cute. It gives the tree some personality and diy love.
Stay tuned to see our lovely tree!


 Hey there! I’m Michelle; I’m an Passionate DIY’er and in constant pursuit of how to bring beauty to my house full of men (3 boys + 1 hubby). Stick around and see what I’ve got up my hard-working sleaves!
I literally just threw a phonebook in the trash last night. Luckily, it was in a plastic bag because this just inspired me to pull it out tonight for some ornament making. You have turned me into a trash picker. 😐
Lol! I won’t tell anyone. Happy phone bookin! 🙂
Lovely idea. I never use gloves with modge podge though. I love the squishy feel. And it’s really just glue modified. It’s been a while, I can’t remember I think it washed off easy enough.
Thanks Donna…you’d probably get a much better result without the gloves. Easier to smooth out the bubbles. 🙂
I love it ! My dog recently ate part of a music sheet book and I might recycle it this way ! Thanks for sharing.
Now that’s what I call being resourceful! Great idea!
Get even more creative and create your own with chicken wire, fabric, and school glue (dries clear)mixed in water to make fabric stiffer. First make a loop out of wire and place at the top of your ornament. Cover the chicken wire with the damp (almost soak) fabric let dry by hanging by the loop (easier if you have a dowel or rod to place them on). Then add your little trinkets to decorate.