Every year I tell myself I’m going to have my Christmas shopping at least 3 weeks prior to the holiday but it never happens. Retailers already have their holiday decor out which is a tad early in my opinion but a good reminder for me to get a jump start on thinking about gifting.
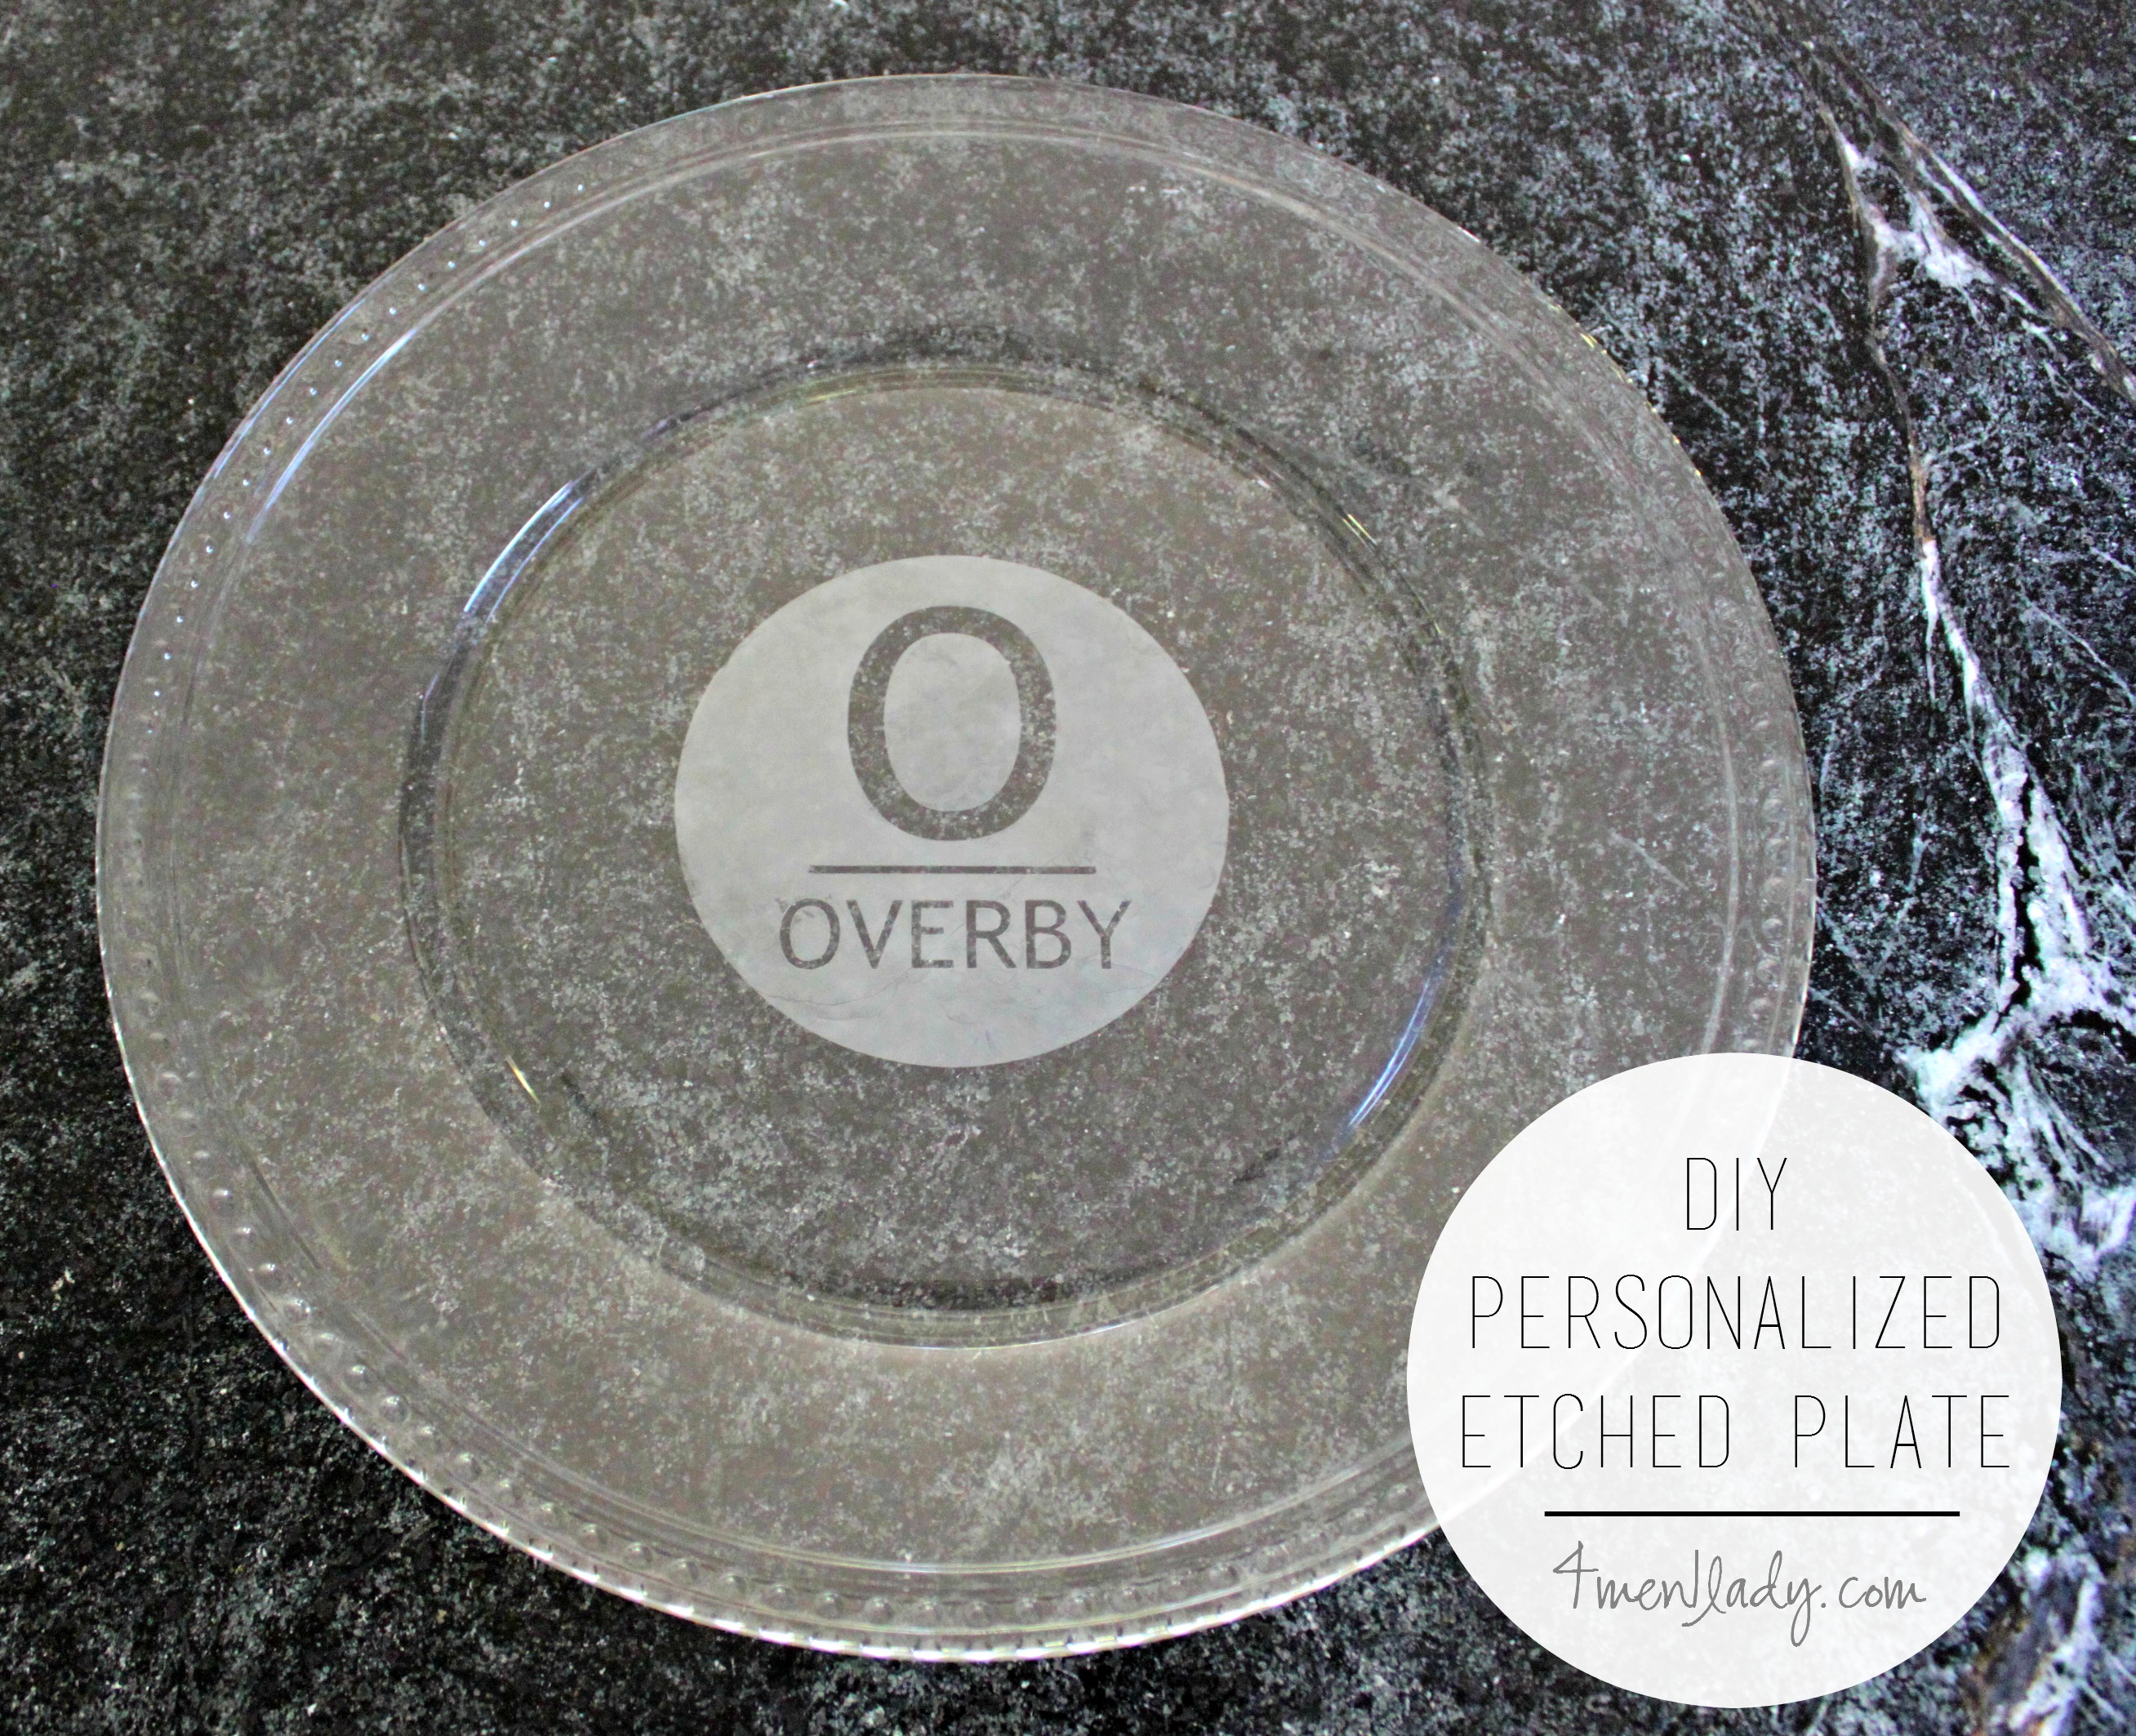
I found this LARGE serving platter at Target for $6.99 this week and I came up with an idea…what if I etched a personalized monogram on it for some friends who recently got married and give it to them for Christmas?
Brilliant!
Heck, at $6.99 I could personalize a whole stack of them and give them out to all my friends and in-law’s.
You can’t really tell from the picture but this platter is large!
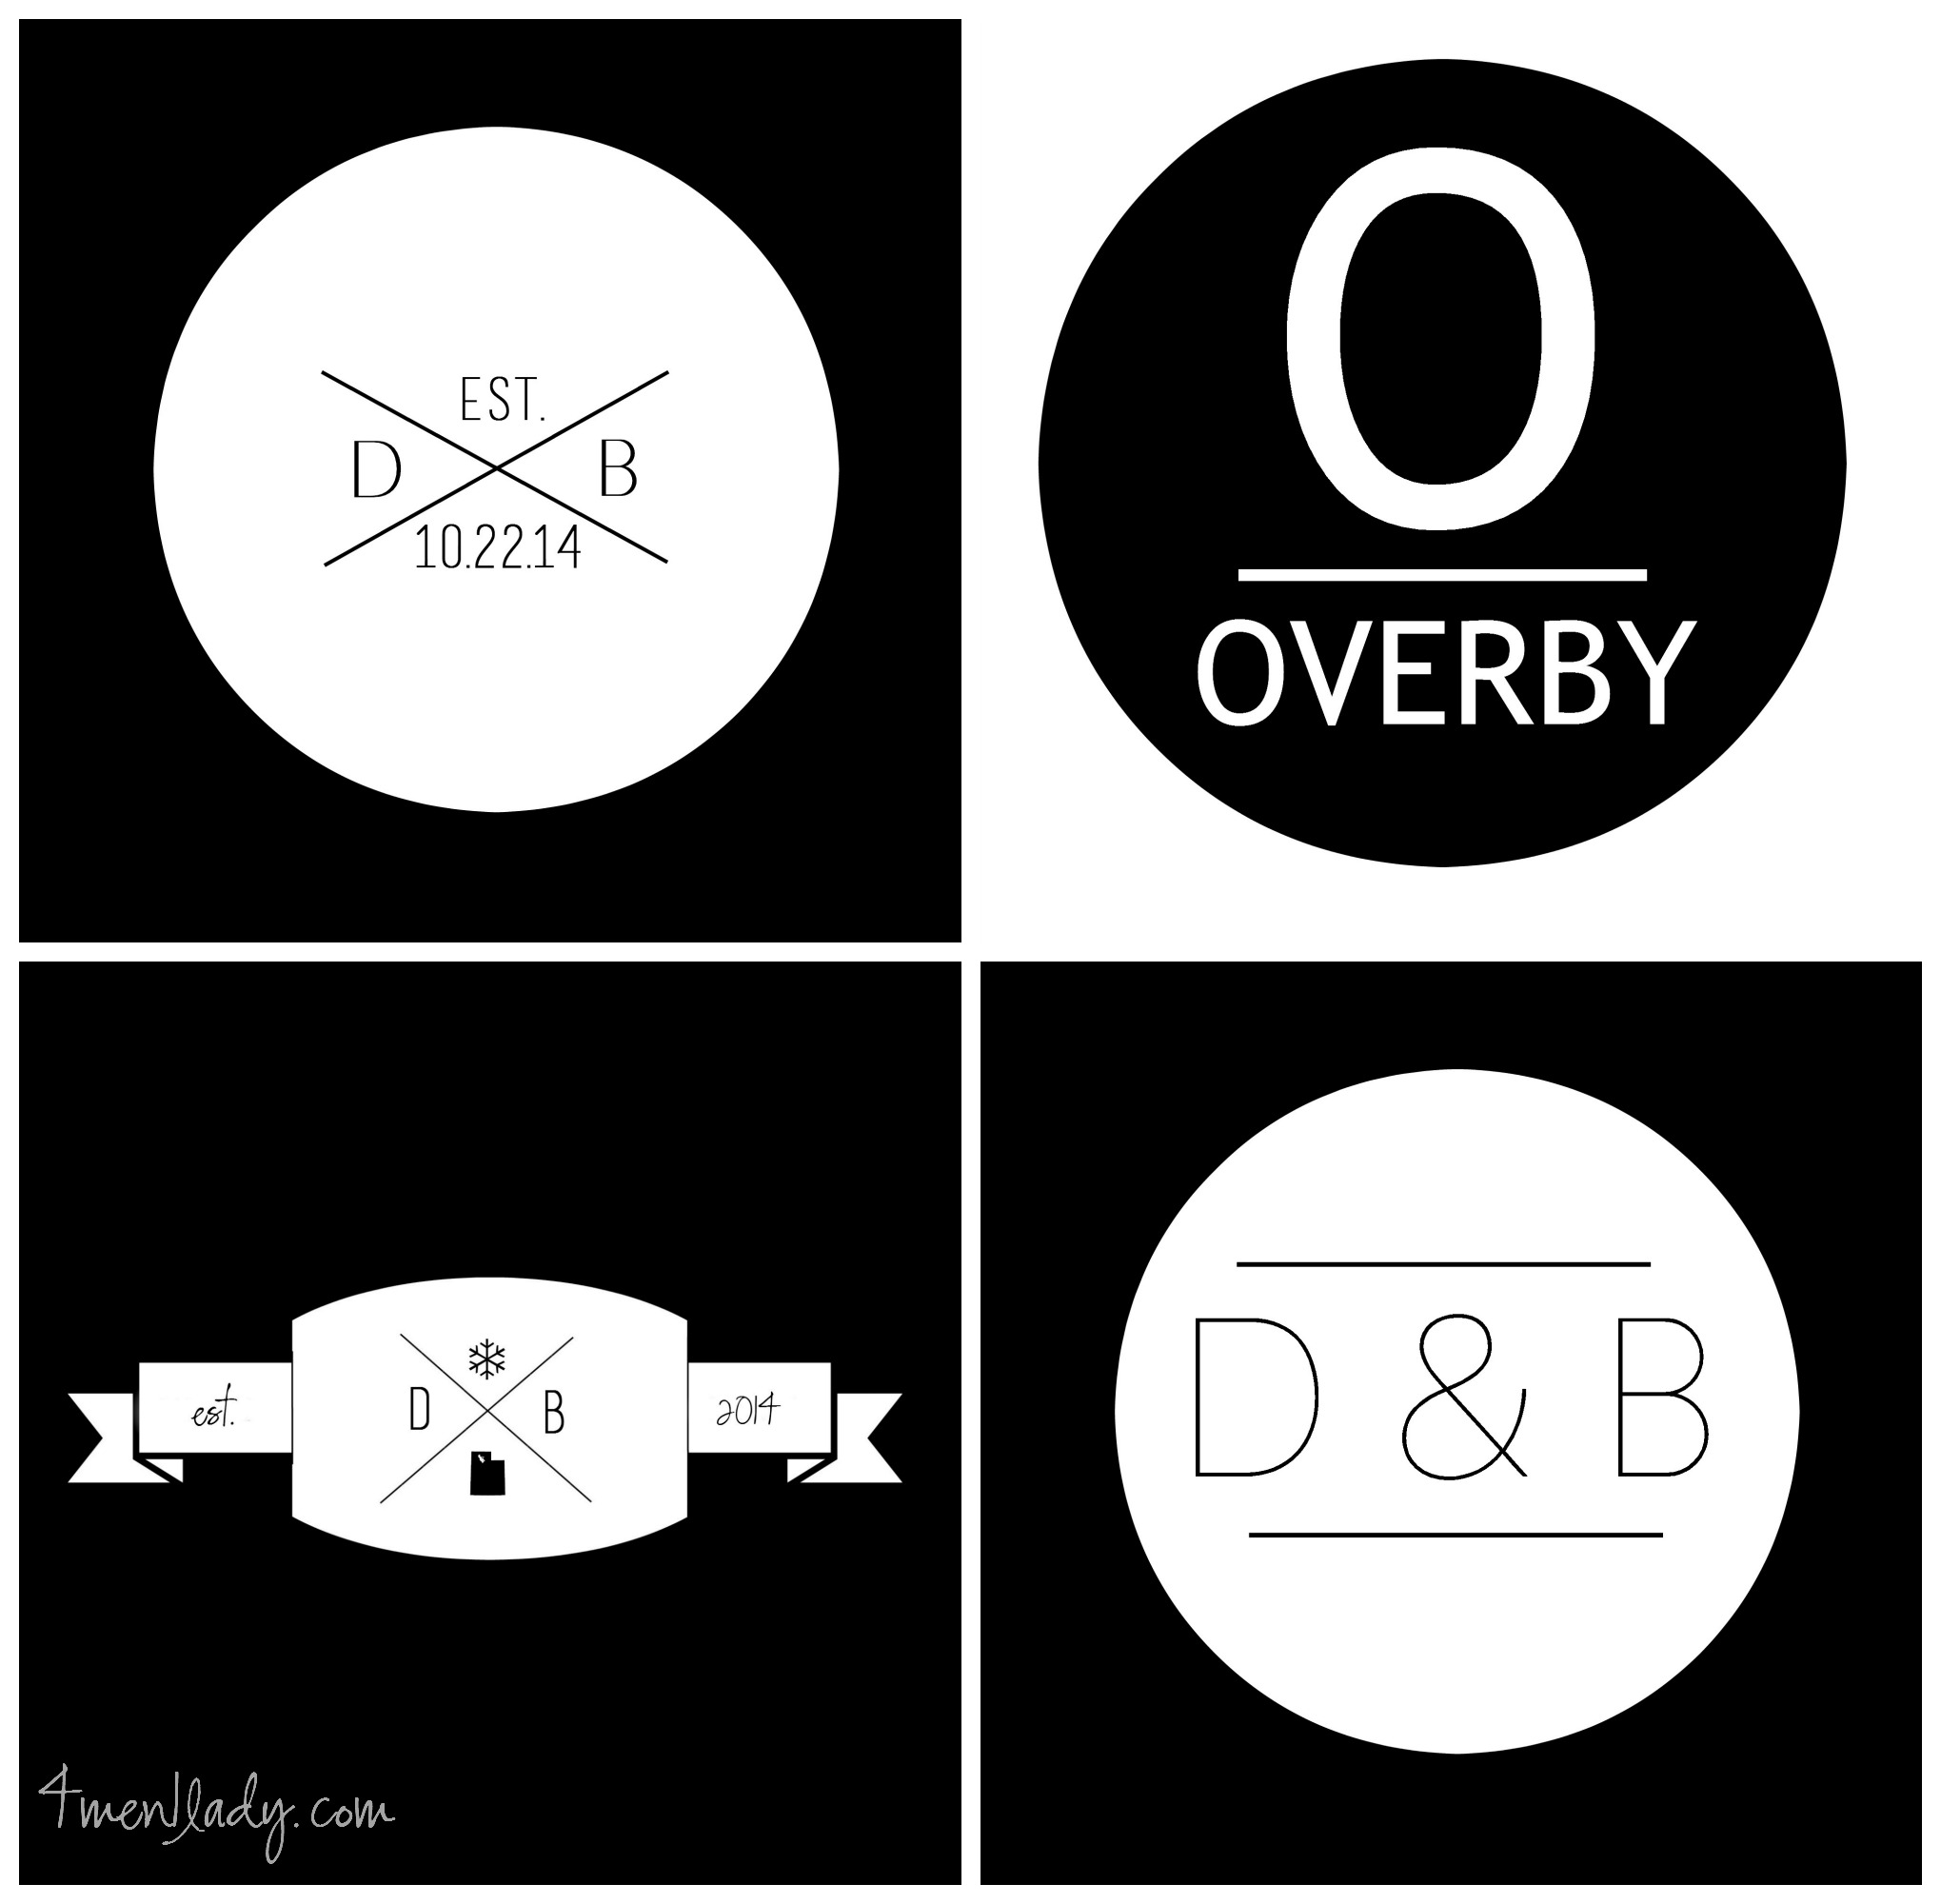
The first thing I did was create a few designs in PicMonkey (which is my go-to photo editing and graphic design program because it’s super user friendly).
Then I uploaded one of my designs in to Cricut’s Design Space. I’ve raved about my Cricut cutting machine before which it the next best thing since chocolate. A bold statement, I know, but the Cricut Explore is just that good. (Check out some of my other projects I made with my Cricut here).
I could have actually just used and combined one of their thousands of images and fonts in their design program which I often do but the Cricut is just that cool that you can go either route, yours or theirs.
Next, I loaded up some clear vinyl (you can use any color) and cut out my design.
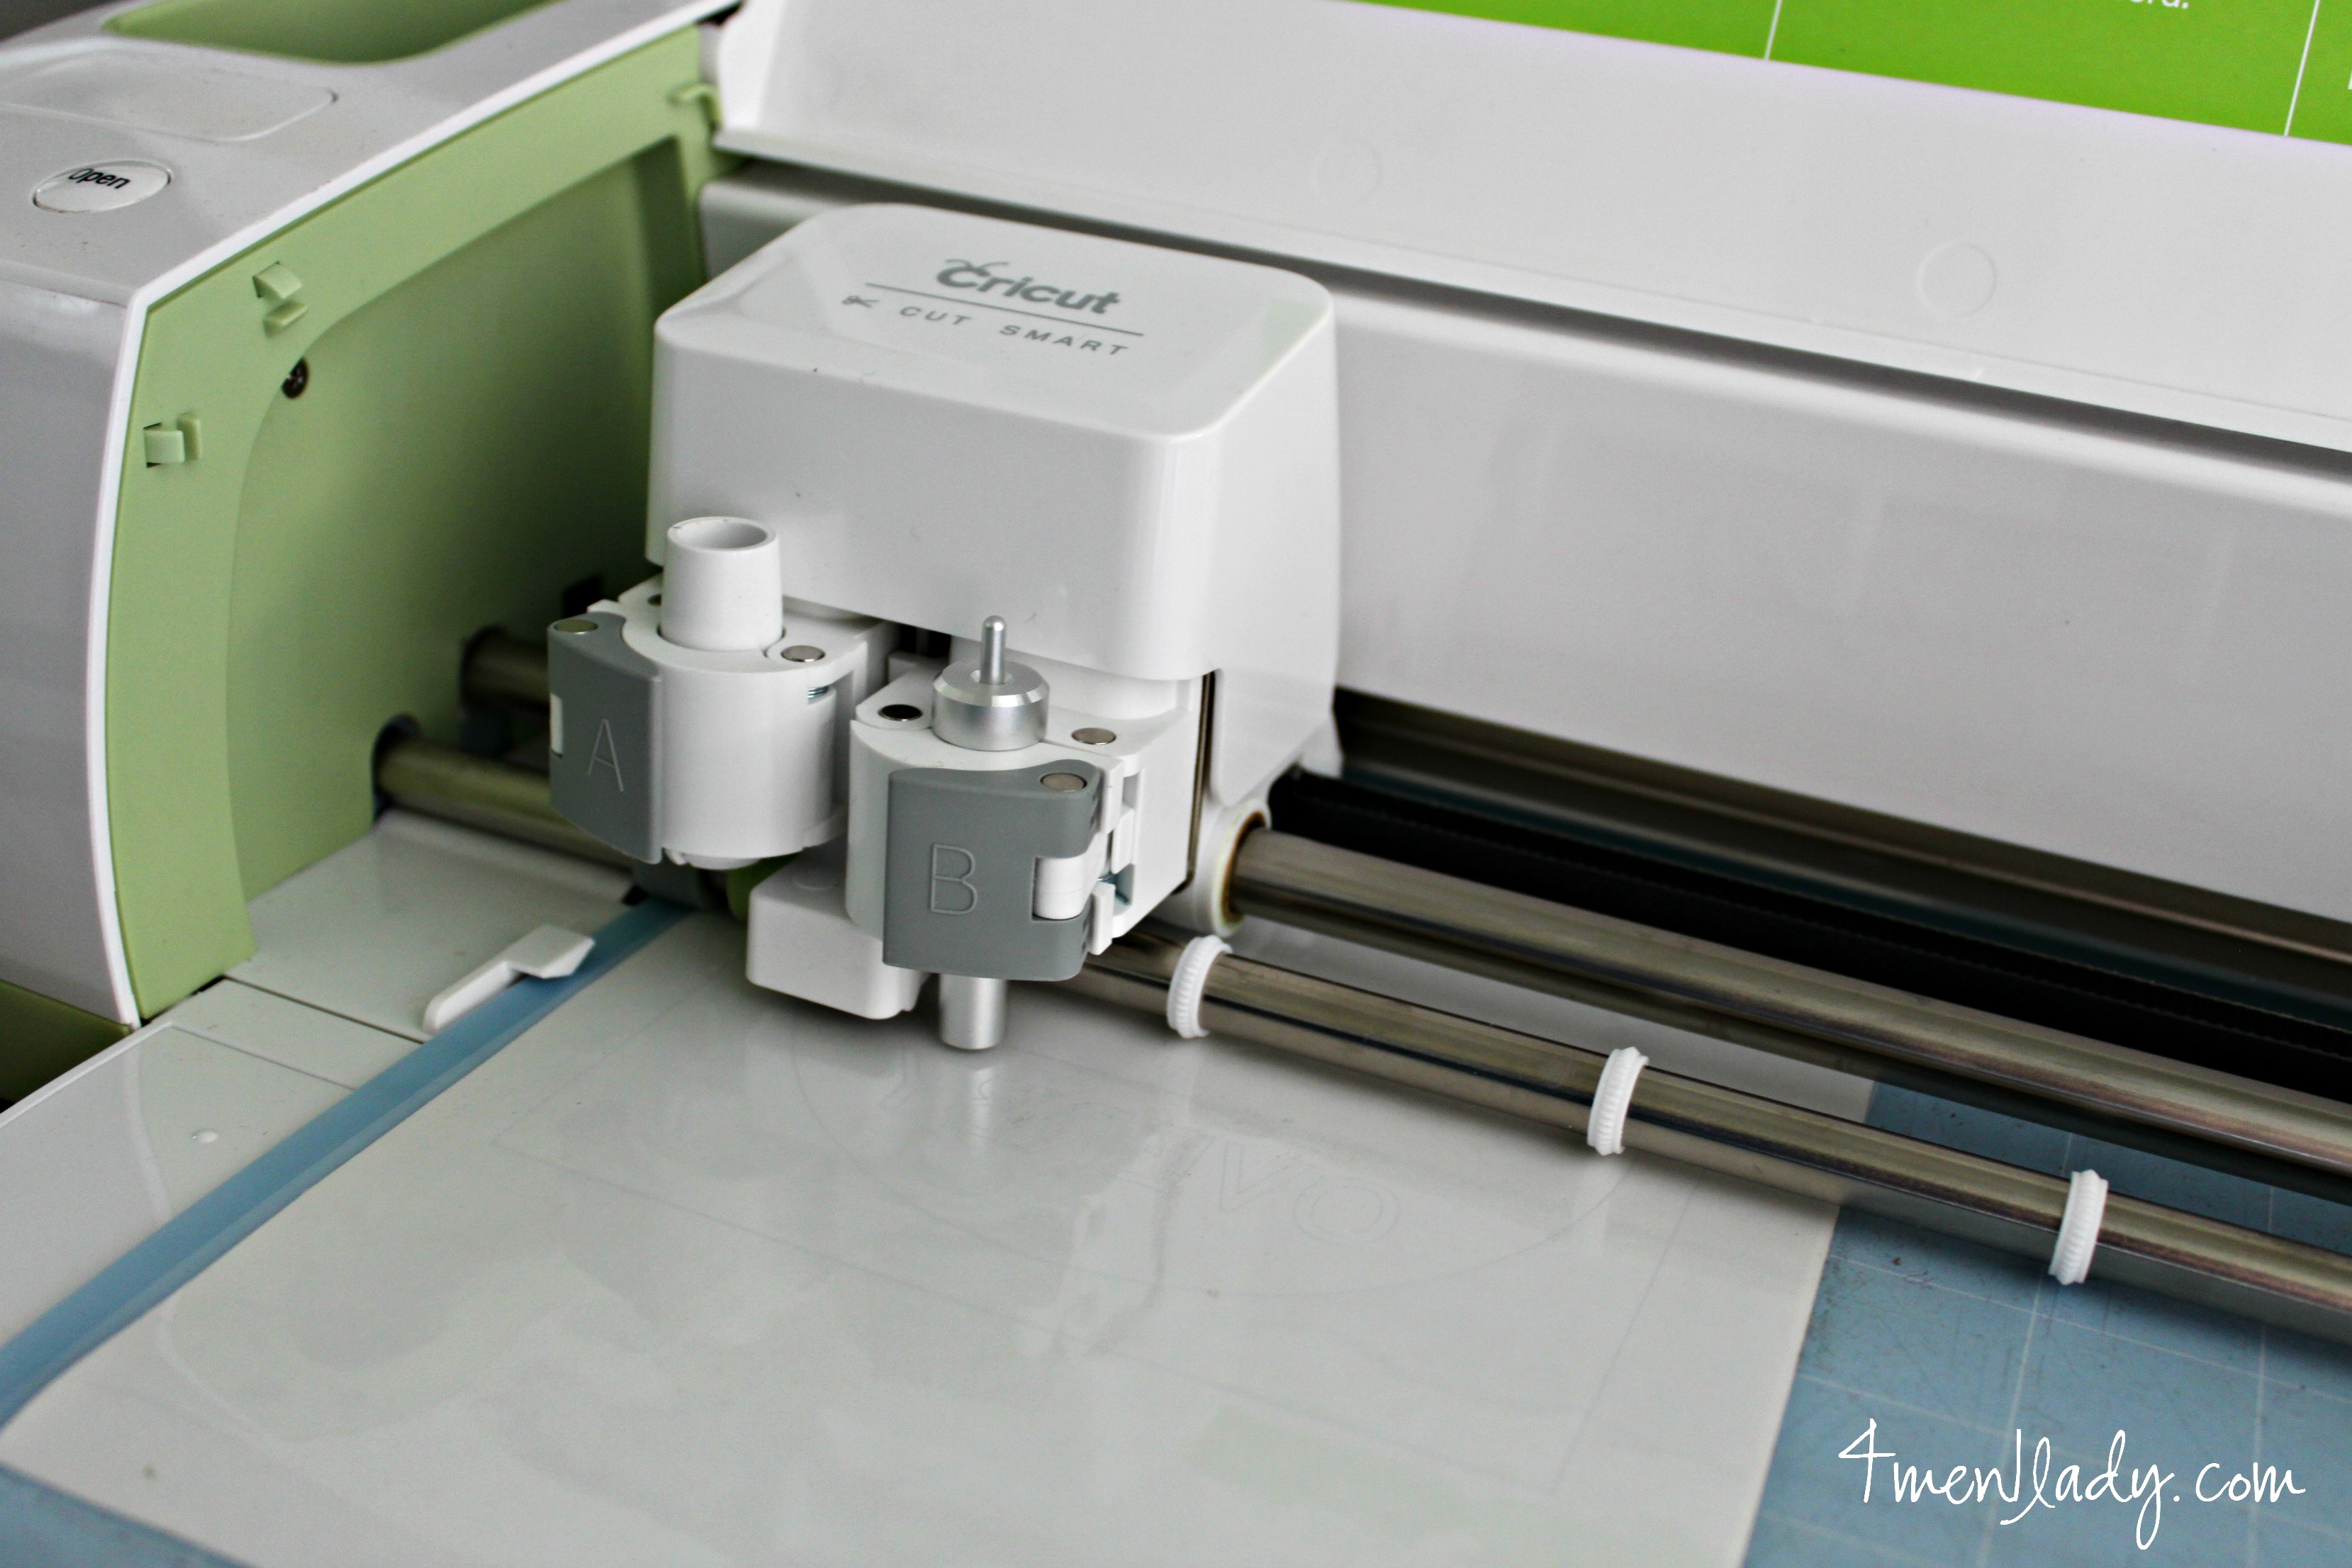
(On a side note: You can do this without a Cricut Explore machine by just cutting out whatever design you want by hand but it will take forever and won’t be as precise. Plus the Cricut Explore is so versatile where you can not print from your own printer then cut. Also, the Cricut will cut paper, some leather, vinyl, iron-on vinyl, it’s amazing).
Whatever you decide to etch it is important to make sure the surface is really clean. The price sticker was right where I wanted to etch and it left its sticky goo.
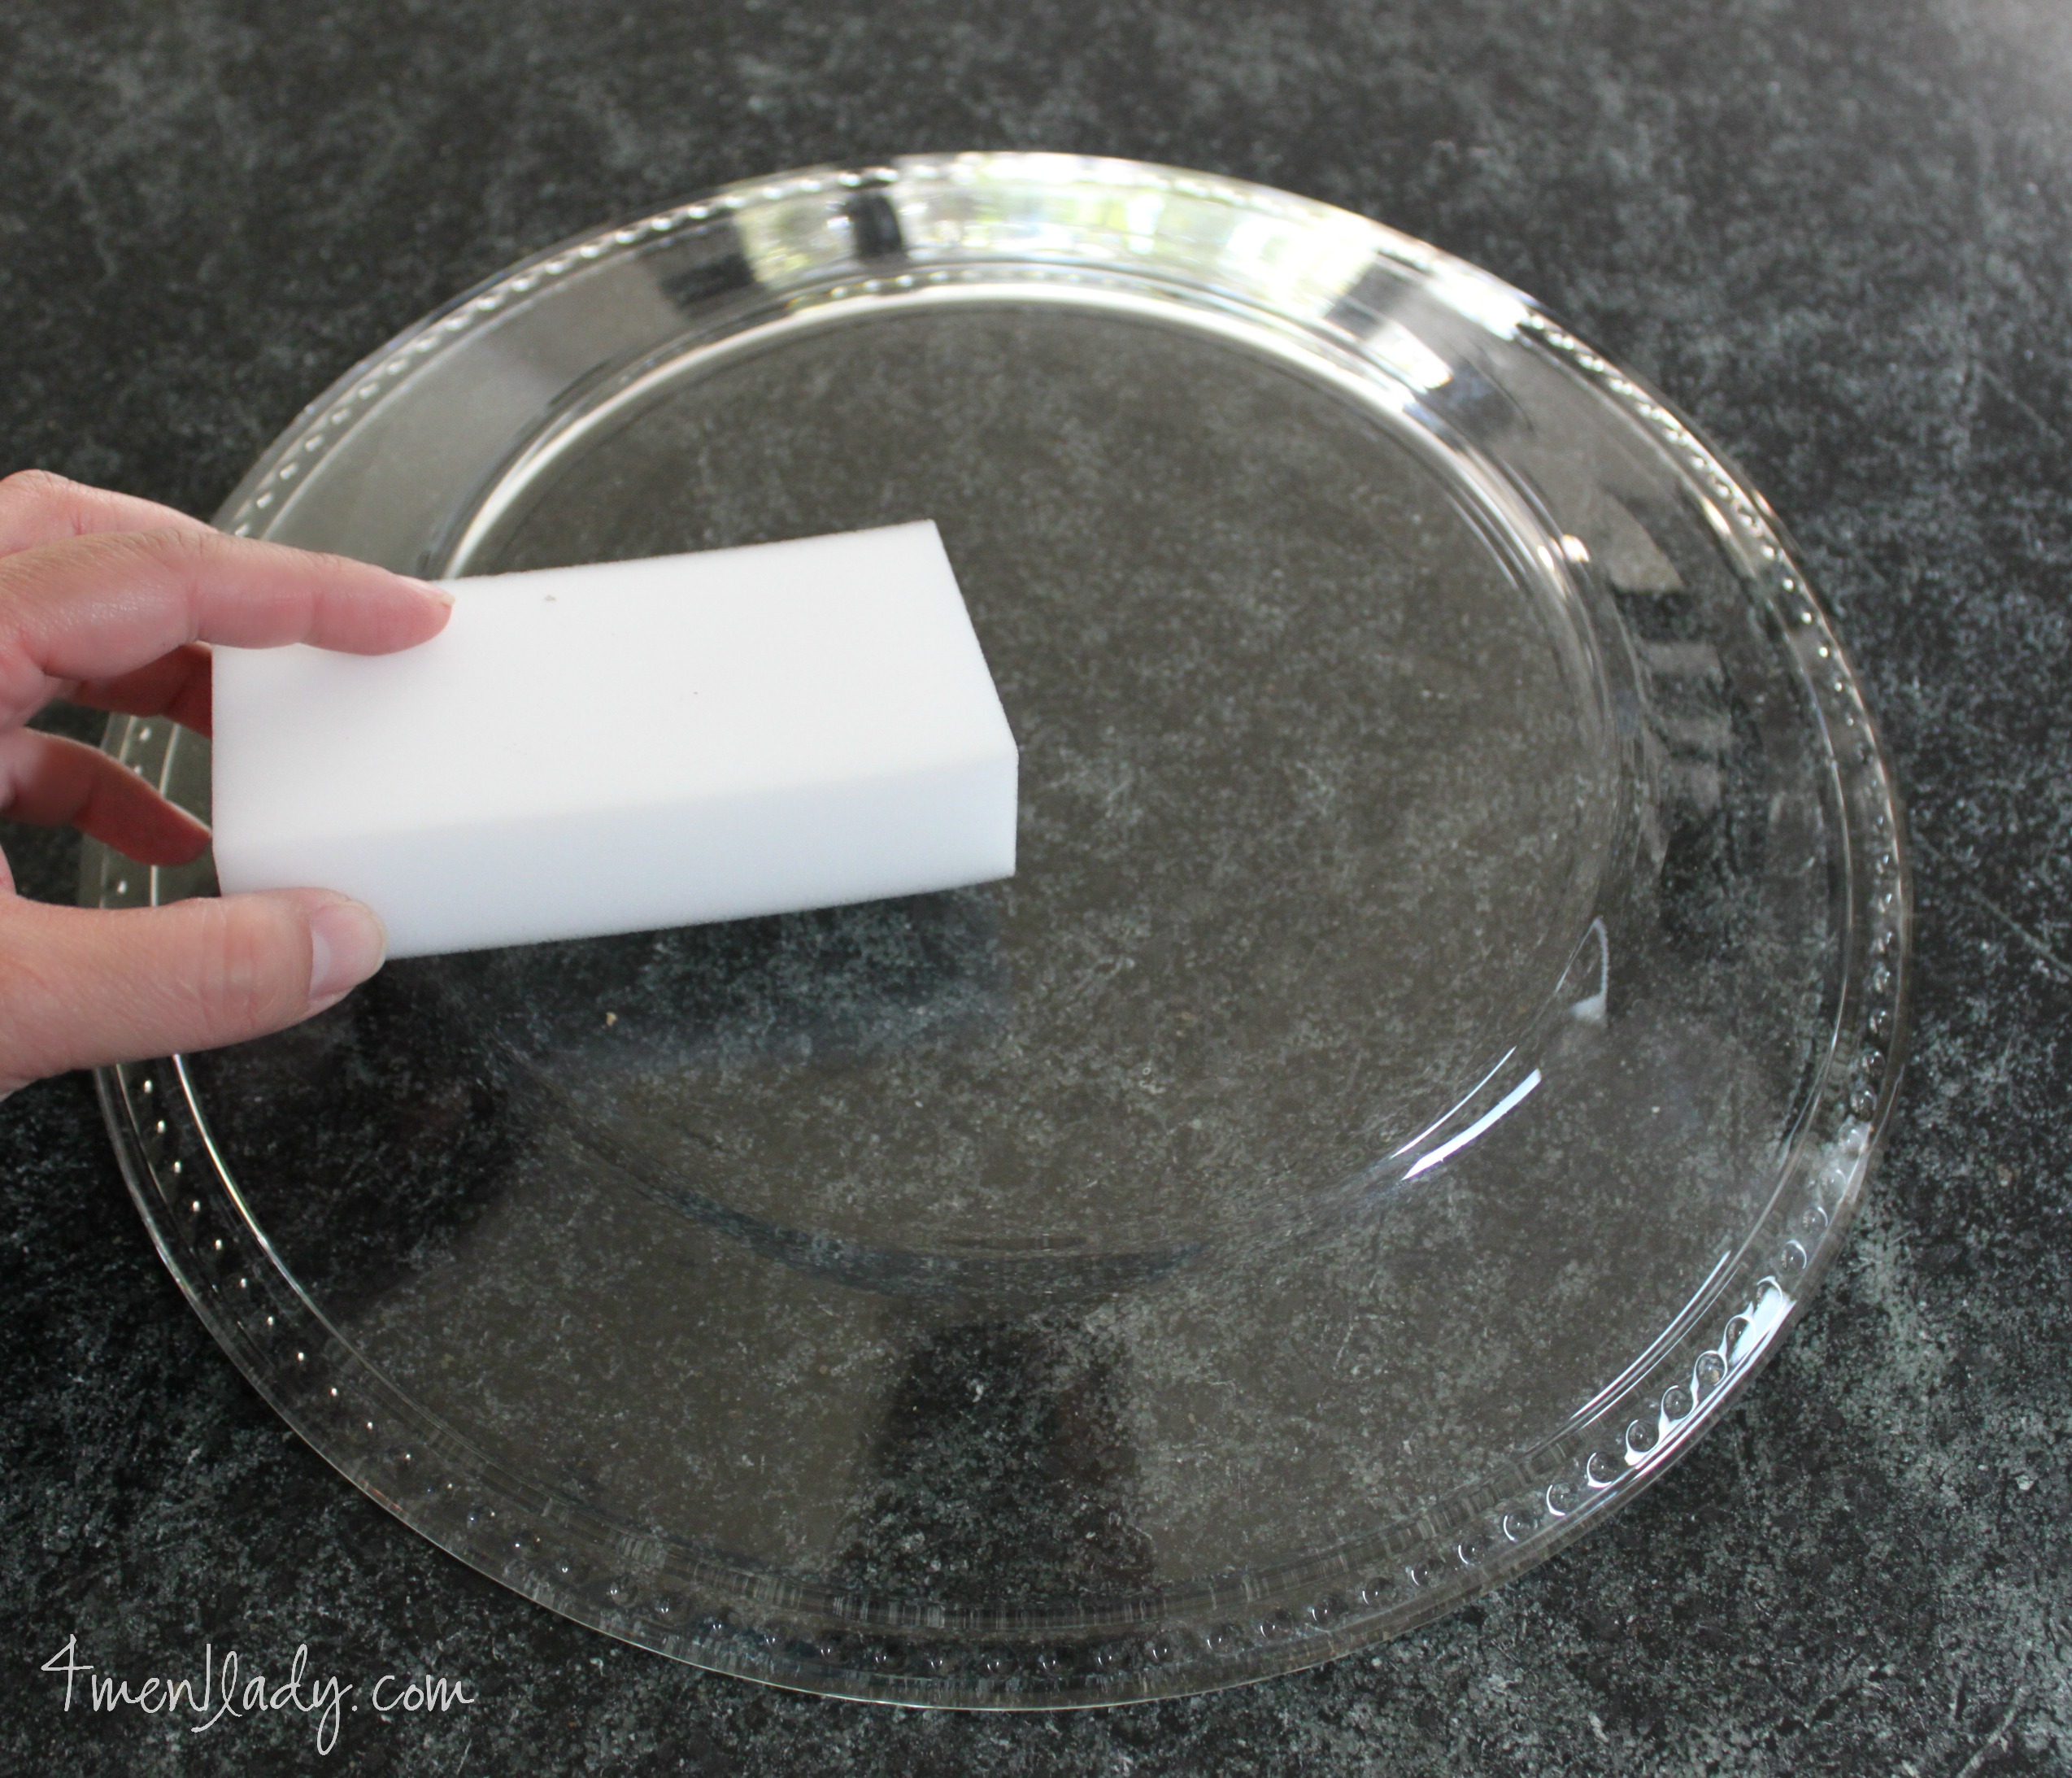
I used a magic eraser to remove every last bit of goo and ensure it was squeaky clean.
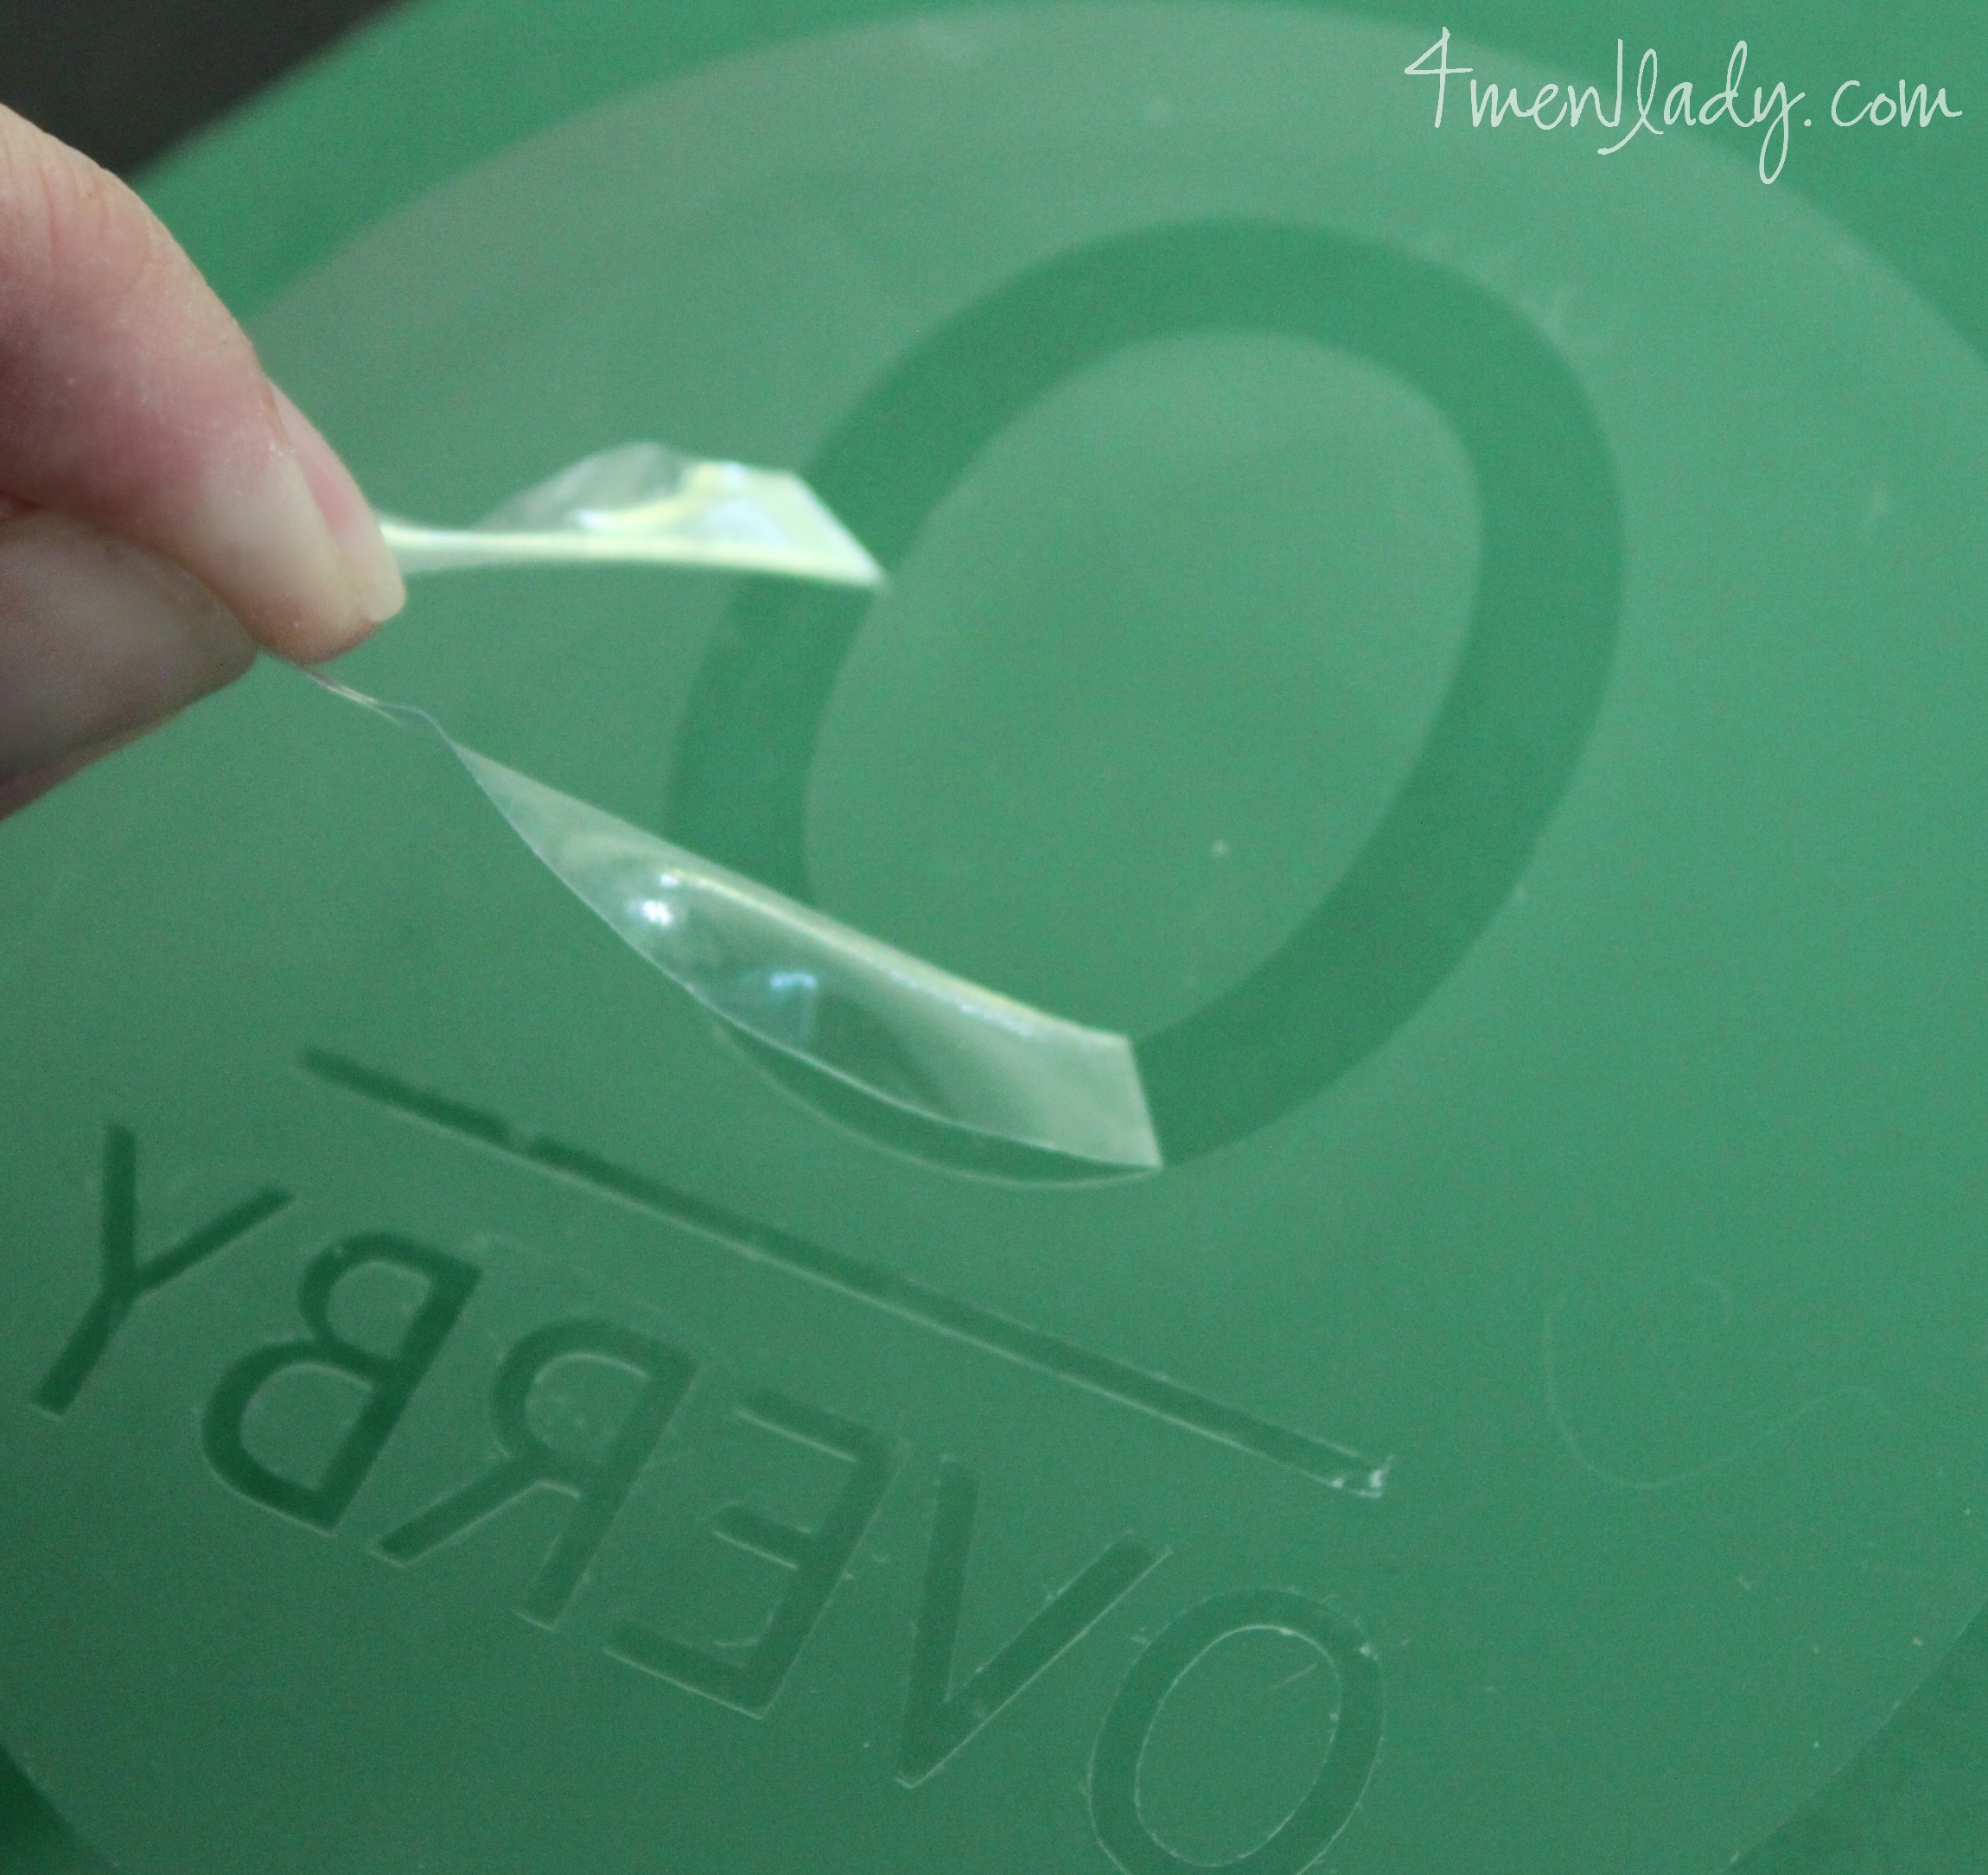
Next, I used transfer tape to transfer my vinyl image to the bottom of the plate.
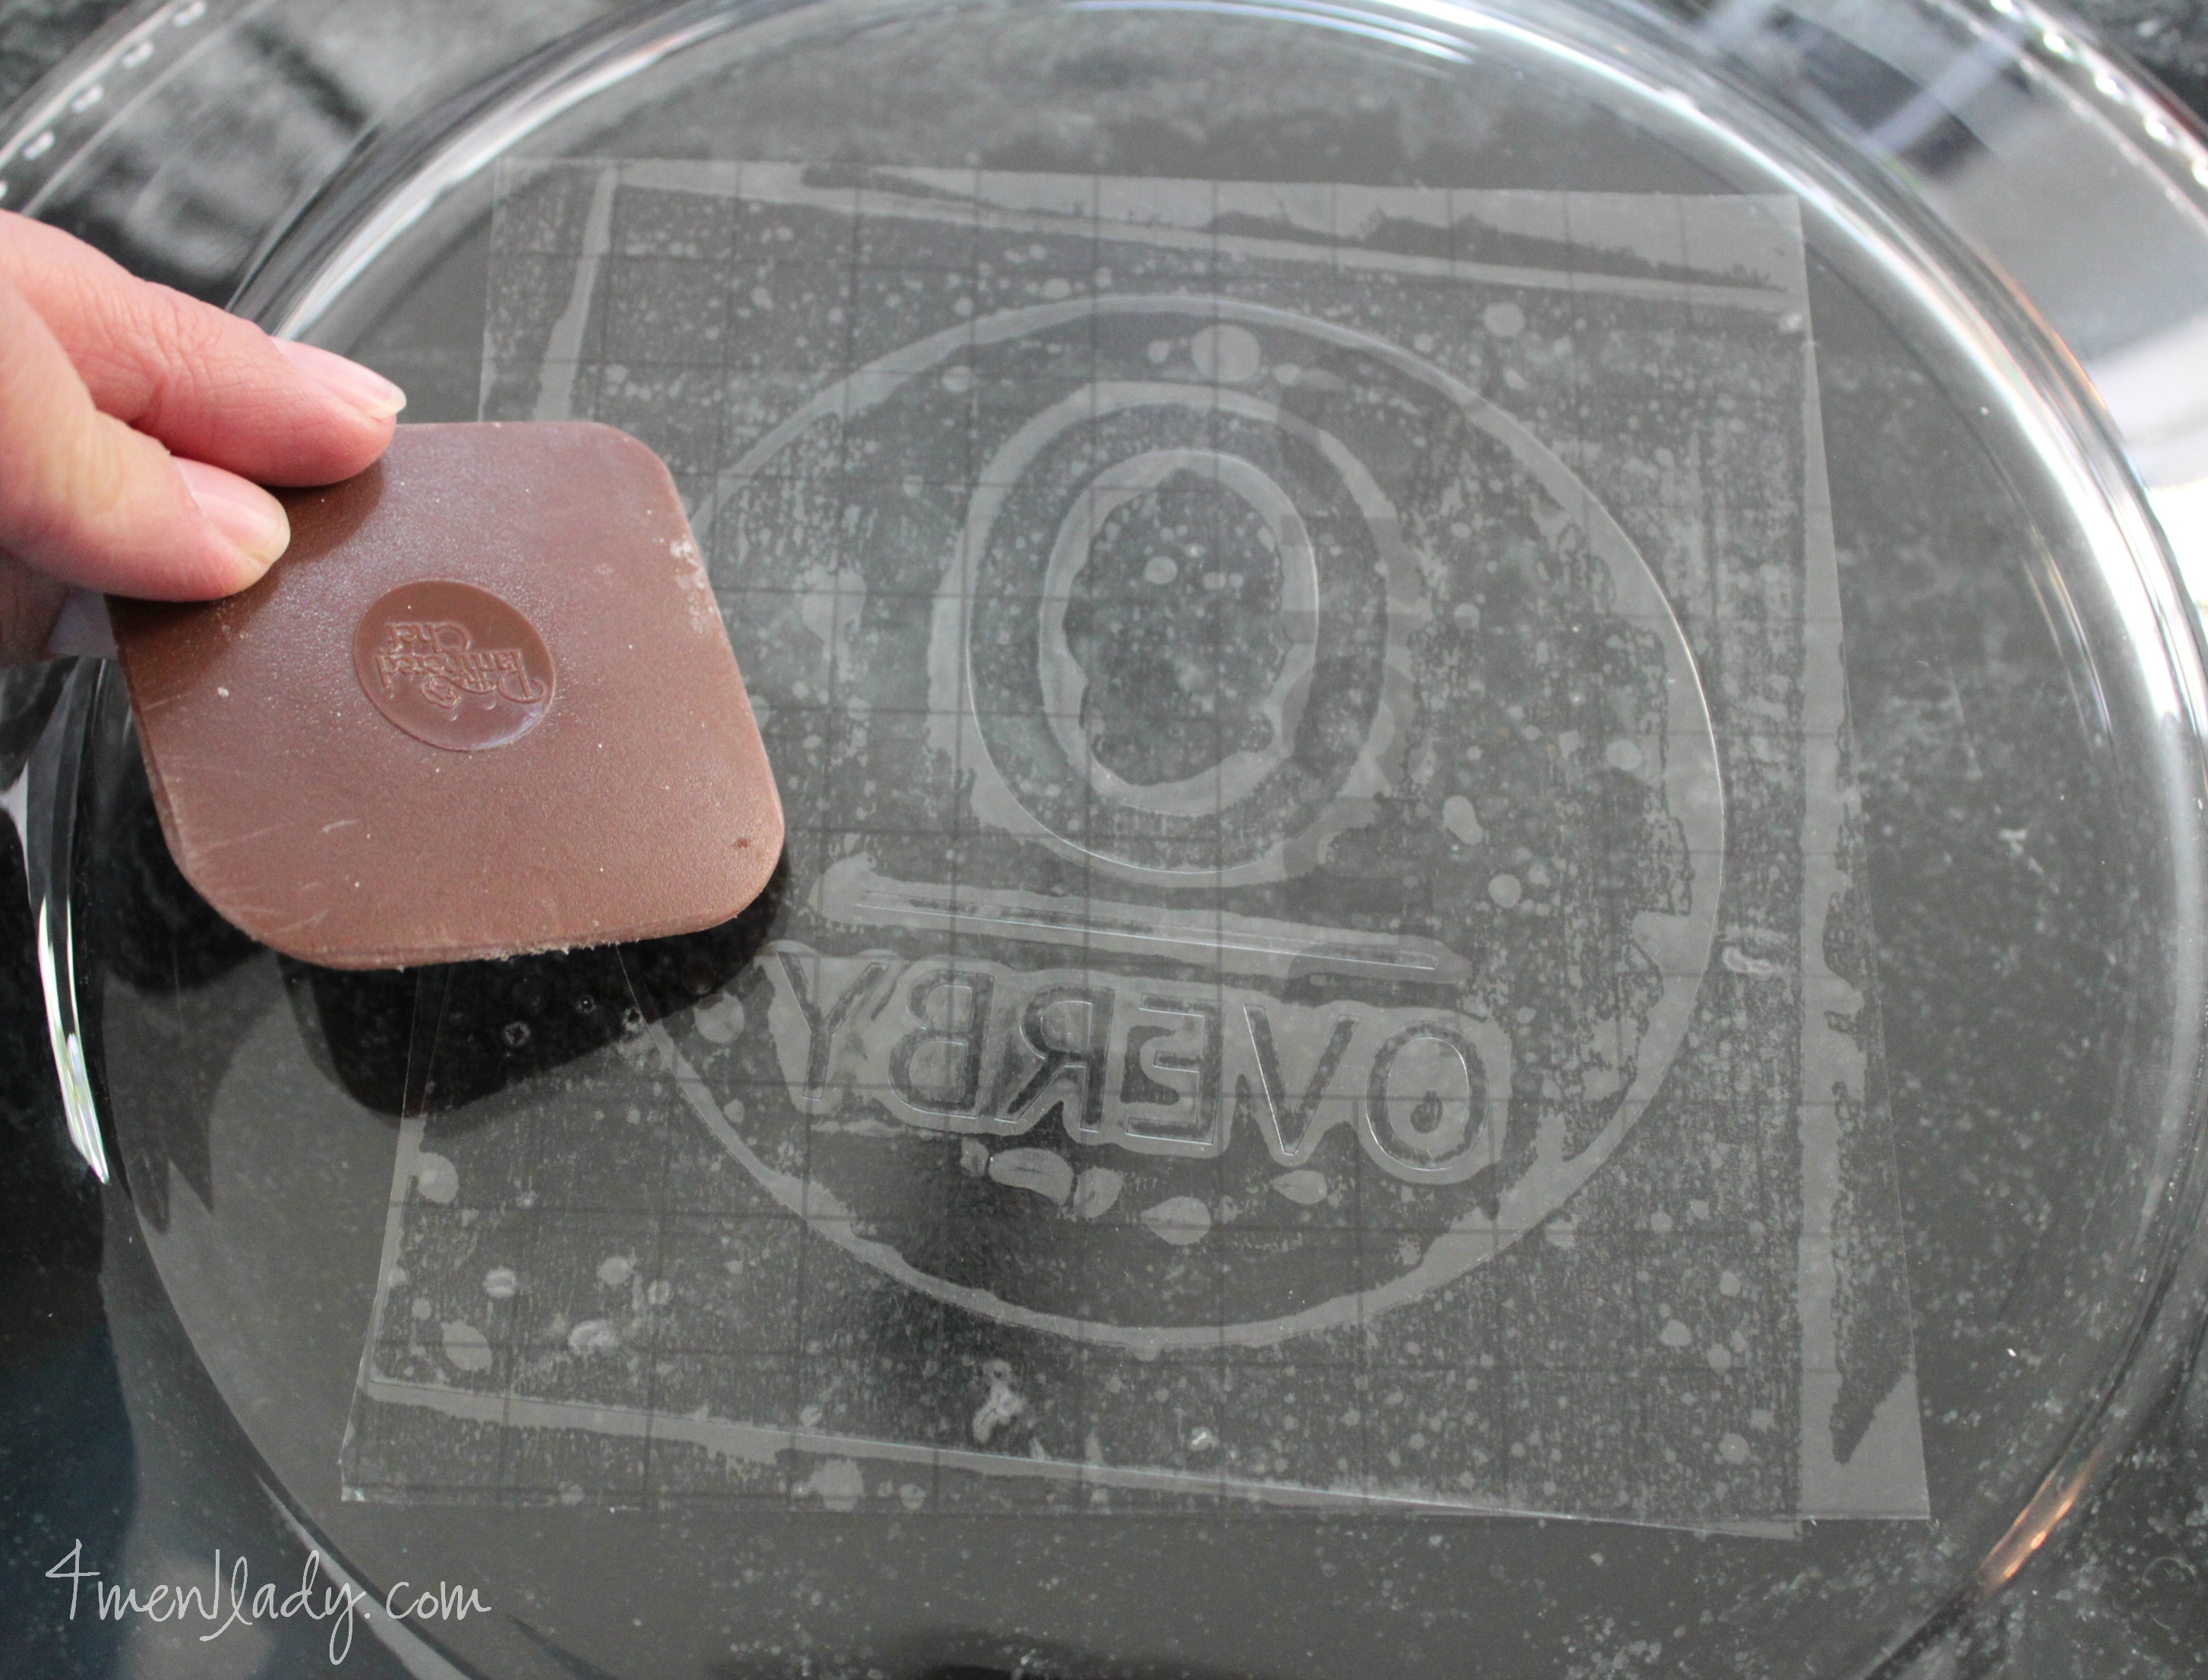
Tip: Because I would be etching the bottom of the plate it was important that I flipped the image backwards so that it would read correctly when I turned the plate over.
Once you adhere the image with transfer tape use something like a credit card, squeegee scraper, Pampered Chef scraper (ahem) to squeeze all the air bubbles out from under your project.
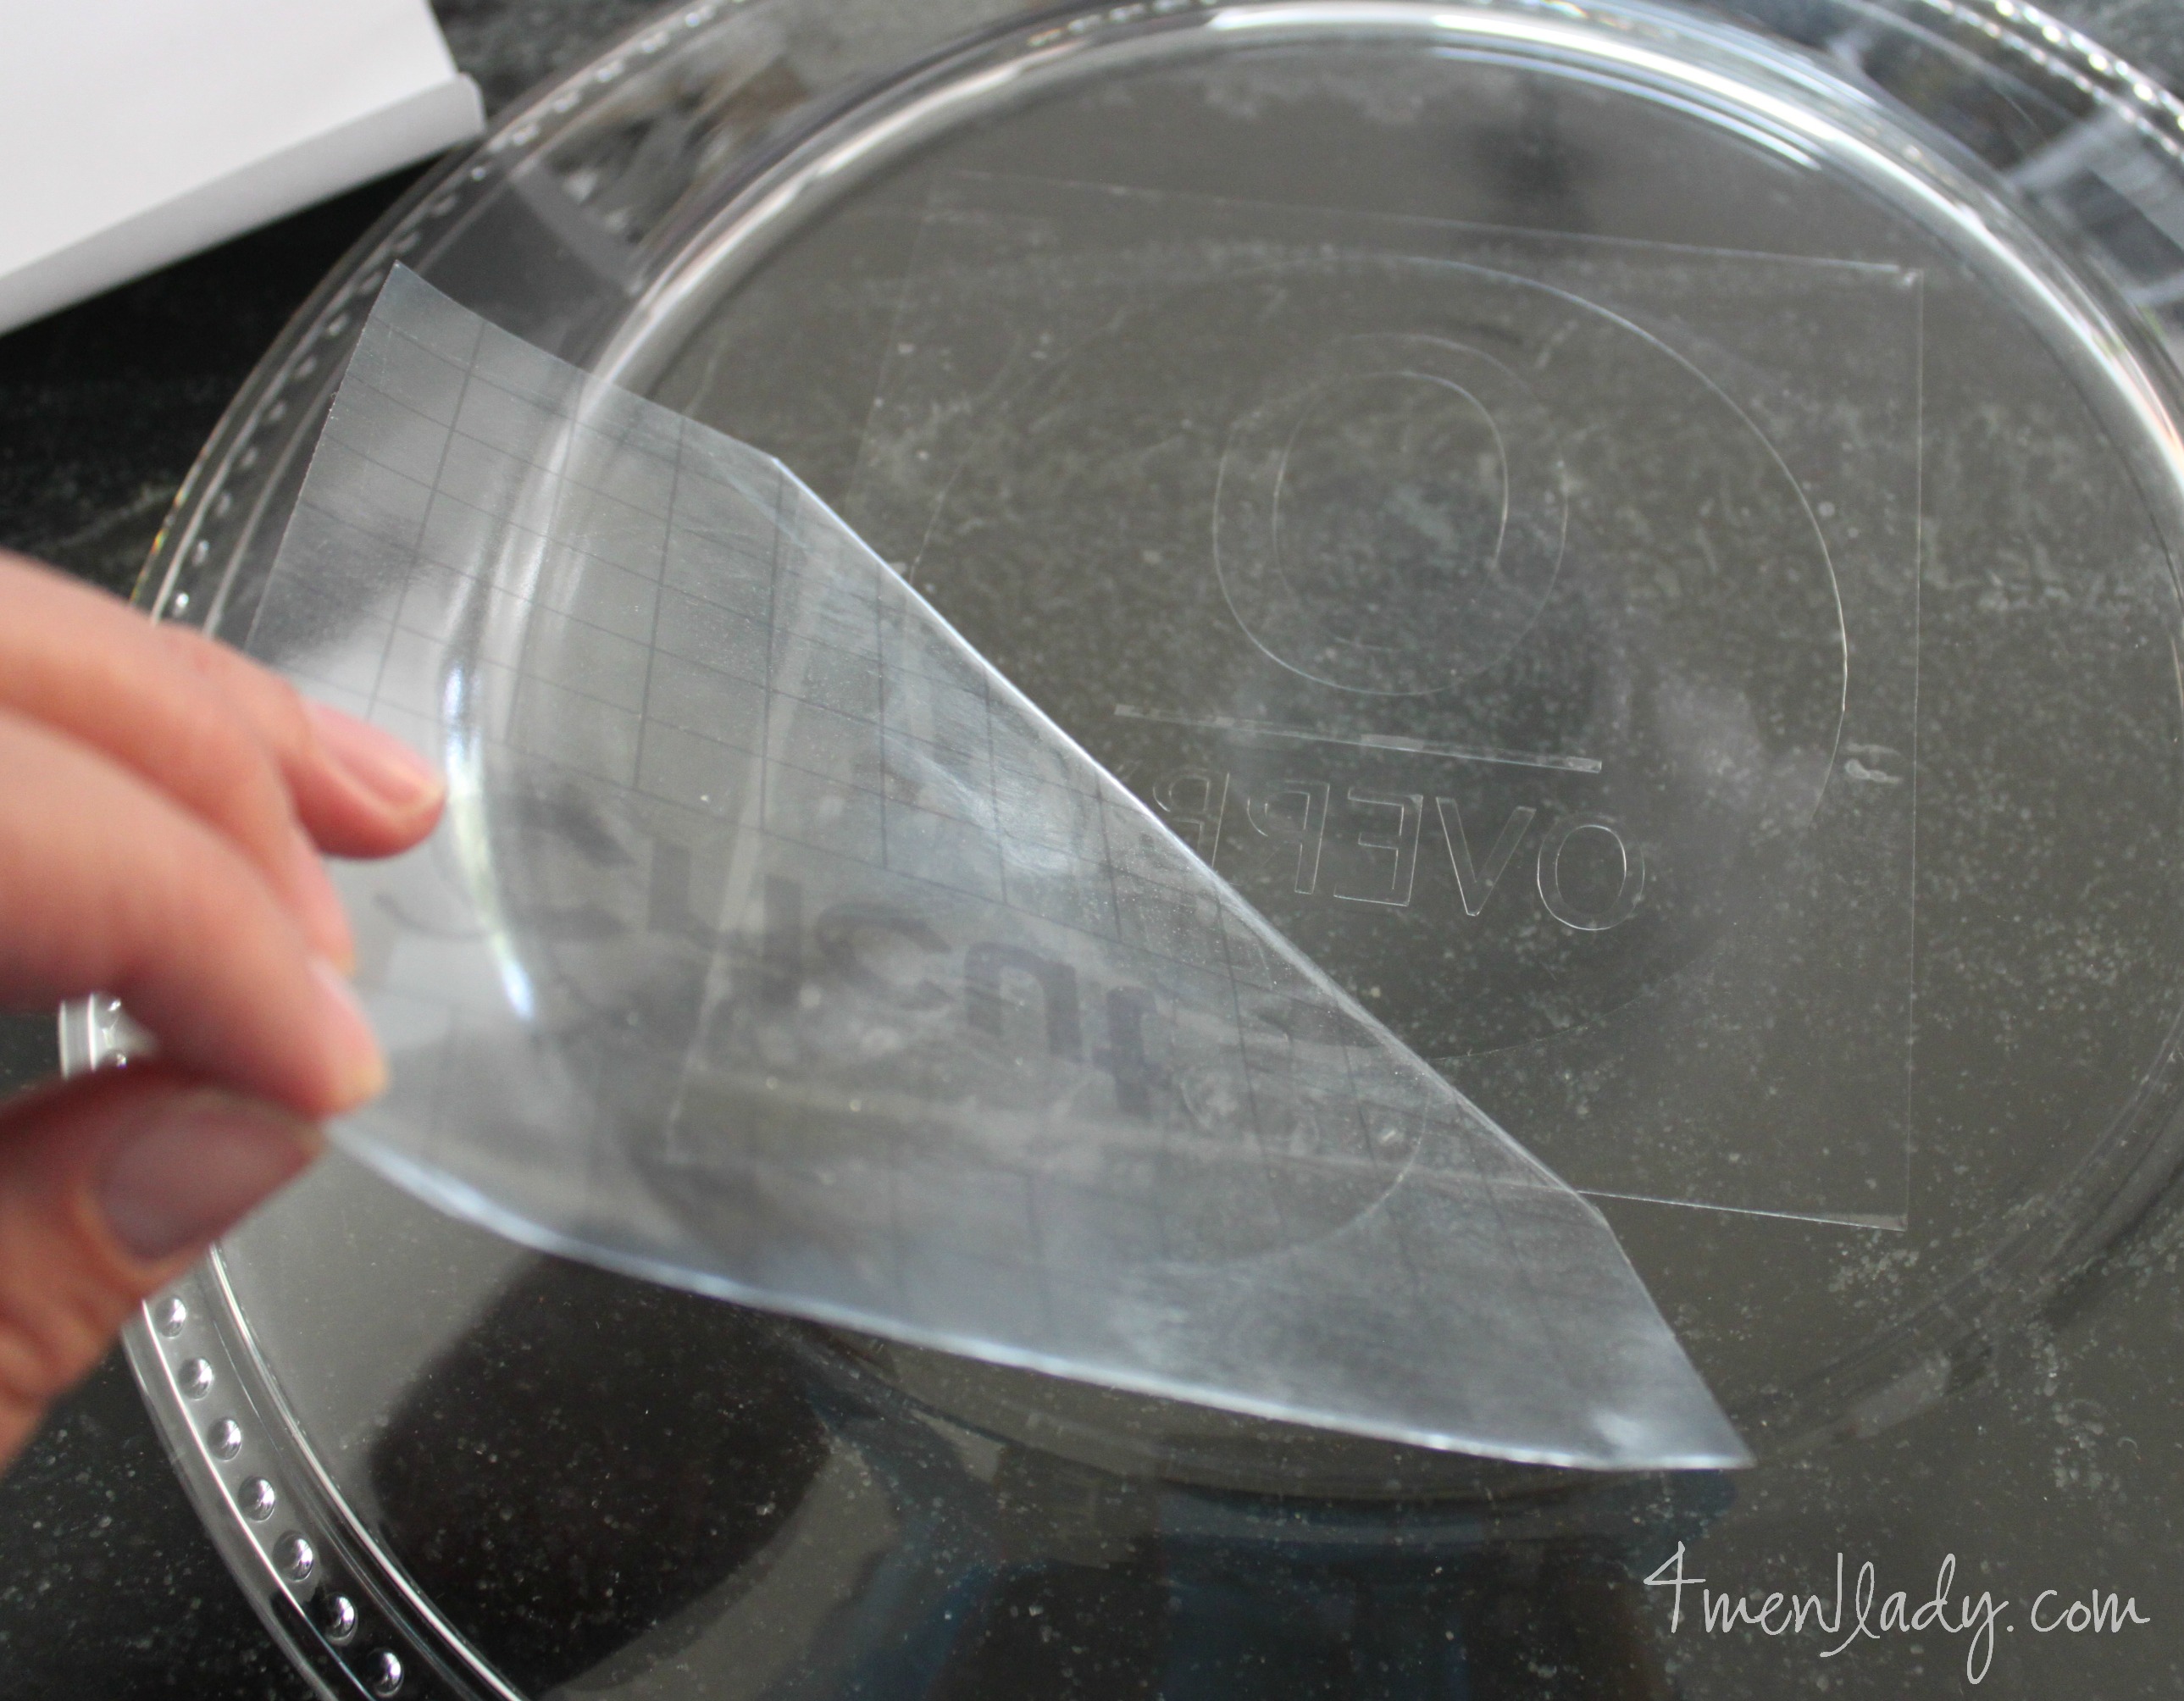
Once my vinyl was on I removed the transfer tape and then the negative space vinyl (all the area around the lettering) which is where I wanted my etching cream work.
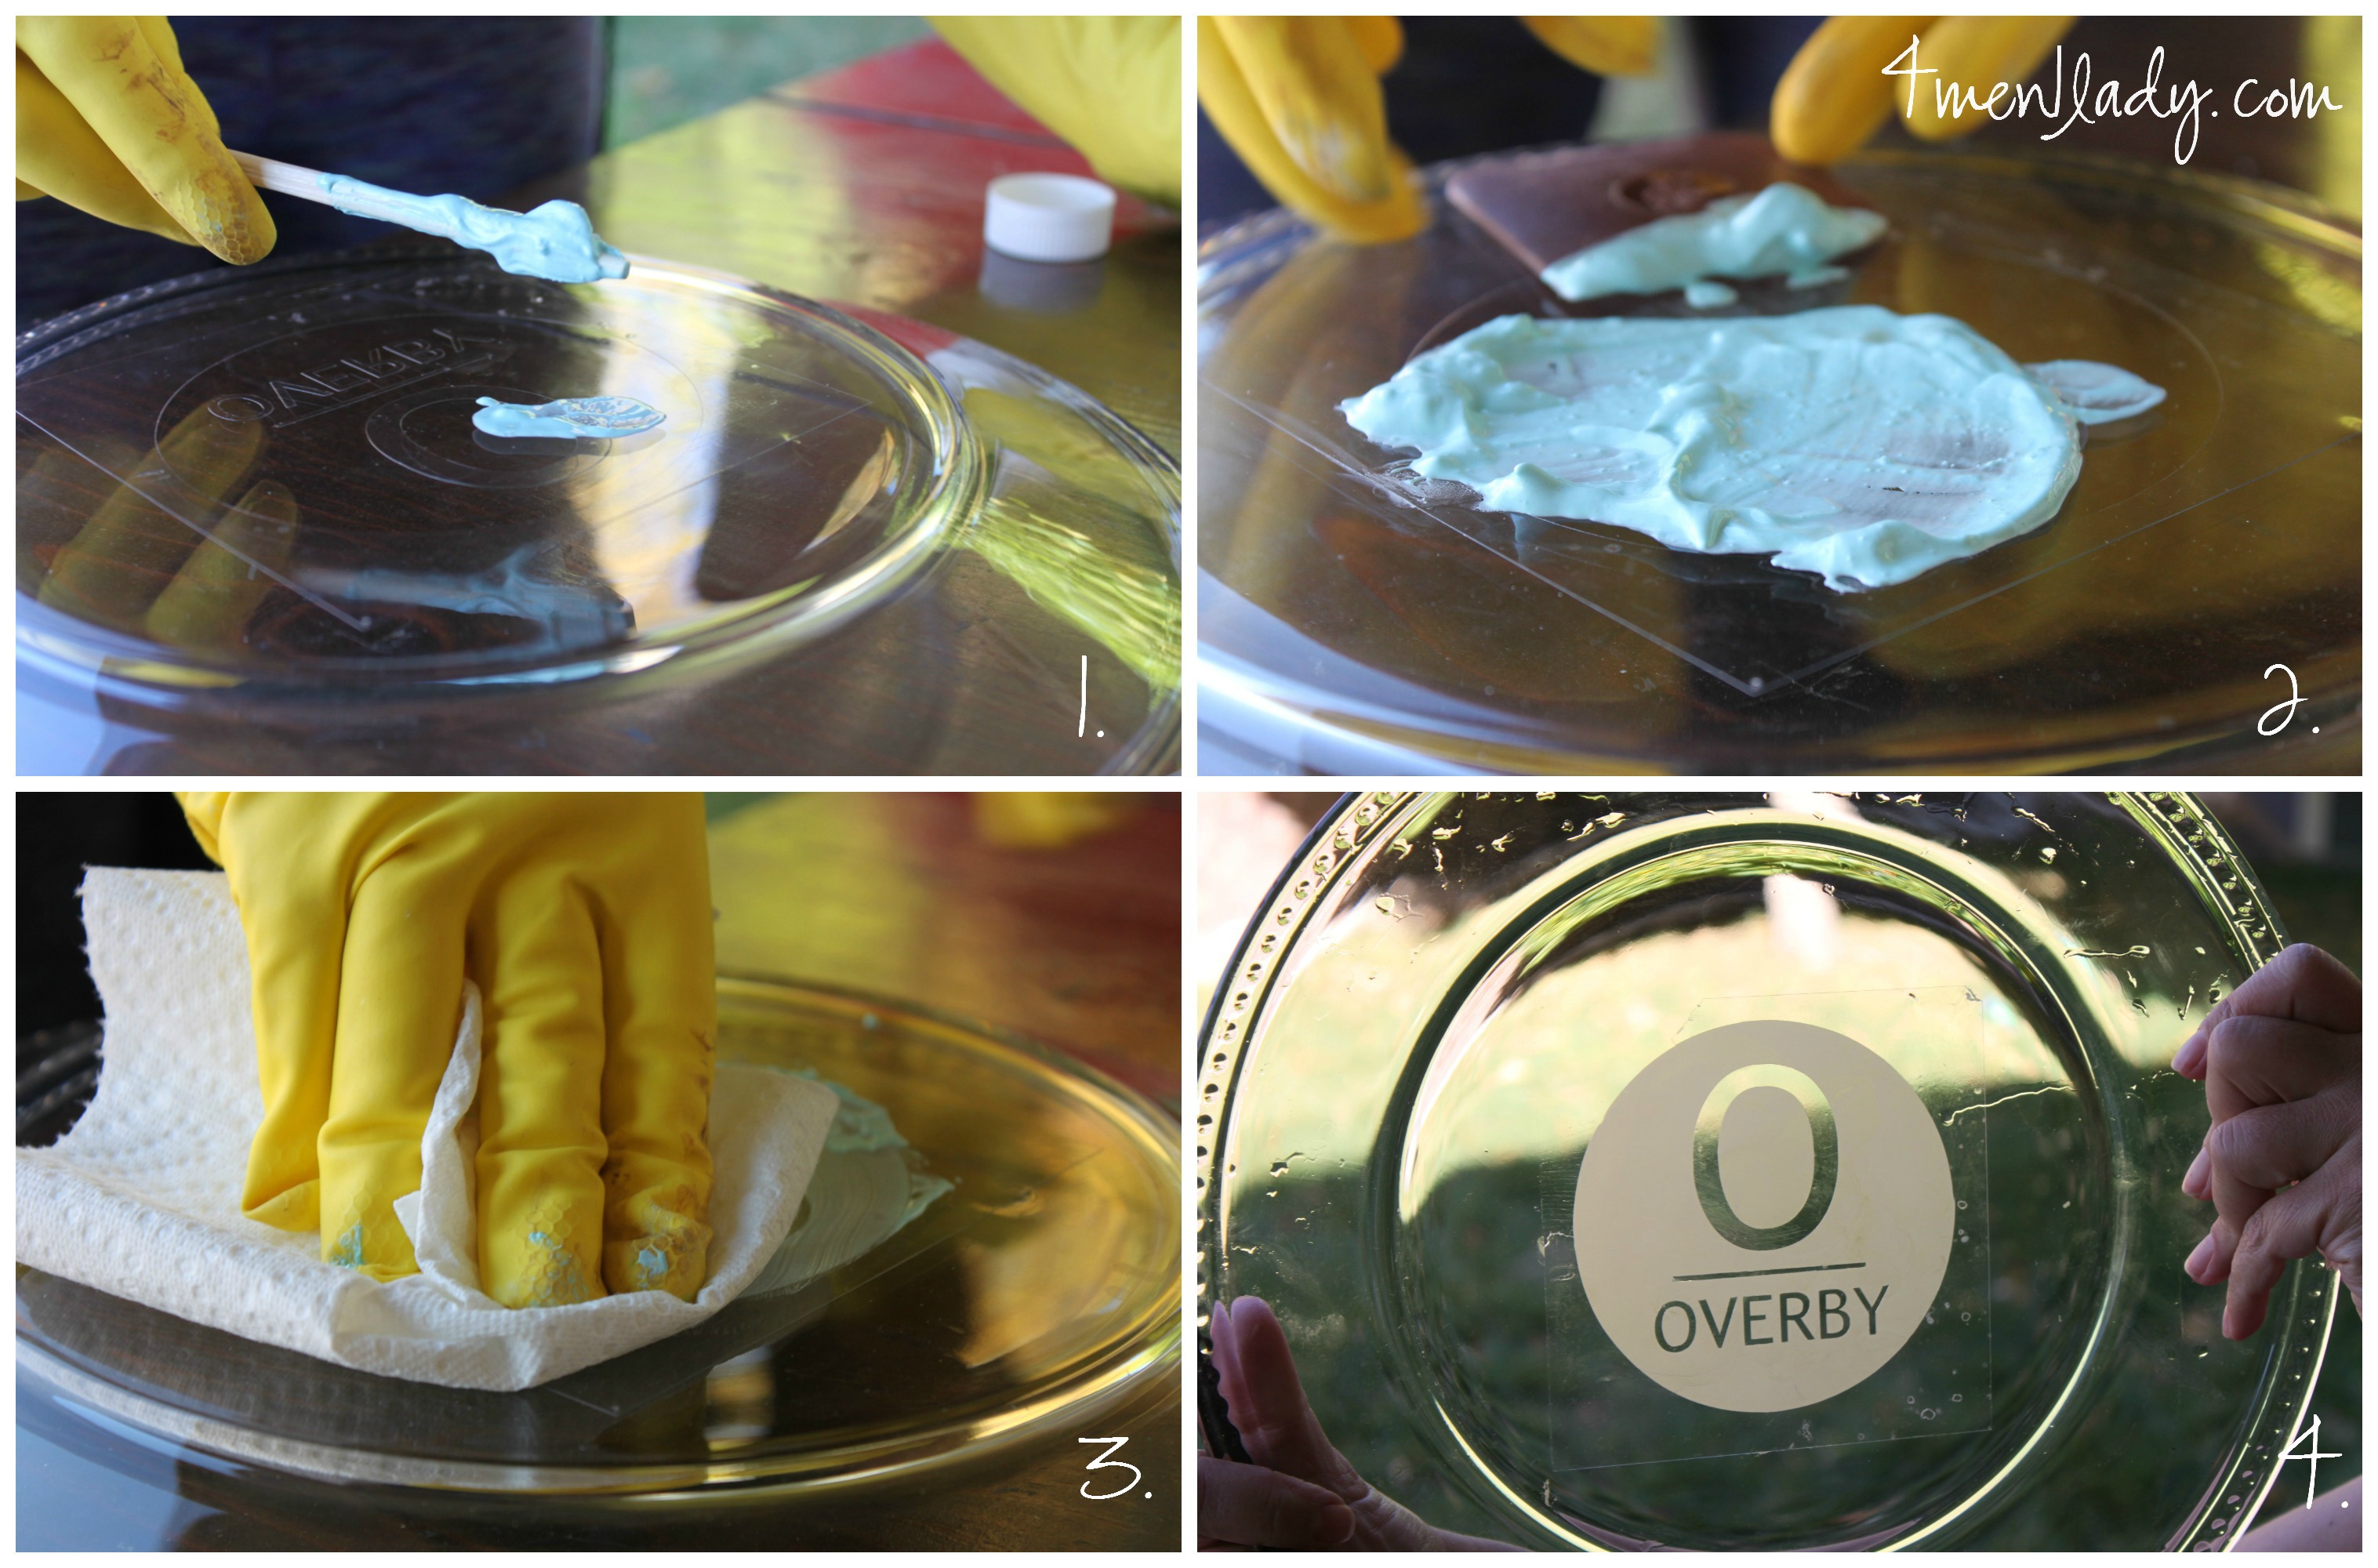
Suggested set time is 1-5 minutes (I let mine sit for 2 1/2 minutes). You can see after just that short of time it works fast!
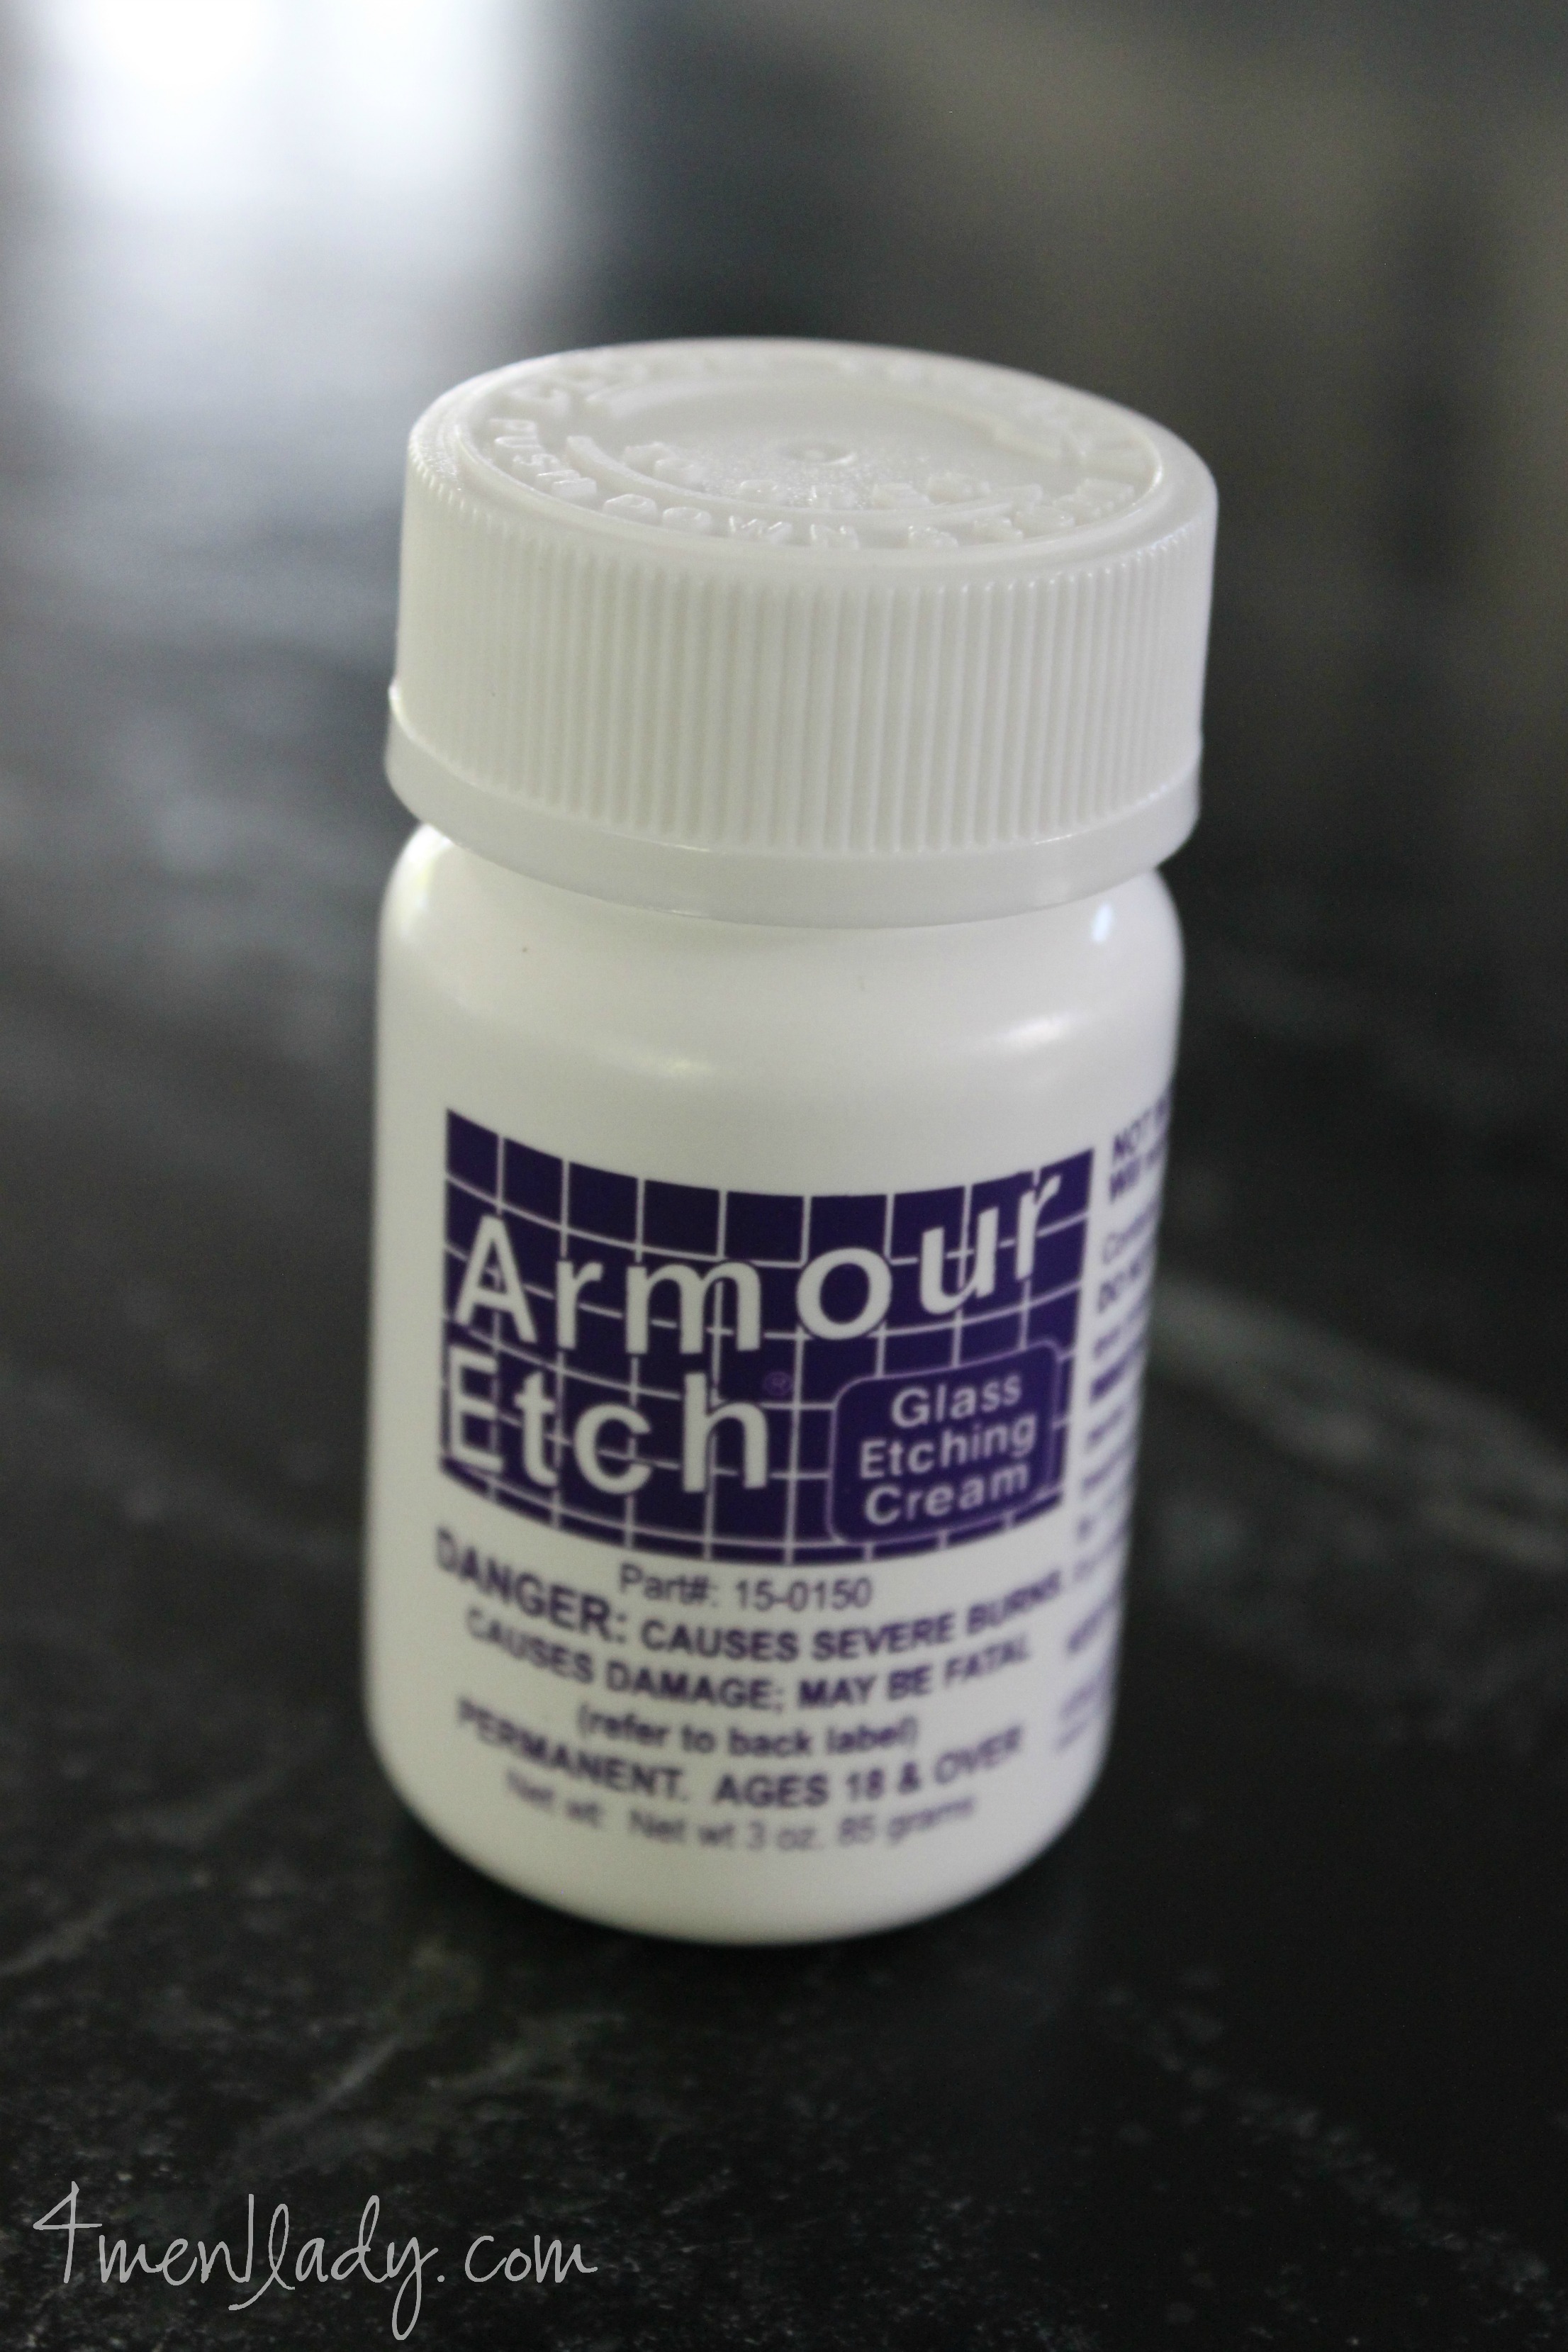
I bought this etching cream but ended using the left over from a different brand I had. The reviews I read favor the Armour brand a little better..
After my plate was etched I then removed the rest of the vinyl that protected the areas from not being etched.
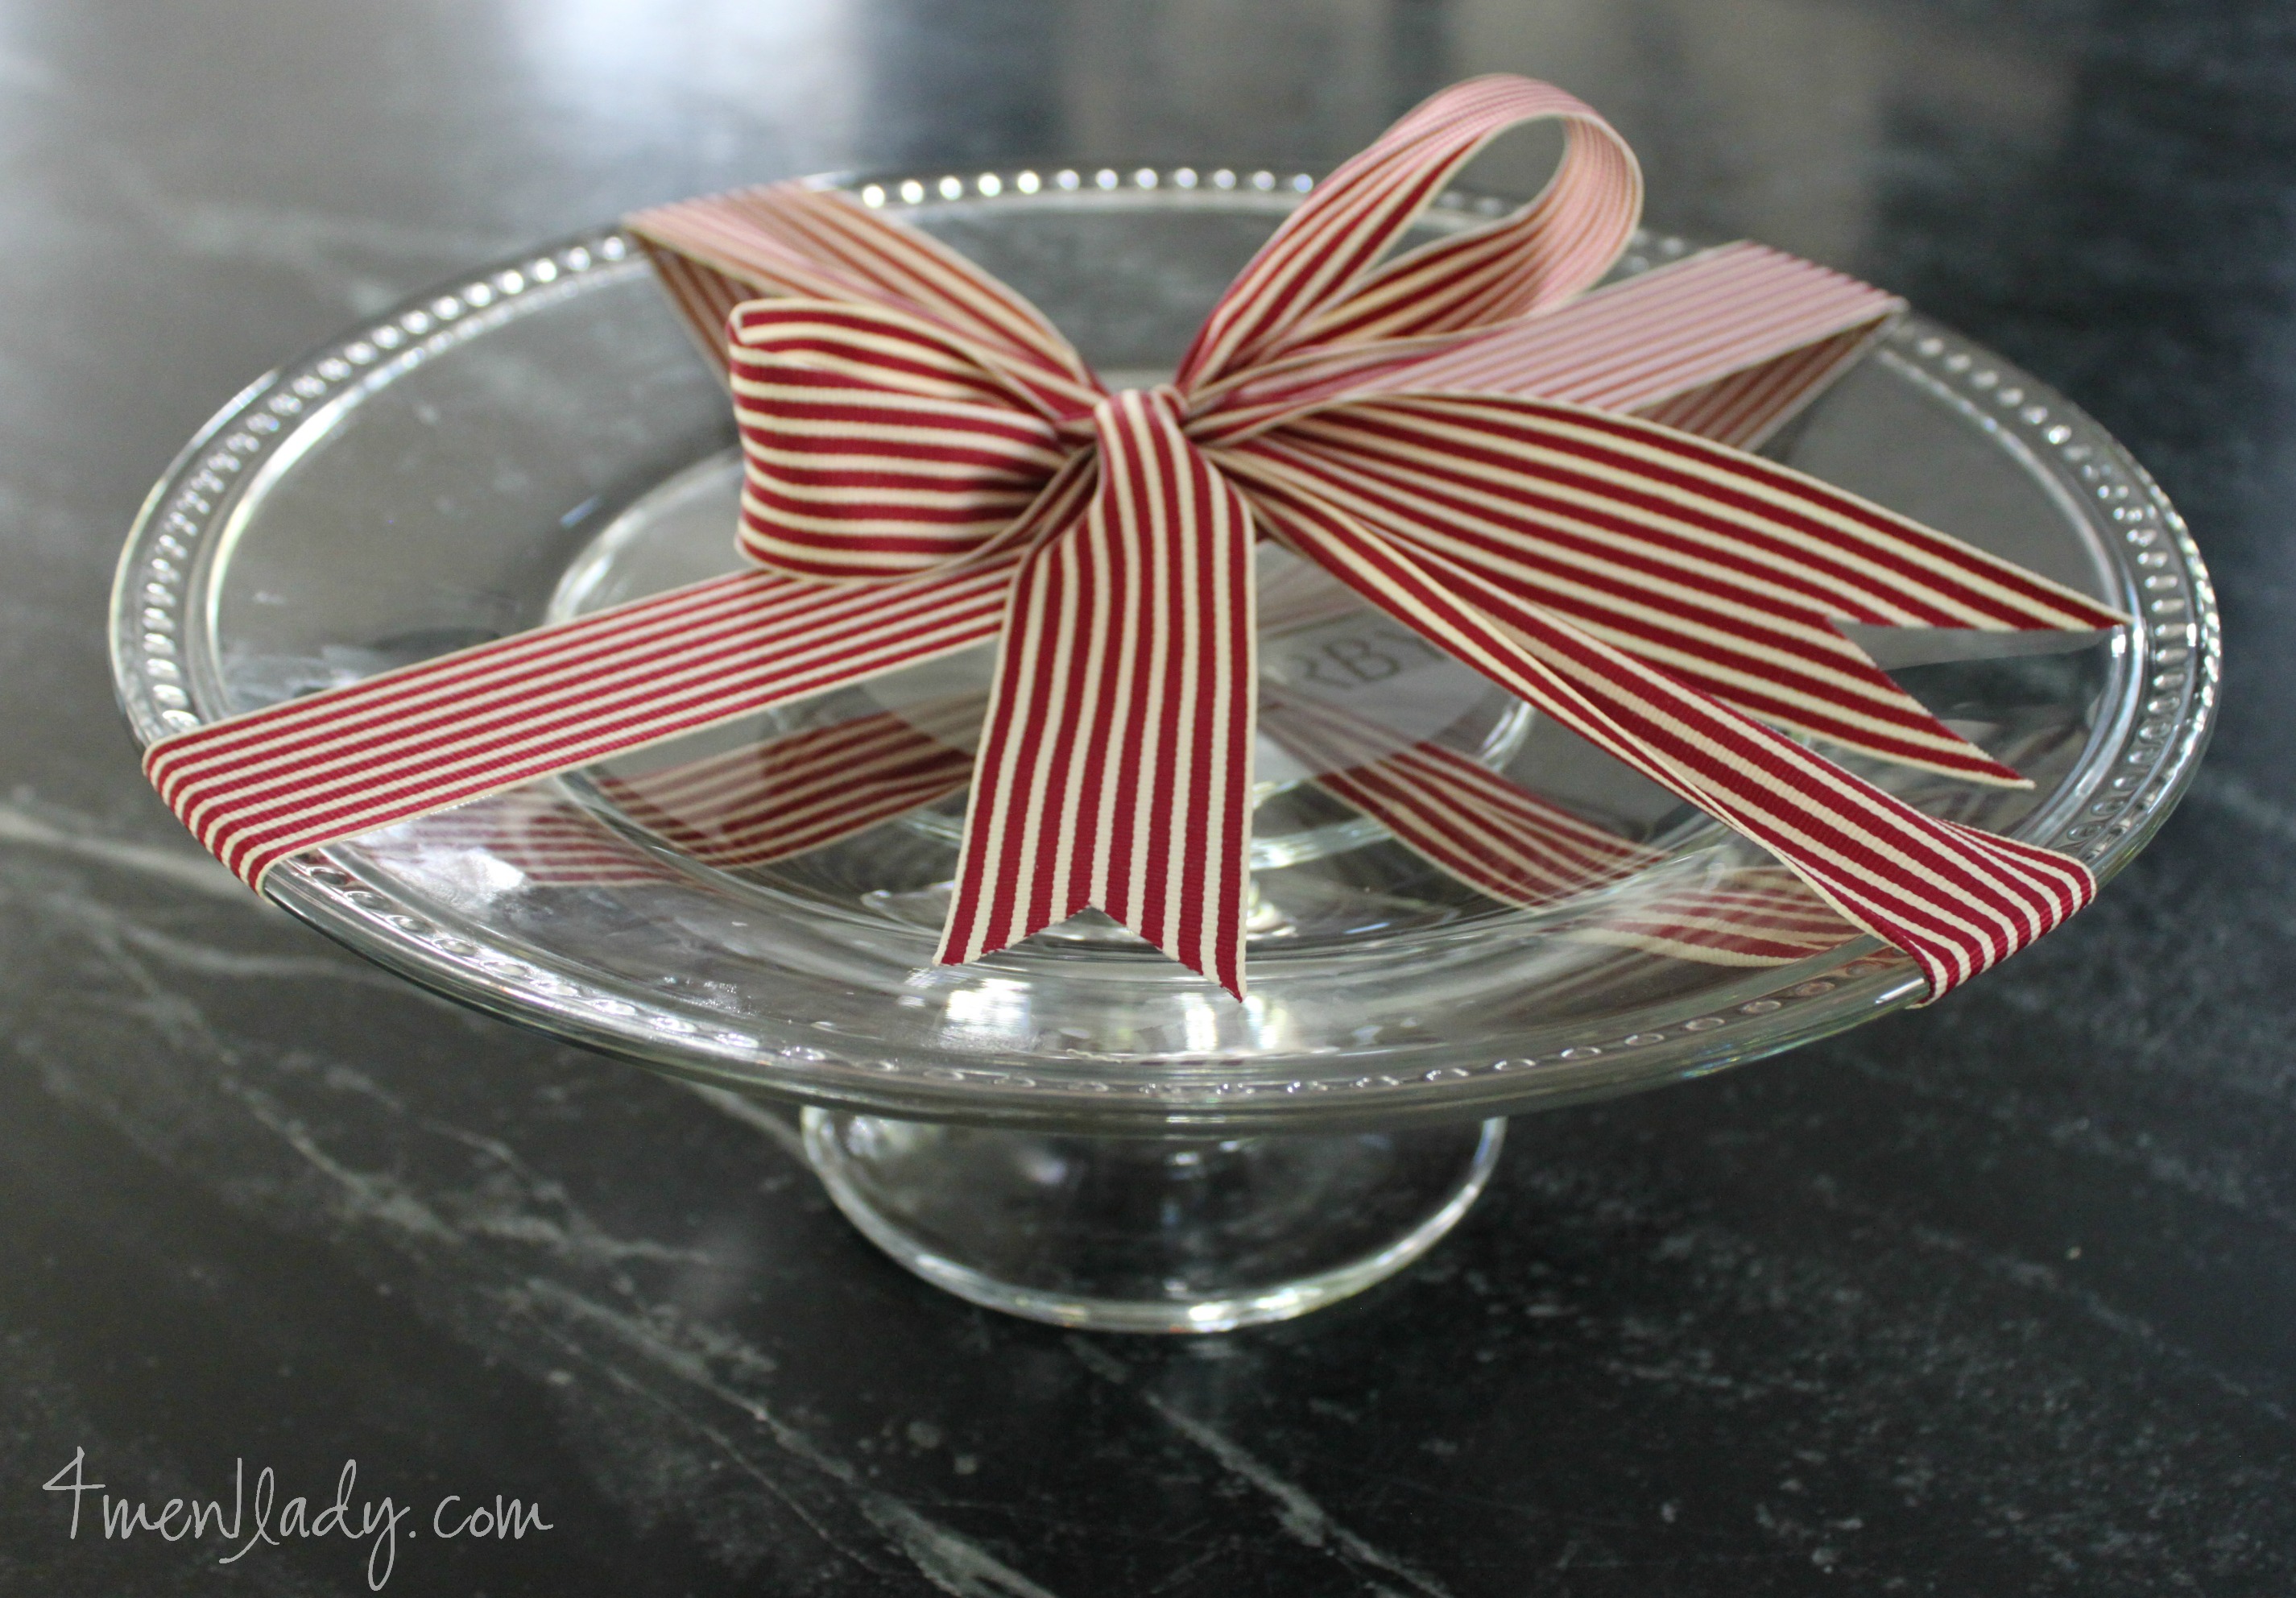
I then glued a candle stick holder I picked up at Savers and made it raised serving platter. (Tutorial on making pedestal plates here).
One down, several more to go. Can’t beat a personalized gift like that for under $10.00!
To find out more about the Cricut Explore check them out here.
See other projects I’ve made with the Cricut Explore:
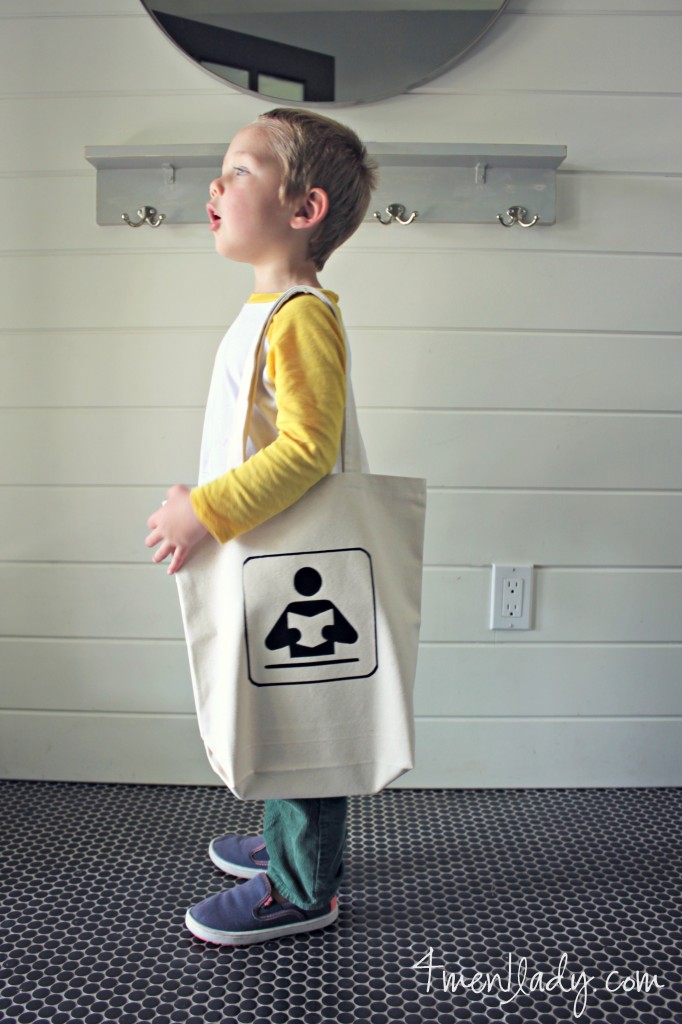 Personalized canvas library bag.


 Hey there! I’m Michelle; I’m an Passionate DIY’er and in constant pursuit of how to bring beauty to my house full of men (3 boys + 1 hubby). Stick around and see what I’ve got up my hard-working sleaves!
I recently found your site and am already a fan! I am reaching out to sites I like and want to see if you would provide feedback on my etching supplies if I sent them to you free. Will you please let me know by email? I will try to come back to this page later to see if you replied in the comments too. Shipping of the supplies will be free as well. Urgently, waiting for your reply. Thanks in advance for your reply. Eric