Running a business and raising a family has literally left me zero time to attend to myself, let alone any house projects.
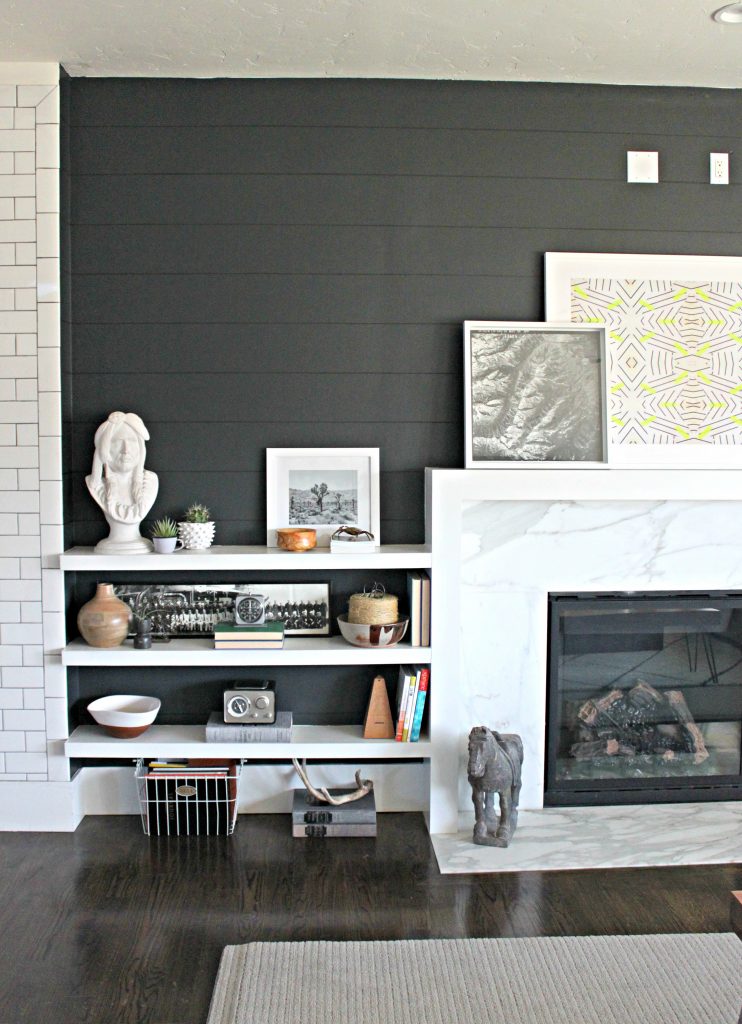
Things are letting up a little bit which allowed me to give this wall a little makeover (plus 6 more all going at the same time).
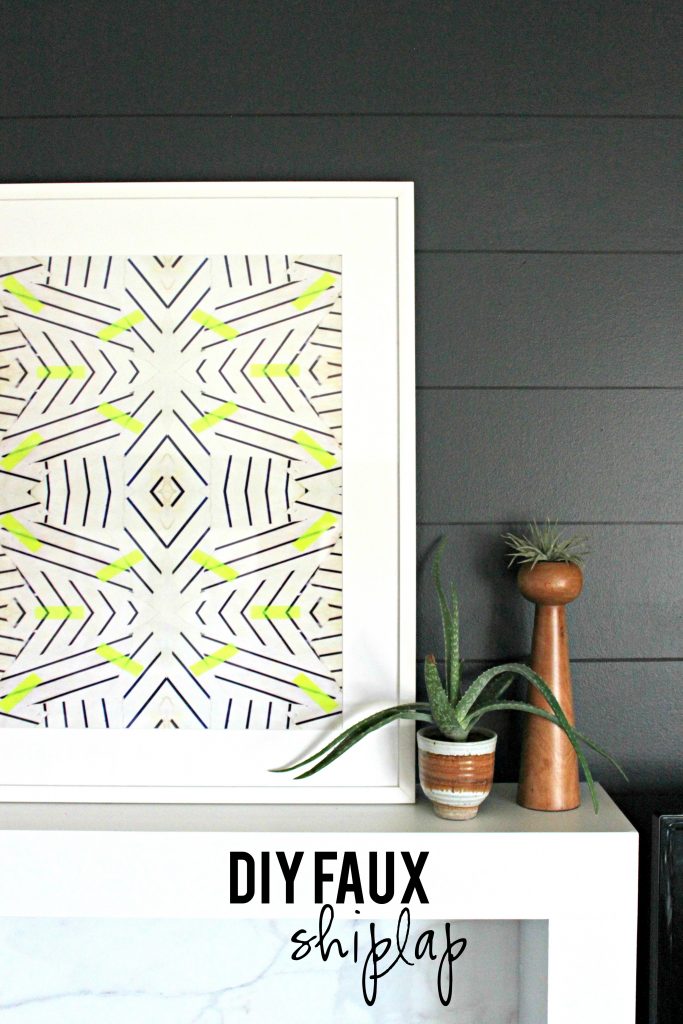
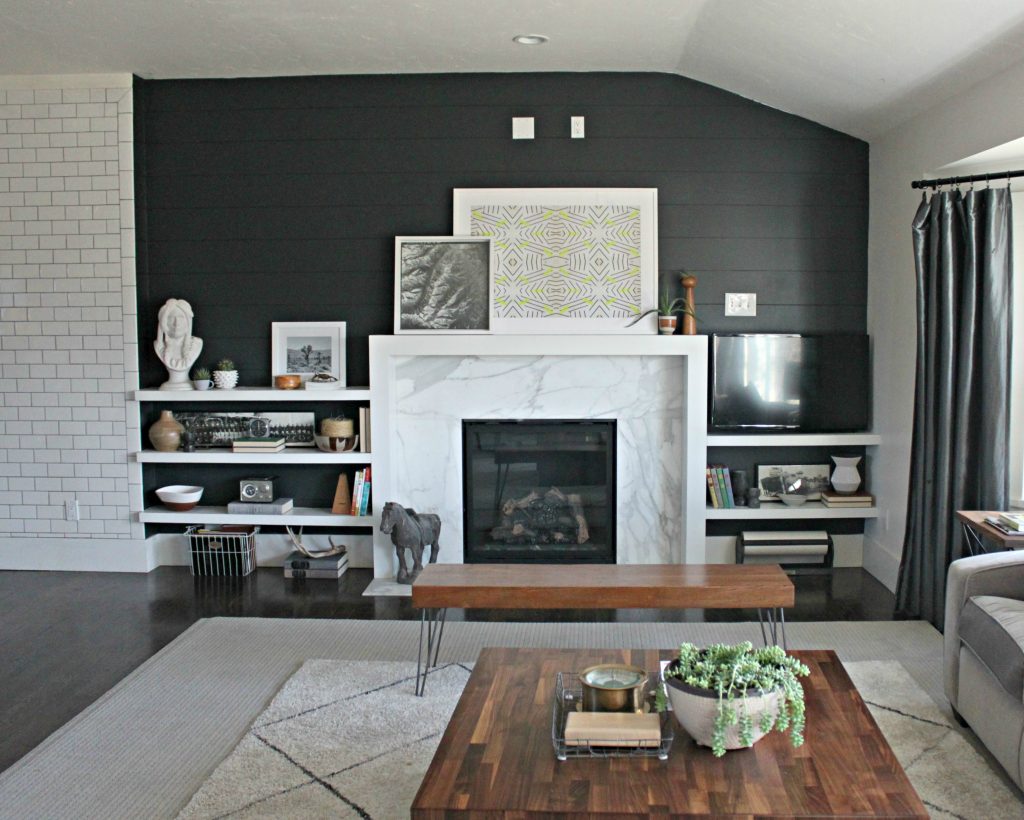
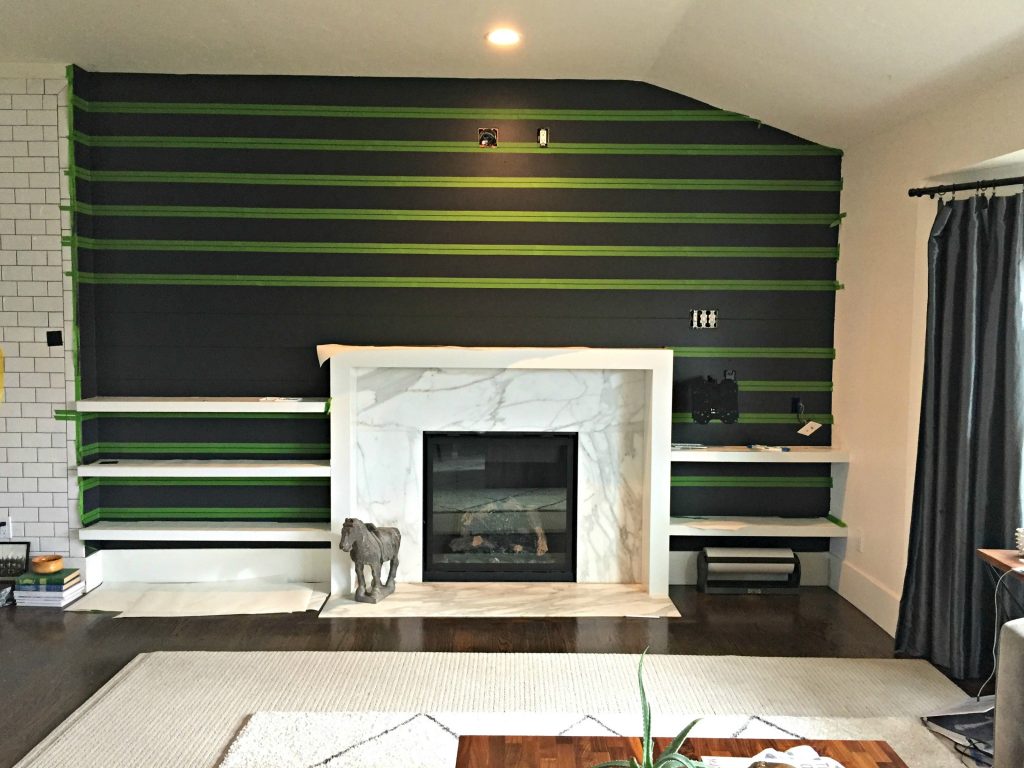
You may remember this wall looked like this last week…
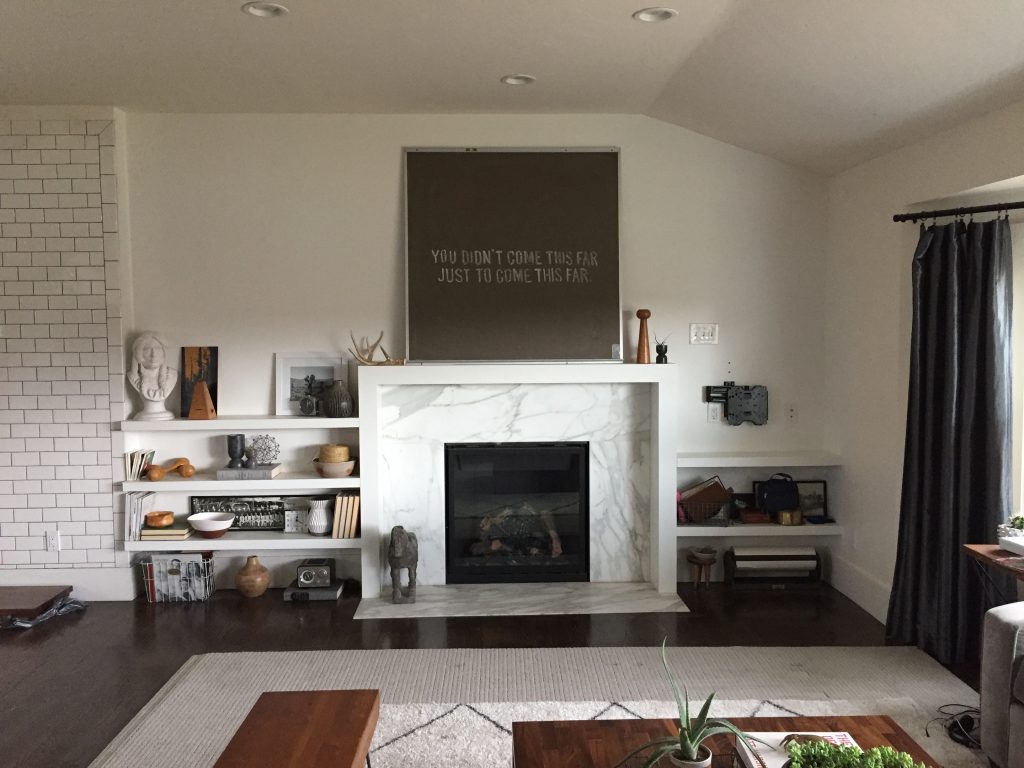
When we moved in 10 years ago we had these shelves added but that’s about it. In fact it wouldn’t surprise me if that white on the wall was actually just primer. I’ve alwasy dreamed of adding shiplap or tongue and groove. The problem is the shelves are so shallow that adding anything architectural to the wall would cut in the depth of the shelves which I didn’t want to do. I kept saying I’d get to it but one year turned in to several and I never did much with this little corner of the house. The other thing I knew is that I wanted something more moody. I will always love white but it’s overdone in my house and this room needed some contrast. I toyed with the idea of doing a faux shiplap.
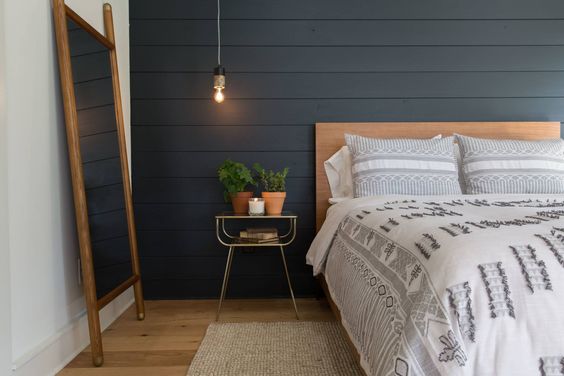
Photo credit.
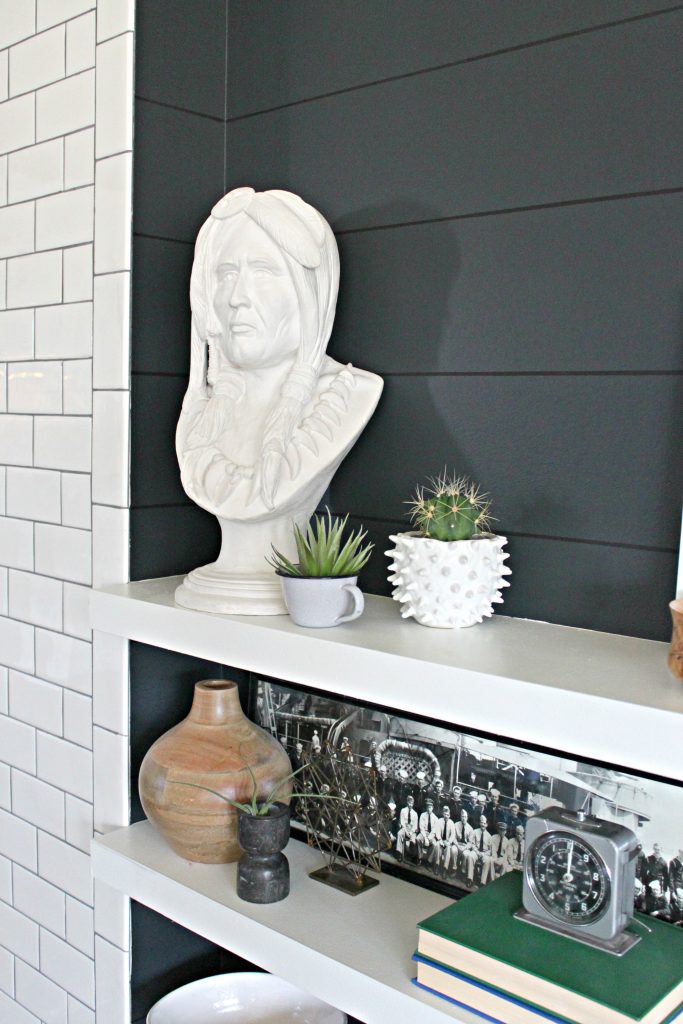
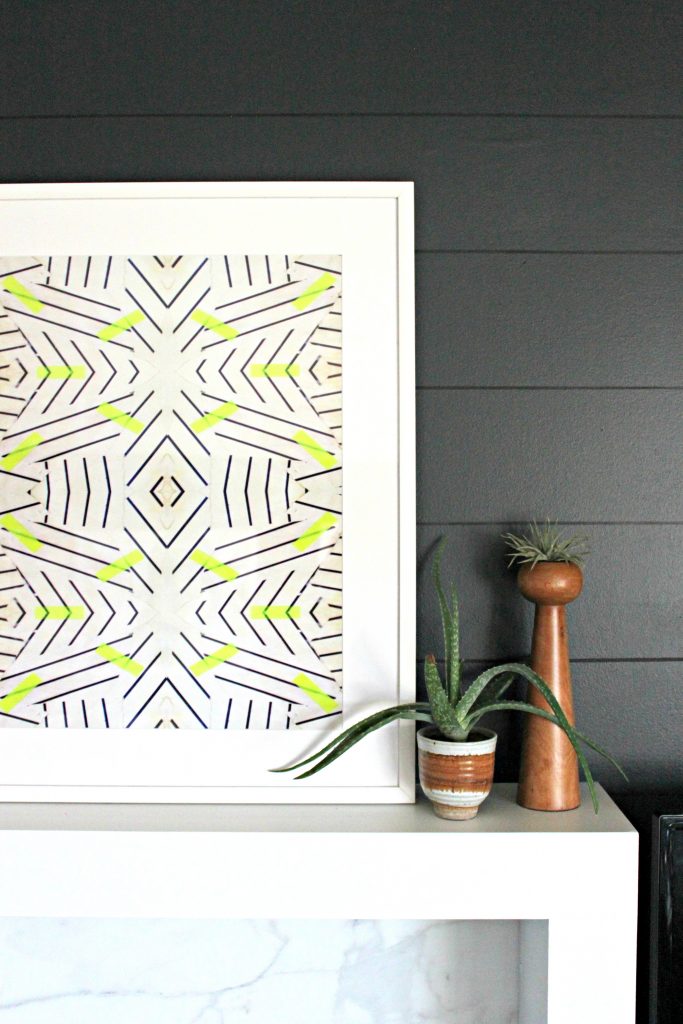
I pulled several photos like this one of dark shiplap walls and noticed the thing they all had in common which defined the shiplap boards was a dark, almost black line. So I decided to give it a try. I first painted the wall a charcoal, almost black color in an eggshell sheen. The exact shade is “Black Chiffon” by Clark + Kensington. I then asked the paint mixer man to mix up the blackest shade he had in flat finish. The sheen is really important. In fact I almost think you could get away with using the same exact paint color just different sheen for the line separating the “planks”. It gives it some serious contract because the light bounces off it differently.
Using a level I first started by drawing lines with a white pencil on the wall in 7 inch planks.
Next, I used Frog Tape to take just a few centimeters above and below my white line. Approx the thickness of two nickels put together.
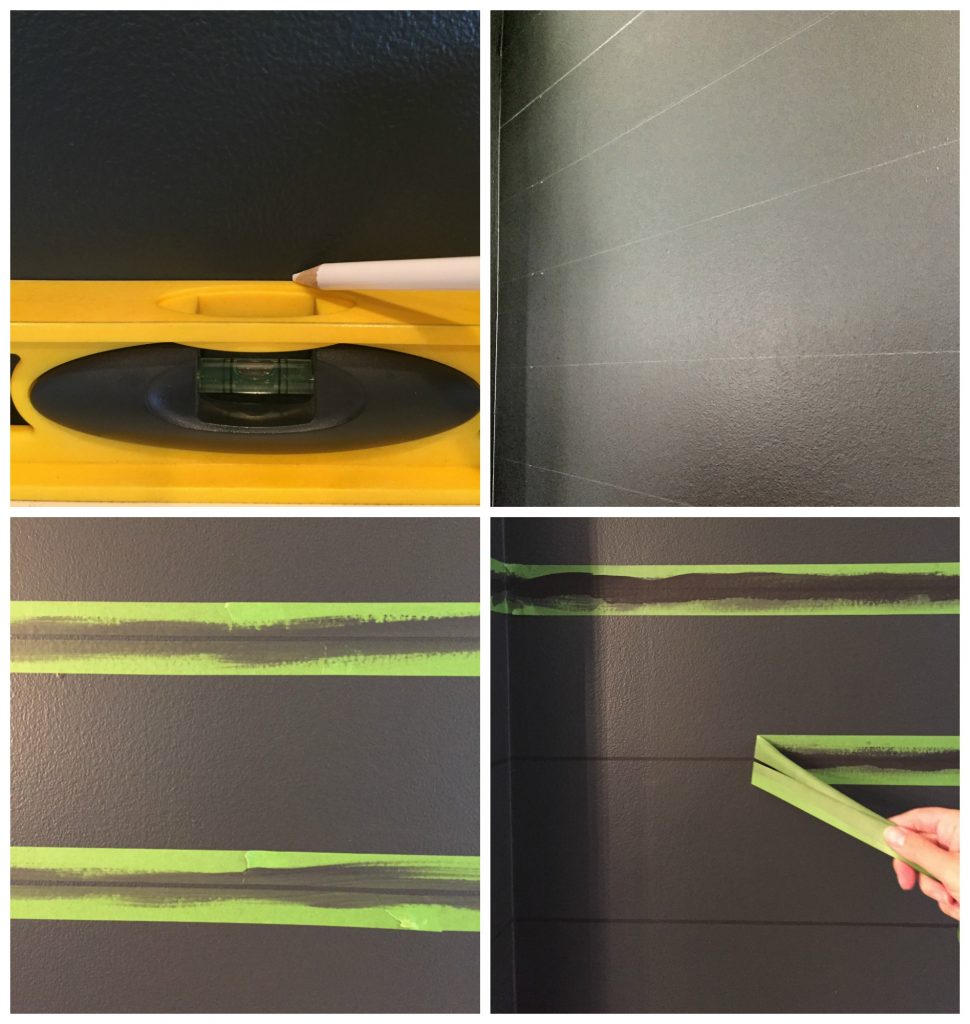
I then painted right in-between the lines to form my between plank shiplap line. Tip. I swear by the paint blog technology of Frog Tape but if you are worried at all about the paint bleeding under the tape or you have highly textured walls you can first paint with the same shade that is currently on the wall, let it dry, then paint your contrasting color.
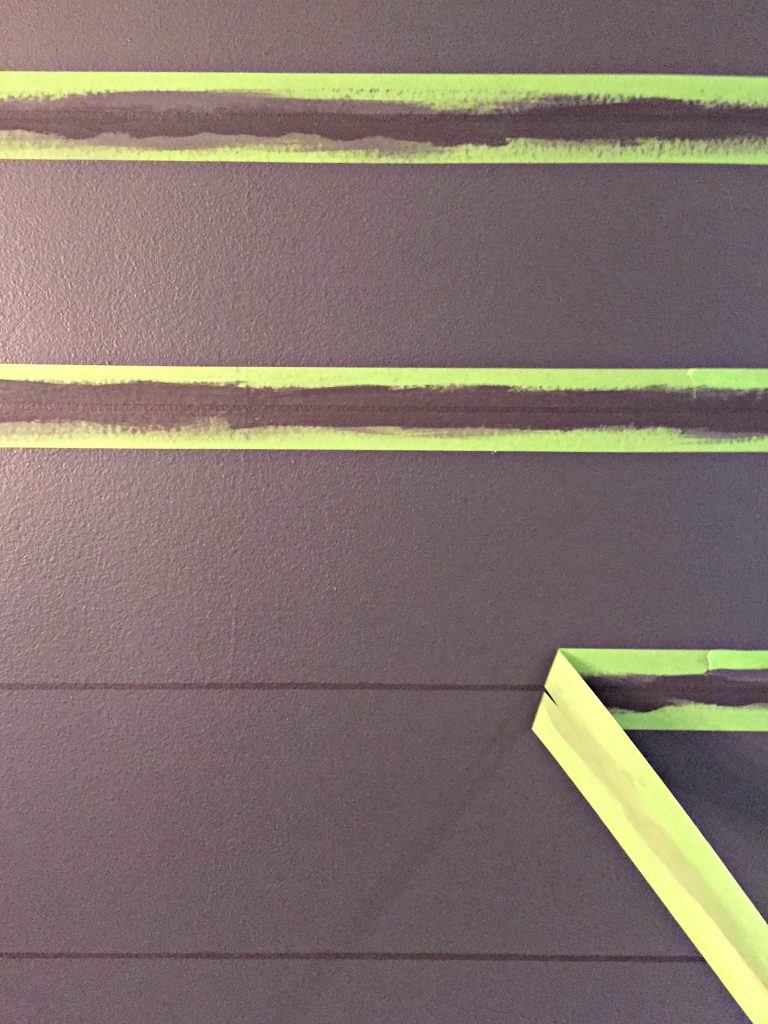
Perfectly crisp lines.
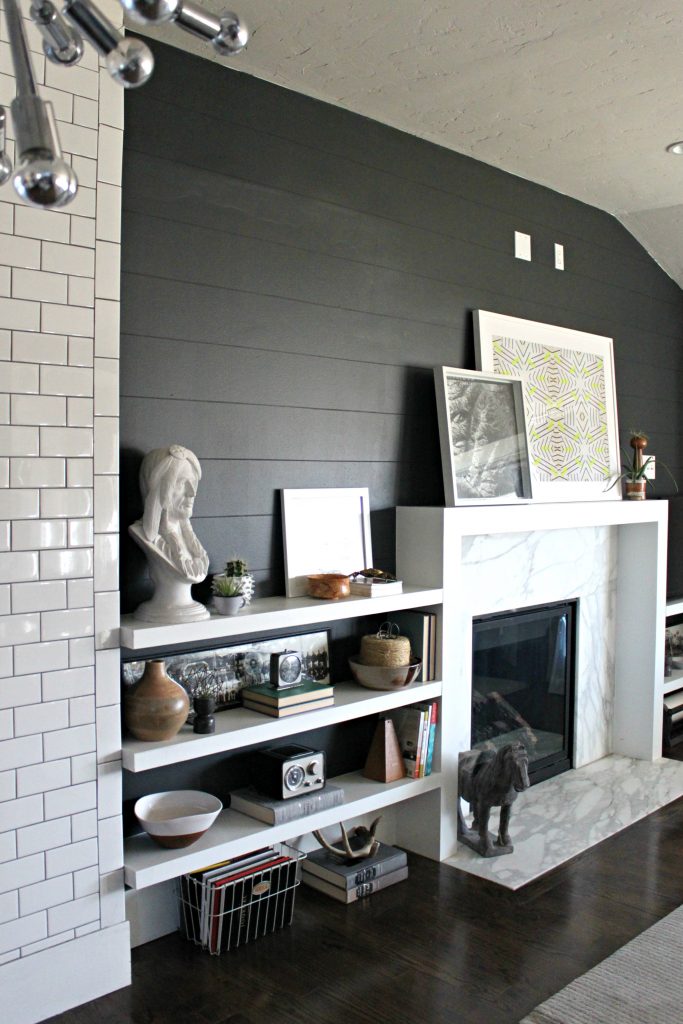
I’ll admit that my amateur camera didn’t pick up just how real the faux shiplap looks but trust me, it fools everyone.

Happy ship-lapping!


 Hey there! I’m Michelle; I’m an Passionate DIY’er and in constant pursuit of how to bring beauty to my house full of men (3 boys + 1 hubby). Stick around and see what I’ve got up my hard-working sleaves!
Love it! I have missed seeing your house.
Aww, thank you! It’s good to be back getting my hands dirty!
What a cool idea! I looked at the opening pic and was wondering why you were calling it faux shiplap. Then I actually read the posting. So creative!
He! He! Thanks Dee. 🙂
Love it! I’m so happy to see someone do something non white for a change! I love the white look but it’s everywhere. The charcoal is stunning! Love how it looks like real shiplap.
Right!? White is timeless but I was ready for a change. I need some moodiness in my life. Thanks Cecilia!
Yay, good to see you back sweet blogger! What a great idea for shiplap. A few of us at work were looking at your photos and wondering if there is any way you can get a few more shots that are 100% crisp (no blur-fuzziness to them) Sorry, we don’t know the proper photography lingo to use to describe this, lol! We all want to try this but aren’t sure and hope other photos will help since painting over this will be quite a task on the huge area we have planned.
xoxo
Thank you for your kind works Jess. It’s fun to be back. Sorry for the photos. I really need a professional photographer to come snap some shots. I’m going to do an instagram story today on my feed @4men1ladyblog. Tune in and hopefully you’ll be able to see some better angles and views on the wall. xoxo