Operation FrogTape Paintover Challenge Basement Makeover is well under way (try saying that three times fast).
The basement apartment has been de-cluttered, cleaned up and ready for the next step.
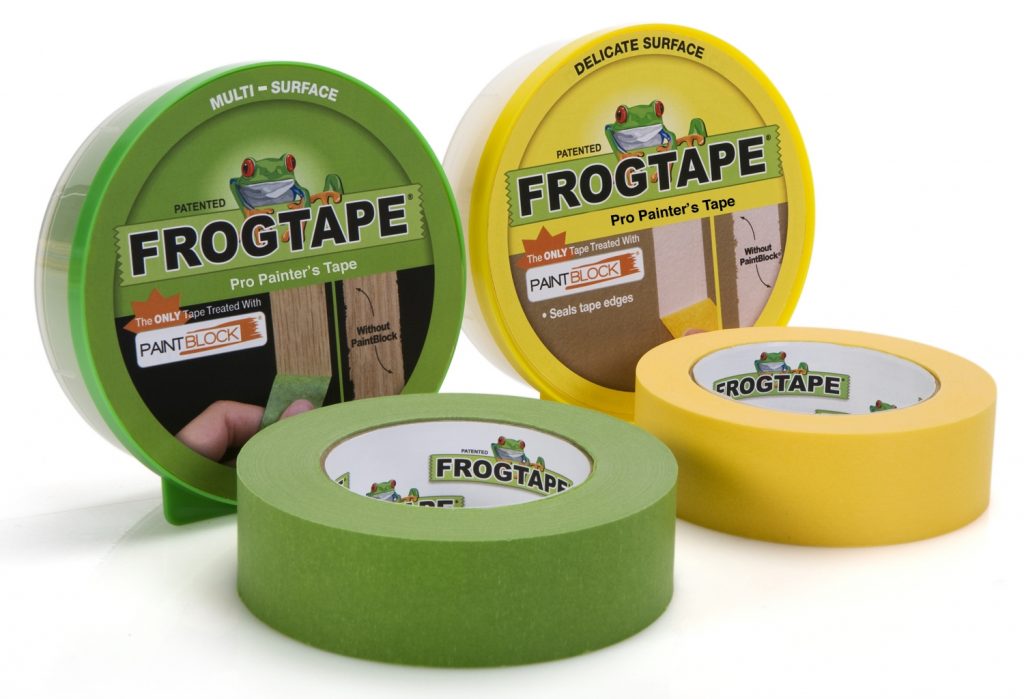
We’ve been busy bees over here taping the town green and yellow with rolls of FrogTape.
As we mentioned in our planning post, this is an apartment so painting the walls is something we’re trying to avoid.
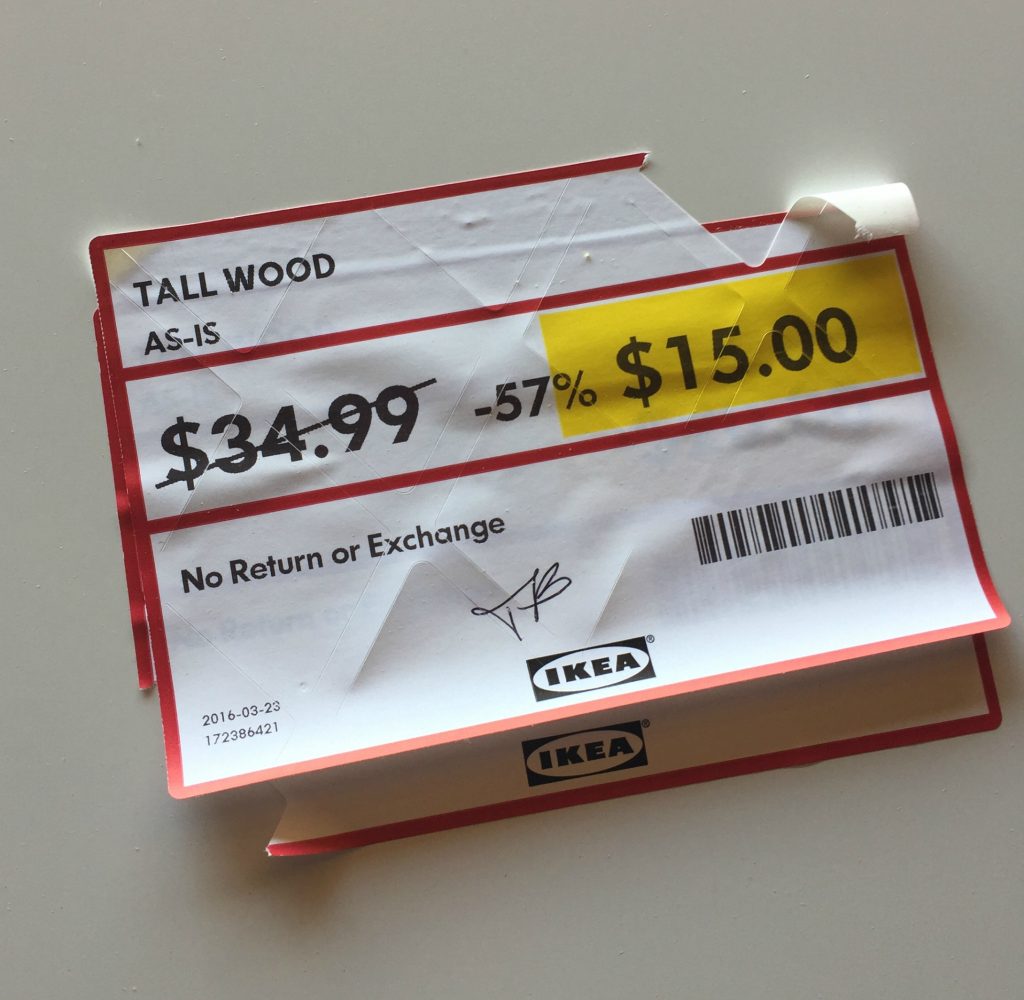
Originally I was planning on painting some plywood boards from the hardware store that range anywhere from $35.-$60. for the premium stuff I wanted. However, on a shopping trip at IKEA I bumped in to a refrigerator cabinet panel in the AS-IS clearance section for $15.00.
New, these panels go for $139. I actually saw a man with one of them in his rolling trolley cart (that only roll sideways…never forward) when it sparked the idea that it would probably be easier (and cheaper) to get a couple of these instead of the expensive hardware store boards. I was in luck, there was another one identical to his still on the shelf. I snatched it up. Then I stalked him for 10 minutes trying to build up my nerve to ask him if I could pay him $5.00 if he would let me have his identical panel to buy. I finally approached him and pitched him my offer. He looked at me for what seemed like forever, obviously trying to process what I was asking then shrugged and gave it up. For $30. + the $5.00 bartering I scored two boards! Boom.
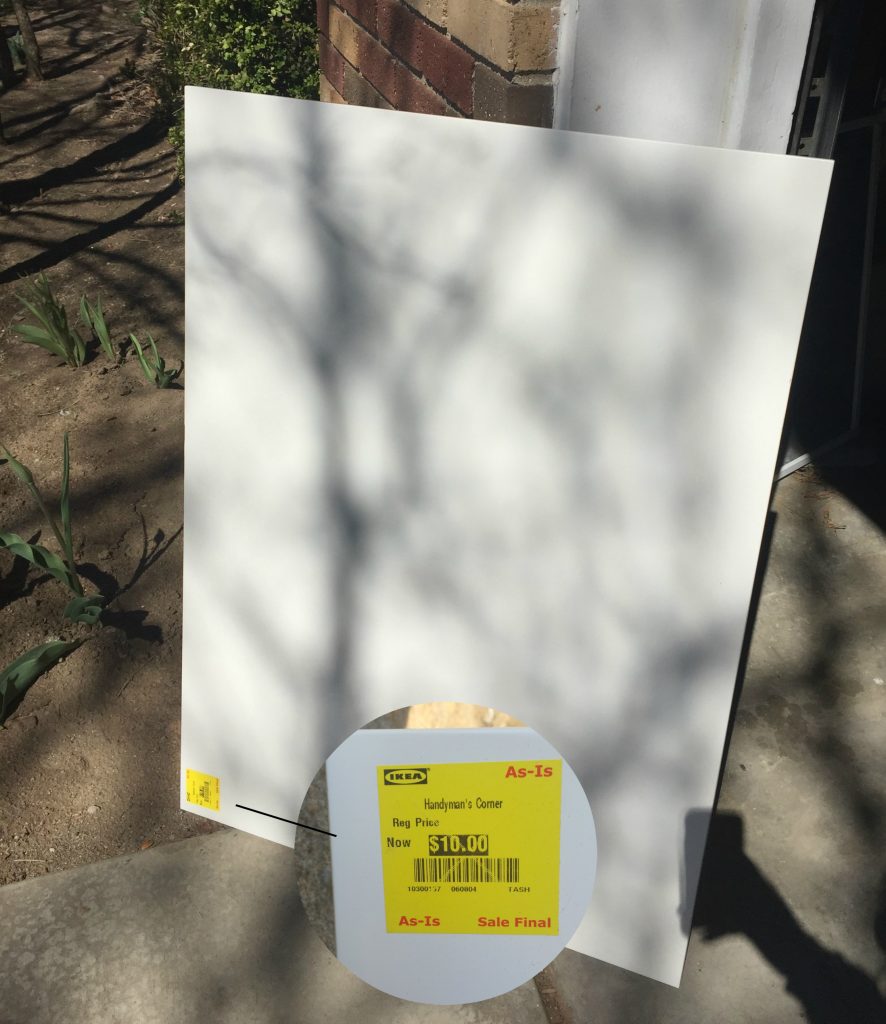
In addition to the floor-to-ceiling boards I also snatched up this other panel for $10.00. Time to get our FrogTape on.
If you know IKEA furniture you know they apply the most industrial strength shiny finish on most all of their pieces. The first thing I did was paint the boards with Amy Howard’s Chalk Paint which required no priming or sanding.
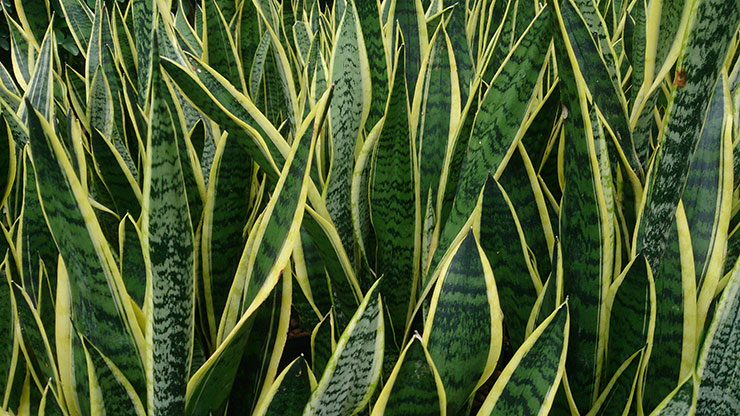
Now remember, my assigned theme was “Nature’s Patterns“. I went with a modern, geometric take on a Snake Plant or palm frond.
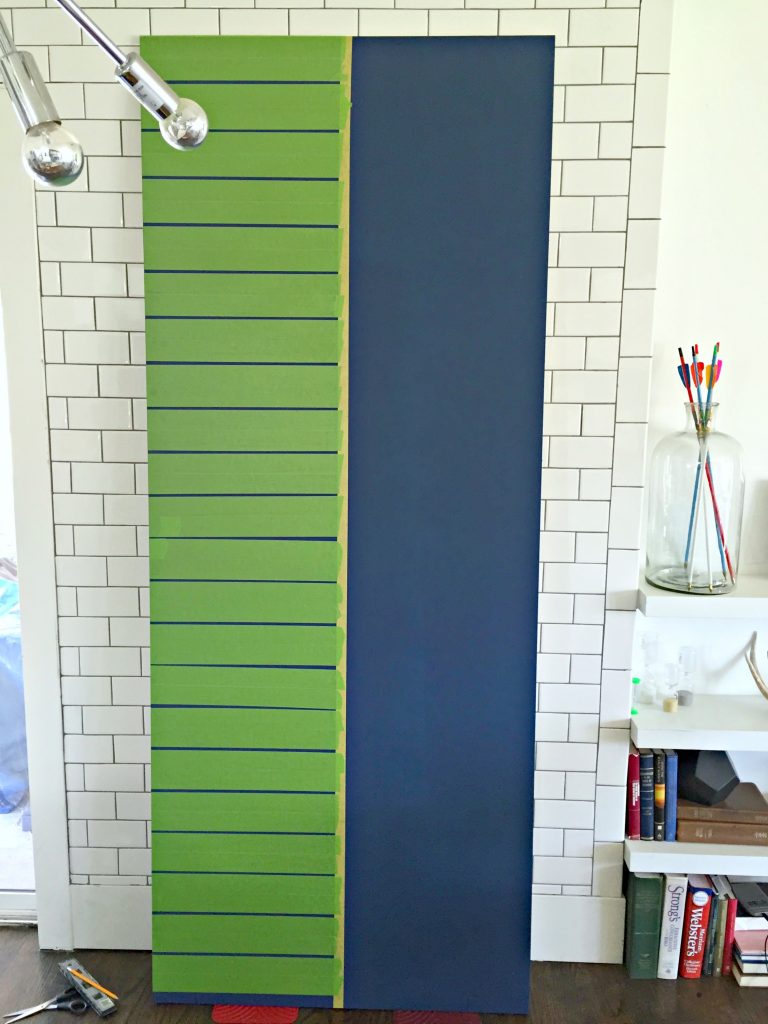
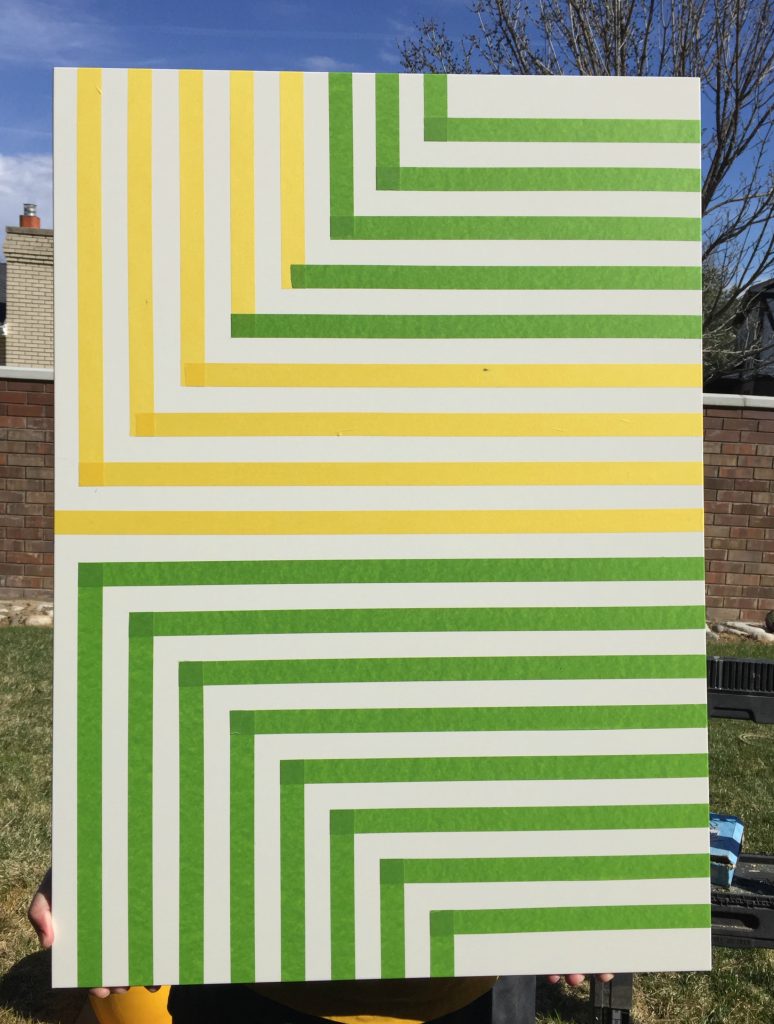
I applied one strip of tape directly down the center of my board. Next I applied 1-inch tape doubled up horizontally, leaving a little gap between each stripe.
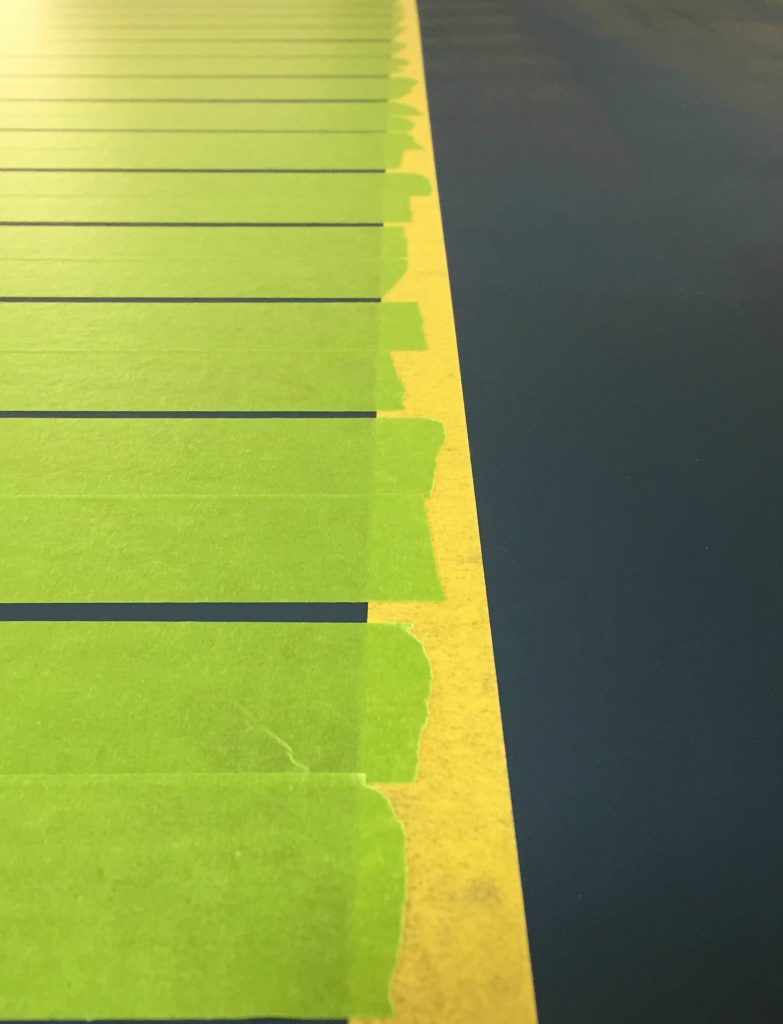
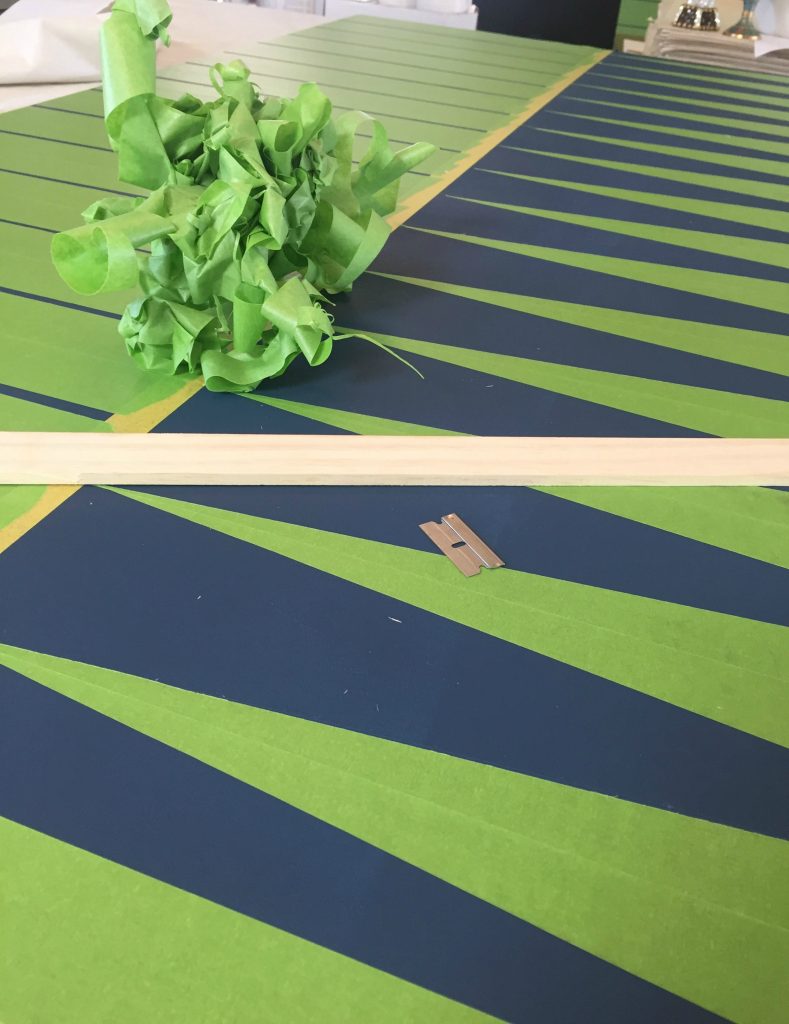
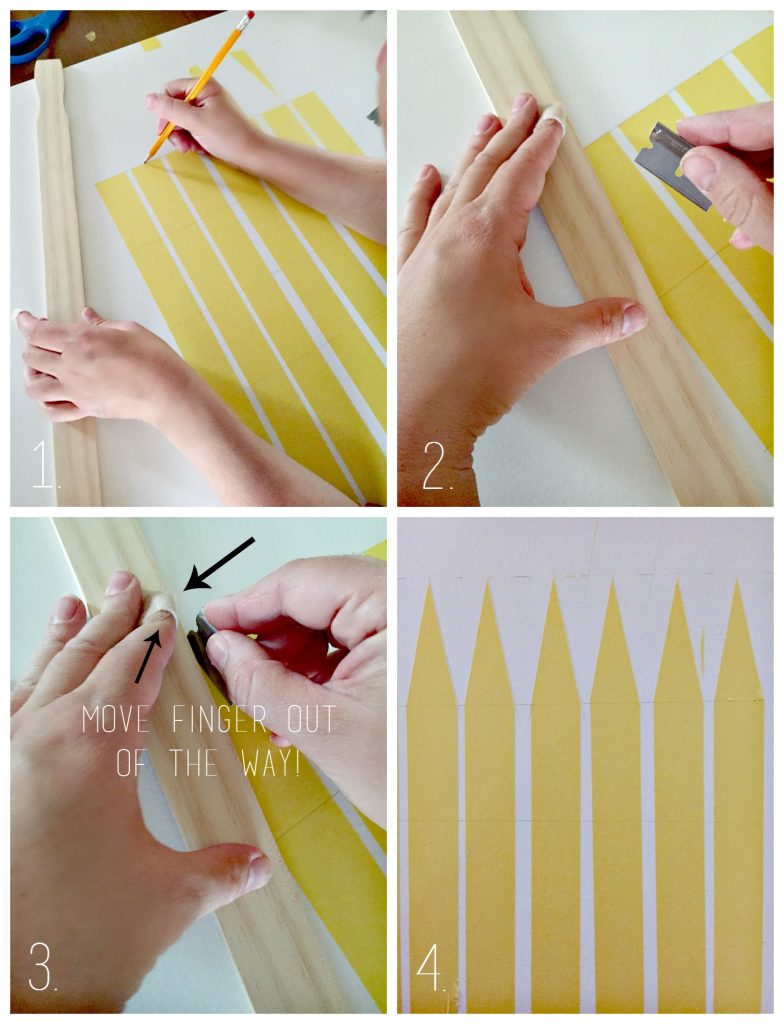
Using a straight edge I then when back with a razor and cut each edge of my doubled up tape to reveal my geometric, modern take on nature’s patterns.
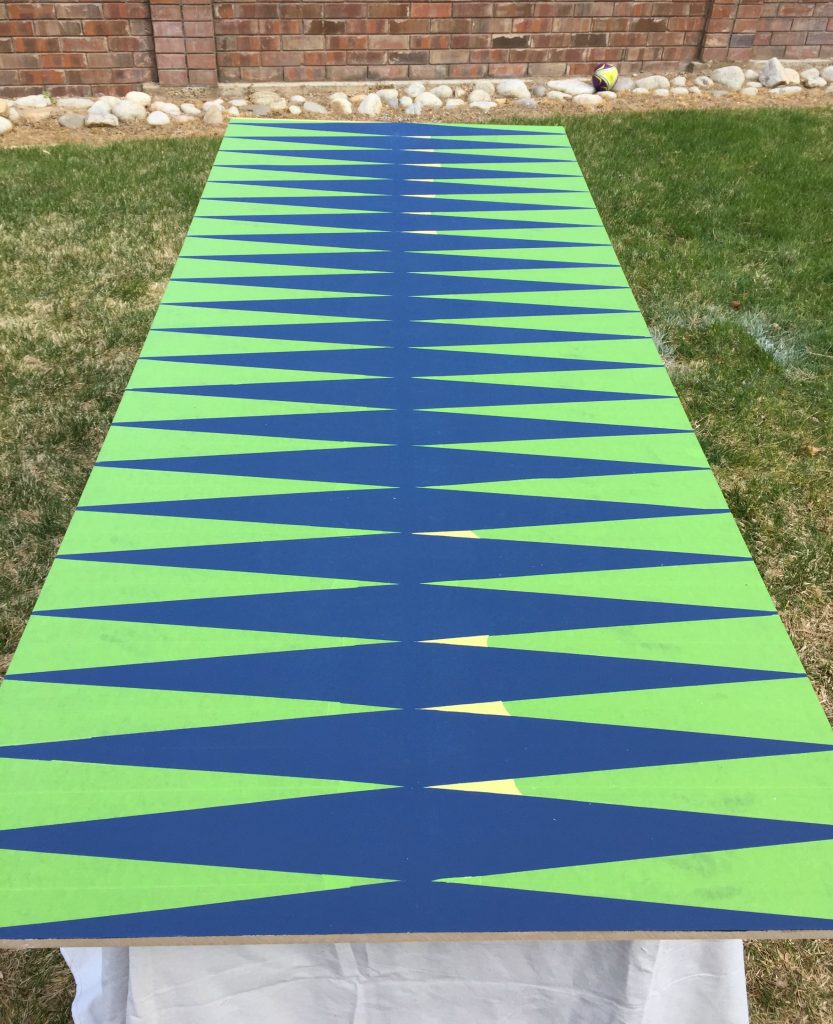
Once I was done cutting down my tape it revealed this pattern…
Some of my points came up when I slid the straight edge over them by accident so I just simply cut a new point (which is why you see some points are yellow). Next week I’ll show you the paint process.
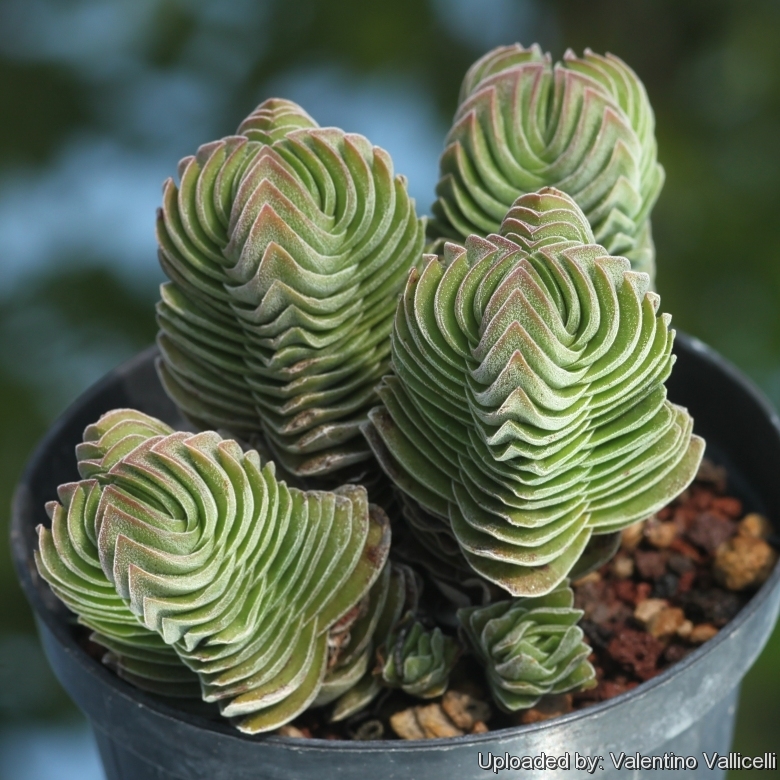
On my smaller panel I did another geometric take on the repetitive lines on this succulent.
I started this pattern by putting one strip of tape down the middle then built the rest of the pattern off that beginning strip.
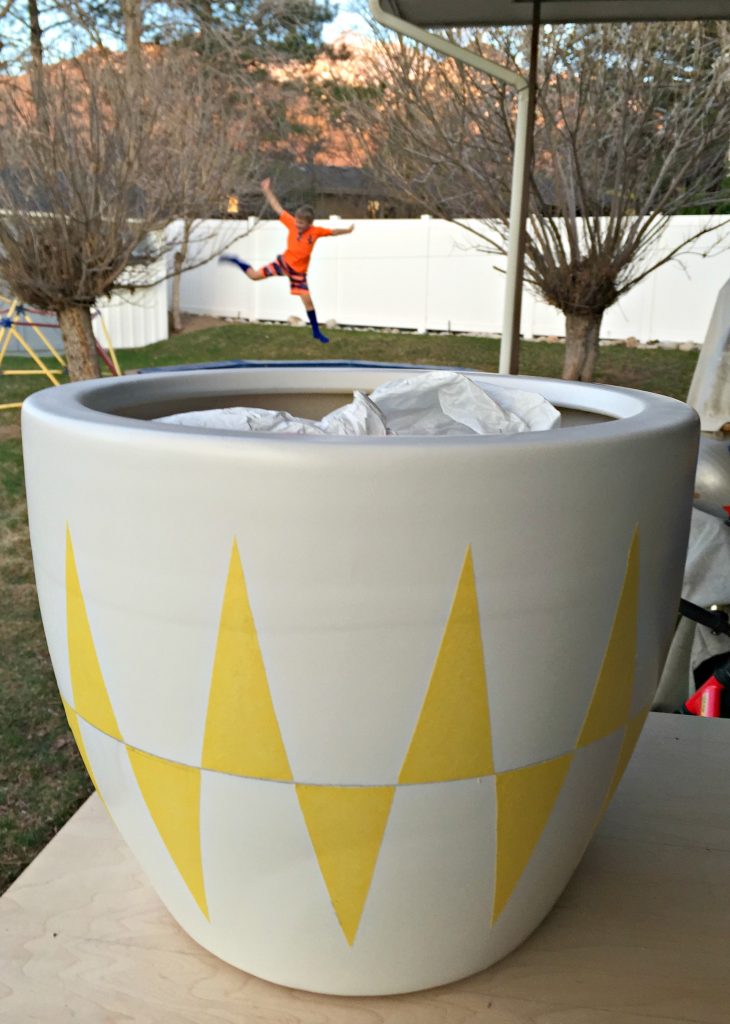
You may also remember this project I did on a planter that I revealed last week.
Same concept, slightly different pattern.
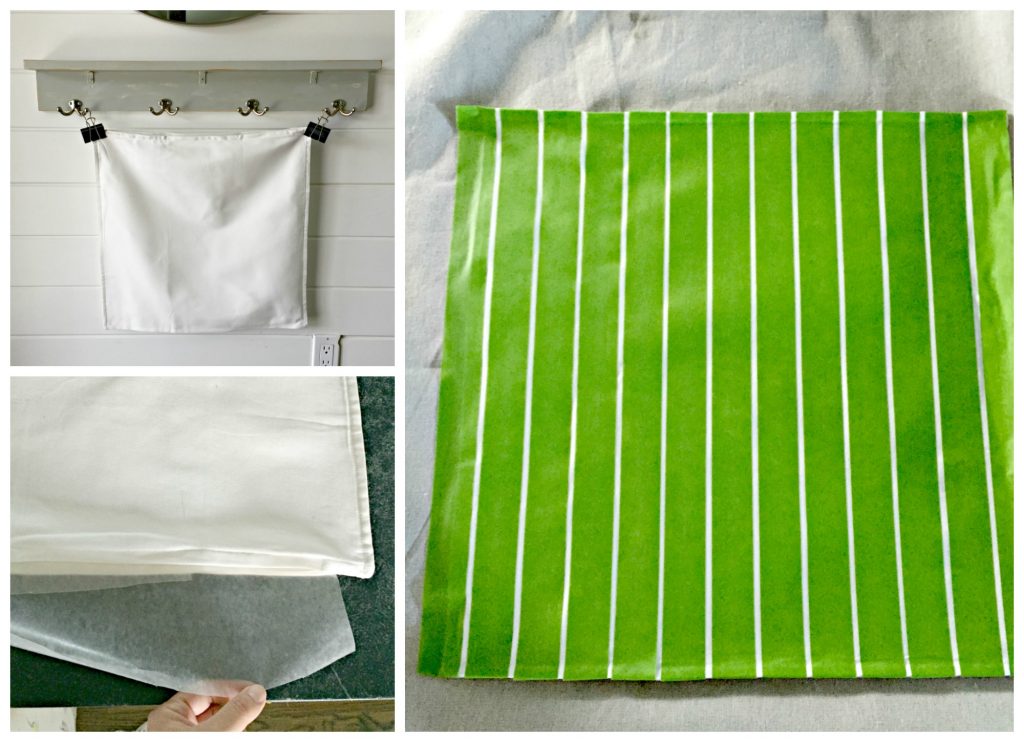
You can even use FrogTape on fabric.
I took a plain white throw pillow cover, and applied FrogTape to create a striped pattern.
Make sure to insert a sheet of wax paper inside the pillow cover before painting so the paint doesn’t soak through both fabric layers. Amy Howard’s chalk paint works really well on fabric applications.
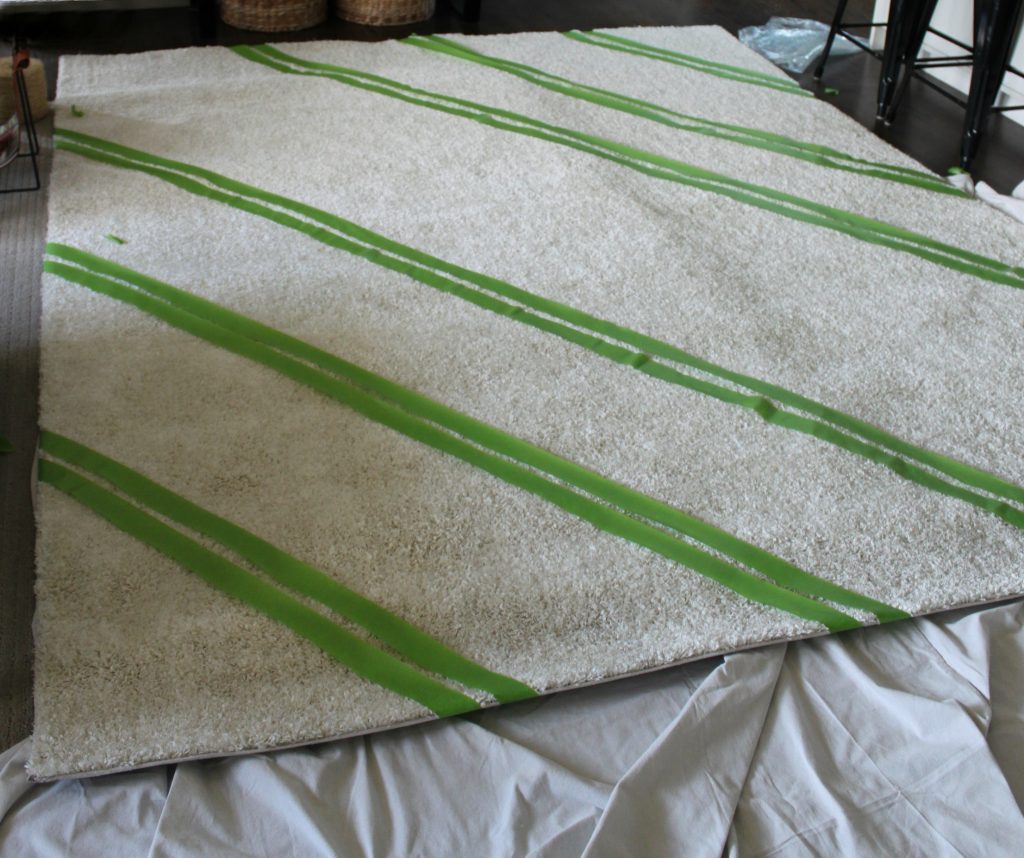
Would you believe that I even taped and painted this plain white 8 x 10 rug I picked up from Home Depot for $149.?!
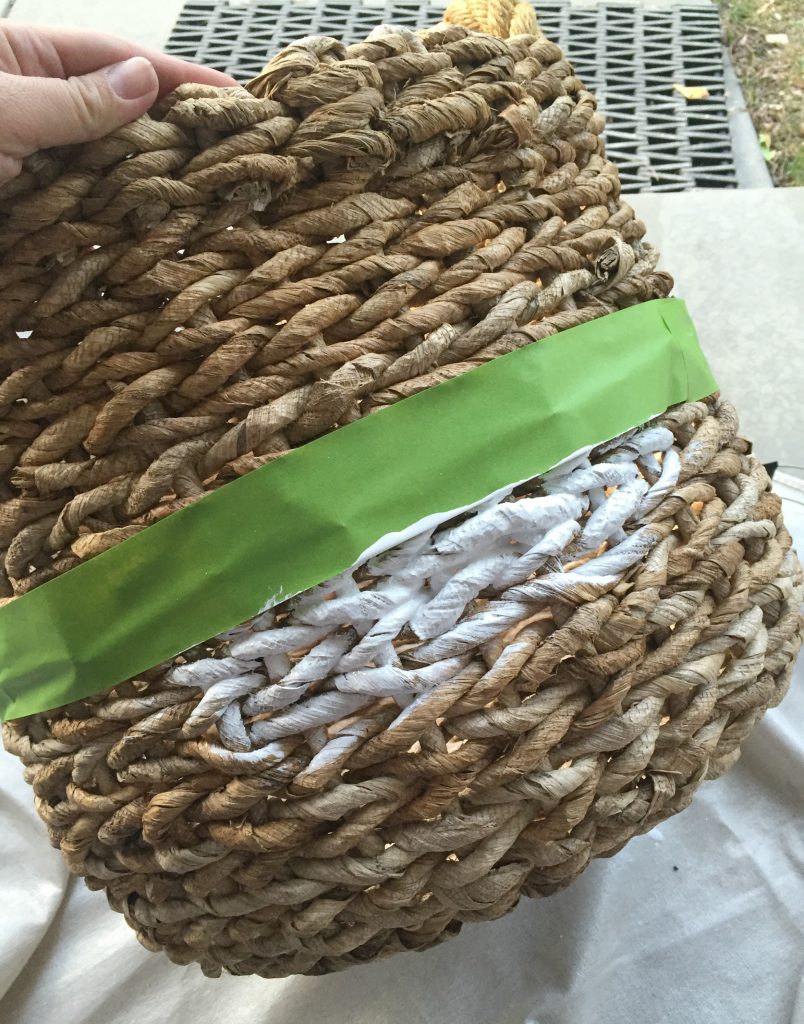
Last but not least, I wanted to give this wicker basket a color-blocked effect by putting one line of tape down the middle and painting one half.
Sounds kind of wonky but all the projects worked and looks amaze-balls! There’s really no limit on what you can apply FrogTape to.
Next week you get to see if FrogTape’s Color Block technology actually worked.
Crisp lines?…you’ll have to come back to see.
See our planning post here.
*This is a sponsored post by FrogTape written by myself. All thoughts and opinions are my own.*


 Hey there! I’m Michelle; I’m an Passionate DIY’er and in constant pursuit of how to bring beauty to my house full of men (3 boys + 1 hubby). Stick around and see what I’ve got up my hard-working sleaves!