We’re moving right along with our FrogTape Paintover Challenge Basement Makeover. Last week we showed your our design patterns we created with FrogTape. This week our taped up pieces received a coat of paint.
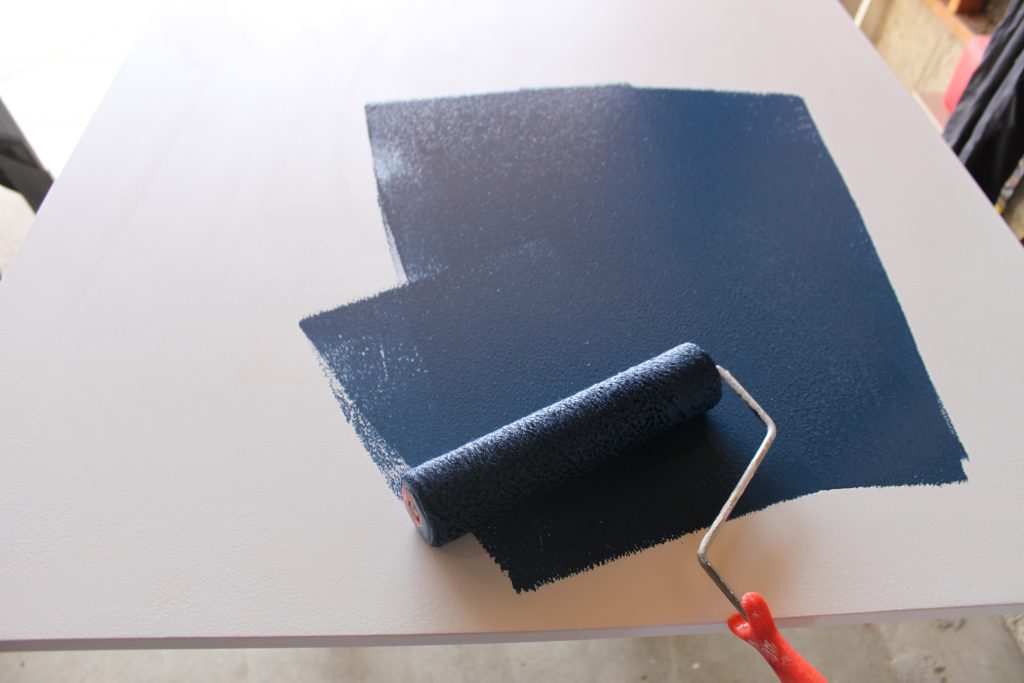
The fun part is getting to paint then peel back the tape. I tested every variety of paint with the FrogTape to see just how good it worked.
This is when I stress the importance of using FrogTape. I spent hours taping my wall boards, pillow covers, pots, area rug and planter. For the tape to fail at this point and allow my paint to bleed would be devastating, not to mention a huge waste of time. FrogTape has paint-block which is a system that keeps paint from bleeding. Before applying your paint, make sure all tape is smoothed down and no pockets or air bubbles exist under the tape. When painting don’t completely soak the surface. Instead, do several light coats.
Do or die time…
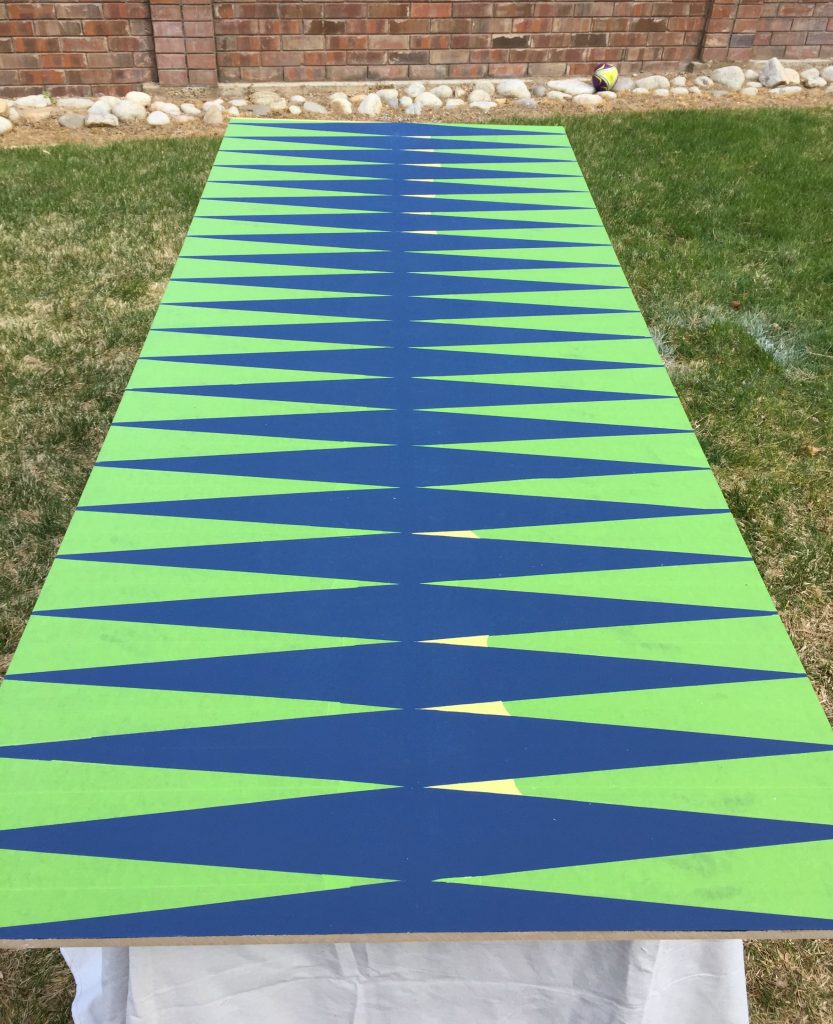
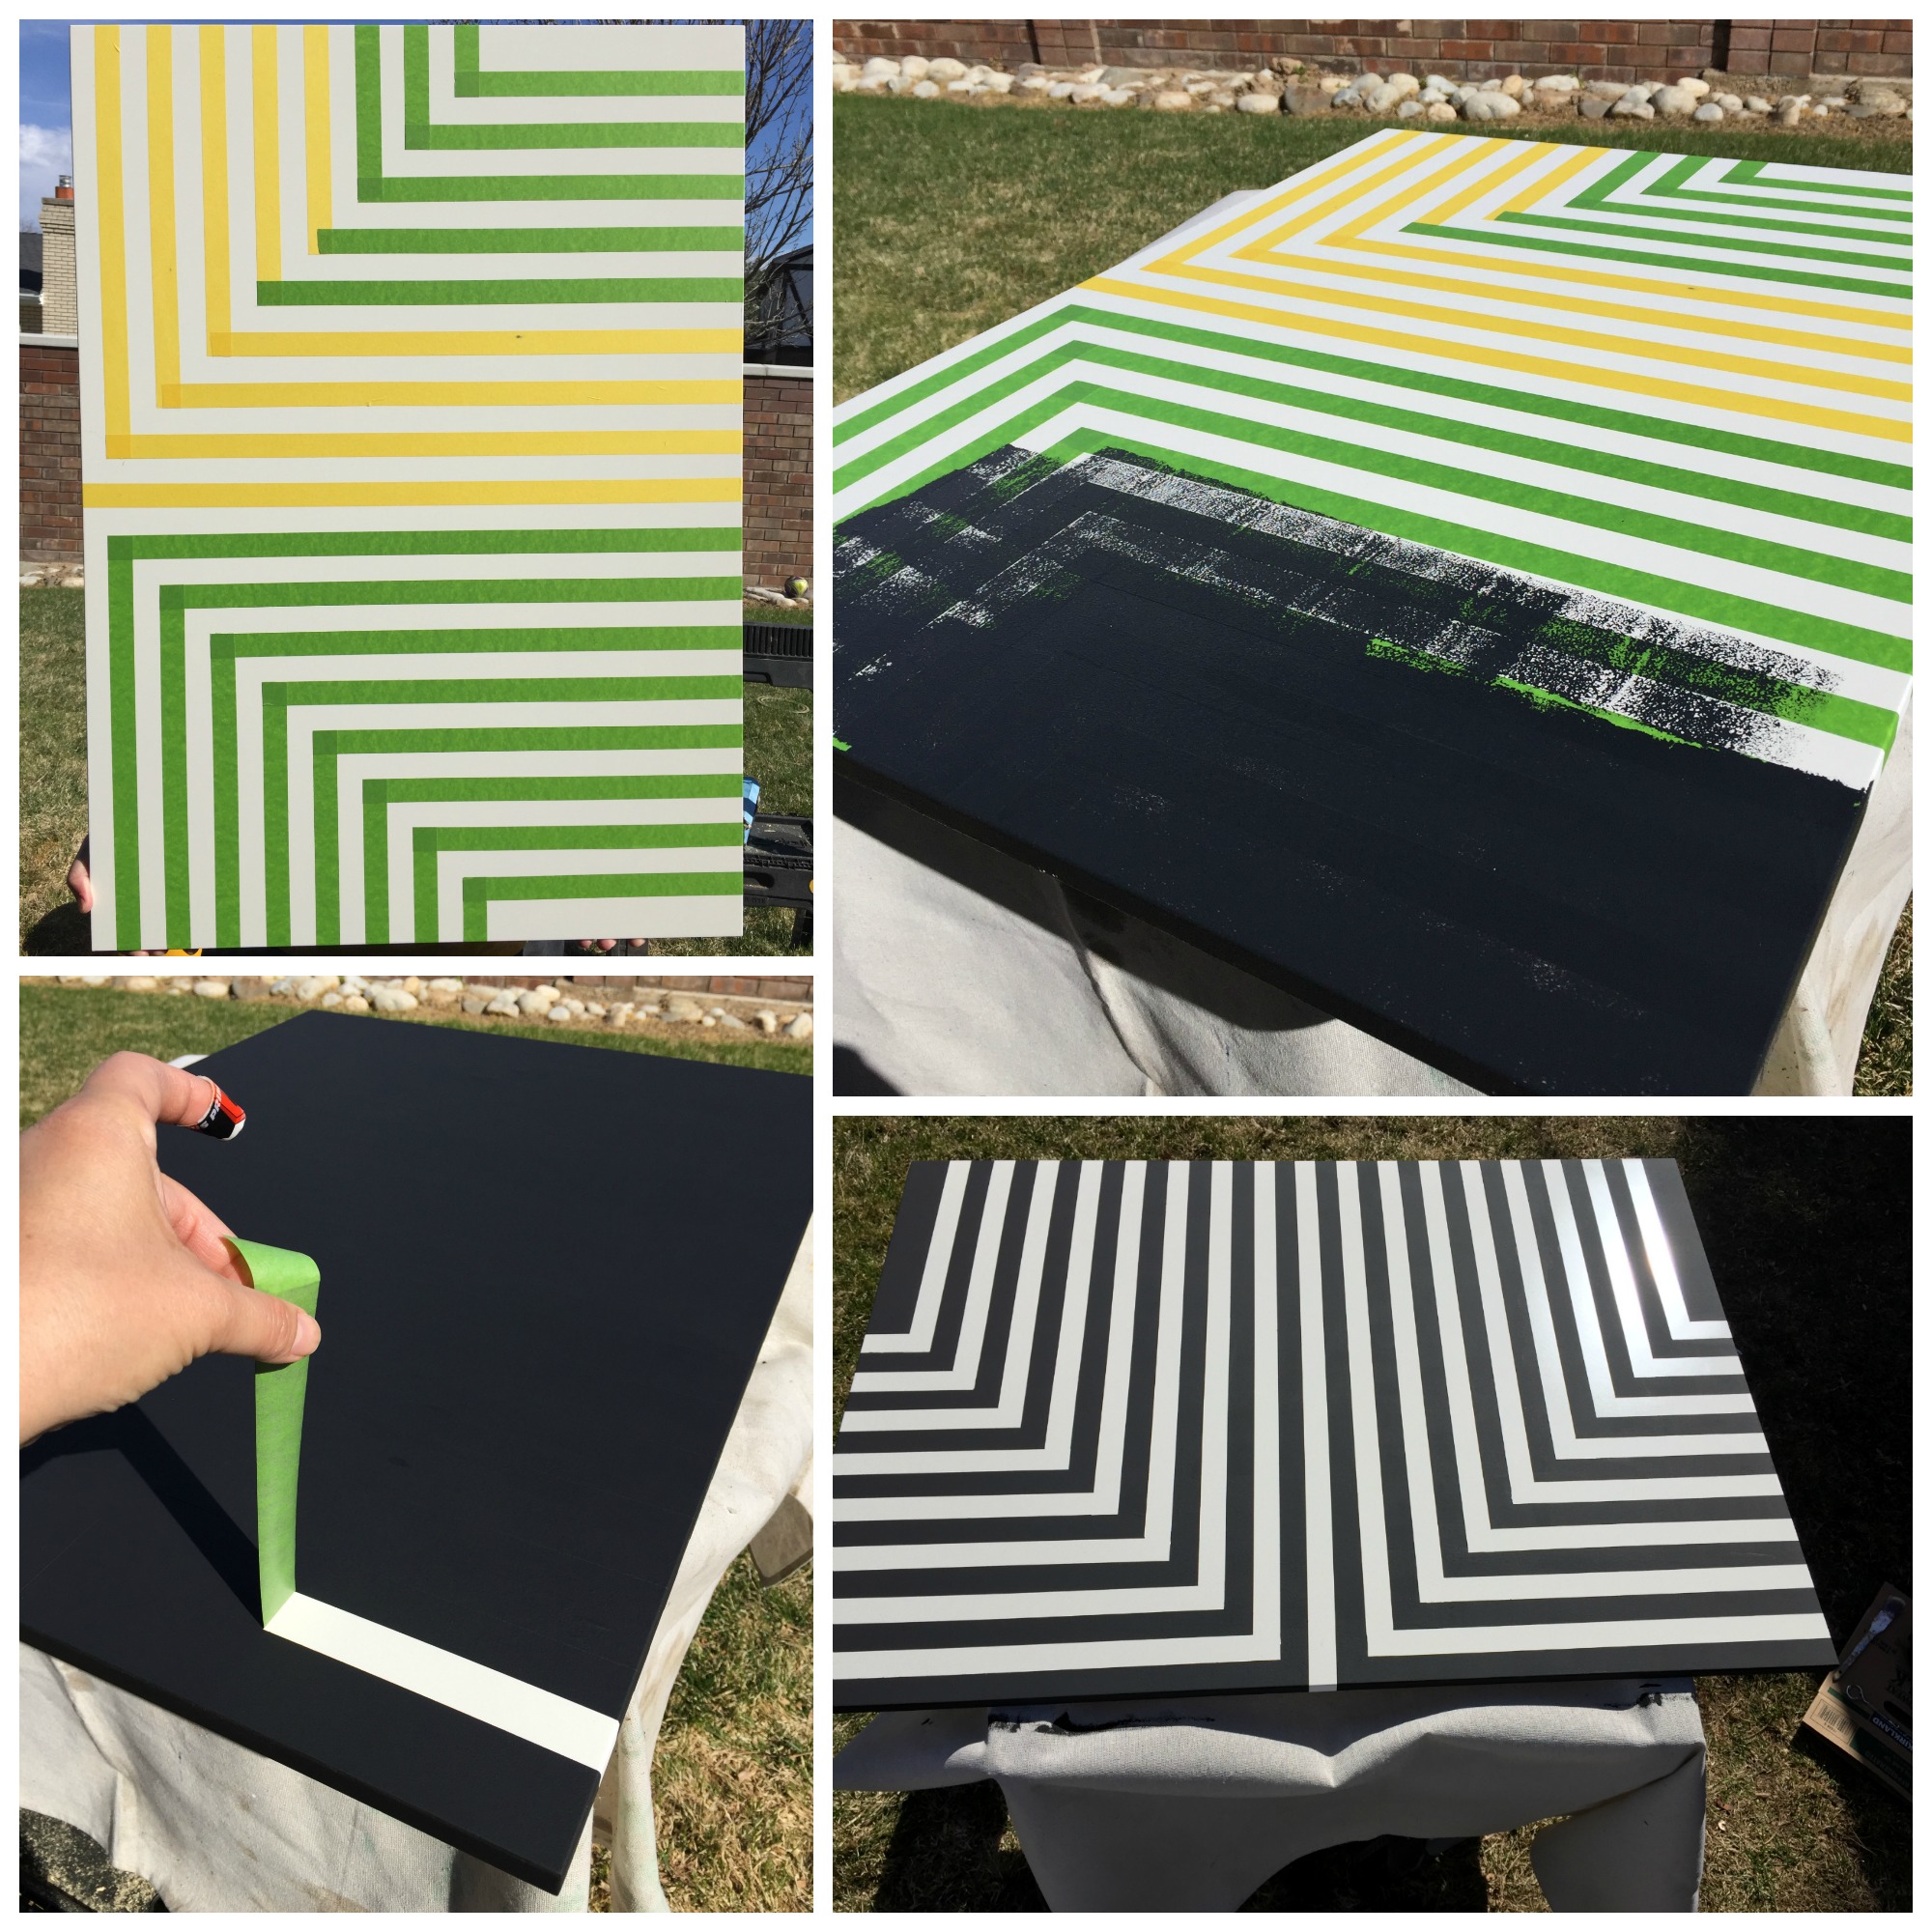
I used a combination of paints on the wall boards. Base coat is Amy Howard Chalk Paint which I used because it will stick to virtually anything without any prep or priming…perfect for that glossy IKEA finish. My number one tip when you want to get crisp lines with tape is don’t let the paint fully dry before pulling off the tape. Depending on the type of paint you use the paint will sometimes tend to dry then when you go to pull the tape off the paint will come off with the tape. I’ve found this to happen most often when using latex paint. After you paint, wait until it’s just barely tacky then start removing the tape.
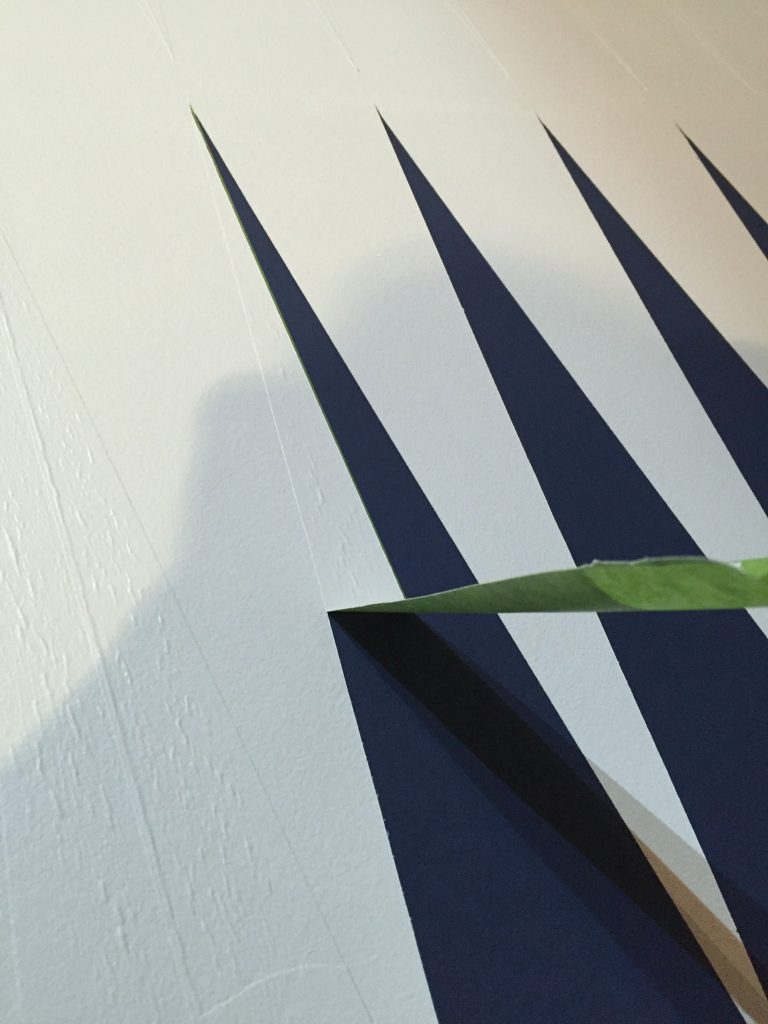
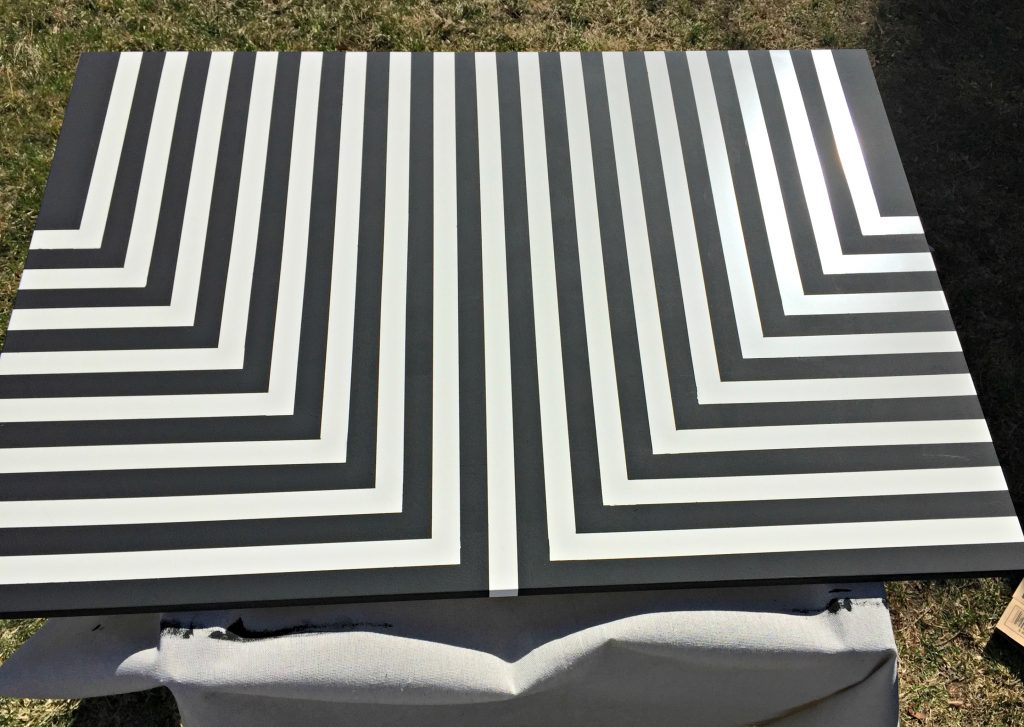
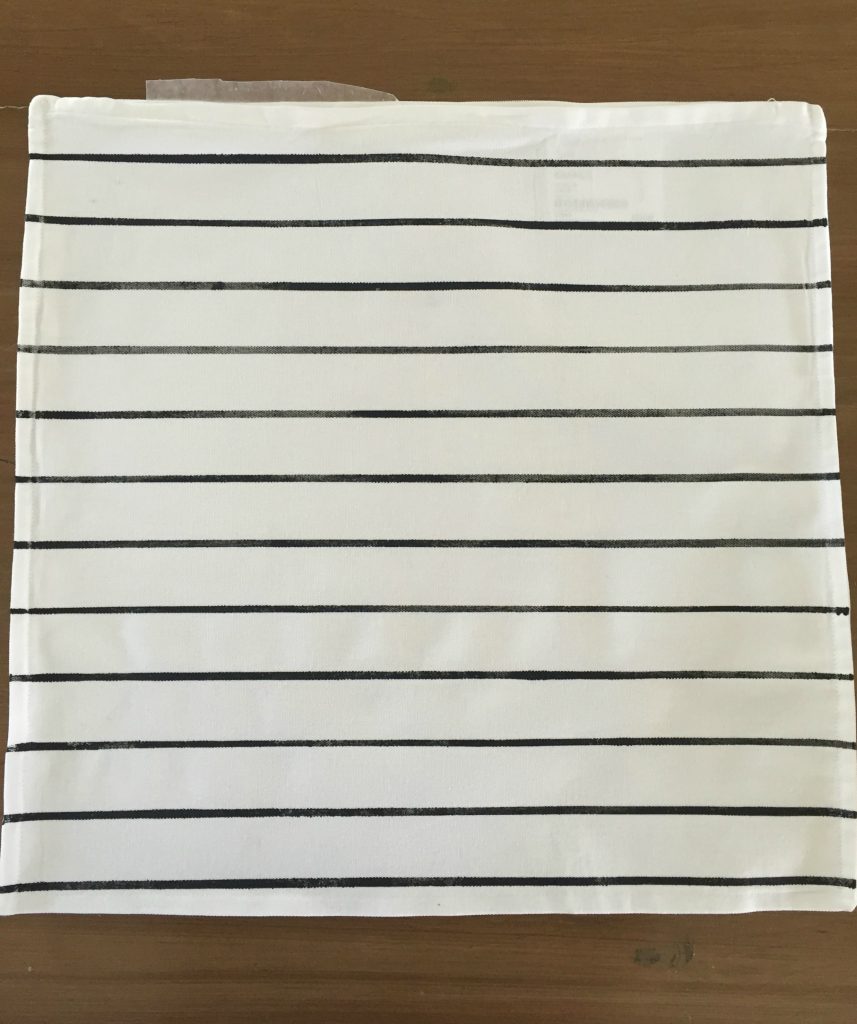
I used Amy Howard’s Chalk Paint for these black and white stripes. I have to be honest…Frog Tape makes big claims about crisp lines and I always hold my breath when pulling off the tape to see if it actually worked. I don’t know why I stress? It works every time. Look at those sharp lines.
On my pillow cover I used Amy Howard’s One Step Paint. Did you know it can be applied to even fabric?
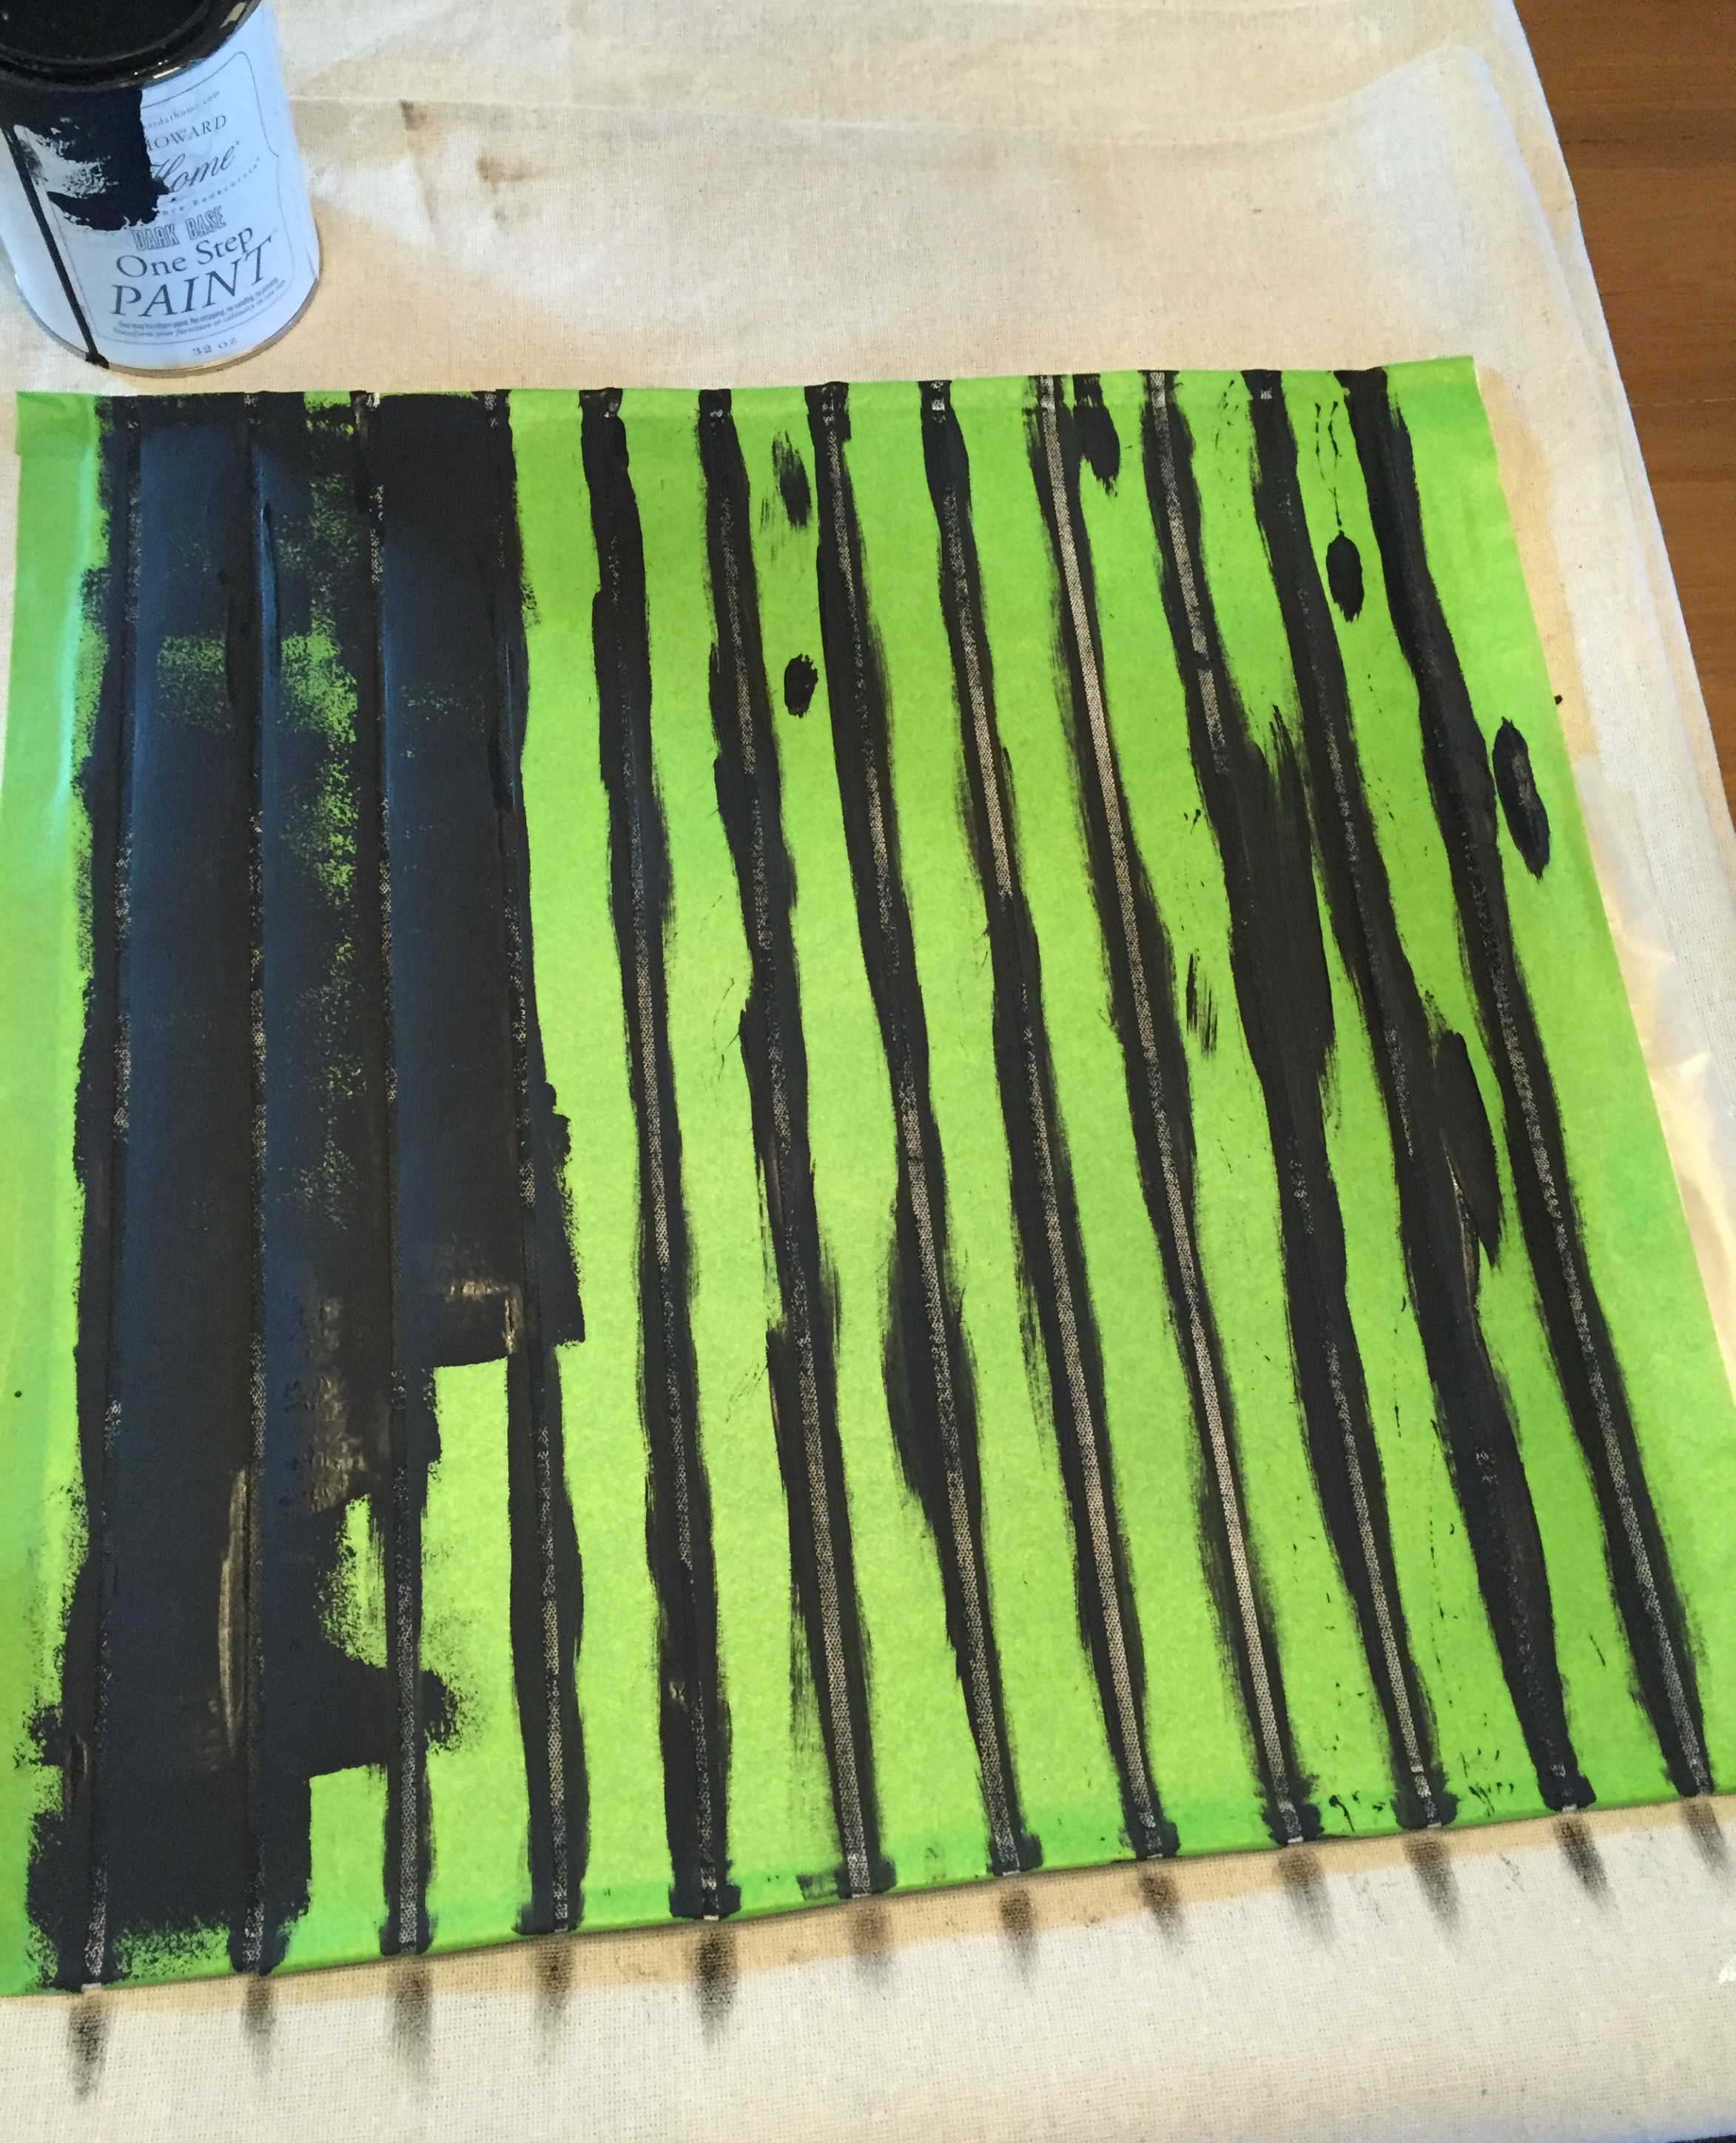
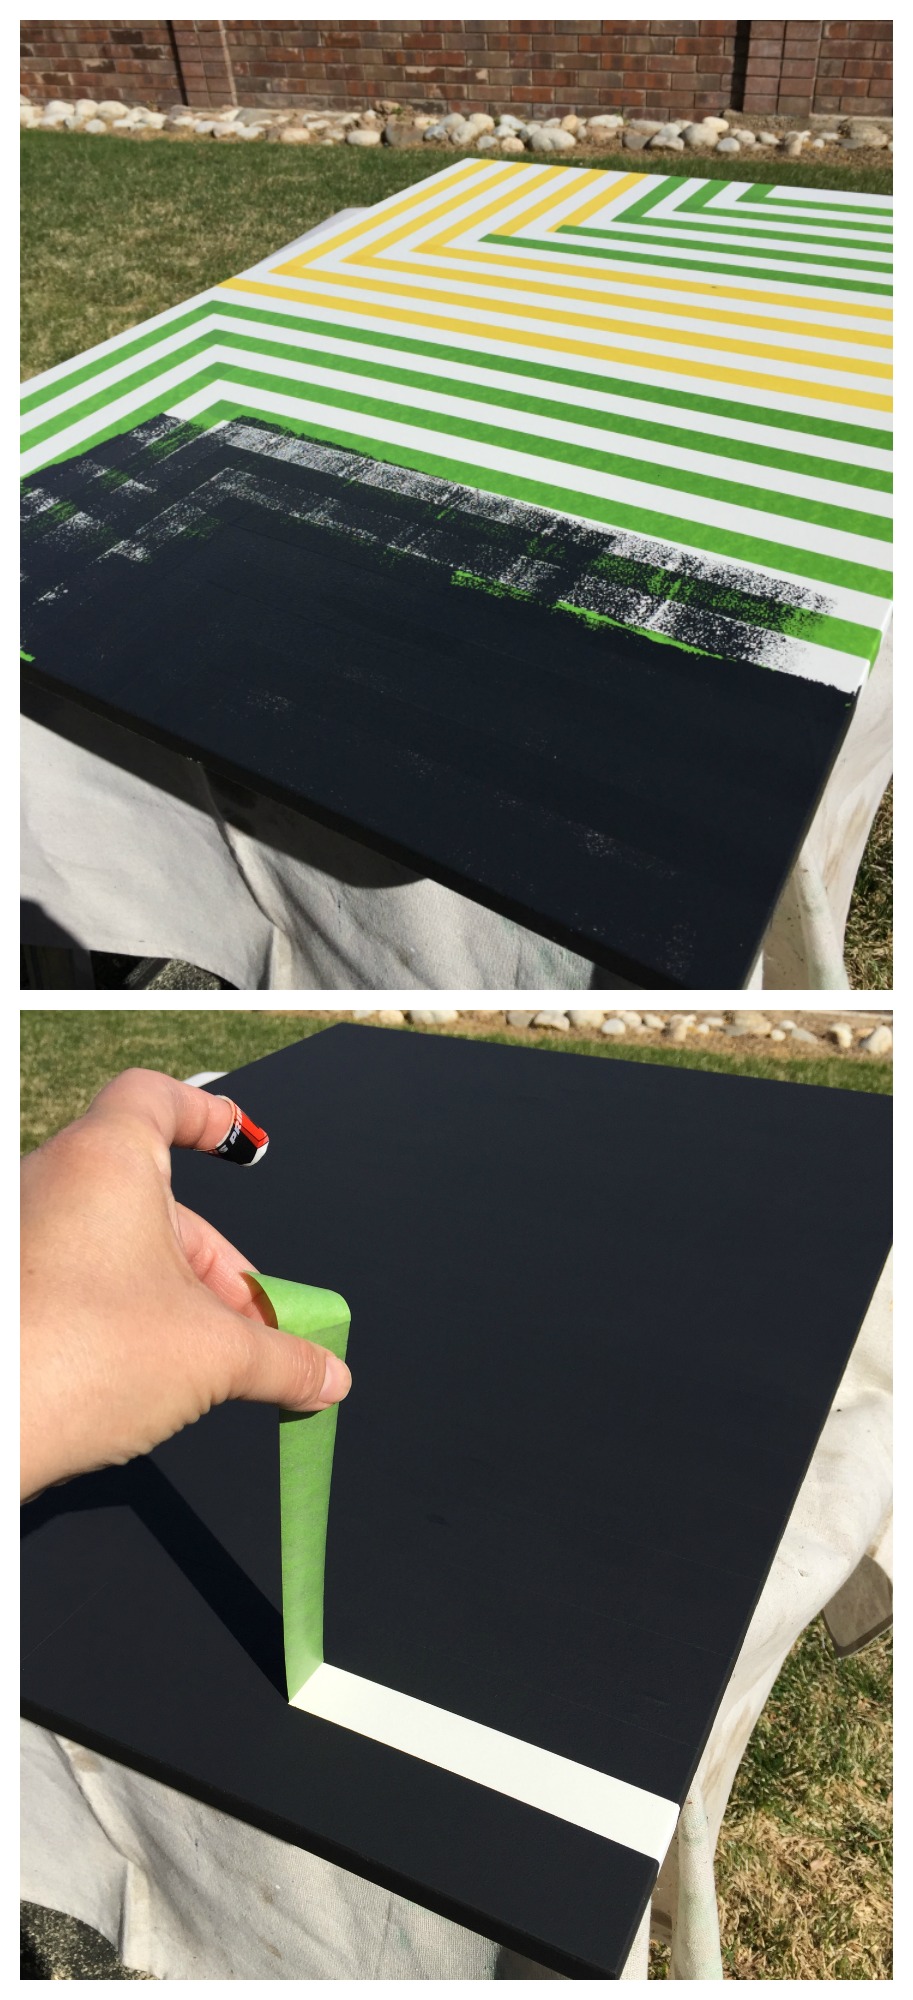
I first started to roll the paint on with a small roller but found that it didn’t work so well getting between the lines so I switched to a brush. Make sure you’ve really pressed down your tape well before painting.
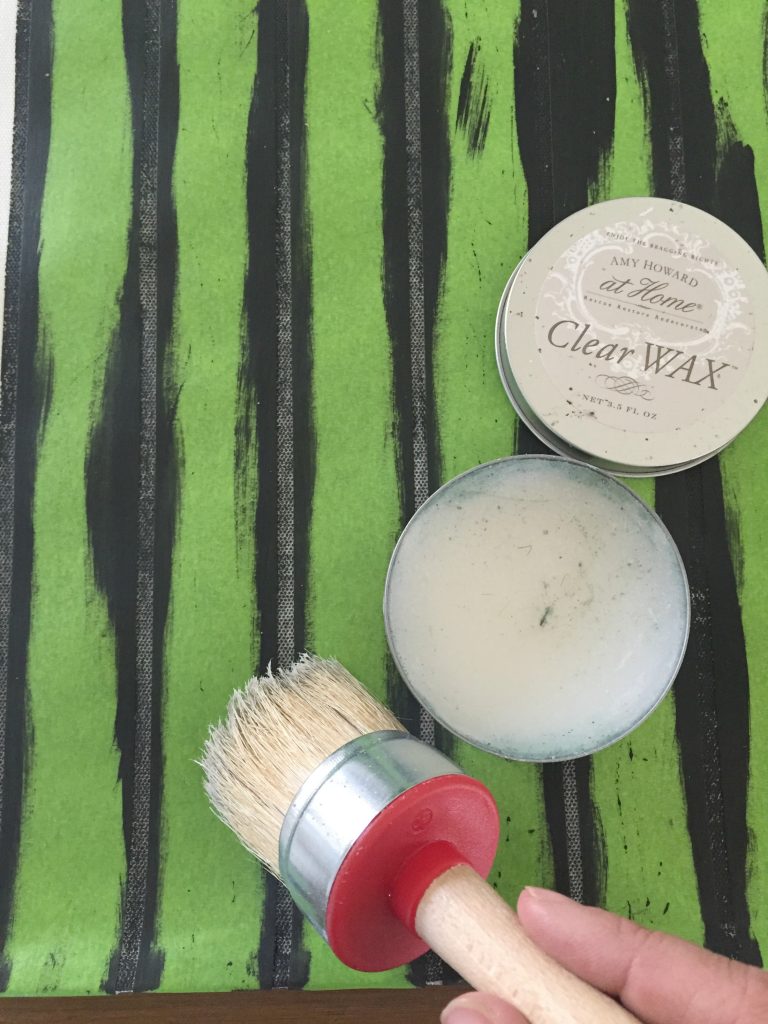
Chalk paint doesn’t tend to stick to the tape like latex does so I did let if fully dry then I applied a wax to protect the paint.
My planter turned out great.
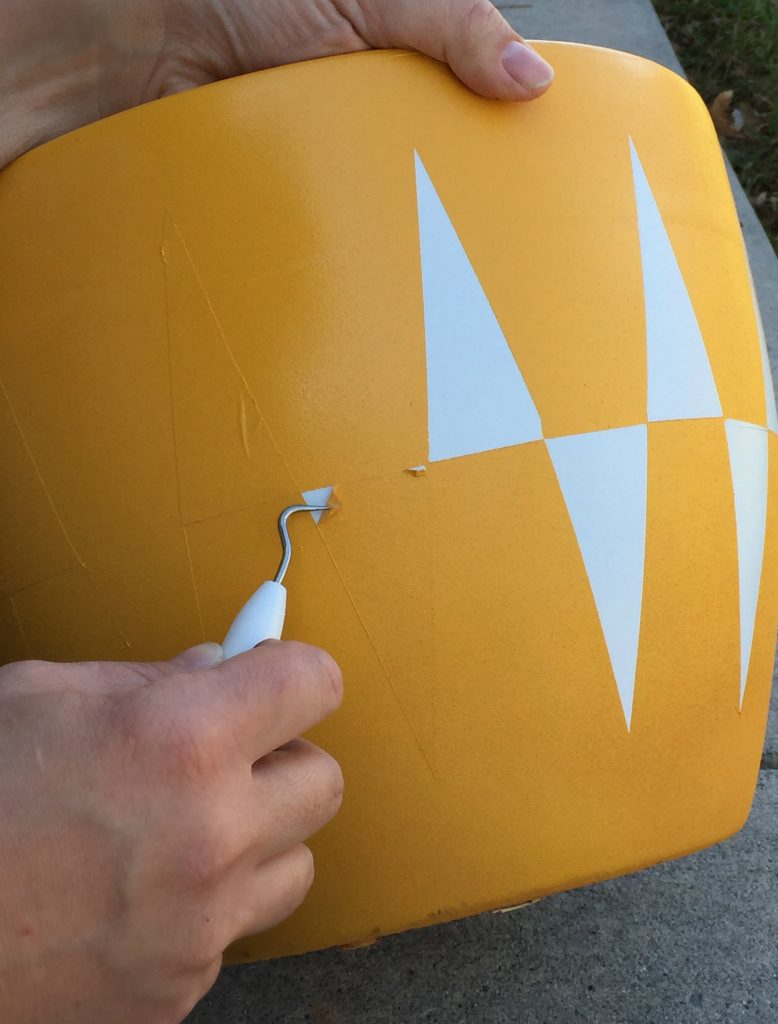
No bleeding whatsoever with a base coat of white paint and primer, top coat is yellow spray paint.
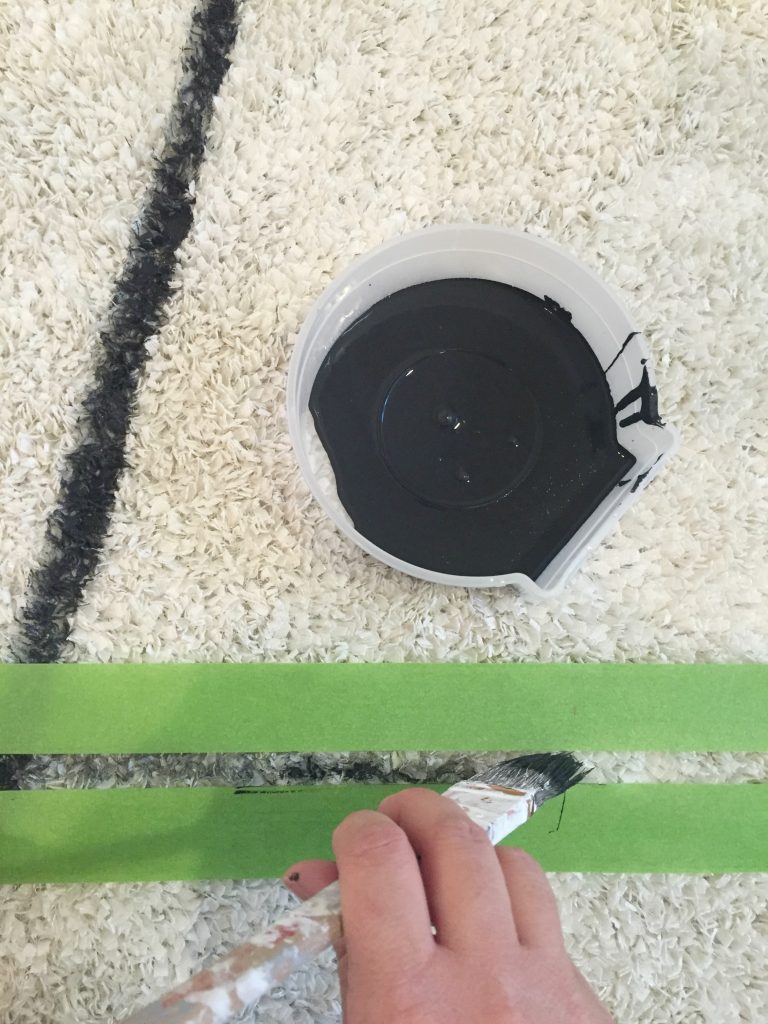
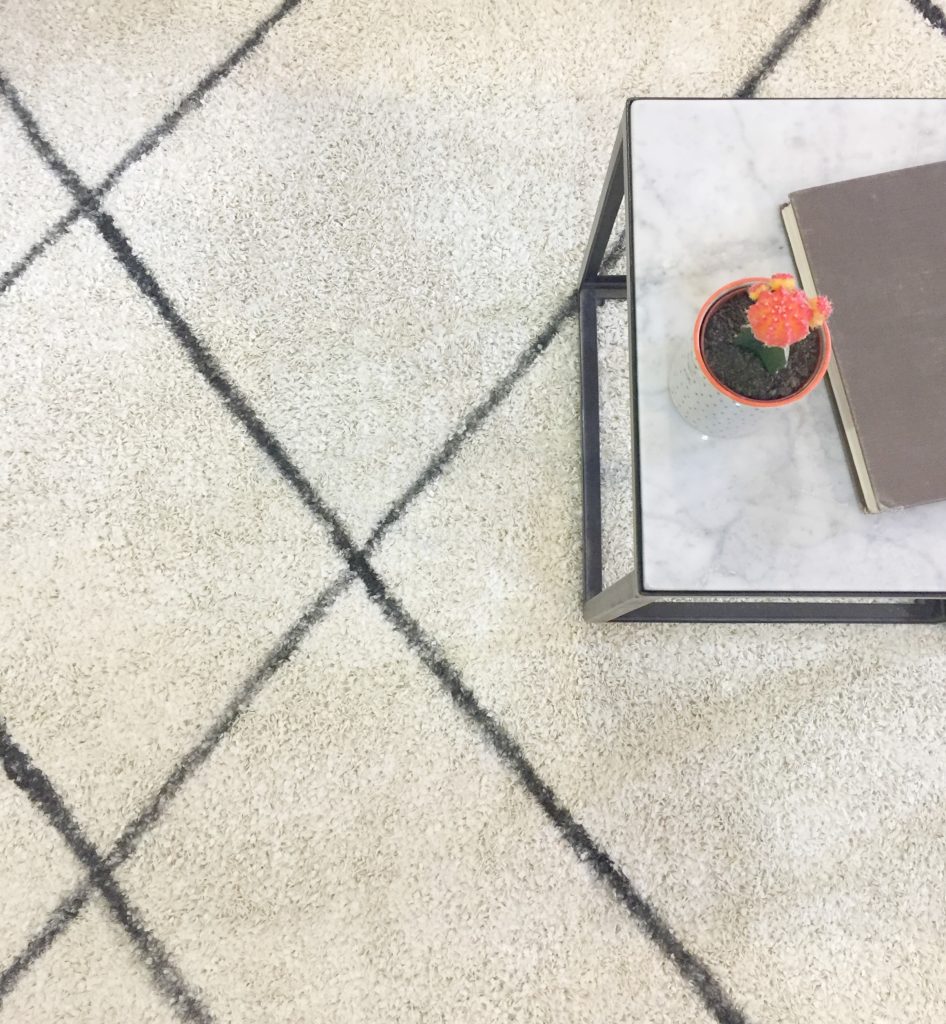
My area rug project was the one I procrastinated painting the longest. Taking black chalk paint to a white rug felt naughty. Just don’t let mom see you do it.
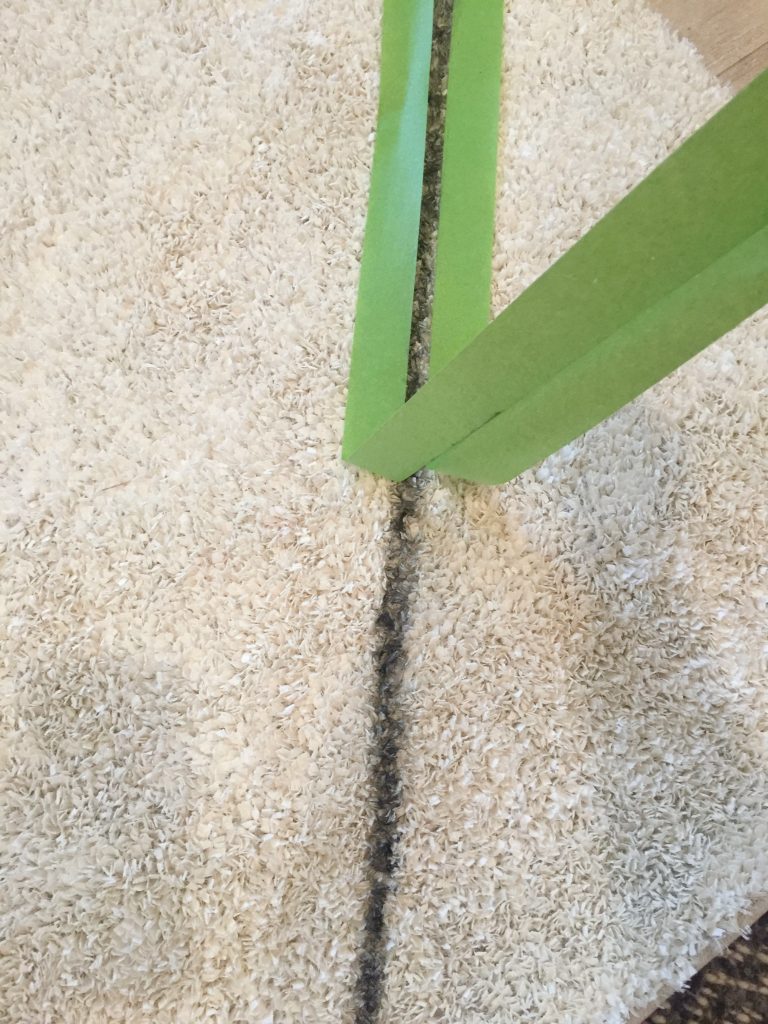
What I learned from painting a rug…do a VERY LIGHT COAT. On a couple of lines I really loaded the paint on. In those spots the paint dried stiff and sharp under foot. When I did light coats it dried soft and you couldn’t even tell the difference once you walked on it. But again, to my surprise Frog tape worked on even an area rug.
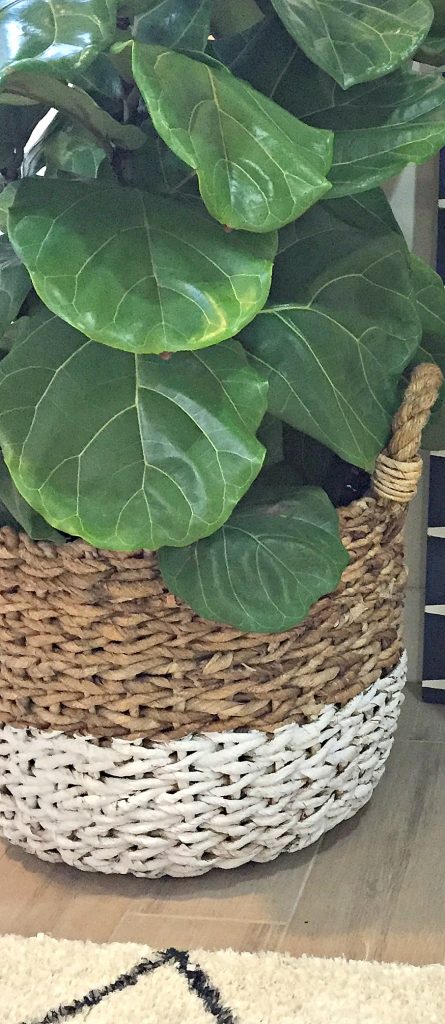
Last, but not least…my wicker basket. This color blocking project was super easy.
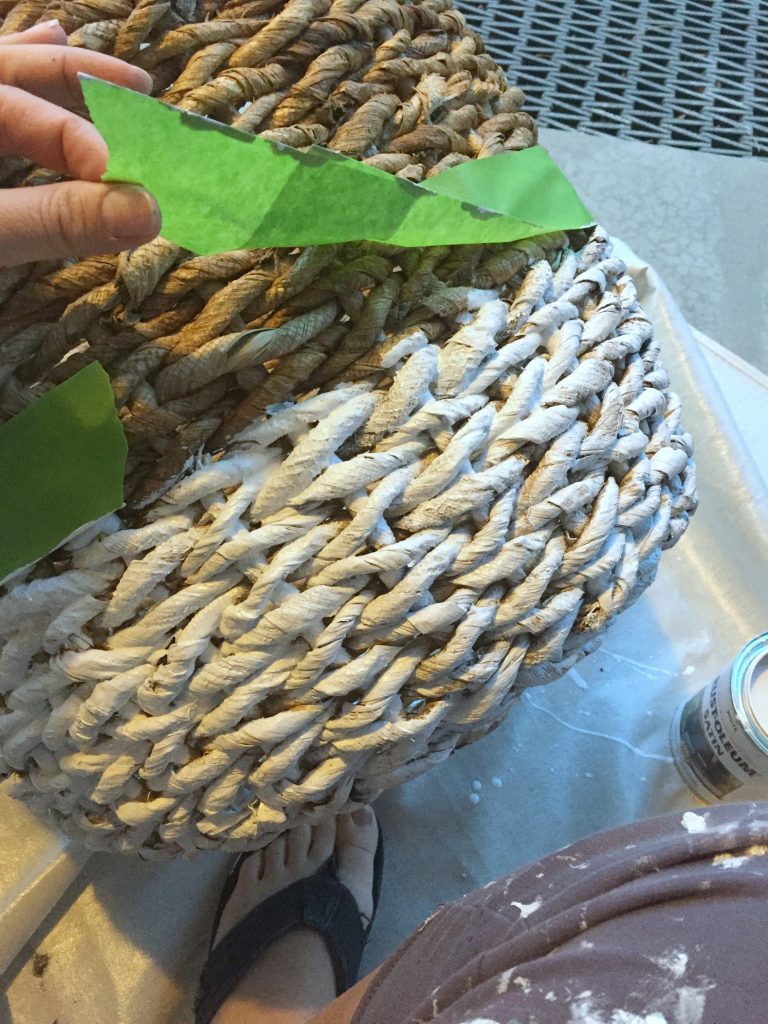
Just one band of tape sectioned off where I wanted my paint line to go. This time I used Rustoleum’s oil-based paint because I love the durability of oil and especially the fact that it will stick to virtually anything. The down side is it takes forever to dry and stinks for quite a while.
Have I given you enough teasers? Next week…see how the whole room came together in our FrogTape Paintover Challenge Reveal.
![]()
Go back and see our planning and prep post.
*This is a sponsored post. All thoughts and opinions are my own.*


 Hey there! I’m Michelle; I’m an Passionate DIY’er and in constant pursuit of how to bring beauty to my house full of men (3 boys + 1 hubby). Stick around and see what I’ve got up my hard-working sleaves!
Great! I already start dreaming about multiple projects DIY where I can use. Thank you!
Love it. Thanks Evelyn!
how did you cut all the tape for the floor to ceiling panels. While it’s gorgeous, I’m sure it was very time consuming and curious how you got all those angles so perfect
I used a ruler and a razor to cut each time. 🙂